
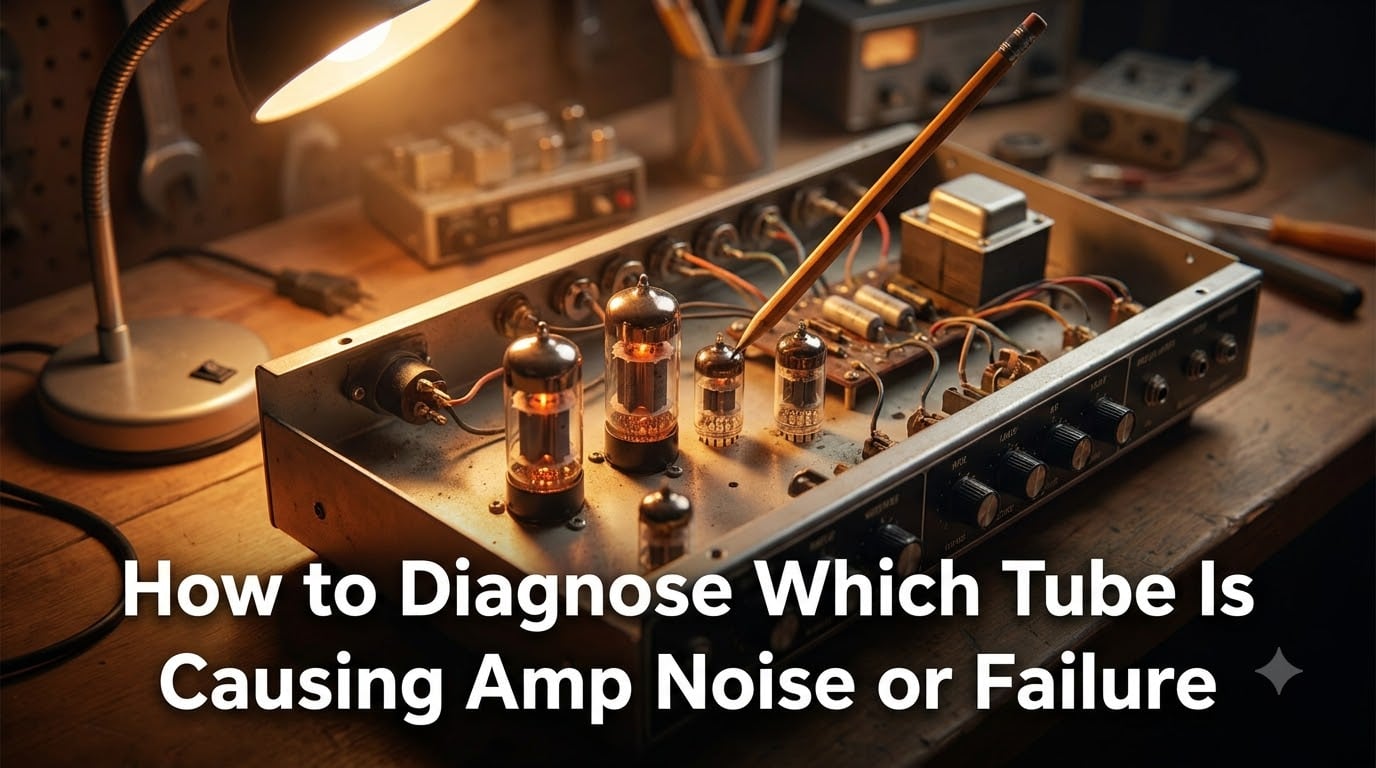
Strange hum, crackling, or sudden silence from your tube amp almost always points to one culprit. Our team has spent years troubleshooting vintage and modern tube amplifiers, and we will walk you through exactly how to diagnose which tube is causing amp noise or failure without immediately running to a repair shop.
If you have ever wondered “why is my amp so noisy today” or “is my tube dying or just warm,” this guide is for you. We will cover the safe diagnostic methods trusted by amp techs, the signals that separate preamp tubes from power tubes, and the red flags that mean you should stop and call a professional.
Table of Contents
Safety First: Precautions Before Diagnosing Tube Amp Problems
Tube amplifiers store lethal voltage inside their chassis. The filter capacitors can hold a charge of 400 volts or more for days after you unplug the amp. Before you begin any diagnostic work, you need to understand and respect these dangers.
The number-one rule our team follows: never open the amp chassis while it is plugged in. Even unplugged, give the amp at least five minutes to discharge before touching anything inside. If you are not confident working with high voltage, do not open the chassis at all. The tests we describe in this article can be performed safely from the outside.
Always work with one hand in your pocket when probing inside a tube amp. This prevents current from flowing through your heart if you accidentally ground yourself. Keep a second person nearby when working on high-voltage gear. And remember that a fuse blowing repeatedly is a warning sign, not a nuisance. Investigate before replacing.
Make sure your amp is on a stable, non-conductive surface. Keep liquids far away. If you see any tube glowing cherry red from the plate inside, turn the amp off immediately and unplug it. That is red plating, and it can destroy your output transformer in minutes.
How to Diagnose Which Tube Is Causing Amp Noise: Step-by-Step Procedure
The most reliable approach to diagnose which tube is causing amp noise follows a logical sequence. Start with the cheapest and easiest checks, then move to more involved diagnostics. This method prevents you from replacing good tubes and saves you from making the problem worse.
Before touching the amp, listen carefully and describe the problem in plain language. Is it hum, buzz, crackle, static, or complete silence? Does it happen at idle or only when you play? Does the noise change with the volume knob? Your answers here will guide everything that follows.
Step 1: Signal Chain Isolation
The first step is to remove everything between your guitar and the amp. Unplug your pedals, multi-effects units, and anything else in the signal chain. Run a single instrument cable directly from your guitar into the amp input.
If the noise disappears, the problem is not in your amp. It is in a cable, pedal, or external device. This is one of the most common things our team sees. Players blame the amp when the actual culprit is a dying patch cable or a noisy pedal power supply.
Try a different guitar cable and a different guitar. If the noise still appears with a clean signal chain, you have confirmed the issue lives inside the amp. Now you can begin tube-specific diagnostics.
Step 2: Visual Inspection of All Tubes
With the amp cool and unplugged, look at each tube carefully. Preamp tubes are the smaller ones (usually 12AX7), and power tubes are the larger ones (EL34, 6L6, KT88, and similar). Look for these warning signs:
- White, silver, or crystalline deposits inside the glass
- Cracks in the glass envelope
- A loose or detached element inside the tube
- Discoloration at the base of the tube
- Power tubes with one glowing much brighter than the others
Any of these signs mean that tube is bad or near death. White residue is the classic indicator of a vacuum leak. The tube has lost its vacuum and air has gotten inside, oxidizing the internal parts. Replace the tube immediately.
Step 3: The Tapping Test for Microphonic Tubes
The tapping test is the gold standard for finding microphonic preamp tubes. A microphonic tube is one that has become so mechanically loose that it acts like a tiny microphone, picking up vibration and converting it into howling, ringing, or unwanted feedback.
To perform the tapping test, power the amp on and let it warm up for a minute. Set the volume to a moderate level where noise is present but not deafening. Take a wooden pencil (never use metal) and gently tap the top of each preamp tube.
Listen for a ringing, bell-like tone, or a “boing” sound. That is microphony. A healthy tube will produce a dull thud or no audible response. If one tube rings loudly while others stay quiet, you have found your culprit.
Work from the input backward. The first preamp tube (V1) is the most likely suspect because it handles the smallest signal and amplifies any microphony the most. If V1 is clean, move to V2, then V3, and so on.
Step 4: Tube Swapping Method
When the tapping test is inconclusive, swap tubes between positions. If you have a spare known-good preamp tube, swap it into V1 and listen. If the noise goes away, your original V1 was the problem.
For power tubes, you can swap them left and right in matched pairs. If the bad tube moves to the other side and the noise follows it, you have isolated the bad tube. Just be careful: never run the amp with only one power tube pulled if it has a fixed bias design. This can damage the output transformer.
Take notes as you go. Write down which position produces noise. This documentation helps you communicate clearly with a technician if you end up needing professional service.
Preamp Tube vs Power Tube Failure Symptoms
Different symptoms point to different tube types. Knowing the difference helps you narrow down the problem before you even open the chassis.
Preamp tubes (typically 12AX7, 12AT7, or 7025) handle the small signal at the front of the amp. When a preamp tube fails, you usually hear high-pitched squealing, crackling, or a loss of gain in the affected channel. The noise often changes character when you turn the volume or tone controls.
Power tubes (EL34, 6L6, KT66, KT88, 6550) handle the heavy lifting at the output. When a power tube fails, you typically hear low-frequency hum, a dramatic loss of volume, harsh distortion across the whole amp, or a “flubby” loose sound. Power tubes can also fail completely and silently if the amp loses high voltage to the plates.
Here is a quick guide our team uses to differentiate:
- Crackle, hiss, squeal, ringing: preamp tube
- Low hum, brown sound, volume loss: power tube
- Noise changes with volume knob: preamp tube
- Noise stays constant as you turn volume down: power tube
- Single channel affected: preamp tube
- Both channels affected equally: power tube
Red Plating: The Most Dangerous Tube Failure
Red plating is the one symptom that demands immediate action. It looks like the metal plate structure inside the tube glows cherry red, often visible through the glass. This means the tube is drawing too much current and is literally overheating inside.
Red plating is dangerous because it can destroy your output transformer in a matter of minutes. The excessive current dumps into the transformer windings, causing them to overheat and short. A new output transformer can cost more than a replacement amp, so take red plating seriously.
If you see red plating, turn the amp off and unplug it immediately. Do not power it back on until you have replaced the tube and verified the bias is correct. In most cases, red plating means at least one power tube has failed and the surviving tubes are now running too hot.
Bias is the idle current that flows through the power tubes when you are not playing. After replacing power tubes, you should always check or have a tech check the bias. Tubes that run too hot fail early. Tubes that run too cold sound thin and weak.
Common Tube Amp Noises and What They Mean
Different noise types point to different problems. Learning to identify them by ear is one of the most powerful diagnostic skills you can develop. Our team has logged hundreds of these noises over the years.
A 60Hz hum (the electrical mains frequency in North America) or 50Hz hum (in Europe and Asia) usually means a grounding issue, a failing filter capacitor, or a heater problem. The hum is constant and steady.
A 120Hz hum (twice the mains frequency) typically points to filter capacitors that have dried out. This hum is louder and more “buzzy” than 60Hz hum. The fix is usually a recap, which is a job for a technician.
Crackling, popping, or sizzling sounds often mean a tube with internal arcing. The tube is breaking down under high voltage. Try the tapping test or swap the tube to confirm. Crackling can also come from dirty tube sockets. Pull each tube out and reseat it firmly a few times to clean the contacts.
Ringing or “boing” sounds mean microphony. Use the tapping test to find the offending tube. Sometimes a new tube cures this. Other times the tube socket itself is loose and needs to be tightened or replaced.
White noise or hissing that builds up over time usually means an aging preamp tube. As the cathode coating wears out, the noise floor rises. This is a normal sign of tube aging and not an immediate failure, but it does degrade your tone.
Tube Aging vs Tube Failure: Knowing the Difference
Tubes wear out gradually. Knowing the difference between normal aging and sudden failure saves you money and prevents you from replacing tubes that still have good life in them.
Aging tubes show these signs:
- Slowly rising noise floor over months
- Gradual loss of clean headroom
- Slightly softer response
- Mild microphony that only shows at very high volumes
Failed tubes show these signs:
- Sudden loss of sound or extreme distortion
- Loud crackling, popping, or arcing
- Red plating visible inside the tube
- White deposits inside the glass
- A tube that is cold to the touch when others are hot
Preamp tubes typically last 5,000 to 10,000 hours. Power tubes last 1,500 to 3,000 hours depending on how hard you push them and how well they are biased. If your amp is in regular use, plan to replace power tubes every couple of years as preventive maintenance.
When to Seek Professional Help
Some problems go beyond what a tube swap can solve. If you see red plating that returns with a new tube, you likely have a bias issue or a failing component. If you smell burning, see smoke, or the amp blows fuses repeatedly, stop and contact a technician.
Output transformer failures, rectifier tube failures, and power supply problems all require professional service. The cost of repairing these correctly is far less than the cost of damaging the amp further with a guess.
A good amp tech can also perform a full voltage check, signal trace, and bias adjustment. They have tools that let them test tubes properly, measure plate current, and see things you cannot see from the outside. There is no shame in knowing when to ask for help.
Frequently Asked Questions
How to tell if an amp tube is bad?
The most reliable method is the tapping test. Power on the amp, let it warm up, and gently tap each tube with a wooden pencil. A microphonic tube will ring or boing, while a healthy tube produces a dull thud. You can also inspect visually for white residue, cracks, or red plating inside the tube.
Why is my tube amp so noisy?
Noise in a tube amp usually comes from a failing preamp tube, a dirty tube socket, or a power supply issue. Start by isolating the signal chain, then check the first preamp tube (V1) with the tapping test. 60Hz hum points to grounding or heater issues, while 120Hz hum often means filter capacitors are wearing out.
How can I diagnose problems with my tube guitar amp?
Follow a systematic sequence: first isolate the signal chain by removing pedals and trying different cables. Then visually inspect all tubes for damage. Next, perform the tapping test on each preamp tube to find microphony. Finally, swap tubes between positions to confirm which one is causing the issue. Always work safely and never open the chassis while the amp is plugged in.
My tube amp isn’t making any noise. What could be the problem?
Complete silence can mean a failed power tube, a blown fuse, a broken speaker cable, or a failed rectifier. Check the speaker cable first, then inspect the power tubes for cold tubes or visible damage. If both power tubes are cold, the issue may be in the high-voltage power supply, which requires a technician to diagnose.
Conclusion
Diagnosing which tube is causing amp noise does not require an expensive tester or a service manual. With the signal chain isolation, visual inspection, tapping test, and tube swapping method, you can identify the bad tube in most cases in under an hour. Our team has used these same steps to keep our own amps running for decades.
Remember to respect the high voltage inside tube amps, watch for red plating as a stop-everything warning, and know when to call a tech. With these skills, you will save money on repairs and keep your tone where it should be in 2026 and beyond.