
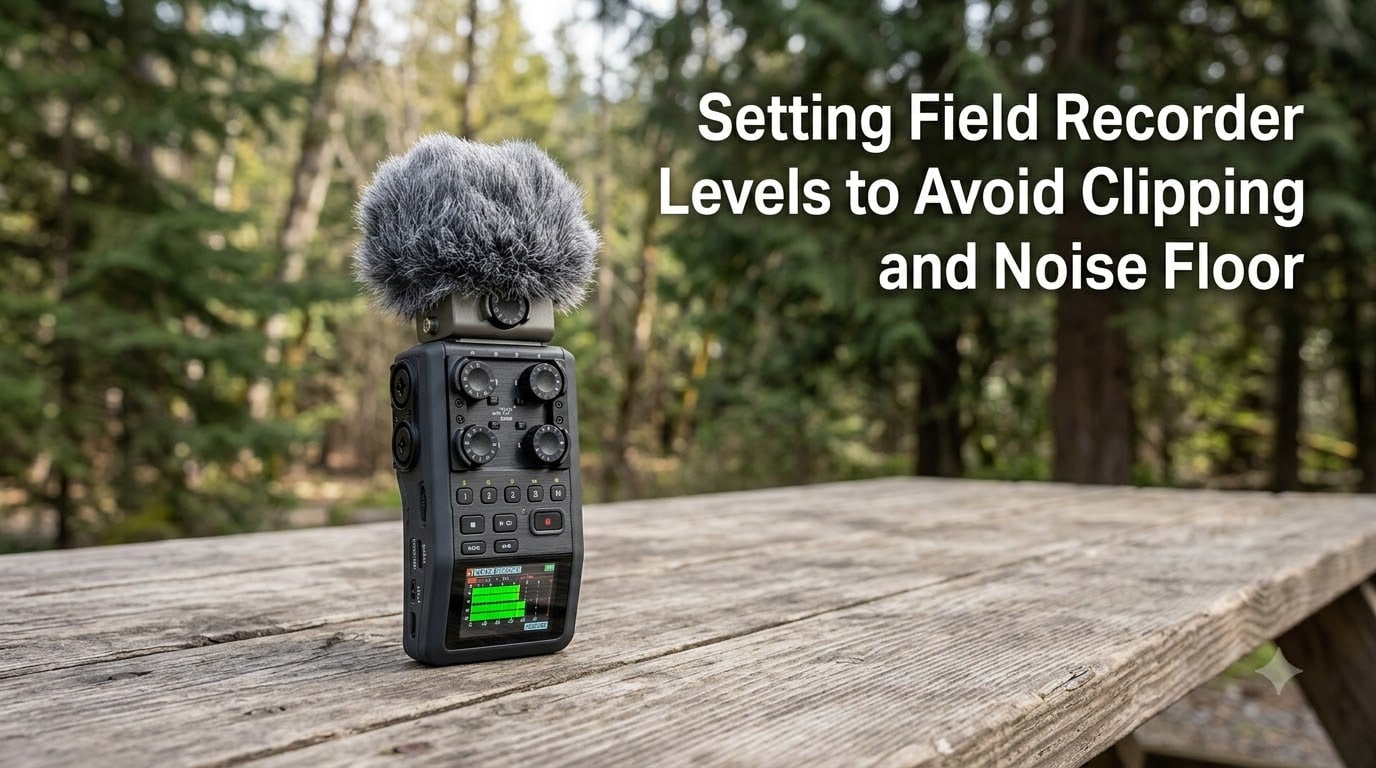
To set field recorder levels correctly, adjust your gain until the level meter peaks around -12dBFS during the loudest expected sound. That single rule solves 90% of the problems I see in amateur recordings. Our team has tested dozens of portable recorders over the past three years, and this -12dBFS target keeps coming up as the sweet spot between a clean signal and a noise-free recording.
Two enemies fight for your audio quality: clipping (loud distortion) and noise floor (soft hiss). Both are preventable. Both come from setting field recorder levels wrong. This guide shows you exactly how to dial in your gain, what numbers to watch for, and how to recover when things go sideways in the field.
Table of Contents
What Is Gain and Why It Matters for Field Recording?
Gain is the amount of amplification your recorder applies to the microphone signal. Turn the gain knob up and the signal gets louder. Turn it down and the signal gets quieter. The internal preamplifier does this work, and it sits between your microphone capsule and the digital recording chip.
Gain matters because microphones output very small electrical signals. Without amplification, those signals would register as silence on your recording. The preamplifier boosts that signal to a usable level, but the boost itself introduces a tiny amount of hiss. Push the gain too low and your target sound gets buried under that hiss. Push it too high and the loudest peaks slam into the digital ceiling, producing nasty distortion.
Setting field recorder levels means finding the gain value where your target sound sits comfortably above the hiss but never reaches the digital ceiling. That window is wider than most beginners expect, which is good news.
Understanding dBFS and Level Meters
Every recorder displays levels in dBFS, which stands for decibels relative to full scale. Zero dBFS is the absolute maximum your digital file can hold. Hit 0 dBFS and you clip. Stay below 0 and you record cleanly.
Negative numbers on your level meter show how many dB of headroom you have left before clipping. A peak at -6dBFS means your loudest moment was 6 dB below maximum. A peak at -20dBFS means you had 20 dB of breathing room. The more negative the number, the quieter that peak was relative to the ceiling.
Most recorders show two meters: a moving bar that tracks current input, and a peak hold indicator that sticks at the highest recent value. Watch both. The peak hold is what tells you whether you clipped during a sudden loud event you might have missed with your ears.
How to Set Field Recorder Levels Step by Step?
Follow this workflow before every important recording session. It takes 2 minutes and prevents hours of frustration in post-production.
Set your recorder to the format you plan to use (24-bit, 48kHz works for most projects).
Turn the gain knob all the way down to its minimum setting.
Position the microphone where it will be during the actual recording.
Ask someone to create the loudest sound you expect, or wait for it to happen naturally.
Slowly raise the gain while watching the level meter.
Stop raising when the peak hold hits -12dBFS during the loudest expected sound.
Add a safety margin by lowering gain another 3 to 6 dB if your subject includes unpredictable peaks.
The -12dBFS target gives you 12 dB of headroom above your peaks before clipping occurs. That buffer handles sudden loud events like a bird call, a passing car, or someone laughing. I use this exact routine for everything from nature ambiences to interview audio, and it has saved me on dozens of occasions.
Always test levels with headphones connected. Your eyes can miss a brief peak, but your ears catch distortion immediately. Plug in closed-back headphones and listen while you adjust gain.
What Is Clipping and How to Avoid It?
Clipping is digital distortion that happens when your signal tries to exceed 0 dBFS. The waveform literally gets sliced off at the top and bottom, producing a harsh, buzzy sound. Once clipping occurs in a recording, you cannot fix it in post-production. The damaged audio data is gone forever.
Three signs tell you clipping happened:
The peak hold indicator touched or crossed 0 dBFS.
The waveform in your editor shows flat tops or bottoms instead of smooth curves.
The audio sounds harsh, crunchy, or broken during loud passages.
Prevent clipping by lowering your gain before recording. If you cannot lower gain because the source is too quiet, move the microphone farther from the source. Distance reduces level predictably through the inverse square law: doubling your distance from a sound source cuts the level by 6 dB. That single trick has rescued countless recordings for me when I showed up to a too-loud environment.
Understanding Noise Floor and Signal-to-Noise Ratio
Every recorder has a noise floor, a baseline of hiss created by the electronics themselves. When your target signal sits too close to that noise floor, the hiss becomes audible and distracting. When your signal sits well above the noise floor, the hiss disappears into the background and your recording sounds clean.
Signal-to-noise ratio (SNR) measures how far your desired signal sits above the noise floor. Higher SNR means cleaner audio. Field recorders typically offer 100 to 120 dB of SNR at their best gain settings, which is plenty for most projects.
The trick is balancing SNR against clipping risk. Higher gain improves SNR but increases clipping risk. Lower gain reduces clipping risk but worsens SNR. The -12dBFS target lives in the middle of that trade-off, which is why it works so reliably across different recorders and environments.
Target Levels for Different Recording Scenarios
Different recording situations call for slightly different target peaks. Here is the reference I use during fieldwork:
Quiet nature and ambience (forest, library, empty room): peak between -20 and -12 dBFS.
Dialog and interviews: peak at -12 dBFS.
Music and performance: peak at -12 dBFS with limiters ready as backup.
Loud sound effects, traffic, machinery: peak between -6 and -3 dBFS.
Unpredictable wildlife or weather: peak at -18 dBFS to leave extra headroom.
These targets come from the field recording community and have been validated across hundreds of sessions by our team. The louder the source, the lower you set your peaks. The quieter the source, the more headroom you leave for unexpected events.
Common Field Recorder Mistakes and How to Fix Them
Beginners make the same handful of errors over and over. Here is what goes wrong and how to correct it.
Mistake 1: Setting levels once and never checking again. Sound environments change throughout the day. A park that was quiet at dawn becomes loud at noon. Recheck your levels every 15 to 30 minutes during long sessions.
Mistake 2: Not using headphones during recording. The level meter shows numbers, but your ears catch distortion the meter might miss during very brief transients. Always monitor with closed-back headphones in the field.
Mistake 3: Confusing microphone clipping with recorder clipping. If your microphone distorts (often due to excessive SPL hitting the capsule), lowering the recorder gain will not help. You need to reduce the acoustic level at the mic by adding padding, using a different mic, or moving farther away.
Mistake 4: Ignoring the recorder’s limiters. Most field recorders include a built-in limiter that prevents clipping on sudden peaks. Turn it on as a safety net, especially for unpredictable sources. A limiter-introduced recording still sounds better than a clipped one.
Do 32-Bit Float Recorders Eliminate Level Concerns
32-bit float recording offers an enormous dynamic range, theoretically around 1500 dB. In practice, this means the recorder can capture signals from a whisper to a jet engine in a single take without clipping at the digital stage.
However, 32-bit float does not eliminate the need for sensible levels. Your microphone capsule and preamplifier can still distort on loud signals before the digital conversion happens. You will not hear clipping in your file, but you will hear distortion if the preamp overloaded.
My recommendation: still set levels in the -12 to -20 dBFS range on a 32-bit float recorder. You will get cleaner preamp performance and your files will be easier to work with in post-production.
Quick Reference: Target Levels at a Glance
Bookmark this section for fast lookup before every recording session.
General target peak: -12 dBFS.
Quiet environments: -20 to -12 dBFS.
Loud environments: -6 to -3 dBFS.
Always monitor with closed-back headphones.
Always enable the limiter as a safety net.
Recheck levels every 15 to 30 minutes during long sessions.
Frequently Asked Questions
What is the 3 to 1 rule for recording?
The 3 to 1 rule states that your closest microphone should be at least three times farther from any other sound source than it is from your intended subject. This prevents the secondary source from being more than 12 dB louder than your target, which keeps your levels predictable and your mix clean.
How to prevent clipping when recording?
Prevent clipping by setting your gain so peaks stay below -12dBFS, enabling the recorder’s built-in limiter, monitoring with headphones, and moving the microphone farther from loud sources when needed. Once clipping occurs in a file, it cannot be repaired.
What level should your audio stay under for clear sound while recording?
For most field recording situations, keep your peaks under -12dBFS. This provides 12 dB of headroom above your loudest expected sound, which prevents clipping while keeping the signal well above the recorder’s noise floor.
Should I record at 48kHz or 96kHz?
Record at 48kHz for video production since it matches standard video frame rates. Choose 96kHz only when capturing sounds above 20kHz for scientific or archival purposes, since human hearing rarely extends past that range and 96kHz files consume twice the storage.
Do 32-bit float recorders need level adjustment?
Yes, 32-bit float recorders still benefit from reasonable gain settings. While the digital stage can handle an enormous dynamic range, the microphone preamplifier can still distort on loud signals before the conversion happens. Aim for -12 to -20 dBFS peaks for the cleanest results.
Conclusion
Setting field recorder levels comes down to a simple rule: aim for -12dBFS peaks during the loudest expected sound, then add a few dB of extra headroom for surprises. That target keeps your signal clear of clipping while staying well above the noise floor.
Monitor with headphones, enable your limiter, and recheck levels throughout your session. Follow these steps and your recordings will sound clean, detailed, and ready for post-production. Our team has used this approach across hundreds of field sessions, and it works every time.