
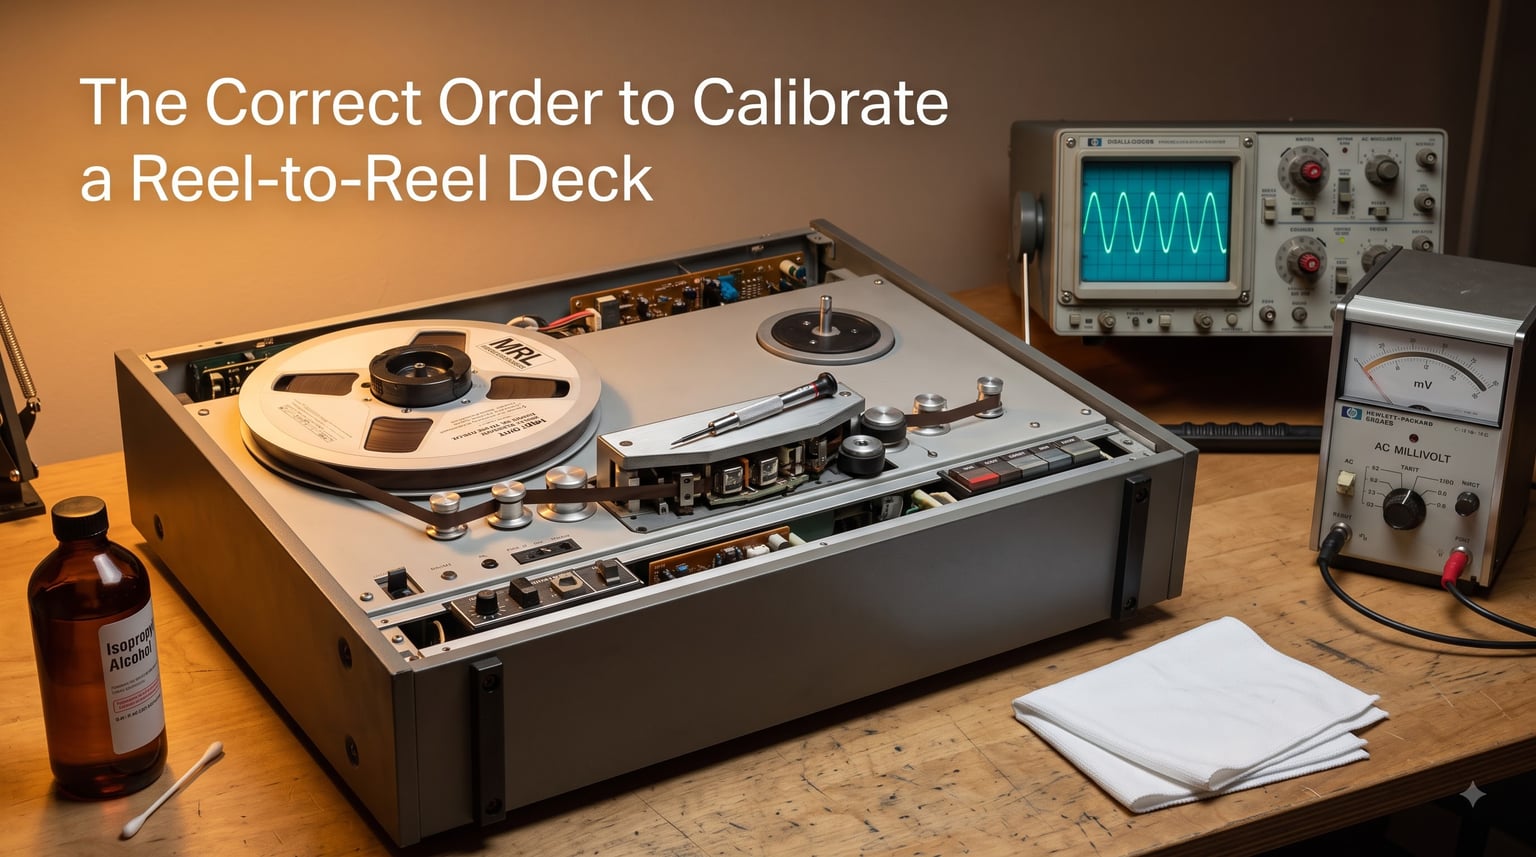
Calibrating a reel-to-reel deck is one of those tasks that separates a great-sounding tape machine from a frustrating one. I have spent years working with analog tape decks in both home and studio environments, and I can tell you that getting the sequence right makes all the difference between clean, accurate sound and muddy, distorted recordings.
The correct order to calibrate a reel-to-reel deck follows a strict principle: playback first, record second. You cannot set record levels, bias, or EQ until the playback path is dialed in to a known reference. Every record adjustment depends on the playback chain being accurate, so skipping or reordering steps leads to compounding errors.
In this guide, I will walk you through the complete calibration sequence from start to finish. You will learn what equipment you need, why each step must happen in order, the specific adjustments for both playback and record calibration, and how to troubleshoot problems after you finish. Whether you are calibrating for the first time or refreshing your process, this guide gives you a clear roadmap.
Table of Contents
Equipment You Need Before Starting
Before touching any screwdriver to your deck, gather the right tools. Calibration requires specific measurement equipment and reference tapes. Trying to calibrate without proper test tapes is like tuning a piano by ear instead of with a tuning fork. You might get close, but you will never be precise.
Here is the equipment I recommend having on hand:
Calibration level tape (MRL): A reference tape recorded at a known fluxivity, typically 250 nWb/m for NAB or 320 nWb/m for IEC. Magnetic Reference Laboratory (MRL) tapes are the industry standard.
Azimuth alignment tape: A short test tape with a high-frequency tone (usually 8 kHz to 16 kHz) recorded with perfectly aligned head gap, used to adjust playback head azimuth.
Multifrequency calibration tape: Contains tones at multiple frequencies (31.5 Hz to 20 kHz) for checking frequency response across the full audio band.
AC millivolt meter: Measures output levels at specific frequencies. A digital multimeter is not sufficient for high-frequency audio measurements.
Oscilloscope (optional but recommended): Useful for azimuth alignment using Lissajous patterns and for visualizing waveforms during bias adjustment.
Audio signal generator: Produces clean sine waves at 1 kHz, 10 kHz, and other frequencies for record calibration. Many modern decks have built-in oscillators.
Blank tape: A fresh, high-quality blank tape of the same type you plan to record on, for record calibration steps.
Head demagnetizer: Essential for removing residual magnetism from heads and guides before calibration.
Cleaning supplies: Isopropyl alcohol (99 percent), lint-free swabs, and a clean cloth for head and path cleaning.
The biggest pain point I hear from the tape community is the cost of calibration tapes. A full set of MRL tapes can run several hundred dollars. But consider this: a single ruined recording session or damaged master tape costs far more. Treat test tapes as an investment in every recording you will ever make on that deck.
Why the Correct Order to Calibrate a Reel-to-Reel Deck Matters?
No competitor I have seen does a good job explaining why calibration order matters. They list the steps but skip the reasoning. Understanding the “why” is what separates someone who can troubleshoot from someone who just follows instructions blindly.
The fundamental principle is this: every calibration step depends on the steps before it being correct. Think of it like building a house. You would not install the roof before pouring the foundation. Each layer supports the next.
Here is why playback calibration must come before record calibration: when you set the record level, you are measuring the output of the deck playing back what you just recorded. If the playback chain is not calibrated to a known reference, your record level adjustment is based on an unknown. You are essentially calibrating against a moving target.
The same logic applies to bias adjustment. Bias affects high-frequency response and distortion. You set bias by recording at a specific frequency and measuring the playback output. If the playback frequency response is wrong, your bias setting will compensate for playback errors rather than achieving optimal recording performance.
Azimuth follows the same rule. Playback azimuth must be correct before you align record azimuth, because you verify record azimuth by playing back the signal you just recorded through the already-calibrated playback head.
When I first started calibrating decks, I tried to shortcut the process by adjusting bias before playback level. The result was a recording that sounded fine on that deck but played back with completely wrong levels on any other machine. That is the practical consequence of skipping the proper order.
Step 1: Preparation (Clean and Demagnetize)
Before any calibration adjustments, your deck must be clean and demagnetized. This is the most frequently overlooked step among beginners, and it is the source of more calibration failures than any other factor.
Residual magnetism on heads and guides introduces noise and erases high frequencies from your test tapes. Dirt and oxide buildup on heads changes the effective head gap, throwing off azimuth and frequency response. Calibrating a dirty deck gives you settings that will be wrong the moment you clean it.
Follow this preparation sequence:
Clean the tape path: Use 99 percent isopropyl alcohol and lint-free swabs on the heads, pinch roller, capstan, and all tape guides. Clean until the swab comes away clean.
Inspect heads for wear: Check for grooves or visible wear on the head faces. Deeply worn heads may need professional relapping or replacement before calibration is worthwhile.
Demagnetize the heads: Use a head demagnetizer on each head and metal guide in the tape path. Power on the demagnetizer at least three feet from the deck, bring it slowly to the head, hold for a few seconds, then withdraw slowly before powering off. Never power the demagnetizer on or off near the heads.
Let the deck warm up: Run the deck in play mode with blank tape for 15 to 30 minutes. Electronics need to reach thermal stability before calibration measurements are meaningful.
I cannot count how many times someone has told me their deck “will not calibrate” only to discover they skipped the demagnetization step. The fix took two minutes and cost nothing.
Step 2: Playback Calibration Sequence
Playback calibration is the foundation of the entire process. The correct order to calibrate a reel-to-reel deck always starts here. These steps set the reproduce chain to a known standard using reference tapes.
2.1 Tape Speed Check
Start by verifying tape speed. Use a speed and flutter test tape recorded with a precise frequency tone (typically 3000 Hz or 3150 Hz). Play the tape and measure the output frequency with a frequency counter or oscilloscope.
If the measured frequency is higher than the reference, the deck is running fast. If lower, it is running slow. Speed errors affect pitch and are immediately noticeable to trained ears. Most decks have speed adjustment trimmers accessible through the top plate or bottom cover.
A speed error of more than 0.5 percent needs correction before continuing. At 7.5 ips, a 1 percent speed error shifts pitch by about 17 cents, which is audible to most musicians.
2.2 Playback Level (Repro Level) Adjustment
Load your calibration level tape (MRL tape at the correct reference fluxivity for your standard, typically 250 nWb/m for NAB). Play the 1 kHz reference tone and measure the output at the line output jacks with your AC millivolt meter.
Adjust the playback level trimmer (often labeled Repro Level or PB Level) until the output reads the standard reference level. For consumer decks this is typically 0 dBu (0.775 V RMS). For professional decks it may be +4 dBu (1.228 V RMS). Check your service manual for the exact target.
Set both channels to the same level. Channel balance is critical for stereo recordings and for accurate frequency response measurements later.
2.3 VU Meter Calibration
If your deck has adjustable VU meter calibration, this is the time to set it. Play the reference level tape and adjust the meter trimmers so both channel meters read 0 VU on the reference tone.
Misaligned VU meters cause you to set wrong record levels later, which affects everything downstream. Some decks have fixed meter calibration set at the factory, in which case you can skip this step.
2.4 Playback Head Azimuth Alignment
This step adjusts the vertical angle of the playback head gap so it is perfectly perpendicular to the tape. Use your azimuth alignment tape (high-frequency tone, typically 8 kHz to 16 kHz).
Play the azimuth tape and monitor the output on both channels. Adjust the azimuth screw (usually the top mounting screw on the playback head) for maximum output. If you have an oscilloscope, use the XY mode to display a Lissajous pattern. A straight diagonal line indicates perfect azimuth alignment.
For mono decks, adjust for maximum output on the single channel. For stereo decks, you want maximum output on both channels simultaneously, which also ensures proper phase alignment between channels.
Azimuth errors cause high-frequency loss and phase issues between channels. Even a fraction of a degree of misalignment can reduce output at 10 kHz by several decibels.
2.5 Playback Frequency Response
Use a multifrequency calibration tape to check the playback frequency response. Play tones at various frequencies (typically 31.5 Hz, 63 Hz, 125 Hz, 250 Hz, 500 Hz, 1 kHz, 2 kHz, 4 kHz, 8 kHz, 16 kHz) and note the output level at each frequency.
The response should be flat within the tolerance specified by your deck manufacturer, typically plus or minus 2 to 3 dB. If your deck has playback EQ trimmers for high and low frequencies, adjust them now to flatten the response.
Do not adjust playback EQ to compensate for tape wear or head problems. If the response has significant dips or peaks that cannot be corrected with trimmers, the issue may be head wear, tape path alignment, or a damaged test tape.
Once playback calibration is complete, your reproduce chain is set to a known reference. Every record calibration step that follows will build on this foundation.
Step 3: Record Calibration Sequence
Now that playback is calibrated, move to the record chain. Load a blank tape of the type you will use for actual recordings. Record calibration adjusts the deck to lay down signals accurately onto tape and play them back correctly through the calibrated reproduce chain.
3.1 Record Head Azimuth
Record a high-frequency tone (typically 10 kHz) onto the blank tape, then immediately play it back through the calibrated playback head. Adjust the record head azimuth screw for maximum output on playback.
Use the Lissajous pattern method if you have an oscilloscope available. This ensures the record head gap is aligned with the playback head gap, minimizing phase errors between channels.
Record azimuth is sometimes confused with playback azimuth, but they are separate adjustments on separate heads. Both must be correct for accurate recording and playback.
3.2 Record Level Calibration
Feed a 1 kHz tone at the reference input level (check your service manual for the specified input voltage) into the deck’s line input. Set the record level controls to their calibration position (often marked on the control or specified in the manual).
Put the deck into record mode on the blank tape. While recording, monitor the playback output and adjust the record level trimmer until the playback output matches the reference level you set during playback calibration. This ensures that a 0 VU input signal produces a 0 VU playback signal.
This step ties the record and reproduce chains together at a common reference point.
3.3 Bias Adjustment
Bias is a high-frequency signal (typically 50 to 150 kHz) added to the audio signal during recording to linearize the tape’s magnetic response. Without proper bias, recordings suffer from high distortion and poor high-frequency response.
The most common method is the overbias technique. Record a tone at a specific frequency (usually 1 kHz, 5 kHz, or 10 kHz depending on tape speed) and increase the bias current until the output peaks, then continues increasing bias until the output drops by a specified number of decibels.
For 15 ips, the standard overbias amount is typically 1 dB at 10 kHz or 3 dB at 5 kHz. For 7.5 ips, use 3 to 5 dB at 5 kHz. For 3.75 ips, use 5 dB or more at 5 kHz. Always check your tape and deck specifications for the exact target.
I have seen endless forum debates about peak bias versus overbias methods. Both have their proponents. The overbias method is the most widely recommended because it provides a more consistent result across different tape formulations. Peak bias tends to produce more distortion at high levels.
3.4 Recheck Record Level
After adjusting bias, go back and recheck the record level. Bias adjustment changes the effective record sensitivity, so the record level you set in step 3.2 may now be off. Readjust the record level trimmer for correct output at 1 kHz.
This is one of the most commonly skipped steps, and it is why many recordings end up with inconsistent levels. The interaction between bias and record level means you should always verify record level after any bias change.
3.5 Record EQ (High-Frequency Record Equalization)
Record a tone at 10 kHz (or the frequency specified by your deck manufacturer) and check the playback output against the 1 kHz reference. Adjust the record EQ trimmer until the 10 kHz output matches the 1 kHz output level.
This compensates for high-frequency losses inherent in the recording process. The correct EQ setting depends on tape type, tape speed, and the equalization standard (NAB or IEC) your deck uses.
3.6 Full Frequency Response Sweep
Record a series of tones across the full audio bandwidth and measure the playback response at each frequency. Compare this to the playback-only frequency response you measured earlier. The difference between record-playback response and playback-only response reveals the record chain accuracy.
A well-calibrated deck should show a flat combined response within plus or minus 2 to 3 dB across the rated bandwidth for your tape speed. Significant deviations indicate a problem in one of the earlier steps.
Step 4: Final Verification
After completing all calibration steps, run a final verification to confirm everything is working together correctly. This is your safety check before putting the deck back into regular service.
Record pink noise or a full-range music program onto the blank tape and listen critically to the playback. Check for clean high frequencies, solid bass response, and proper stereo imaging. Compare the playback to the original source signal.
Verify that both channels read the same level on the VU meters during recording and playback. Channel balance should be within 0.5 dB. If one channel reads consistently higher, recheck the playback and record level adjustments for that channel.
Run one more azimuth check by recording and playing back a 10 kHz tone. If the Lissajous pattern or phase relationship is correct, your azimuth is holding. If it has drifted, recheck your head mounting hardware for loose screws.
Document your final settings. Note the trimmer positions, bias levels, and any deviations from the service manual targets. This documentation becomes invaluable when you recalibrate in the future or troubleshoot issues.
Common Calibration Mistakes and How to Avoid Them
Over years of calibrating tape decks and helping others in the tape community, I see the same mistakes repeated. Here are the most common ones and how to avoid them.
Skip the service manual. Every deck has specific calibration procedures, trimmer locations, and target values. The generic steps in this guide are a framework, but your service manual has the exact details for your machine. Trying to calibrate without it leads to guessing and incorrect settings. Always obtain the service manual for your specific deck model before starting.
Adjust record before playback. As I explained earlier, every record adjustment depends on the playback chain being correct. If you start with record calibration, you are building on an unknown foundation. Always complete all playback steps first.
Use a worn test tape. Calibration tapes wear out with use, especially at the high frequencies used for azimuth alignment. A worn azimuth tape gives false readings. Inspect your test tapes regularly and replace them when they show signs of wear. Store them in protective cases away from magnetic fields.
Calibrate a dirty or magnetized deck. Dirt and residual magnetism change the effective head characteristics. Calibrating before cleaning and demagnetizing gives you settings that become wrong the moment the deck is properly maintained. Always start with clean, demagnetized heads.
Adjust EQ to compensate for head wear. If your frequency response has problems that cannot be fixed with trimmer adjustments, forcing more EQ will not solve the root cause. Deep EQ adjustments to compensate for worn heads result in poor signal-to-noise ratio and distortion. Address the hardware issue instead.
Rush the bias adjustment. Bias is the most critical and interactive adjustment in the entire process. Take your time, use the correct overbias value for your tape speed, and always recheck record level afterward. A rushed bias setting degrades every recording you make.
Use a regular multimeter for audio measurements. Standard digital multimeters are not accurate at audio frequencies, especially above 1 kHz. You need an AC millivolt meter rated for the frequency range you are measuring. Using the wrong meter gives false readings throughout the process.
Troubleshooting Post-Calibration Issues
Sometimes you finish calibration and the results are not what you expected. Here is how to diagnose and fix common problems that appear after calibration.
One channel reads lower than the other. First, recheck playback level on both channels using the calibration level tape. If playback is balanced but the record-playback shows imbalance, the issue is in the record chain. Check record level trimmers and head cleanliness on the affected channel. A worn record head on one channel can also cause this.
High frequencies sound dull or muted. This usually points to an azimuth problem or insufficient bias. Recheck playback azimuth with the alignment tape first. If playback azimuth is correct, recheck record azimuth and bias settings. Insufficient bias causes high-frequency peaking, while too much bias causes high-frequency loss.
Recordings sound distorted at normal levels. Overbias can cause this, as can incorrect record level calibration. Verify that your record level trimmer produces the correct output at 1 kHz. Check that the input signal level matches what the service manual specifies for calibration.
Results are not repeatable. If you calibrate today and get different results tomorrow, look for mechanical issues. Loose head mounting screws, a worn pinch roller causing speed variations, or electronics that have not reached thermal stability all cause inconsistent results. Let the deck warm up fully before each calibration session.
Frequency response has a dip at a specific frequency. A narrow dip at one frequency often indicates a head resonance or tape path problem rather than an EQ issue. Check for tape guiding problems, head height issues, or contamination on the head face.
The deck will not hold azimuth. If azimuth drifts after adjustment, the head mounting hardware may be loose or the head base may be worn. Tighten all mounting screws gently (do not overtighten) and verify that the azimuth screw holds its position. Some older decks need thread-locking compound on the azimuth screw to maintain position.
Tips for Different Tape Speeds and Configurations
Calibration procedures vary depending on your tape speed and deck configuration. Here are the key considerations for different setups.
Tape speed matters. Faster speeds generally require less bias and produce better high-frequency response. At 15 ips, overbias is typically 1 dB at 10 kHz. At 7.5 ips, use 3 to 5 dB at 5 kHz. At 3.75 ips, you may need 5 dB or more at 5 kHz. Always check your tape manufacturer’s data sheet for the recommended bias setting at your operating speed.
Recalibrate for each speed. If your deck operates at multiple speeds, you need to calibrate for each speed you use. Bias and EQ settings that are correct at 15 ips will be wrong at 7.5 ips. Some professional decks have separate trimmer sets for each speed, while consumer decks may require manual readjustment when changing speeds.
MONO versus STEREO procedures. For mono decks, azimuth is adjusted for maximum output on a single channel. For stereo decks, you adjust for maximum output on both channels simultaneously, which also ensures proper phase relationship between channels. The Lissajous pattern method is especially valuable for stereo decks because it visually confirms phase alignment.
Multitrack deck considerations. Multitrack decks (8-track, 16-track, 24-track) present additional challenges. The narrow track width means azimuth errors cause greater problems. Fringing effects at low frequencies can cause crosstalk between adjacent tracks. Calibrate each channel individually but verify that adjacent channels do not exhibit excessive crosstalk after calibration.
Tape formulation. Different tape formulations (such as standard bias, high bias, and metal particle tapes) require different bias and EQ settings. Always recalibrate when switching to a different tape stock. Using bias settings from one tape formulation on a different formulation produces poor results.
Equalization standards. NAB equalization is standard in North America for 7.5 ips and 3.75 ips, while IEC (CCIR) is common in Europe. At 15 ips, both standards use the same equalization curve. Make sure your test tapes and deck settings match the equalization standard you intend to use.
Frequently Asked Questions
What are the steps of calibration?
The calibration steps should be performed in the following order: 1) Clean and demagnetize heads, 2) Check tape speed, 3) Set playback level, 4) Calibrate VU meters, 5) Align playback head azimuth, 6) Check playback frequency response, 7) Align record head azimuth, 8) Set record level, 9) Adjust bias, 10) Recheck record level, 11) Adjust record EQ, 12) Run full frequency response sweep, 13) Final verification with pink noise or music program.
What equipment is needed for reel-to-reel calibration?
You need an MRL calibration level tape, an azimuth alignment tape, a multifrequency calibration tape, an AC millivolt meter, an audio signal generator, a blank tape of your chosen formulation, a head demagnetizer, and cleaning supplies (99 percent isopropyl alcohol and lint-free swabs). An oscilloscope is optional but highly recommended for azimuth alignment using Lissajous patterns.
Why must playback be calibrated before record on a reel-to-reel deck?
Playback must be calibrated first because every record calibration adjustment is verified by playing back the recorded signal. If the playback chain is not set to a known reference, your record adjustments are based on unknown playback characteristics. This causes errors that compound through each subsequent step, producing recordings that do not match any standard.
Can I calibrate a reel-to-reel deck without a test tape?
You can perform rough adjustments without a test tape, but you cannot achieve accurate calibration. Test tapes provide the known reference fluxivity and perfectly aligned signals that calibration requires. Without them, you are guessing at levels and azimuth. Invest in at least a calibration level tape and an azimuth tape for basic calibration, or have a professional calibrate the deck and document the settings.
What are common symptoms of poor calibration?
Common symptoms include dull or muted high frequencies, distortion at normal recording levels, channel imbalance where one side reads higher than the other, recordings that sound different when played on other decks, and inconsistent frequency response across the audio band. Speed errors causing pitch shifts are also a sign that calibration is needed.
How often should I calibrate my reel-to-reel deck?
Calibrate whenever you change tape formulation or tape speed, after replacing or relapping heads, after any head height or zenith adjustment, and at regular intervals if you use the deck frequently. For home audiophile use, checking calibration every 6 to 12 months is reasonable. For studio use, check before important sessions or every few months depending on usage.
Conclusion
The correct order to calibrate a reel-to-reel deck follows one unbreakable rule: playback first, record second. Every step builds on the foundation laid by the previous one, and skipping or reordering steps produces compounding errors that degrade every recording you make.
Start with clean, demagnetized heads and a warmed-up deck. Work through the playback sequence (speed, level, meter, azimuth, frequency response) before touching any record adjustments. Then move through the record sequence (azimuth, level, bias, EQ, full sweep) with patience, always rechecking record level after bias changes. Finish with a thorough verification pass.
The most important advice I can give is to obtain and follow your deck’s service manual. The procedures in this guide give you the framework and the reasoning behind each step, but the specific trimmer locations, target values, and adjustment methods for your deck are in that manual. Treat it as your primary reference.
Calibration takes time and patience, especially the first time you do it. But once you understand why each step matters and how they connect, the process becomes repeatable and even satisfying. Your recordings will sound cleaner, your levels will be consistent, and your deck will perform the way its designers intended. That is the reward for getting the order right.