
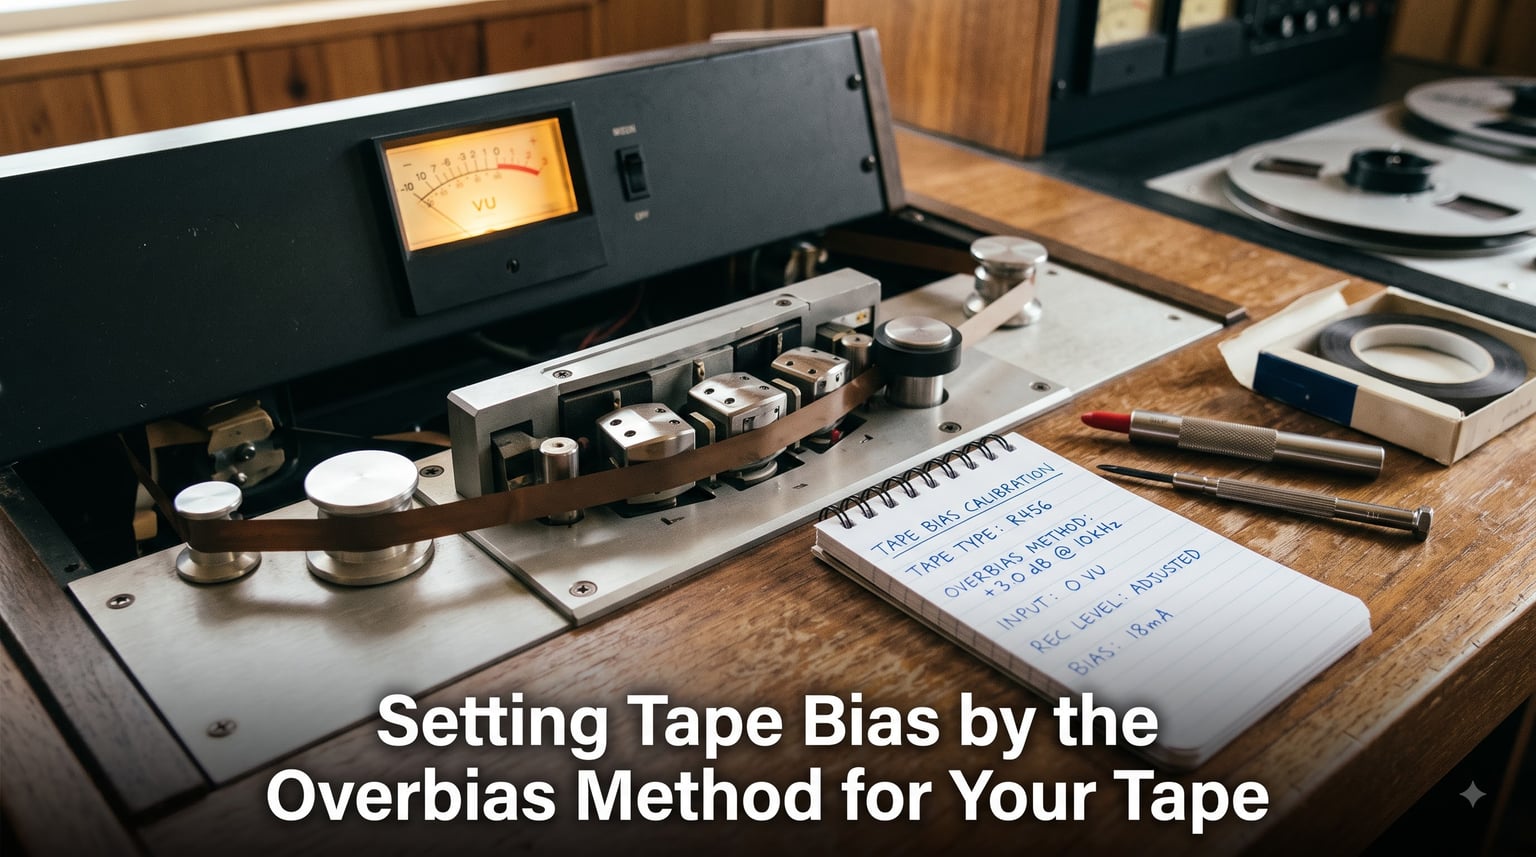
I have spent the last few years calibrating tape machines in our studio, and the single most important adjustment is bias. If you have ever wondered why your recordings sound harsh, dull, or thin, the answer is almost always the bias setting. This guide walks you through setting tape bias by the overbias method for your tape, which is the technique I rely on for every session.
The overbias method has been the professional standard for decades because it gives reproducible results without depending on the manufacturer’s recommended numbers. By the end of this guide you will understand what bias does, why the overbias method works, the exact equipment you need, and a step-by-step procedure you can follow today.
Table of Contents
What Is Tape Bias and Why Does It Matter?
Tape bias is a high-frequency AC signal, usually between 80 kHz and 250 kHz, that is mixed with the audio signal during recording. The bias oscillator pushes the magnetic particles of the tape oxide into a linear region so the audio waveform is recorded with minimal distortion.
Without bias, the magnetic particles of the tape respond in a strongly nonlinear way. The result is a recording that sounds buzzy, compressed, and full of odd-order harmonics. Bias does not appear on the tape itself because its frequency is far above anything the playback head can resolve.
Setting the right level of bias is a balancing act. Too little bias and your recording sounds bright but harsh, with rising distortion at higher levels. Too much bias and the highs roll off, the sound becomes dull, and you lose the sense of air that tape is famous for. The sweet spot is somewhere between those extremes, and the overbias method is a clean, repeatable way to find it.
Bias interacts with several other adjustments on a tape machine. It affects record level calibration, high-frequency record EQ, and even low-frequency playback EQ. If your bias is wrong, no other calibration step will save the sound. That is why experienced engineers always start a calibration session with bias before touching anything else.
Cassette decks, open-reel recorders, and reel-to-reel studio machines all use the same underlying bias principle. The frequencies and overbias amounts differ, but the procedure is essentially identical.
The Overbias Method Explained
The overbias method sets bias by finding the peak high-frequency playback level, then backing off the bias control by a known amount. That backing-off step is what gives the method its name. You intentionally run the machine at a bias level that is slightly higher than the peak and then dial it down until playback is a known number of decibels below the peak.
When you sweep the bias control from low to high while recording a high-frequency test tone, the playback level rises, reaches a peak, and then falls again. The peak is the point where the tape’s high-frequency sensitivity is at its maximum. Unfortunately, the absolute peak is not the best operating point. It sits too close to the distortion rise that happens at low bias and gives up some high-frequency headroom.
By moving past the peak into the overbias region, distortion falls to a minimum. The trade-off is a small loss of high-frequency level. The overbias method quantifies that trade-off. Common overbias values are around 2 to 3 dB at 10 kHz for 15 ips open-reel, 3 to 4 dB at 10 kHz for 7.5 ips, and similar small amounts at 3 dB and 1.875 ips when measured at appropriate frequencies.
The genius of the method is that it does not depend on the tape manufacturer’s spec sheet. Different batches of tape, different head gaps, and different machine electronics all shift the bias peak. The overbias method measures the real peak on your machine, with your tape, in your environment. That is why engineers who mix on different machines every week still get consistent results.
The overbias method also gives a number you can write down. If a session sounds great at +3 dB overbias on a particular tape, you can come back next week and reproduce that sound exactly by repeating the procedure and stopping at the same number.
Equipment You Need for the Overbias Method
You do not need a laboratory to set bias by the overbias method. Our team uses a fairly small kit that fits in a single road case.
Oscillator or test tone source. A sine wave generator covering 1 kHz and 10 kHz minimum, with adjustable level. Many engineers use a DAW with a tone generator, a digital oscillator, or a dedicated bench oscillator.
VU meter or millivoltmeter. Any accurate AC meter that can resolve 0.5 dB steps at the playback output. A VU meter works for slow movement; a true RMS meter is better for accurate dB readings.
Alignment tape (optional but helpful). A reference tape at the speed you will record at. Use it to confirm playback equalization and head azimuth before touching bias.
Distortion analyzer or spectrum analyzer (optional). Useful for verifying the distortion minimum after the overbias procedure. Not required for the procedure itself.
Headphone amp or monitor path. Lets you use the listening verification method described later in this guide.
One thing I always bring is a small notebook. Recording the bias number, the tape type, and the date lets me reproduce sounds months later without guessing.
Step-by-Step Procedure: Setting Tape Bias by the Overbias Method
The procedure below works on virtually any three-head tape machine. Two-head decks need a different approach, which I cover in the troubleshooting section. Plan on 30 to 60 minutes for a careful session.
Step 1: Prepare the Machine
Clean and demagnetize the record and playback heads. Dirty heads will throw off every measurement you make. Run the machine for ten minutes to stabilize the electronics. Set the transport to the speed you intend to record at, since bias depends on speed.
Step 2: Set Up the Test Signal
Feed a 10 kHz sine wave at a reference level into the record input. For a 15 ips open-reel machine this is usually around 0 VU on the record meter. For a 7.5 ips machine I record at around -10 dB so the test tone does not push the tape into saturation while you sweep the bias.
Step 3: Find the Peak
Arm the machine to record, switch to input monitor, and play back the tone. Slowly increase the bias control until the playback level reaches its highest point on the meter. Mark this position mentally as the peak.
Step 4: Move Past the Peak
Continue turning the bias control in the same direction until playback level drops by a known amount. The standard overbias values are:
15 ips open-reel: 2 to 3 dB over the peak at 10 kHz.
7.5 ips open-reel: 3 to 4 dB over the peak at 10 kHz.
3.75 ips: about 4 to 5 dB over the peak, measured at a lower frequency like 5 kHz.
1.875 ips: about 5 to 6 dB over the peak, measured at 2.5 kHz.
Many engineers start at +3 over the peak and adjust from there based on how the tape sounds. ATR tape at +3 over 250 is a common starting point that forum members have shared for years.
Step 5: Repeat for the Other Channel
Adjust the second channel’s bias trim until it lands on the same overbias number. Most multi-channel machines have a master and individual trim pots. Set the master first, then trim each channel to match.
Step 6: Verify with a Distortion Check
Record the 1 kHz tone at your standard record level and check the harmonic distortion. The overbias point should also be near the distortion minimum. If distortion is higher than expected, sweep bias slowly on either side of your setting to find the true minimum.
Step 7: Lock the Setting
Once the meter reads the target overbias value and distortion is at the floor, write down the pot position, the tape brand and batch, and the date. Tape changes the calibration slightly, so plan on running this for every new reel you load for critical work.
One more thing: do not change record EQ or record level after setting bias. Bias must come first because it sets the high-frequency operating point that everything else depends on.
Tape Speed and Bias Frequency Relationships
Tape speed has a direct effect on bias. Faster tape moves more oxide past the head per second, which means a given bias level has less time to influence the particles. The result is that faster speeds need less bias to reach the peak, and slower speeds need more.
The test frequency you use for the overbias measurement should scale with speed too. At 15 ips the standard test tone is 10 kHz. At 7.5 ips many engineers use 10 kHz as well, but some use 7 kHz to keep the tone well inside the machine’s record response. At 3.75 ips a 5 kHz tone works better, and at 1.875 ips a 2.5 kHz tone gives the most reliable peak.
A higher-quality tape generally requires a higher bias level to reach the same overbias point. Studer, Ampex, and ATR machines all behave slightly differently because their record heads have different gap lengths. Always measure rather than assume.
Listening Test Method for Bias Verification
If you do not have a distortion analyzer, your ears can do the job surprisingly well. The listening method described by Michael Blackmer uses a low-frequency tone, usually 40 Hz, recorded at a level that pushes the tape close to saturation. At the right bias point, the tone sounds clean and full. At underbias it sounds fuzzy and broken. At overbias it sounds muffled and thin.
This technique works because the human ear is extremely sensitive to the difference between odd-order harmonics, the harsh distortion that underbias produces, and the dull, compressed sound of heavy overbias. The distortion minimum is the same point your analyzer would find.
I have used the listening method on the road when I had no equipment at all. It is not as precise as a meter reading, but it gets you within a dB of the correct setting, which is usually close enough for music recording.
Common Mistakes and Troubleshooting
Bias calibration goes wrong in predictable ways. Here are the issues I see most often in our studio and on the forums.
Two-head decks cannot monitor while recording. If you have a two-head cassette deck, you cannot hear the playback while the tape is recording. Use a separate recorder or a PAR (phase adjustment resistor) trick to set bias. Two-head bias calibration is its own topic and deserves a full separate walkthrough.
High-frequency test tones must stay below saturation. A 10 kHz tone recorded too hot will saturate the tape and your bias reading will be wrong. Drop the record level until playback no longer compresses, then proceed.
Channel mismatch after the procedure. If one channel reads +3 overbias and the other reads +4.5, the heads are not aligned or the trims are out of range. Recheck head azimuth and the master bias setting before redoing individual trims.
Reversed bias pot direction. Some vintage Japanese machines run the bias pot in the opposite direction. Increasing the pot number reduces bias. Always sweep slowly and confirm the playback level rises before assuming the control behaves the standard way.
Service manual numbers are a starting point, not a final answer. Manufacturer specs assume a specific tape formulation and a specific record head. Real-world tape drifts, and heads wear. Always measure the peak yourself, then apply the overbias offset.
Bias drift after warm-up. Many machines shift bias as the oscillator warms up. Let the electronics stabilize for at least ten minutes before measuring. I have seen machines drift more than a dB in the first thirty minutes of power-on.
If something still sounds off after a careful bias calibration, check record EQ and playback EQ next. Head azimuth and tape tension are also common culprits, but bias is always the first place to look.
Frequently Asked Questions
What is cassette tape bias?
Tape bias is a high-frequency AC signal mixed with the audio signal during recording. It keeps the magnetic particles of the tape in their linear range, which reduces distortion and lets the recording capture high frequencies cleanly. Without bias, analog tape would sound harsh, compressed, and full of odd-order harmonics.
How do I adjust cassette deck bias?
The simplest path is the overbias method. Record a 10 kHz sine wave, sweep the bias control until playback level peaks, then back off by 2 to 3 dB. For slower speeds, use a lower test tone frequency and a larger overbias amount. Always let the machine warm up for ten minutes and clean the heads first.
What are common mistakes when setting tape bias?
The most common mistakes are: using a test tone that is too hot and saturates the tape, calibrating before the machine has warmed up, ignoring channel-to-channel mismatch, and trusting manufacturer bias numbers instead of measuring the actual peak. Two-head decks also need a different procedure because you cannot monitor playback while recording.
What happens if bias is too high or too low?
Too little bias produces harsh, distorted recordings with rising odd-order harmonics. Too much bias makes recordings sound dull and rolled off at the top end, with reduced high-frequency headroom. The correct bias sits between those extremes, where distortion is at a minimum and the high-frequency response is still extended.
Final Thoughts on Setting Tape Bias by the Overbias Method
Setting tape bias by the overbias method is the foundation of every good analog recording. The procedure takes less than an hour once you have the equipment set up, and it pays back every time you load a new reel. Record your settings, repeat the procedure for every tape type and speed, and trust your measurements over the service manual.
Start with a 10 kHz tone, find the peak, and back off by 2 to 3 dB. Verify with a distortion check or your ears. That is the whole job, and it is the reason analog tape still sounds like analog tape.