
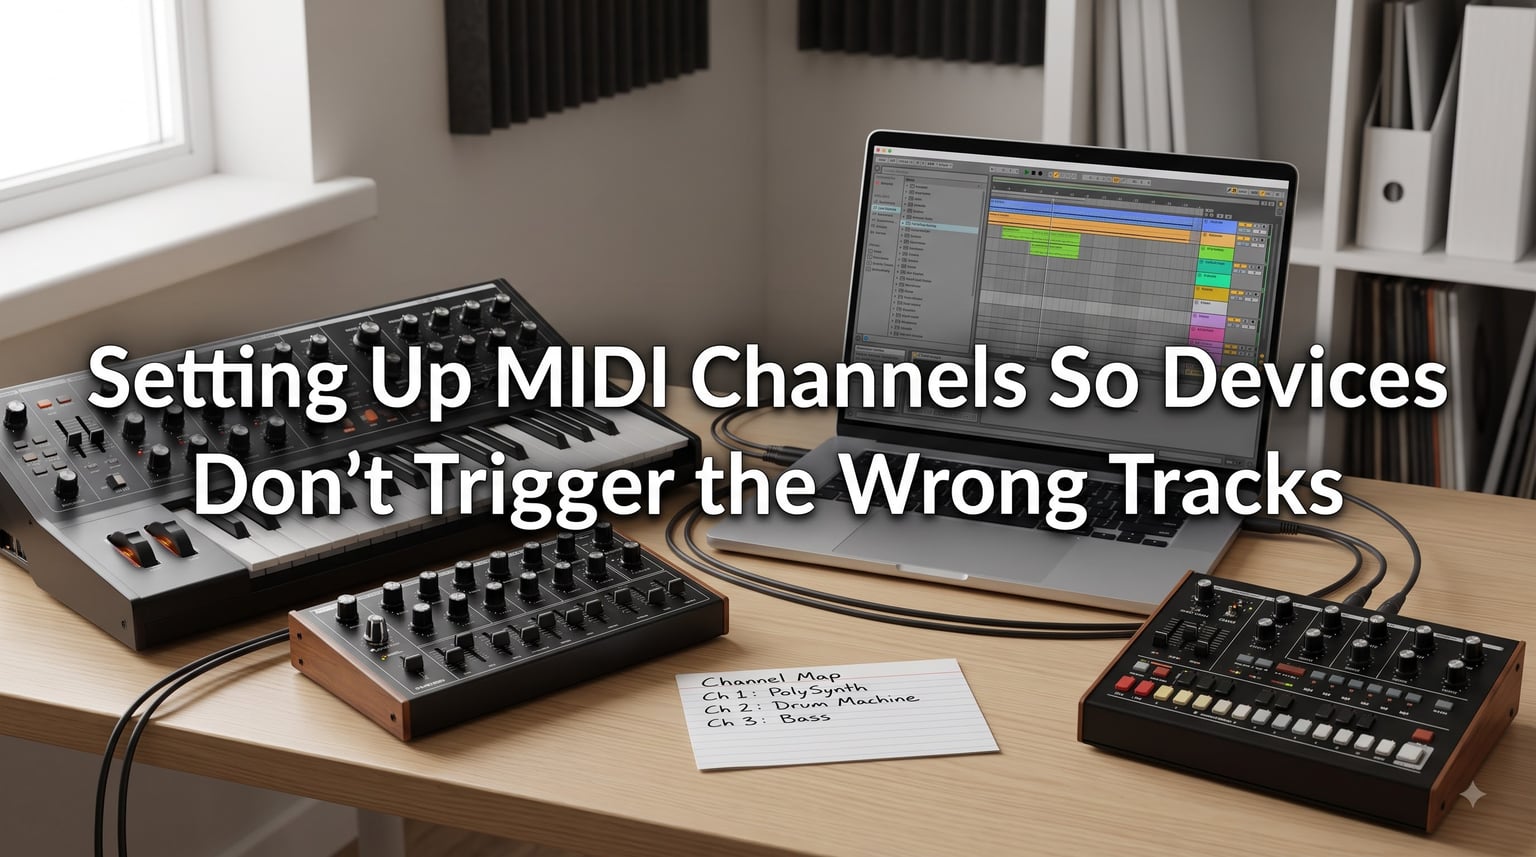
If you have ever pressed a key on your MIDI controller and watched three different tracks light up at once, you already know why MIDI channels matter. I spent the first six months of my studio setup fighting phantom notes, runaway CC messages, and patches that changed by themselves whenever I touched a knob. The whole mess came down to one thing: my MIDI channels were not actually matching between my devices and my DAW. Once I learned how to set up MIDI channels properly, the chaos disappeared overnight.
This guide is the walkthrough I wish I had back then. We will cover what a MIDI channel actually is, how to match channels on your hardware and in your DAW, why Local Control is the most overlooked setting in your studio, and how features like Auto Demix by channel solve the most stubborn routing problems. By the end you will have a setup where every device only touches the track it is supposed to.
Table of Contents
What Is a MIDI Channel and Why Channel Matching Matters?
A MIDI channel is a numbered pathway from 1 to 16 that travels inside a single MIDI cable. Every note, knob, fader, and patch change your device sends is tagged with one of those 16 channel numbers. A receiving device only responds to messages tagged with its own assigned channel, ignoring everything else. Think of it like 16 separate postal routes sharing one physical road.
MIDI channels matter because most studios run more than one keyboard, synth, or drum machine. If every device listened to every message, every key press on your controller would trigger every connected synth at once. Channels solve this by giving each instrument its own private lane.
The key term here is channel matching. When your synth is set to channel 3 and your DAW track is set to listen on channel 3, the two communicate. When they do not match, either nothing happens or the message leaks to a track you did not intend. Most synths default to channel 1, which is also the default for almost every DAW track, which is exactly why so many beginners accidentally trigger every track at once when they hit record.
There are also three related terms worth knowing. MIDI CC (Continuous Controller) refers to numbered knob or fader messages, like CC7 for volume or CC1 for mod wheel. OMNI mode means a device listens to all 16 channels at once, which is great for a quick test but disastrous in a multi-device studio. Local Control is the setting that decides whether your synth’s keyboard triggers its own internal sound directly or only sends MIDI out without playing locally.
How MIDI Channels Prevent Devices From Triggering the Wrong Tracks?
Every piece of MIDI data carries a tiny address label that says which channel it belongs to. When your DAW plays a MIDI clip on track 5, it stamps each note with the channel number you assigned to that track. That stream flows out of your MIDI interface along a single cable, but every device downstream reads the label first and decides whether to react.
This is why a synth set to channel 3 stays silent while a synth set to channel 5 plays your melody. The note data is identical. The channel label is the only difference. If your synth is in OMNI mode it ignores the labels and plays every note it receives, which is how wrong-track triggering usually begins.
MIDI tracks and MIDI channels are easy to mix up, but they are not the same thing. A MIDI track is a lane in your DAW timeline that holds MIDI clips. A MIDI channel is a property of the data inside that lane. A track can be configured to output on any channel from 1 to 16, and the receiving device decides whether to act on it.
The filtering happens on both ends. Your DAW track sends on its assigned channel. Your synth receives on its assigned channel. When both numbers match, the connection works. When they do not, the data passes through silently, like a phone call dialed to the wrong extension.
Setting Up MIDI Channels on Your Hardware Devices
Every MIDI-capable device has a MIDI channel setting somewhere in its menu, usually under a section labeled MIDI, Global, or System. The exact steps depend on the brand, but the logic is identical across the board.
Step 1: Identify the current MIDI channel on each device
Most synths and drum machines display the active channel on their main screen when nothing else is happening. Look for a number between 1 and 16, often abbreviated as CH or MIDI CH. If the number is followed by the word ALL or OMNI, your device is listening to every channel, which is fine for one device but a recipe for chaos in a multi-synth studio.
Step 2: Plan a unique channel for each device
Before touching any settings, write down a channel plan. I keep mine on a sticky note next to my interface. My Moog Sub 37 lives on channel 1. My Korg MS-20 lives on channel 2. My Elektron Digitakt lives on channels 9 through 16 because it is multitimbral and can play multiple sounds at once. Pick channels that are easy to remember and that match the DAW tracks you plan to use.
Step 3: Change the MIDI channel in the device menu
On most synths you hold a button labeled Shift, Global, or Edit while pressing a number key or turning a data wheel. On a Circuit Tracks, you press Func, then turn the third knob to scroll to the MIDI channel option, then use the knob to select a number. On a Digitakt, hold Function and press the channel number on the track buttons.
Confirm the new channel by looking at the screen. Some devices require you to press a Save or Write button to keep the setting. If you skip that step, the synth reverts to its old channel the next time you power it on.
Step 4: Repeat for every connected device
Give every hardware synth, drum machine, and controller a unique channel. Two devices on the same channel will both trigger when you send data on that channel, which is fine if you want them layered but a problem if you want them separated.
Step 5: Document your channel map
Write down which device lives on which channel. I cannot count the number of times I have stared at a synth wondering why nothing was happening, only to discover I had bumped it to channel 6 during a sound design session three weeks earlier. A small piece of paper saves hours of debugging.
Configuring Your DAW for Proper MIDI Channel Routing
Once your hardware is set, your DAW needs to send and receive on the matching channels. This part is where most home studios hit a wall, because DAWs handle channel routing in slightly different ways.
Set the input and output channel on each MIDI track
Open the inspector or track header for the track that controls your synth. Find the Input and Output channel selectors. Most DAWs default to All Channels on input, which means the track will record from any device on any channel. Change it to the specific channel number your synth uses. Do the same for the Output if you are sending MIDI to a hardware instrument from a software track.
Watch out for record-enabled track behavior
In many DAWs, only one MIDI track can be record-enabled at a time. Enabling record on a new track automatically disables it on the previous one. This is actually helpful because it forces you to focus on one device at a time. The downside is that arming a track on the wrong channel will silently swallow the data your hardware is sending.
Route the physical MIDI port to the right track
Your MIDI interface usually has multiple physical ports. Make sure the track you are configuring listens to the port your synth is physically plugged into. If you have a multi-port interface, label each port with the device attached to it. A piece of tape and a Sharpie is enough.
Use track naming to avoid confusion
Rename each MIDI track to match the device and channel it controls. A track called “Moog Sub 37 – CH 1” is impossible to misread. This sounds trivial until you have 14 tracks in a template and cannot remember which one controls the Model Cycles.
Local Control: When to Turn It Off
Local Control is the single most common cause of double-triggering in studios that combine hardware synths with a DAW. When Local Control is ON, your synth’s keyboard triggers its own internal sound engine directly. When it is OFF, the keyboard only sends MIDI out and relies on the DAW to route the note back for playback.
If Local Control stays ON while you also route the synth through a software instrument track in your DAW, every key press plays twice, once from the local sound and once from the software instrument. The two sounds can be slightly out of time and slightly different in velocity, creating a flabby, doubled tone that ruins your track.
The fix is simple. Turn Local Control OFF on any synth you are sequencing from your DAW. The synth’s keyboard still plays, but only because your DAW is sending the MIDI back to it. If you want to play the synth without the DAW running, simply enable Local Control again.
On most synths, Local Control hides in the Global or System menu. On a Korg Minilogue, hold Shift and turn the seventh knob. On a Roland JU-06A, hold Function and press button 14. The manual always lists the exact procedure. If you cannot find it, search online for “Local Control” plus your synth model.
Auto Demix by Channel and External Instrument Plugins (Logic Pro)
If you use Logic Pro and have ever had a knob turn on one synth change the volume or pan of an unrelated track, you have run into the MIDI CC interference problem. Every hardware device sends CC messages on its channel, and those messages can leak into your DAW tracks and trigger fader or knob movements in software instruments.
The cleanest fix is Logic’s Auto Demix by channel feature combined with the External Instrument plugin. Here is how it works.
Open Logic’s Environment window and locate the Physical Input object for the MIDI port your hardware is connected to. Select it and check the box labeled Auto Demix by channel in the inspector. This tells Logic to split incoming MIDI by channel number into separate sub-routes automatically.
Next, instantiate the External Instrument plugin on a software instrument track. Set its MIDI input channel to match the channel your hardware synth is using. The External Instrument plugin now acts as a dedicated receiver for that one device. Any CC data coming in on channel 3 lands only on the track with the External Instrument set to channel 3, leaving every other track alone.
This setup beats the older MIDI Instrument object because MIDI Instrument objects listen to all channels at once and pass every CC through to whatever track is record-enabled. The External Instrument plugin is channel-aware and siloed, which is exactly what multi-synth studios need.
Common Problems When MIDI Channels Don’t Match
Even with a perfect channel map, things can still go sideways. Here is a quick troubleshooting checklist I run through whenever a session misbehaves.
Problem: MIDI keyboard plays wrong sounds
Your controller is probably in OMNI mode, or your DAW track is set to All Channels. Pick one specific channel, set the controller to that channel, and set the DAW track to receive on that same channel. The mystery sounds disappear.
Problem: Knob on one synth changes volume on a different track
That is CC7 leakage. The sending synth is on a channel that also reaches a track that responds to CC7. Use Auto Demix by channel or switch the receiving track’s input to a specific channel so it stops listening to the leaking data.
Problem: Notes record on the wrong track
You have the wrong track record-enabled, or two devices are sharing the same channel. Check the channel on each device, then check which track is armed in your DAW. One of those two is wrong.
Problem: Notes play twice with a slight delay
Local Control is ON while the synth is also being sequenced from your DAW. Turn Local Control OFF and the doubling stops.
Problem: Multitimbral synth causes chaos
Multitimbral synths like the Roland XV-3080 or Yamaha Motif can play 16 different sounds on 16 different channels at once. They also send CC messages on every active channel. Assign a small block of channels to the multitimbral synth, for example 9 through 16, and isolate them from your single-channel devices on channels 1 through 8.
For more detailed troubleshooting across different setups, the Logic Pro Help forum and Reason Talk forum have years of archived threads covering almost every MIDI routing problem you can imagine. Search for your exact DAW plus the symptom and you will usually find someone who has already solved it.
Advanced MIDI Routing: Thru, Merge, and Daisy Chaining
Once the basics work, you may want to chain multiple devices together or send one controller to two synths at once. Two features make this possible: MIDI Thru and MIDI merge.
MIDI Thru is an output on a device that echoes whatever arrives at its MIDI In port. It lets you daisy-chain devices, with the first device’s Out going to the second device’s In, and the second device’s Thru going to the third device’s In. Each device must still be set to its own channel so it knows what to react to.
MIDI merge combines two MIDI streams into one. It is useful when you have two controllers and want both to play the same synth. Without a merge box, only one controller’s data reaches the synth. Hardware merge boxes are cheap and reliable. Some modern MIDI interfaces include merge features in their own routing software.
Daisy chaining works for two or three devices but becomes fragile past that point. Each Thru adds a tiny delay and increases the chance of data corruption. If you have more than four devices, a powered MIDI thru box or a USB MIDI interface with multiple ports is a much more stable choice.
Frequently Asked Questions
Can you daisy chain MIDI devices?
Yes. Connect MIDI Out from the first device to MIDI In on the second, then MIDI Thru on the second to MIDI In on the third. Each device must be set to its own channel so only its assigned data triggers it.
Why is my MIDI keyboard playing the wrong notes?
Your keyboard is probably in OMNI mode, or your DAW track is set to listen on All Channels. Set the keyboard to a specific channel and set the track to that same channel so only the intended data is received.
What is the difference between MIDI tracks and channels?
A MIDI track is a lane in your DAW timeline that holds MIDI clips. A MIDI channel is a numbered property (1 to 16) of the data inside that lane. Tracks live in your DAW, channels live in the MIDI protocol.
How do I change MIDI channels on Circuit Tracks?
Press Func, turn the third knob to scroll to the MIDI channel option, then use the knob to select a channel number from 1 to 16. Press Func again to save and exit.
What is OMNI mode in MIDI?
OMNI mode is a setting where a device listens to all 16 MIDI channels at once instead of just one. It is convenient for solo playing but causes wrong-track triggering in studios with multiple devices.
How does Auto Demix by channel work in Logic Pro?
Auto Demix by channel splits incoming MIDI data on a single Physical Input into separate sub-routes based on channel number. Each channel becomes its own stream that can be routed to a specific track without interference from the others.
Final Thoughts on Setting Up MIDI Channels So Devices Don’t Trigger the Wrong Tracks
Setting up MIDI channels so devices do not trigger the wrong tracks comes down to three habits. Give every hardware device its own unique channel. Match that channel on the receiving DAW track. Turn Local Control off whenever you are sequencing from your DAW. Once those three rules are in place, your studio behaves predictably and you stop fighting your gear.
Take an hour this week to write down your channel map, label your cables, and verify each device’s setting. That single hour will save you dozens of frustrated sessions chasing phantom notes. If you want more studio workflow tips like this, the rest of the SK Records guides walk through setup, mixing, and recording in plain language.