
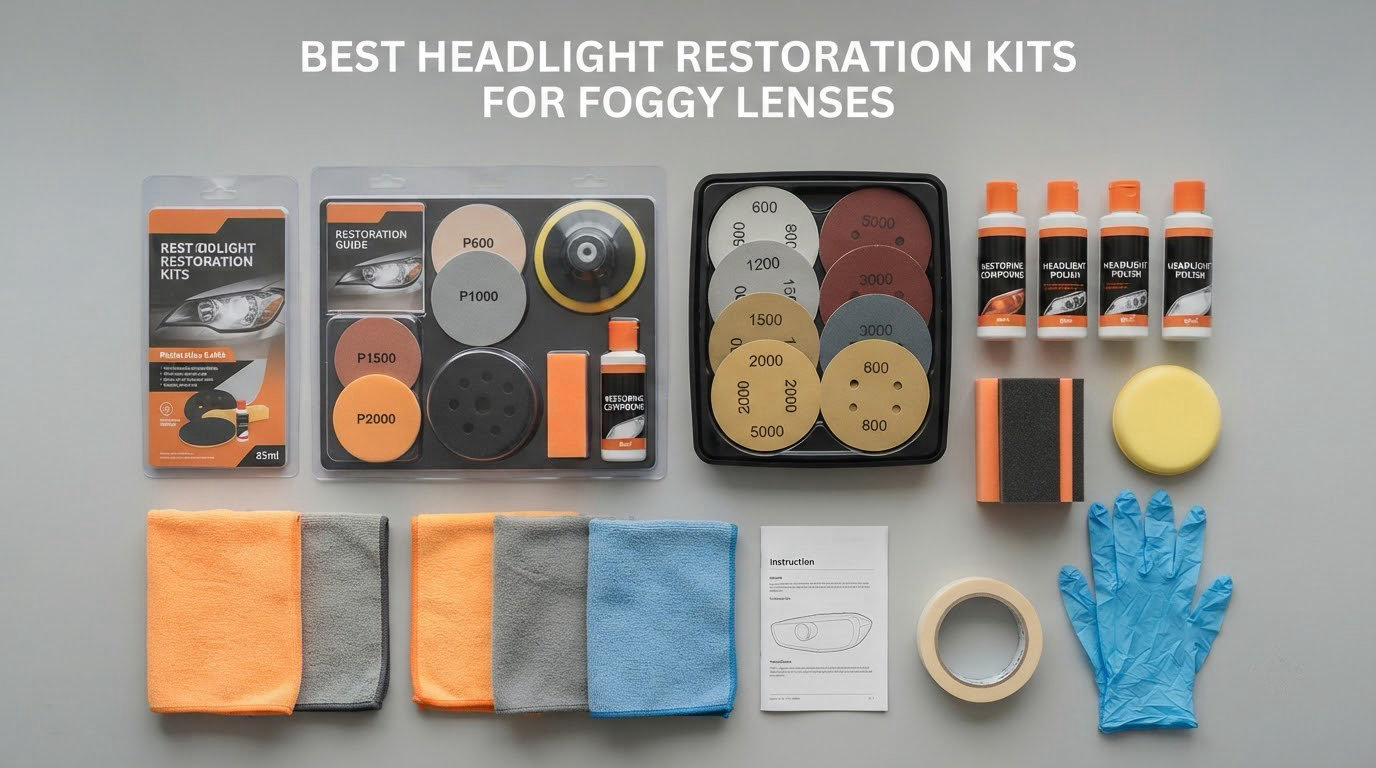
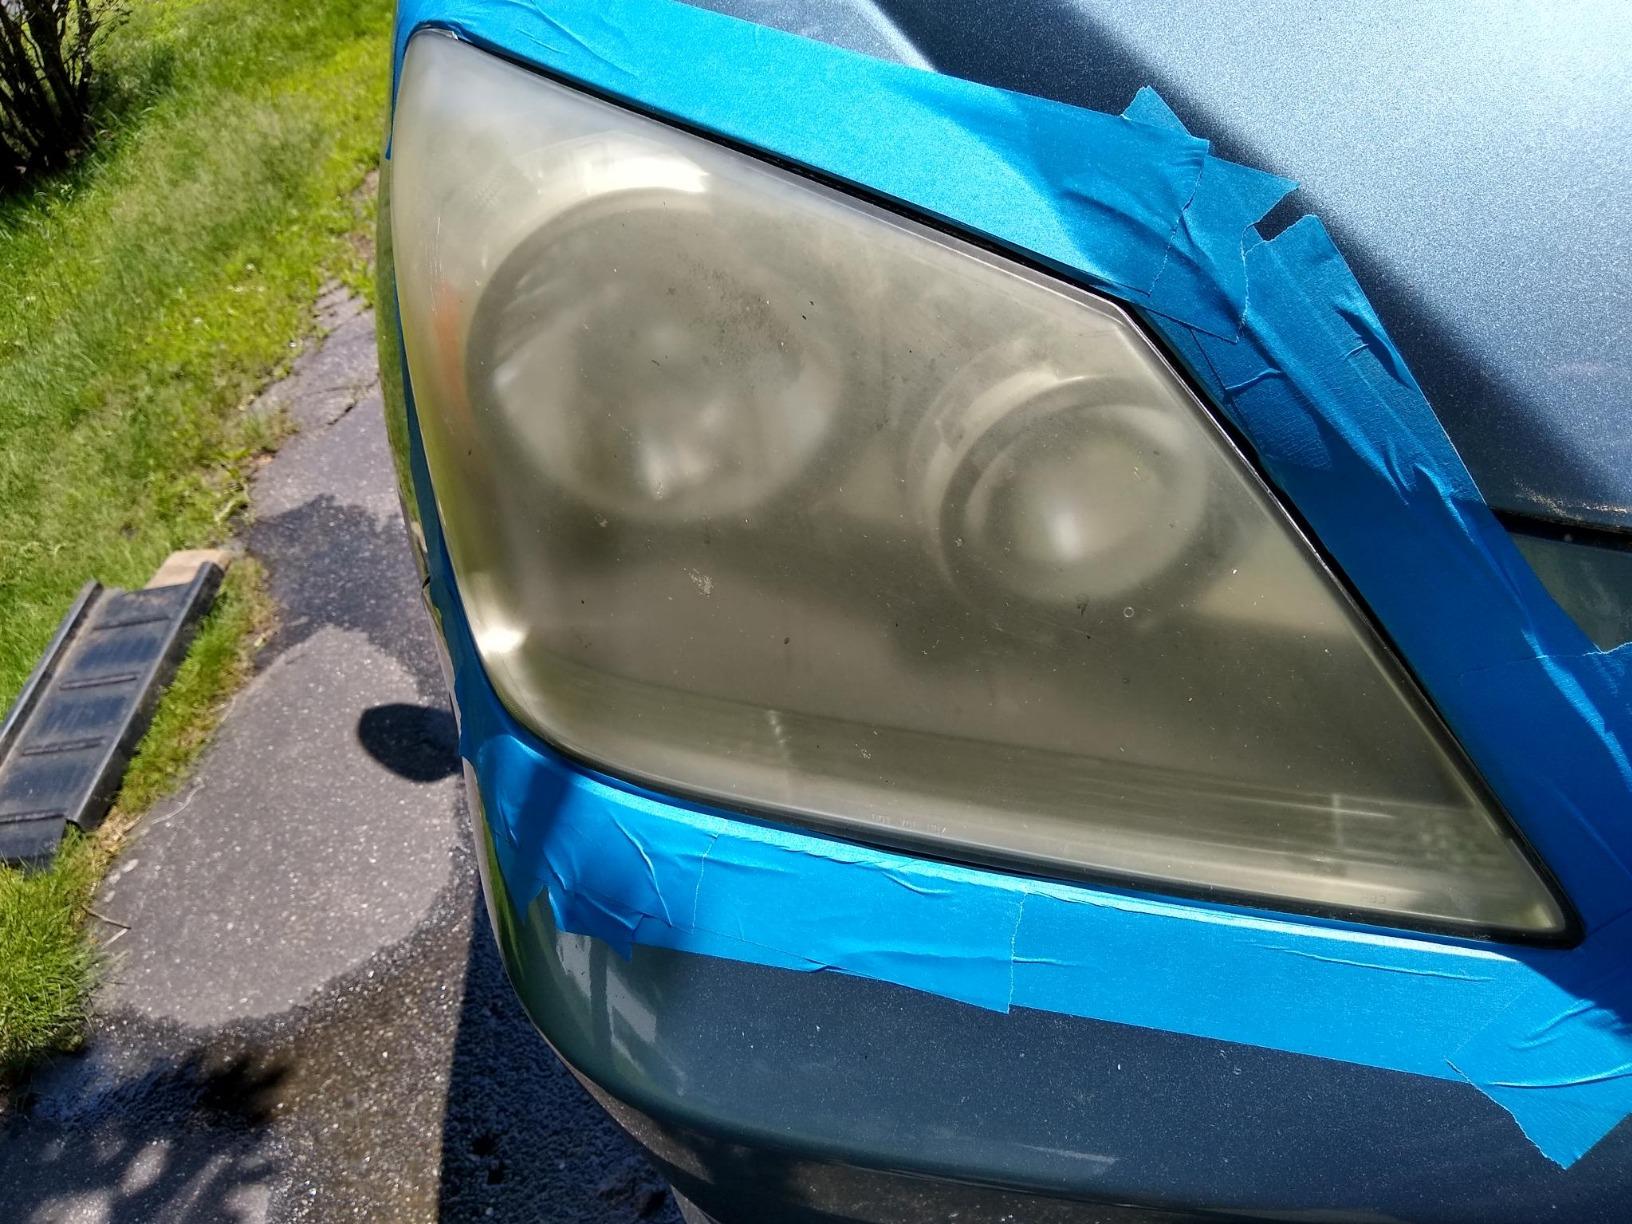
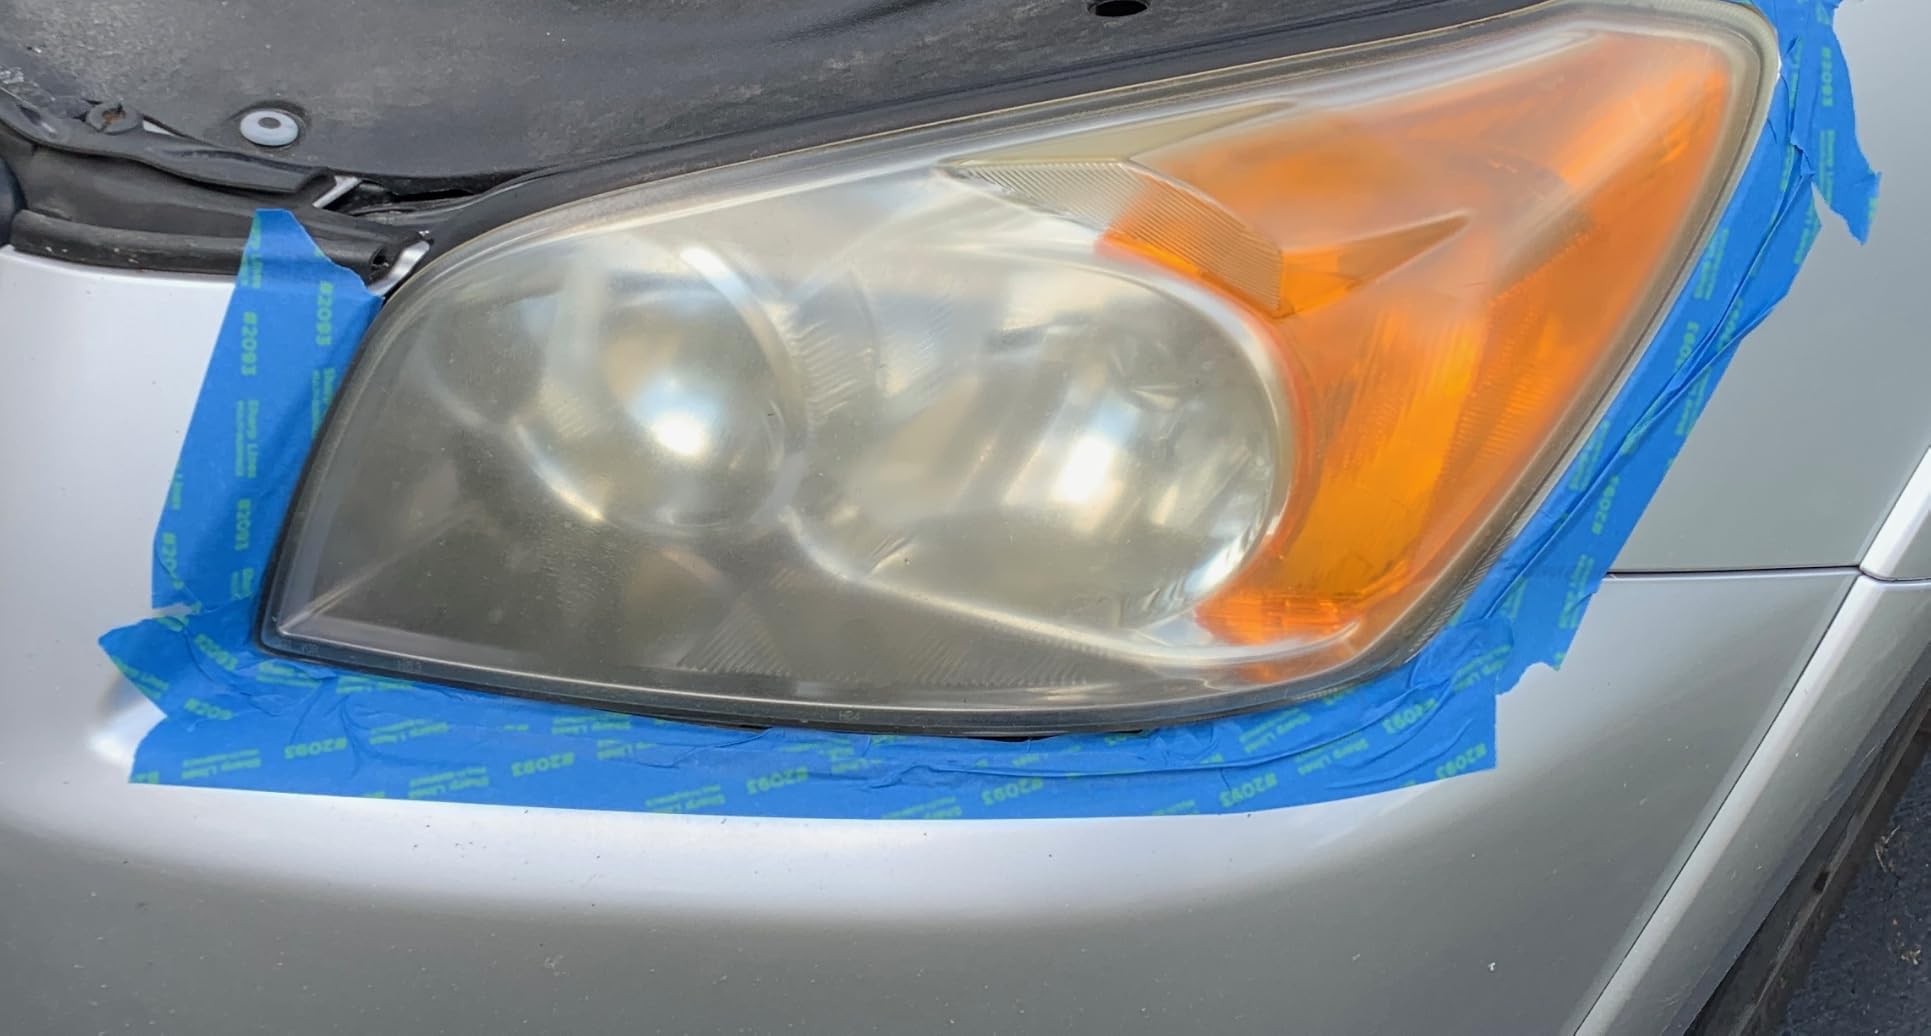
Foggy headlights are one of those problems that sneaks up on you. The lens looks cloudy after a few winters parked outside, beam output drops, and then one night on a dark road you realise you are squinting at oncoming traffic. The fix used to mean buying a new lens assembly, which is the expensive part of a headlight replacement.
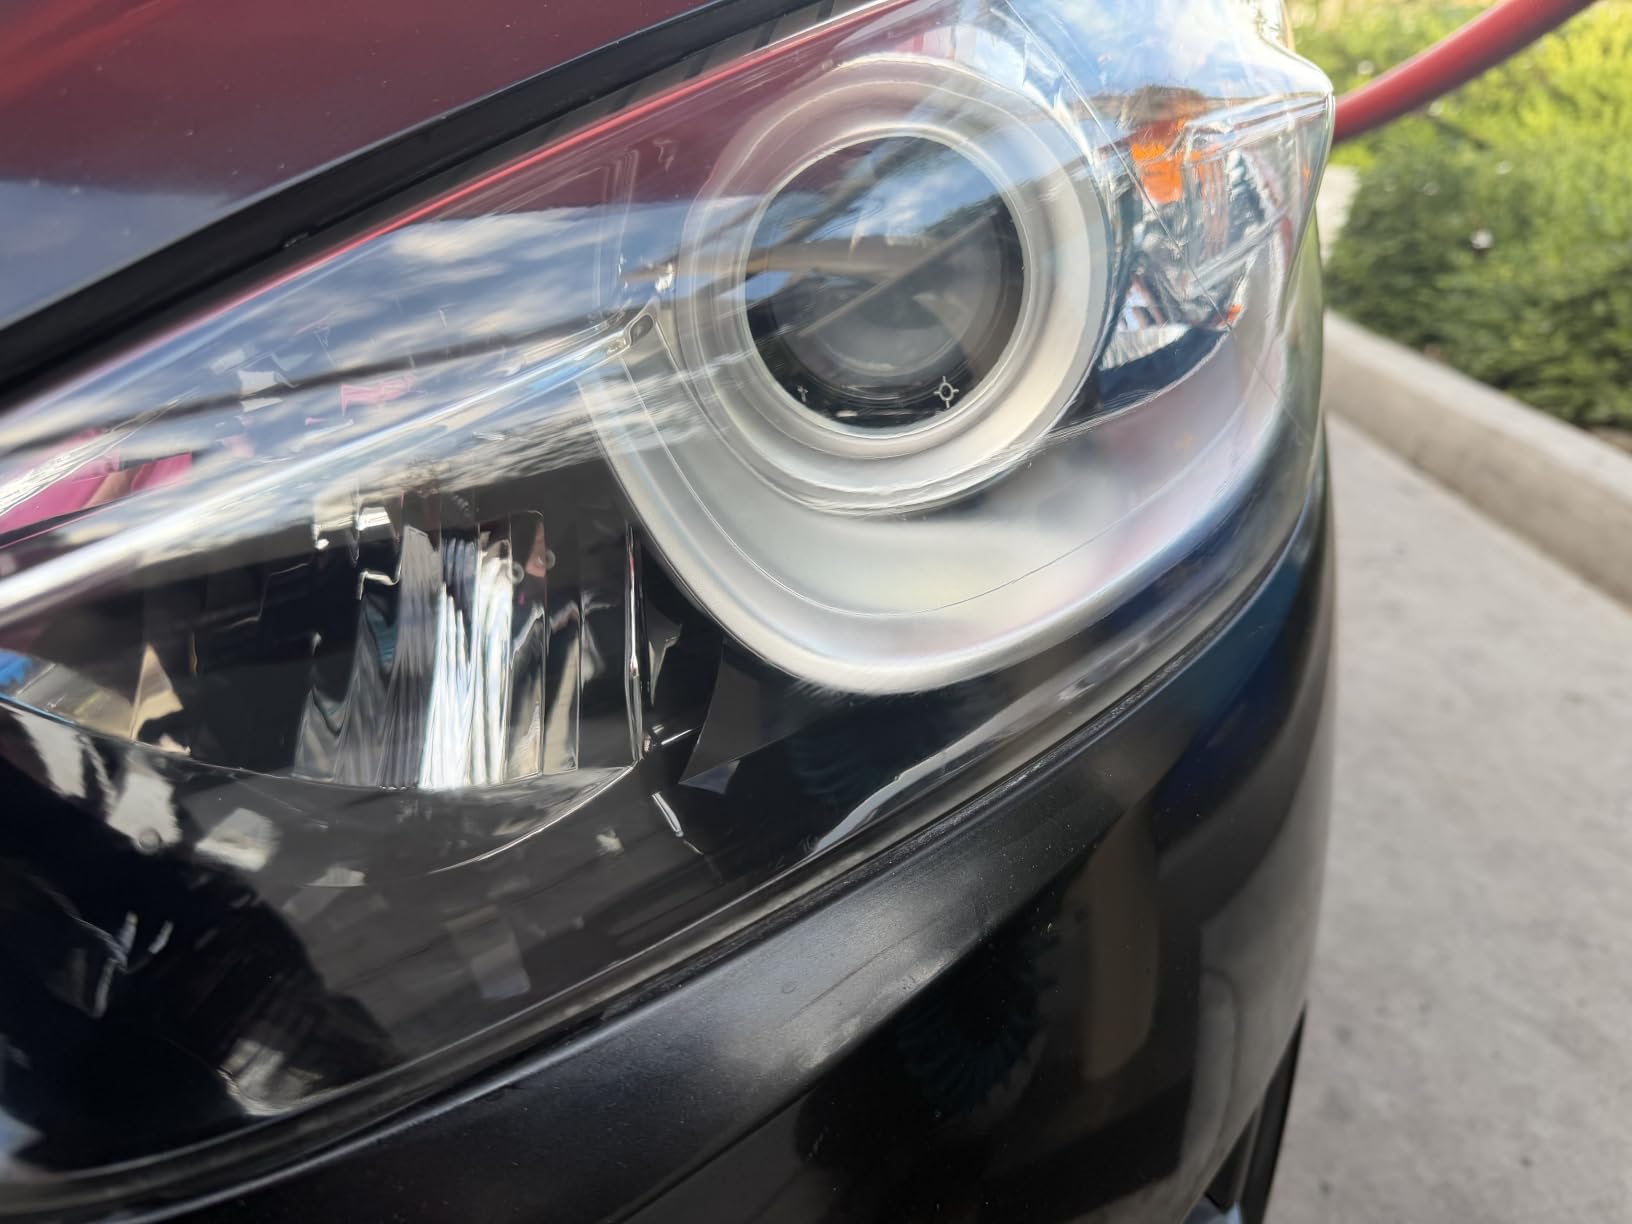
A headlight restoration kit is a multi-step system that cleans, sands or chemically dissolves, polishes, and seals a plastic headlight lens to strip away UV oxidation, yellowing, and cloudiness. Most follow the same four moves: clean the lens, work through graded abrasives, polish out the microabrasions, then apply a UV-blocking or ceramic seal to slow re-fogging. Some use a drill attachment, some are pure hand-work, and a few are wipe-on systems for maintenance rather than full correction.
Here is the honest part before we get into the list: restoration works, but it is not permanent. Consumer Reports is blunt about this, and detailers have said for years that sanding off the factory UV film leaves the polycarbonate a bit more porous, so a polished lens can re-yellow a little faster than a factory one. What you get back is a large chunk of the clarity you lost, at a fraction of the cost of a replacement assembly, and that trade is worth it for most people.
I spent weeks working through twelve of the best headlight restoration kits for foggy lenses, comparing what actually ships in the box, whether a drill is required, what grit range is included, and whether a UV sealer comes with it. The results below are ordered by how much I would trust them on a real car, with the caveat about durability repeated wherever it matters.
Table of Contents
Top 3 Headlight Restoration Kits in 2026

CERAKOTE Ceramic Headlight…
- 3-step wipe system
- No power tools needed
- Ceramic UV seal
- About 30 minutes

3M Headlight Lens Restorati…
- Drill-activated discs
- 500 to 3000 grit progression
- Rubbing compound included

SYLVANIA Headlight Restorat…
- Treats two lenses
- Surface activator and UV block coat
- No power tools
All 12 Best Headlight Restoration Kits at a Glance in 2026
Every kit below is a genuine restoration or maintenance system rather than a single polish bottle, and the table shows what each one asks of you before you start.
| Product | Specs | Action |
|---|---|---|
| CERAKOTE Ceramic Headlight Restoration Kit |
|
Check Latest Price |
| 3M Headlight Lens Restoration System 39008 |
|
Check Latest Price |
| SYLVANIA Headlight Restoration Kit |
|
Check Latest Price |
 3M Ultra Headlight Restoration Kit 39195 3M Ultra Headlight Restoration Kit 39195 |
|
Check Latest Price |
 Meguiar’s Two Step Headlight Restoration Kit Meguiar’s Two Step Headlight Restoration Kit |
|
Check Latest Price |
 Mothers NuLens Headlight Renewal Kit Mothers NuLens Headlight Renewal Kit |
|
Check Latest Price |
 3M Auto Restore and Protect Kit 39194 3M Auto Restore and Protect Kit 39194 |
|
Check Latest Price |
 Clear Lights Tech 3 Wipe System Clear Lights Tech 3 Wipe System |
|
Check Latest Price |
 Turtle Wax Headlight Restoration Kit Turtle Wax Headlight Restoration Kit |
|
Check Latest Price |
 VIBRATITE 37 Piece Drill Kit VIBRATITE 37 Piece Drill Kit |
|
Check Latest Price |
 Rain-X 610153 Headlight Restoration Kit Rain-X 610153 Headlight Restoration Kit |
|
Check Latest Price |
 Chemical Guys Headlight Restore and Protect Chemical Guys Headlight Restore and Protect |
|
Check Latest Price |
1. CERAKOTE Ceramic Headlight Restoration Kit – Best Overall
CERAKOTE® Ceramic Headlight Restoration Kit, 10 Wipe Kit
8 oxidation wipes,1 sanding kit,2 ceramic coating wipes
No power tools
About 30 minutes
4.8 ounces
Pros
- No power tools needed and roughly 30 minutes per vehicle
- Visibly crystal-clear result on most lenses
- Self-leveling ceramic coat leaves no streaks or brush texture
Cons
- Very heavy oxidation may need multiple passes
- A slight yellow undertone can remain versus a new lens
- Sanding step is the most labour-intensive part
This is the kit I keep coming back to. You get eight Step 1 oxidation-removing wipes, a Step 2 sanding kit, and two Step 3 ceramic coating wipes, and the whole thing is framed as a 30-minute process with no power tools. The model number is AH-HLKITV if you want to check the spec sheet against another listing.
What sets it apart from every other wipe-based system here is the chemistry. The ceramic coating chemically bonds to the lens rather than sitting on top, which is why owners report that the finish stays clear through repeated washes and months of weather. On a lens with mild to moderate haze the result genuinely looks like new plastic.
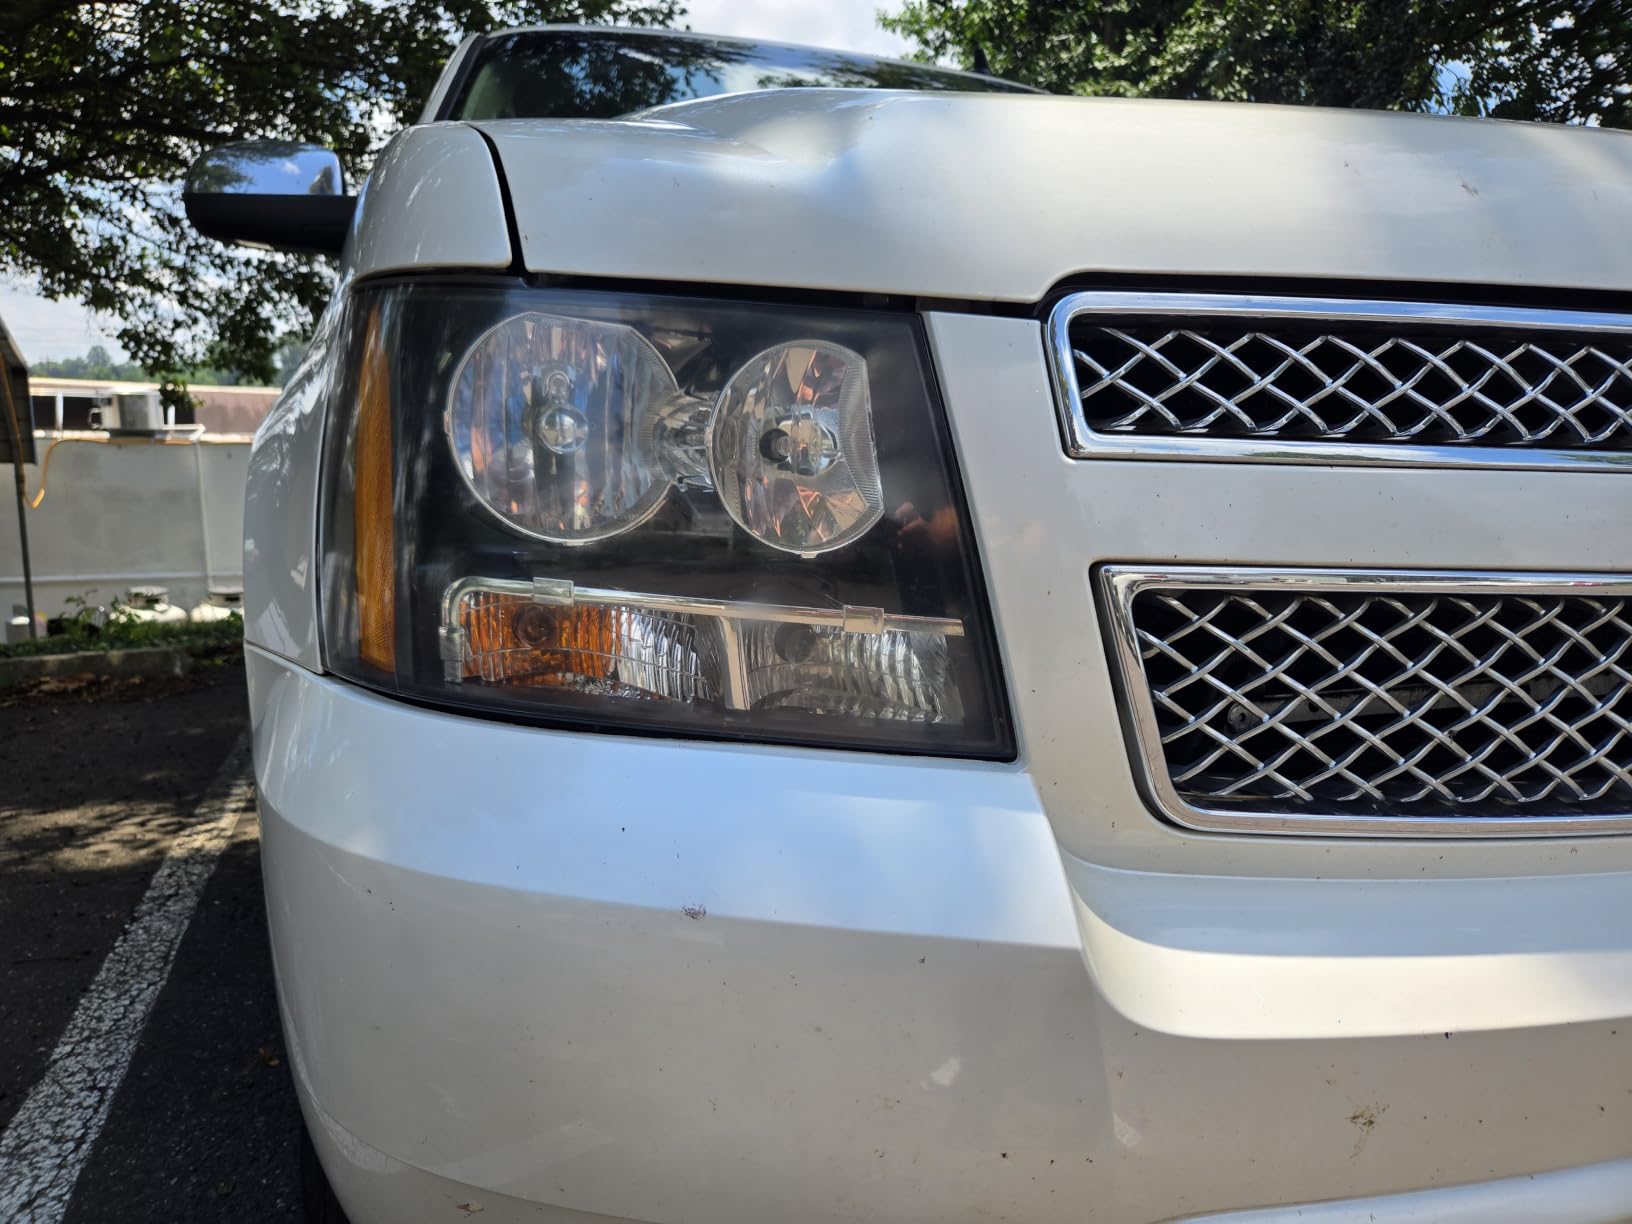
Owners are split on one thing: the limits. A slight yellow undertone can survive even after a good result, and on a badly oxidized headlight you may need to go over the sanding step twice. That is not a flaw, it is just physics. You are removing an oxidised layer, and if the layer is thick the first pass will not clear it.
Detailers make a fair point about this whole category: a chemical wipe system is best on headlights that are hazed rather than genuinely damaged. If the coating is already crazed or pitted, you are asking a soft chemistry to do a hard job.
How long the ceramic coat holds up
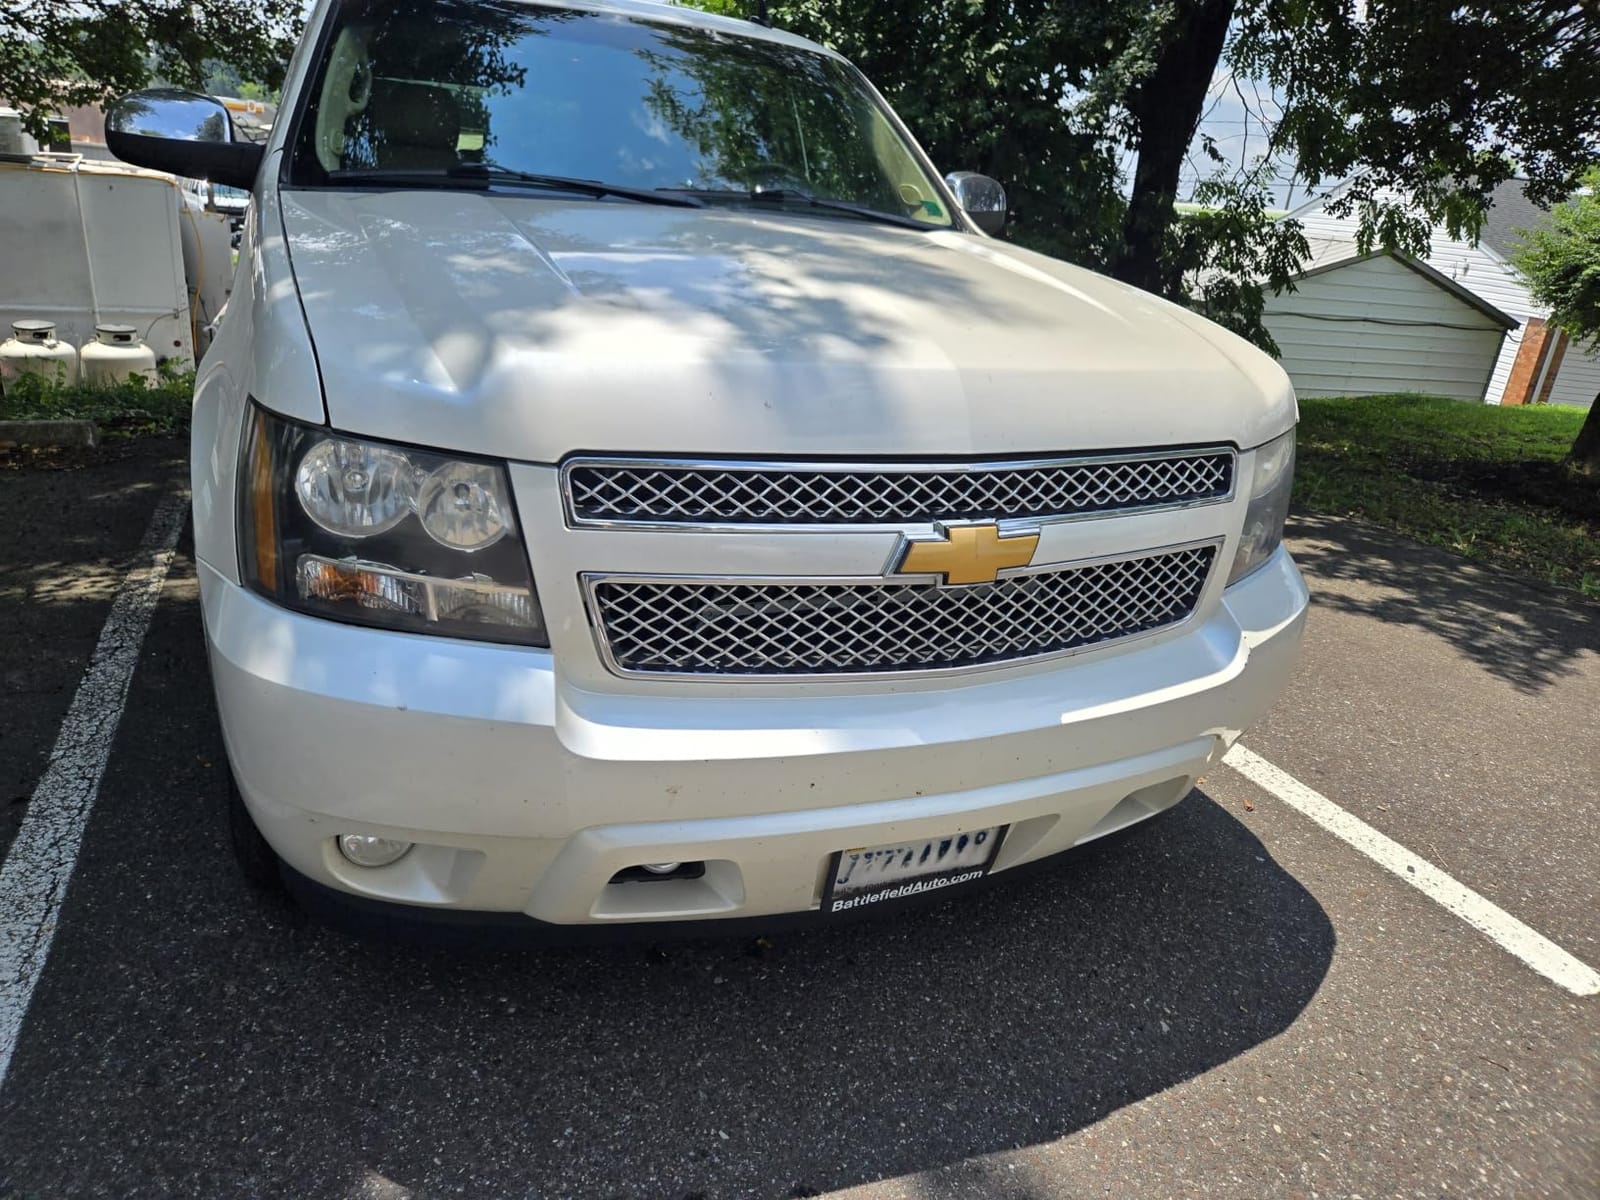
Long-term users in the reviews report clarity still visibly intact several months after application, which puts it ahead of kits that ship with no protection at all. Park the car in a garage or under cover and that stretches further. Desert UV and road salt will shorten any timeline.
When to pick something else
Skip it if your lenses are deeply pitted, visibly cracked, or delaminating at the edges. Those lenses need mechanical correction or a replacement assembly, and no wipe system is going to change that. Everything from mild haze to serious yellowing is fair game.
2. 3M Headlight Lens Restoration System 39008 – Best for Severe Oxidation
3M Headlight Lens Restoration System, 39008, 1 Kit
Disc pad holder,500 grit discs,800 grit discs,Trizact refining disc,1 fl oz rubbing compound
Pros
- Drill-activated discs cut through heavy yellowing effectively
- Everything needed is in one box
- Consistently restores a clear glossy finish
- Improves real night visibility
Cons
- Needs a household drill and light pressure to avoid burn marks
- Includes no UV top coat so yellowing can return
- About 30 to 40 minutes per headlight
When a lens is genuinely bad, this is the tool I reach for. The kit is a 3.25-inch disc pad holder, six 3M Gold sanding discs at 500 grit, four White finishing discs at 800 grit, one Trizact refining disc, and a one fluid ounce bottle of rubbing compound. Model 39008, made for plastic, and it carries a one year manufacturer warranty.
The 500 grit discs are the reason it exists. Coarser abrasive means you remove more oxidised material in less time, and on a headlight that has sat in the sun for fifteen years the difference between a 500-grit start and a 1000-grit start is the difference between clearing the lens and frustratingly not quite getting there.
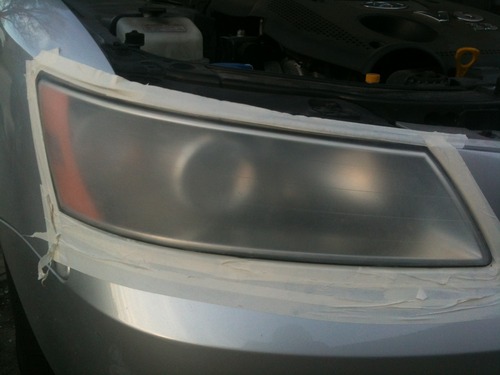
Technique is the whole game here. Owners who follow the low speed, light pressure, constant movement rule come away with lenses they describe as like new. Owners who lean on the drill or park the pad in one spot get burn marks and edge nicks, and those show up immediately in a night photo.
The significant drawback is what the box does not contain: any protection. This system cleans and polishes and then stops, so many owners buy a clear coat separately and apply it as a separate step. If you want a one-box job, look at the 3M Ultra below instead.
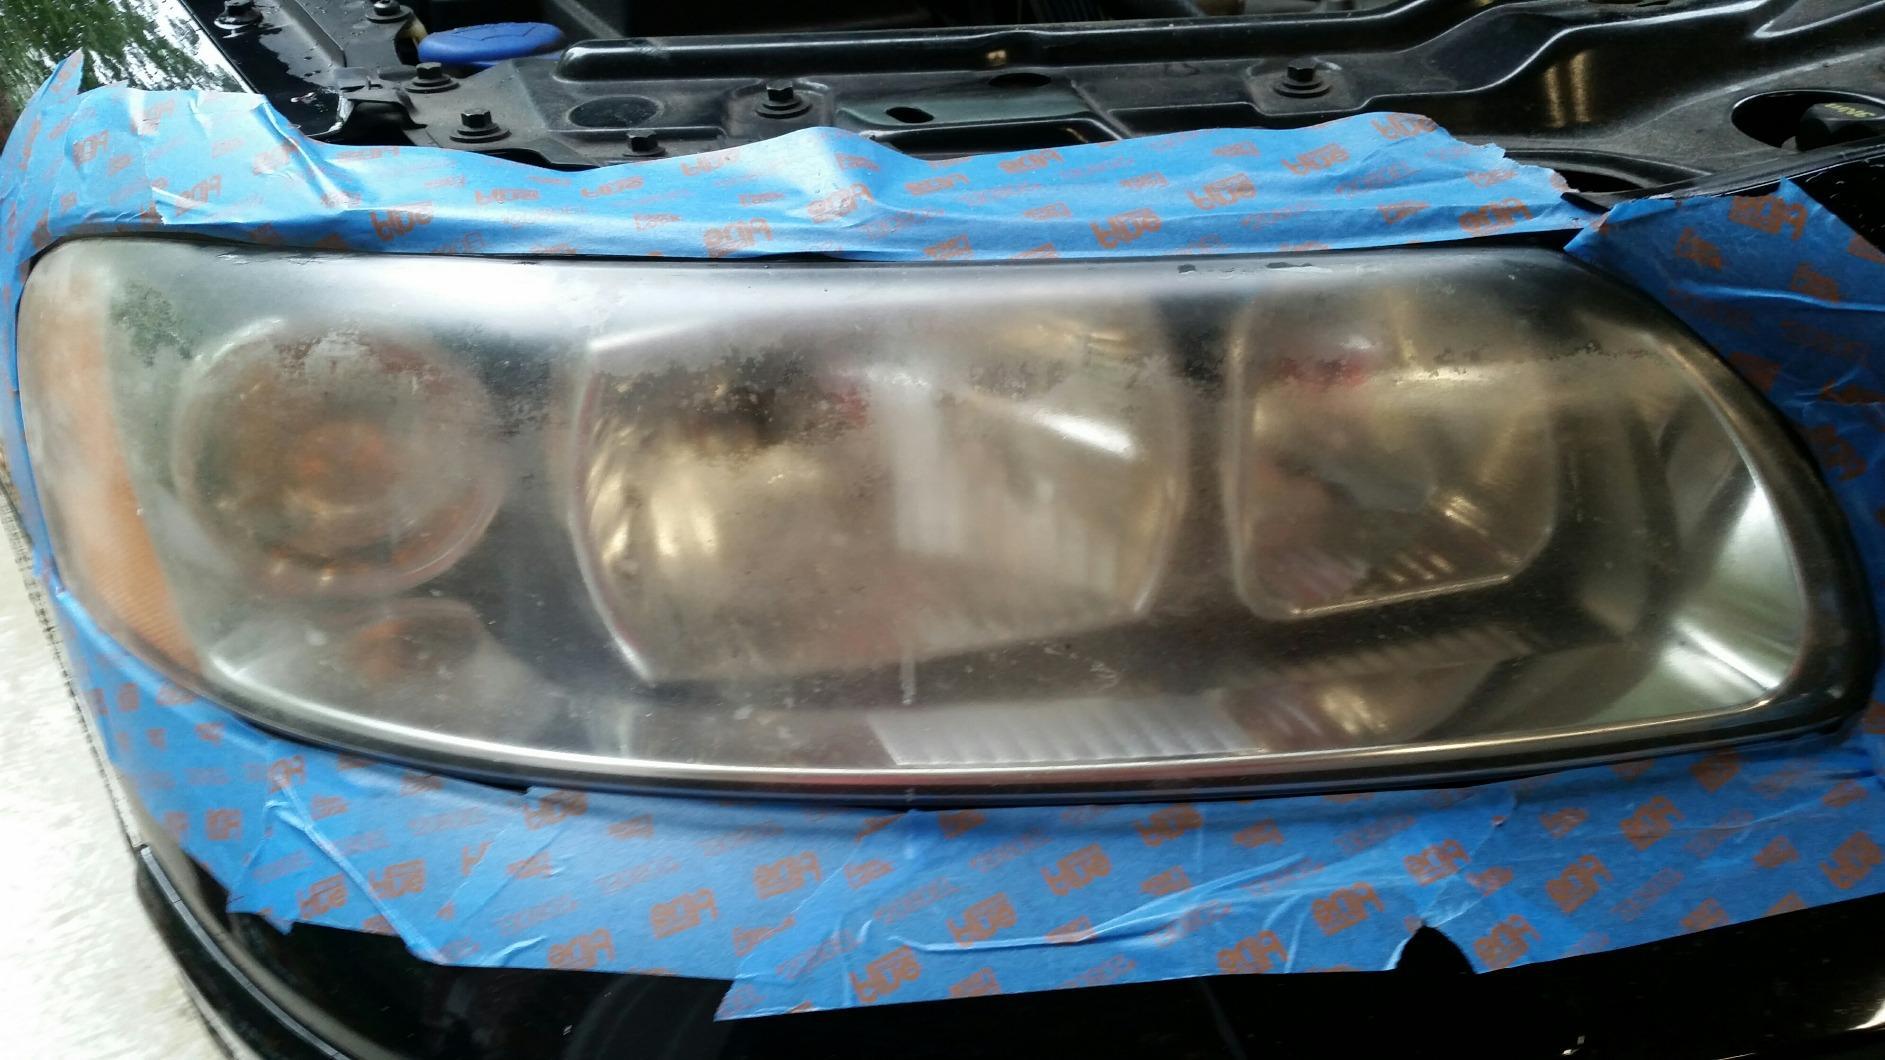
Drill technique that avoids ruined lenses
Run the drill on its low setting, keep the pad moving in a slow sweep, and let the abrasives do the work rather than pressure. Keep a spray bottle nearby so the surface stays lubricated, and never dwell on the outer edge where the lens is thinnest. Nobody wants to sand a flat spot into a contoured lens.
Which lenses to point it at
This is the right pick for heavily yellowed, uniformly oxidised lenses on trucks, SUVs, and older sedans where haze is the only defect. It is the wrong tool for a lens that is already cracked, because abrasive work will happily follow a crack and make it worse.
3. SYLVANIA Headlight Restoration Kit – Best All-in-One Buy
SYLVANIA Headlight Restoration Kit, Restores to Like-New Condition
Surface activator,premium sandpaper,clarifying compound,UV block clear coat
Covers two lenses
8 x 2 x 6 inches
Pros
- Complete system covers two headlight lenses in one kit
- No drills or polishing machines required
- Includes an exclusive UV block clear coat
Cons
- Light haze can remain on deeply yellowed or pitted lenses
- Hand application takes more time than a drill kit
Sylvania is an OSRAM product, part number HRK.BX with an OEM part number attached, which is worth knowing given how many no-name kits are on the market. The kit is built around a surface activator, premium sandpaper, a clarifying compound, and their UV block clear coat, all sized to cover two headlight lenses.
It is a no-power-tools system, so the whole job is hand work. On a car with a battery you can do on a driveway in an afternoon, that is a genuine advantage over a drill kit, especially on a contoured lens where a rigid backing pad can gouge the curve.
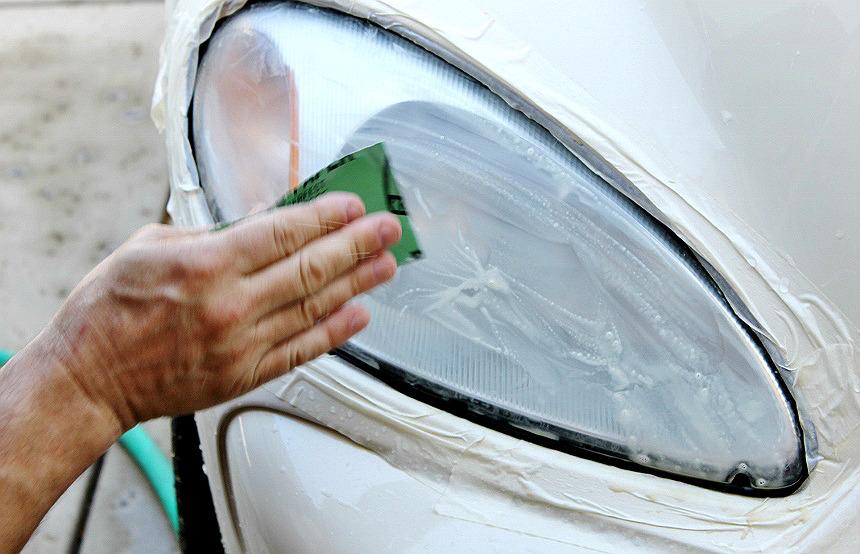
The included UV block clear coat is the detail that separates this from cheaper all-in-one kits. Seventy-six percent of ratings are five stars, and the most common theme in those reviews is not the polish, it is the fact that the protection is bundled in. You finish the job and the lens stays clear longer.
Where it falls short is the hardest cases. Reviewers working deeply yellowed or pitted lenses report a residual haze that the compound cannot chase. If your headlights are severely oxidized, step up to a coarser sanding system first.
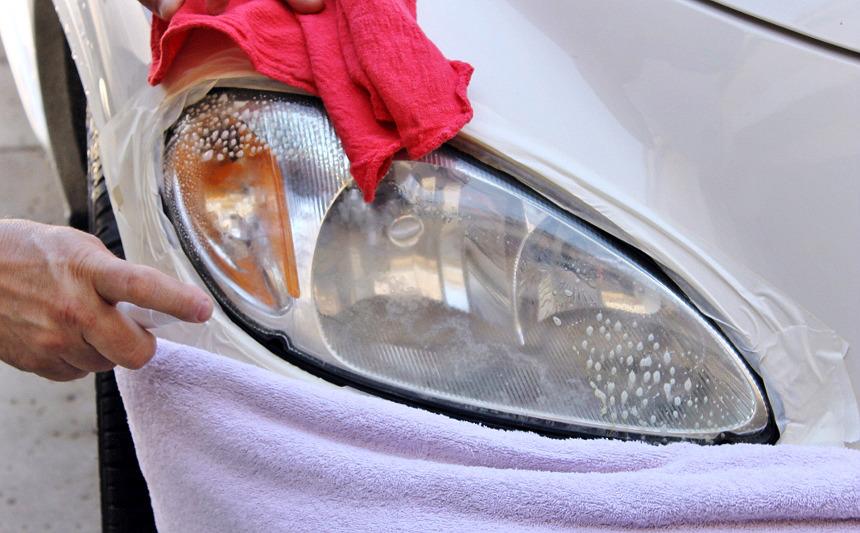
What the surface activator actually does
It softens the degraded outer layer of the polycarbonate so the sandpaper and compound have something to bite into. It is a chemical shortcut around the need for aggressive 500-grit work, and it is the reason this kit performs well without a drill. Skip the activation dwell time and the rest of the process will underperform.
Two lenses or one car
The kit is specced to treat two headlight lenses, which on most cars means clearing the front end in a single session. The bottle and compound volumes are generous relative to the work. If you are restoring a truck with four lamps, plan on a second pass or a second kit.
4. 3M Ultra Headlight Restoration Kit 39195 – Most Complete Box
3M Ultra Headlight Restoration Kit, Contains Masking Tape, Light Sanding Discs, Wax Protectant and More, Use on Plastic Lenses Headlights, Taillights and More, Easy Heavy-Duty Restoration (39195)
3.25 in disc holder,6 500 grit discs,4 800 grit discs,Trizact 3000 grit,2 clear coat wipes
Pros
- Most complete kit with masking tape and protectant included
- Removes heavy yellowing using a household drill
- Clear coat wipes slow re-yellowing
- Also works on taillights and fog lights
Cons
- Requires a drill for the sanding stages
- Careful masking still needed to protect surrounding paint
This is the one I recommend to first-timers who want a drill system, because it is the only kit in this group that hands you masking tape in the box. You get a 3.25-inch disc pad holder, six 500 grit Gold discs, four 800 grit White discs, one 3000 grit Trizact refining disc, two Quick Headlight Clear Coat wipes, a wax protectant, and the tape.
That matters because the most common complaint across every drill kit we looked at is compound and dust ending up on adjacent paint. If the tape is in the box, you will actually use it. Model 39195, dated to 2020, and it ranks in the top tier of the headlight restoration category.
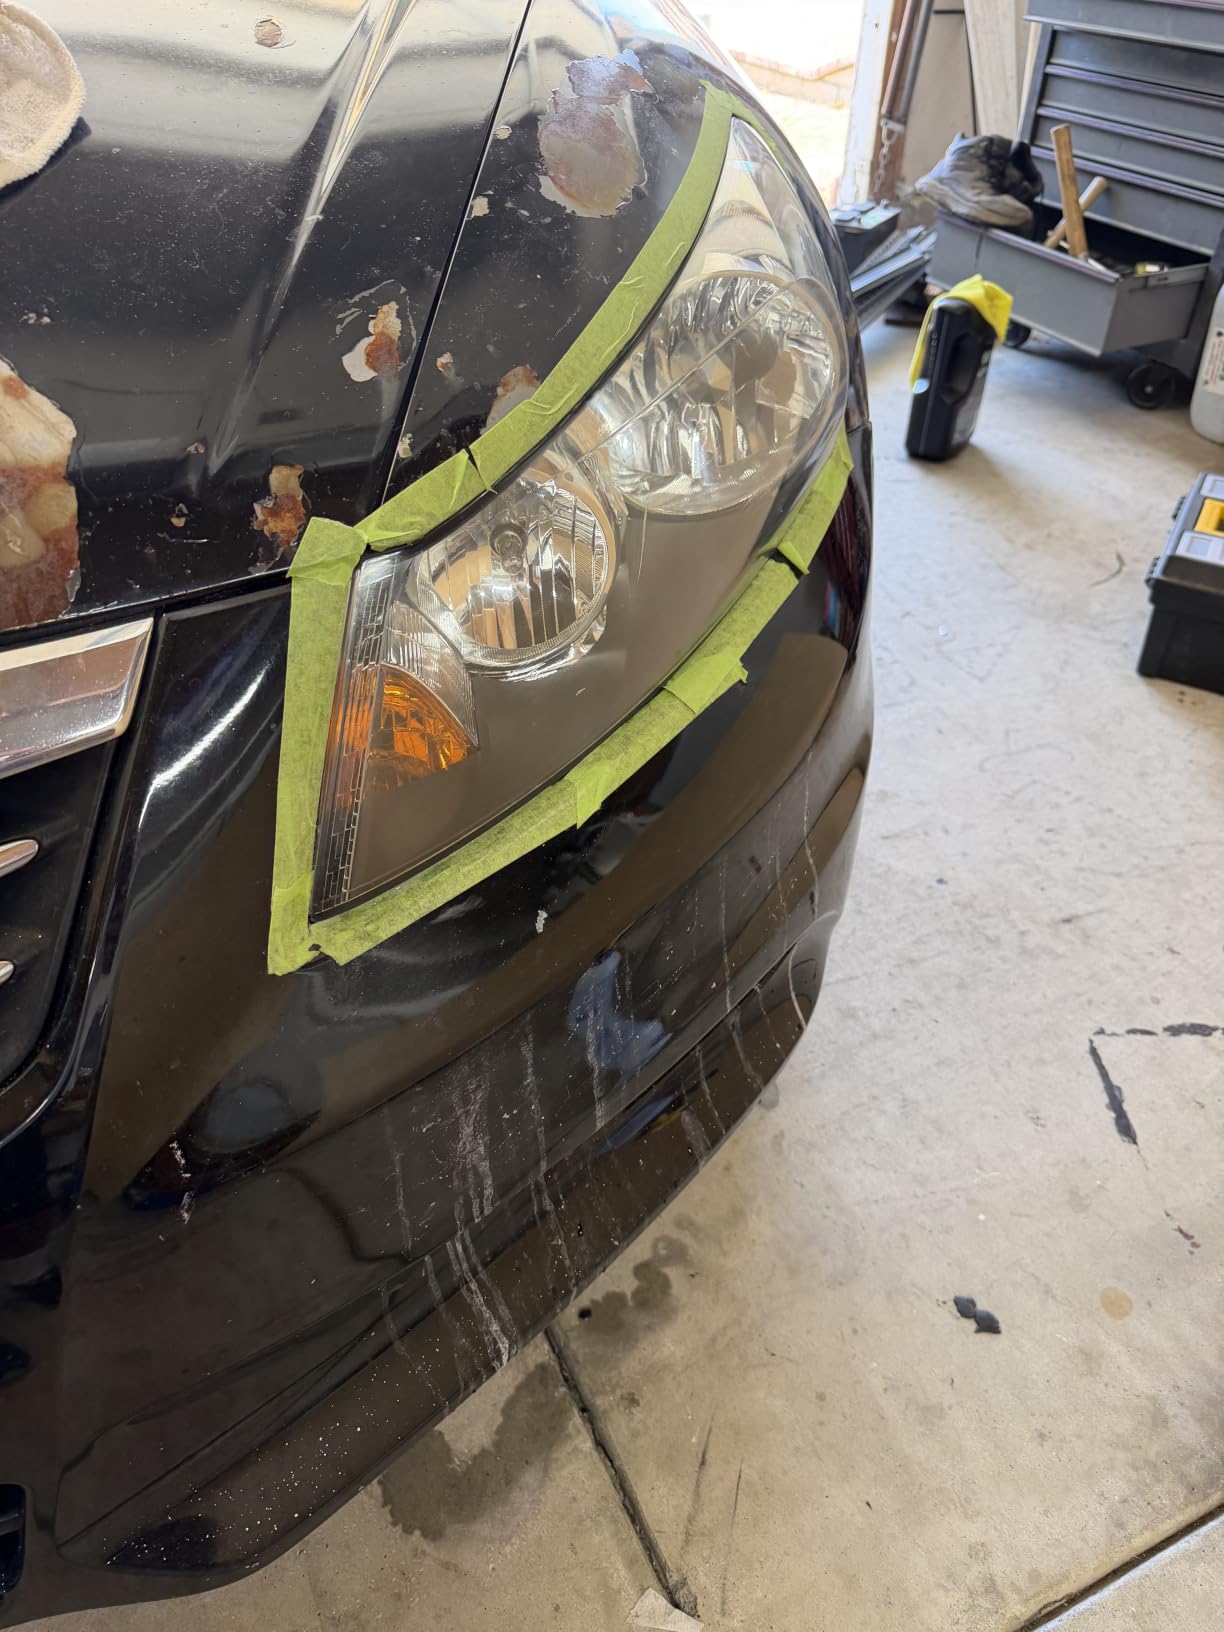
Seventy-eight percent of ratings are five stars, and the reviews repeatedly single out the 3000 grit refining disc and the clear coat wipes as the pieces competitors leave out. The grit progression from 500 through 800 to 3000 is exactly the sequence you want: cut, refine, finish.
Its weakness is simply that it is a drill kit, so it asks you to accept a power tool on a plastic part. If your lenses are flat and straightforward that is a fair trade. If they are deeply contoured, look at a hand system.
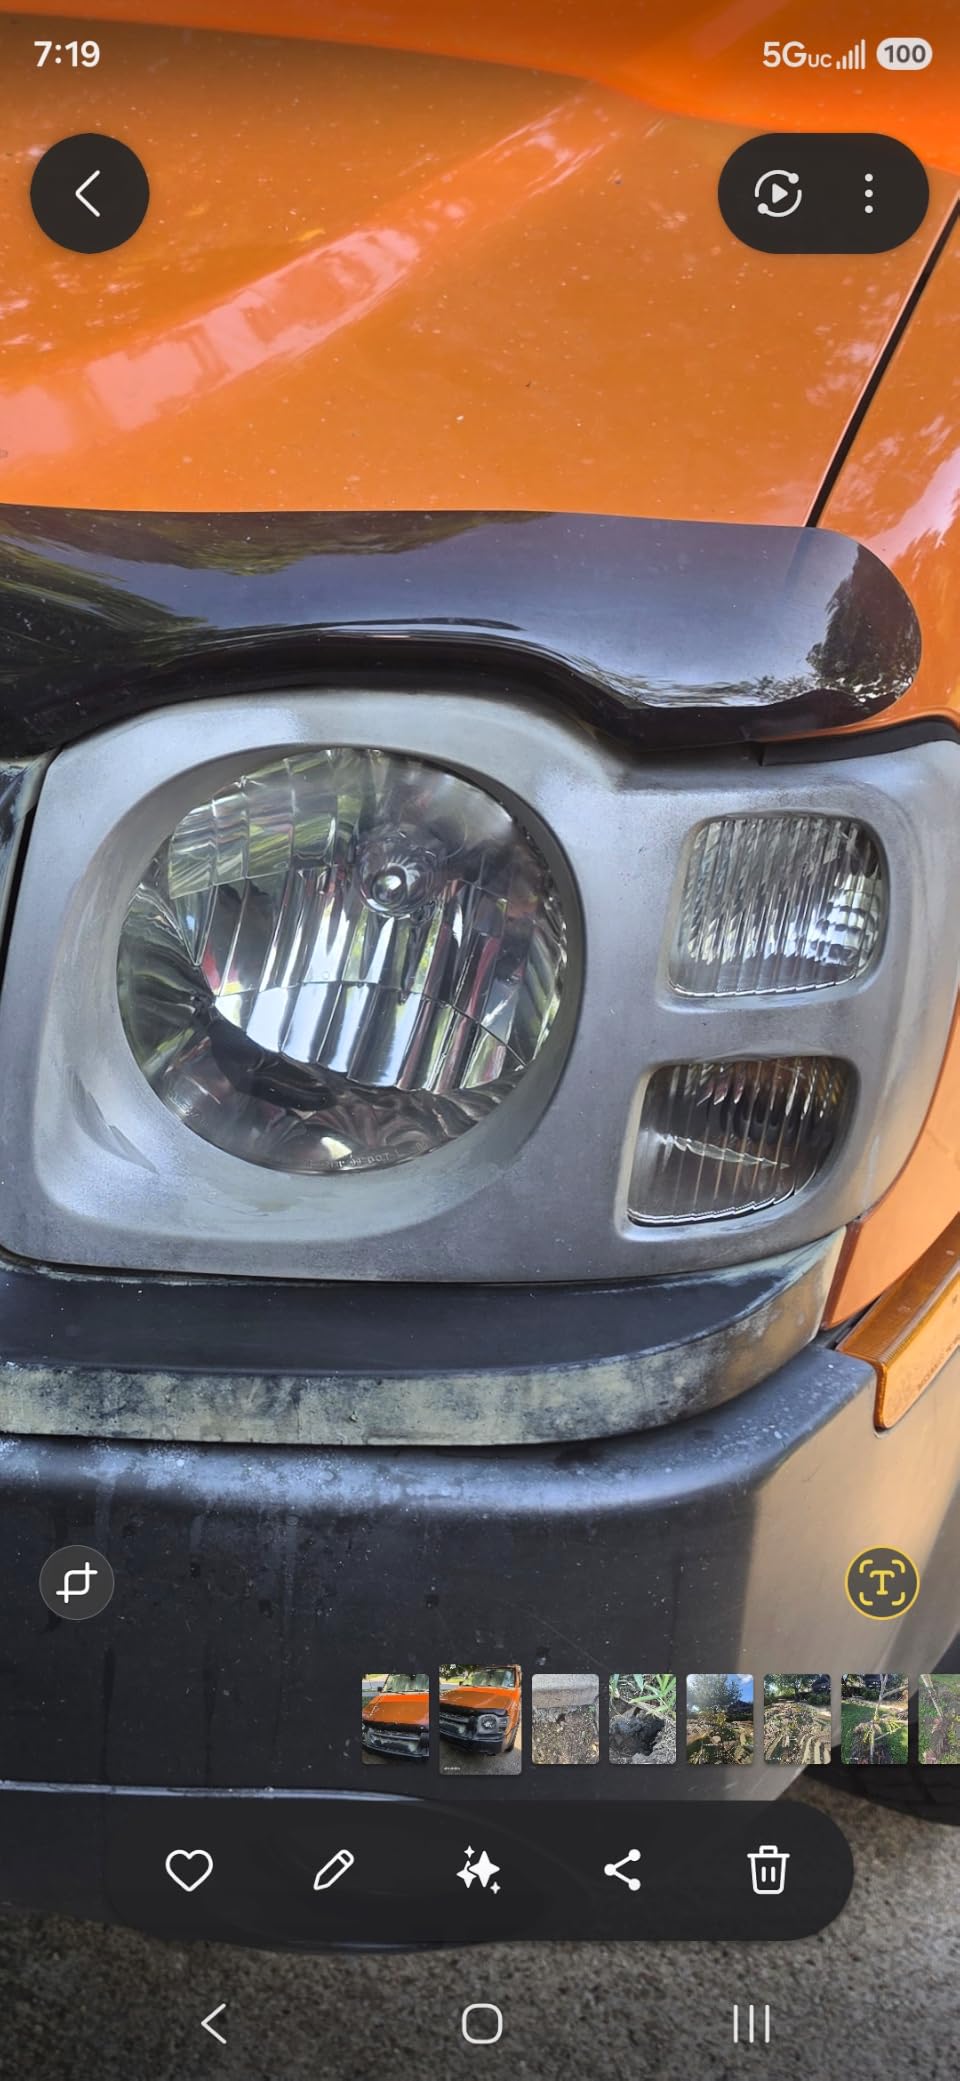
Why grit progression matters more than brand
Oxidation is a hard layer, and the abrasives need to work in order. Coarse grit opens the surface, medium grit clears the haze it creates, and fine grit polishes out the microabrasions left behind. Jump straight to a fine grit and you will be pushing oxidation around instead of removing it.
Which lamps you can use it on
It is rated for plastic lenses, which covers headlights, taillights, fog lights, and directional lights. That makes it a better value pick than a headlight-only kit if you also want the corners of the car to match, since you can work through everything on one evening.
5. Meguiar’s Two Step Headlight Restoration Kit – Easiest No-Drill Process
Meguiar’s Two Step Car Headlight Restoration Kit
Abrasive pads plus cleaning solution,Protective spray coating,Enough for two to three vehicles,Unscented formula
Pros
- Quick two-step process needing no drill
- Coating fills sanding scratches and restores transparency
- Enough solution and pads for two or more vehicles
- Comes from a long-established car care brand
Cons
- Hand scrubbing is slow on badly oxidized lenses
- Removes the factory UV layer so re-treatment is needed
- Spray technique matters or the finish looks filmy
Meguiar’s G2970 is the shortest process here: abrasive pads plus a cleaning solution, then a protective spray coating, with nothing in between and no drill anywhere. Most owners finish a car in under an hour including drying time, and the 12.72 fluid ounce volume covers two to three vehicles.
The formula is unscented, which matters more than it sounds. Several chemical systems in this category leave a lingering smell in the garage and on your hands for days, and owners of this one specifically do not mention that problem.
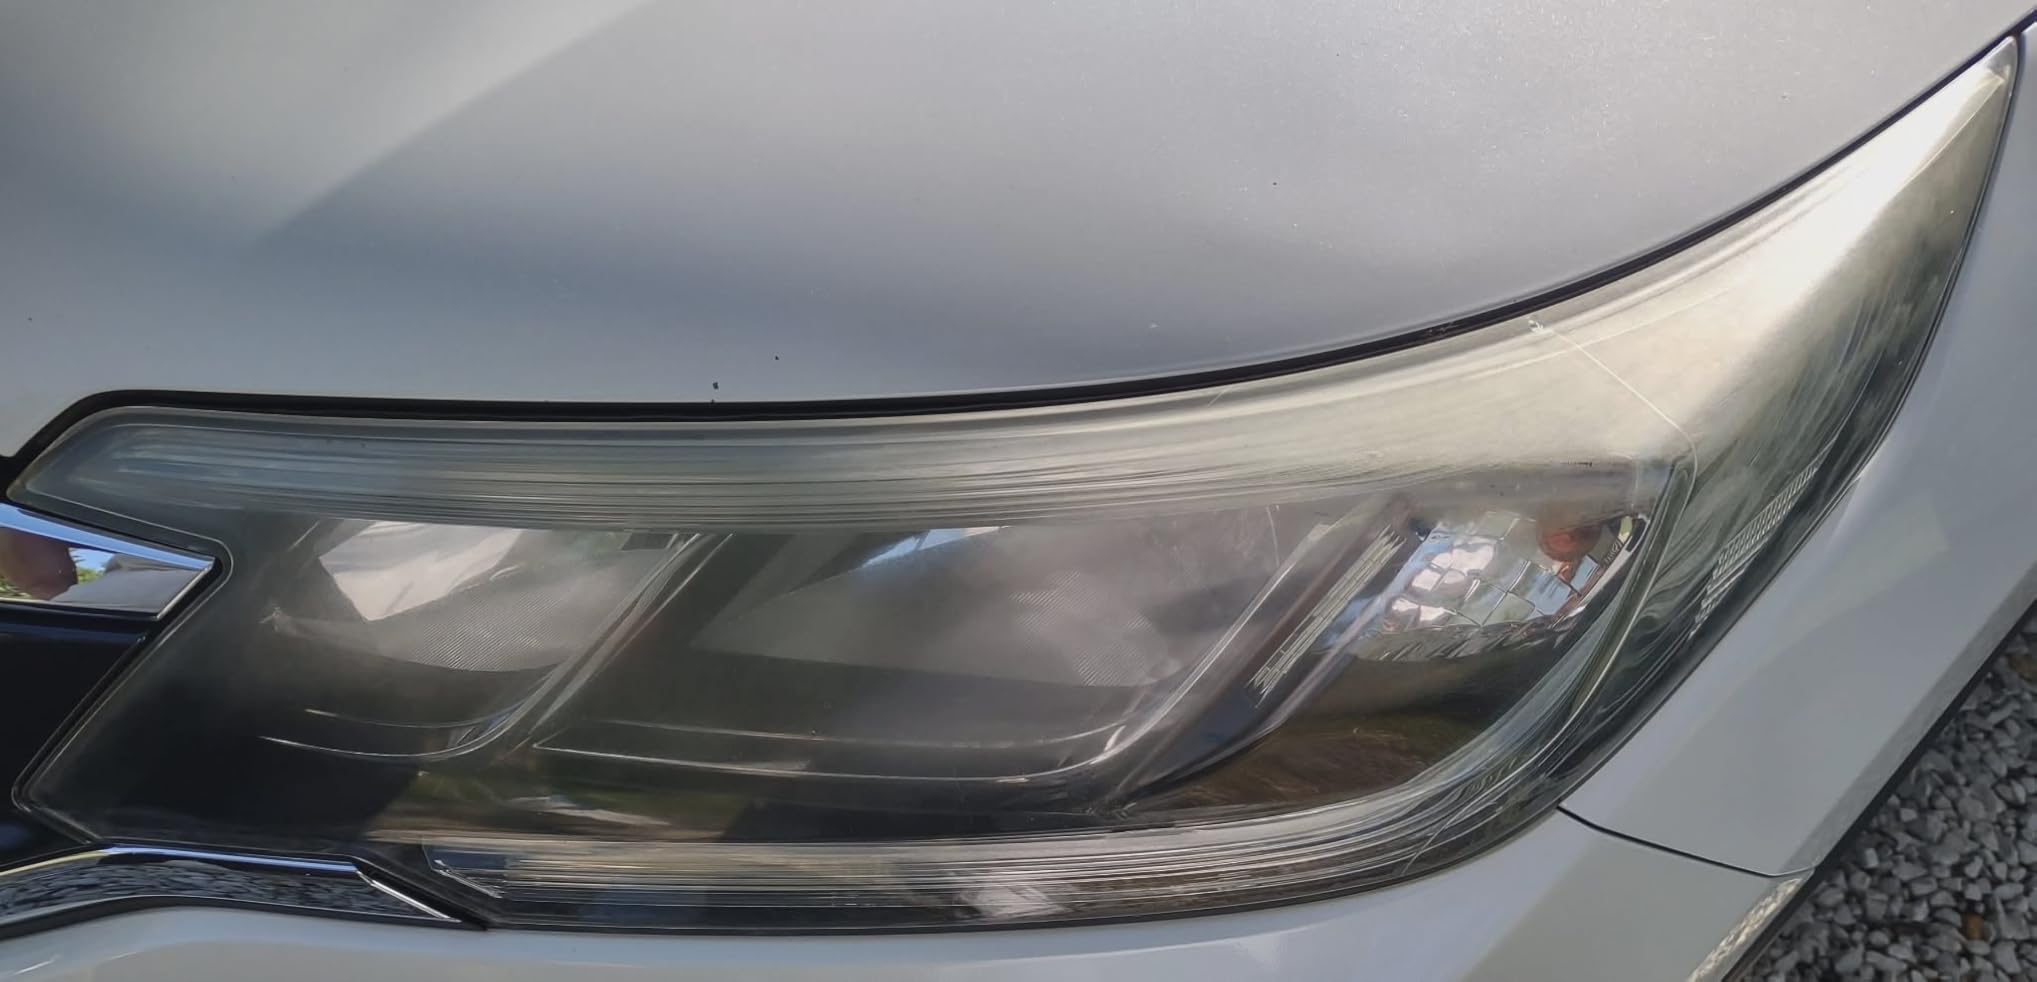
The coating is the real product. It fills the microabrasions left by the pads and restores the transparency of the plastic, then holds it for up to twelve months of re-oxidation protection. That is a longer stated protection window than anything else in this roundup.
The honest drawback is that it strips the factory UV layer, which means an annual reapplication to keep the clarity. Detailers warn about that porous-polished-lens effect in general, and this kit is a textbook example of the trade: more clarity now, more upkeep later.
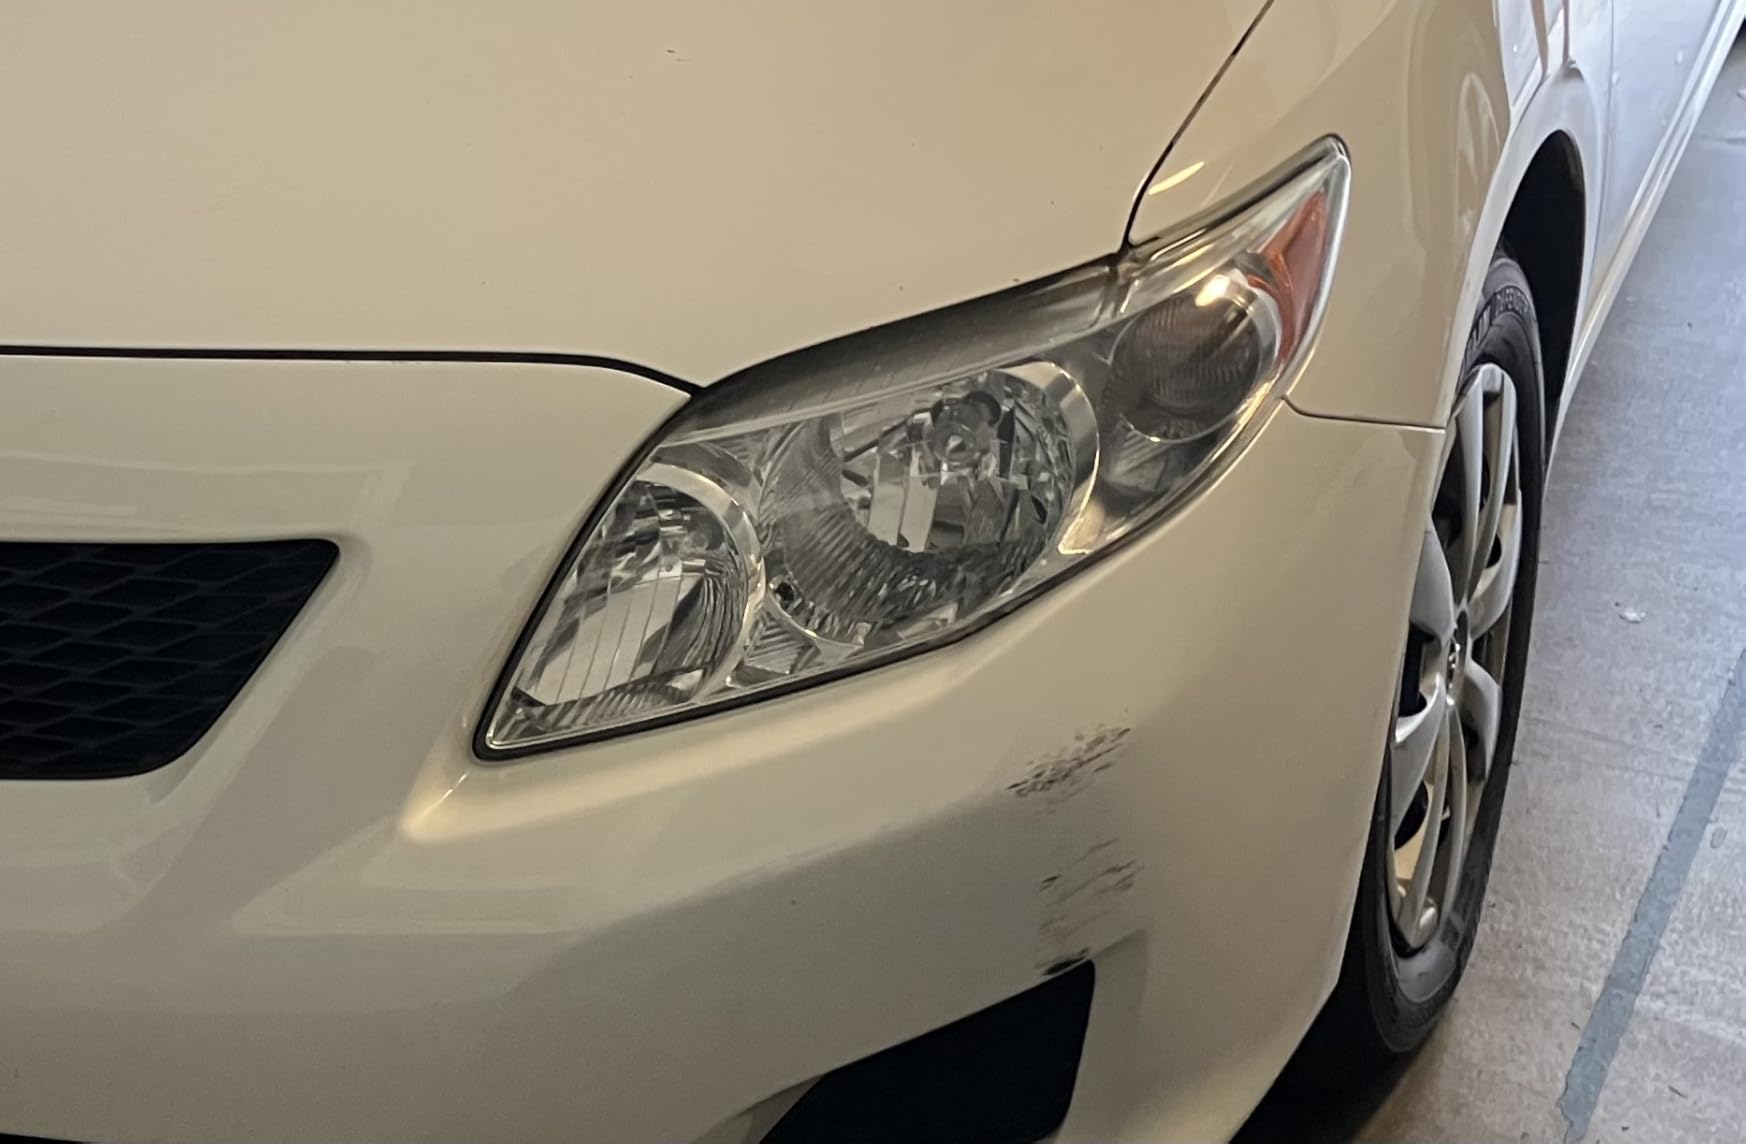
Getting an even finish without streaks
Work in shade, away from wind, and apply light overlapping passes rather than one heavy coat. Too much product pools and dries filmy, too little leaves microabrasions exposed. The side profile of the lens is where a bad spray job shows up first, so check it from a low angle before you call it done.
Where the limits are
Light scratches become visible under bright light on some lenses after treatment. On moderate haze it is excellent. On a deeply oxidized lens, hand scrubbing with a pad takes far longer than a drill system and may not fully clear the yellowing in one session.
6. Mothers NuLens Headlight Renewal Kit – Best for Drill Polishing
Mothers NuLens Headlight Renewal Kit (07251)
PowerPlastic 4Lights polish,foam polishing tool,graded abrasive discs,8 fl oz size
Pros
- PowerPlastic polish restores clarity on heavily yellowed lenses
- Works well with a drill and foam tool on large headlights
- One-step polish leaves a protective polymer layer
- Good value when working several lamps
Cons
- Instructions are weak and easy to follow out of sequence
- Not enough 1500 and 3000 grit discs for two headlights
- Rotary buffing can splatter compound onto paint
Mothers NuLens 07251 is a polish-forward kit. You get PowerPlastic 4Lights, a foam polishing tool, and a set of graded abrasive discs, with the polish carrying oxidation-inhibiting polymers that leave a protective layer as they work. At 8 fluid ounces it is a full-size bottle rather than a sachet.
For a big lens, this is where the foam tool earns its place. Truck and SUV headlights are simply larger surfaces, and a foam dome on a drill spreads the compound across them far more evenly than a small hand pad. Enthusiasts following the graded sequence report dramatic before-and-after results on very cloudy lenses.
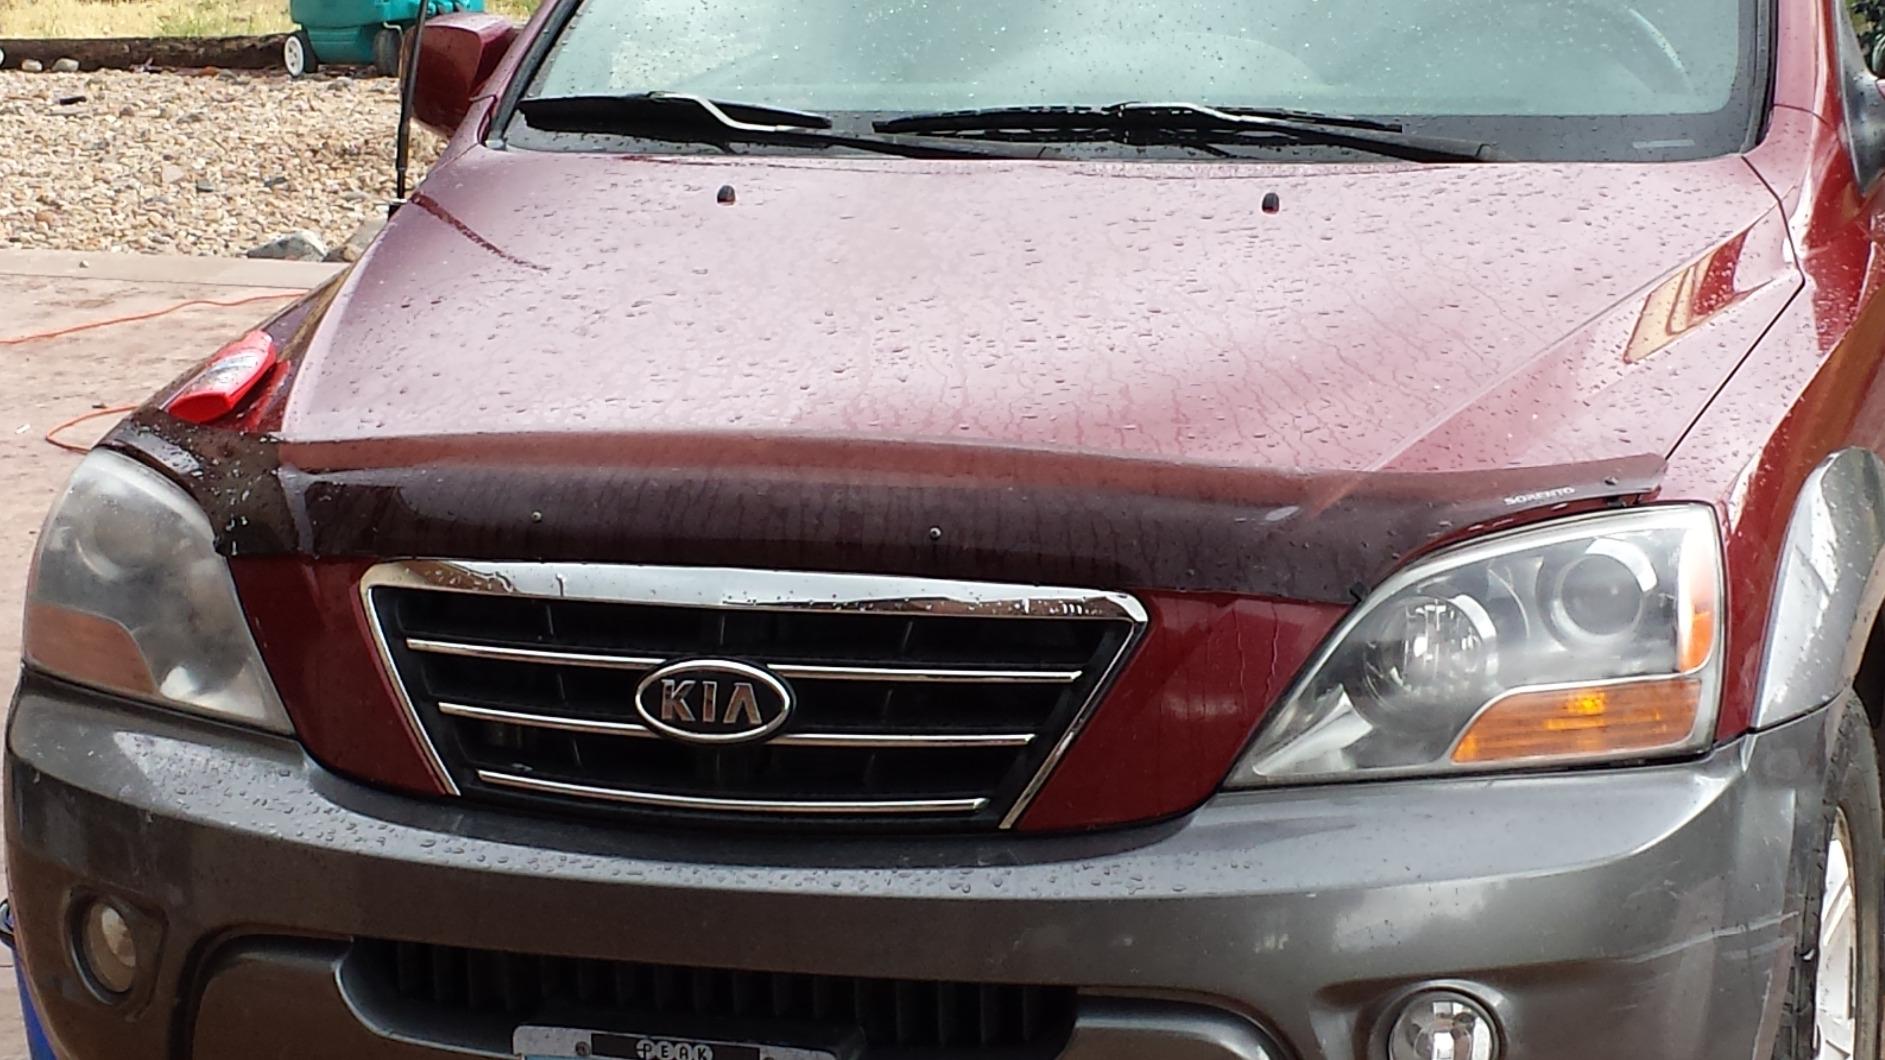
This is also the most polarised kit in the group, and I would rather tell you why than smooth it over. Sixty-two percent of ratings are five stars, but ten percent are three stars and six percent are one star. That split tracks almost perfectly with how carefully people follow the instructions, which are genuinely the weakest in this roundup.
The second complaint is consumables. Several owners note they run out of 1500 and 3000 grit discs before finishing both headlights. If you are restoring four lamps rather than two, buy a second disc set or plan to hand-finish.
Rotary versus orbital matters here
The tool included is intended for a drill, and reviewers running it on a rotary machine report compound splattering onto surrounding paint and, if you do not lubricate, etching the clear plastic. Keep the surface wet, keep the pad moving, and mask the paint edges before you start.
Who it suits and who it does not
It suits someone restoring several large lamps who wants the polymer protection from a single polish. It does not suit a first-timer who needs clear step-by-step guidance, or anyone working a small contoured lens where a big foam tool is awkward to control.
7. 3M Auto Restore and Protect Kit 39194 – Budget Refine-and-Seal Pick
3M Auto Restore and Protect Headlight Restoration Kit, Use On Plastic Lenses, Headlights, Taillight, Fog Lights and More, Includes Sanding Discs, Headlight Clear Coat Wipes, Foam Pad and Glove (39194)
1000 grit Trizact disc,3000 grit Trizact disc,2 clear coat wipes,foam pad,disposable glove
Pros
- Lowest entry point for a full restore and protect format
- 1000 and 3000 grit discs plus clear coat wipes
- Removes yellowing without damaging the lens surface
- Compact and lightweight to store
Cons
- Only two refining discs for the whole job
- Needs a household drill and masking film
- Less aggressive than 500 and 800 grit kits
The 39194 is one of the most compact boxes here: one 1000 grit Trizact refining disc, one 3000 grit Trizact disc, two clear coat wipes, a 3-inch foam pad with Hookit attachment, and a disposable glove. That is a refine-and-seal kit rather than a cut-and-finish kit, and it is the least expensive complete format we looked at.
It makes sense in one specific situation. You have a drill already, the lenses on the car are hazed rather than destroyed, and you want clarity back plus a protective coat in a single session. For that job it is hard to argue with.
Seventy-four percent of ratings are five stars and it ranks in the leading group of the headlight restoration category. The clear coat wipes are what owners mention most, because a kit that only refines leaves you unprotected and a kit that only protects has nothing to protect.
The limitation owners flag is the disc count. Two refining discs is not much coverage on a large or badly fogged headlight, so you may need to buy more discs than the kit gives you. And starting at 1000 grit means it is not the right tool for thick oxidation.
When a fine-only grit range is the right call
Starting at 1000 grit means you are refining an already-rough surface, not cutting through heavy oxidation. If your lens is merely cloudy, that is exactly right and it saves you a long sanding stage. If the yellow is deep, move up to a kit with 500 and 800 grit discs first.
Pairing it with something else
A sensible combo is this kit for the refine and protect stage after a coarser kit has done the heavy cutting on the same car. Many owners keep a 500 grit system for spring and this for the annual touch-up.
8. Clear Lights Tech 3-Wipe System – Best for Maintenance
Clear Lights Tech, Headlight Restoration Kit – Headlight Cleaner 3-Wipe System, Helps Remove Yellowing & Oxidation, Helps Improve Headlight Visibility, Long-Lasting UV Protection.
Two cleaning wipes and one UV coating wipe,No tools or abrasives,1.45 ounces
Pros
- Fastest and simplest system with no sanding or drill
- Convenient for maintaining already clear lenses
- Protective wipe adds a UV resistant coating
- Small enough to keep in a glove compartment
Cons
- Weakest rating distribution here with 10% one-star reviews
- Cannot remove deep pitting or heavy yellowing
- A maintenance product rather than a true restoration
Three wipes is the entire system. Two clean the lens, one lays down a protective UV coating, and there is no abrasive of any kind. It takes minutes, fits in a glove compartment, and it is the right product for a car that has already been restored once and just needs to stay looking clean.
The 4.0 average is the lowest in this roundup, and ten percent of ratings are one star. That is not a quality problem, it is a scope problem. People buying a wipe expecting to fix a deeply yellowed lens are disappointed, and they leave one-star reviews for something that was never designed for that job.
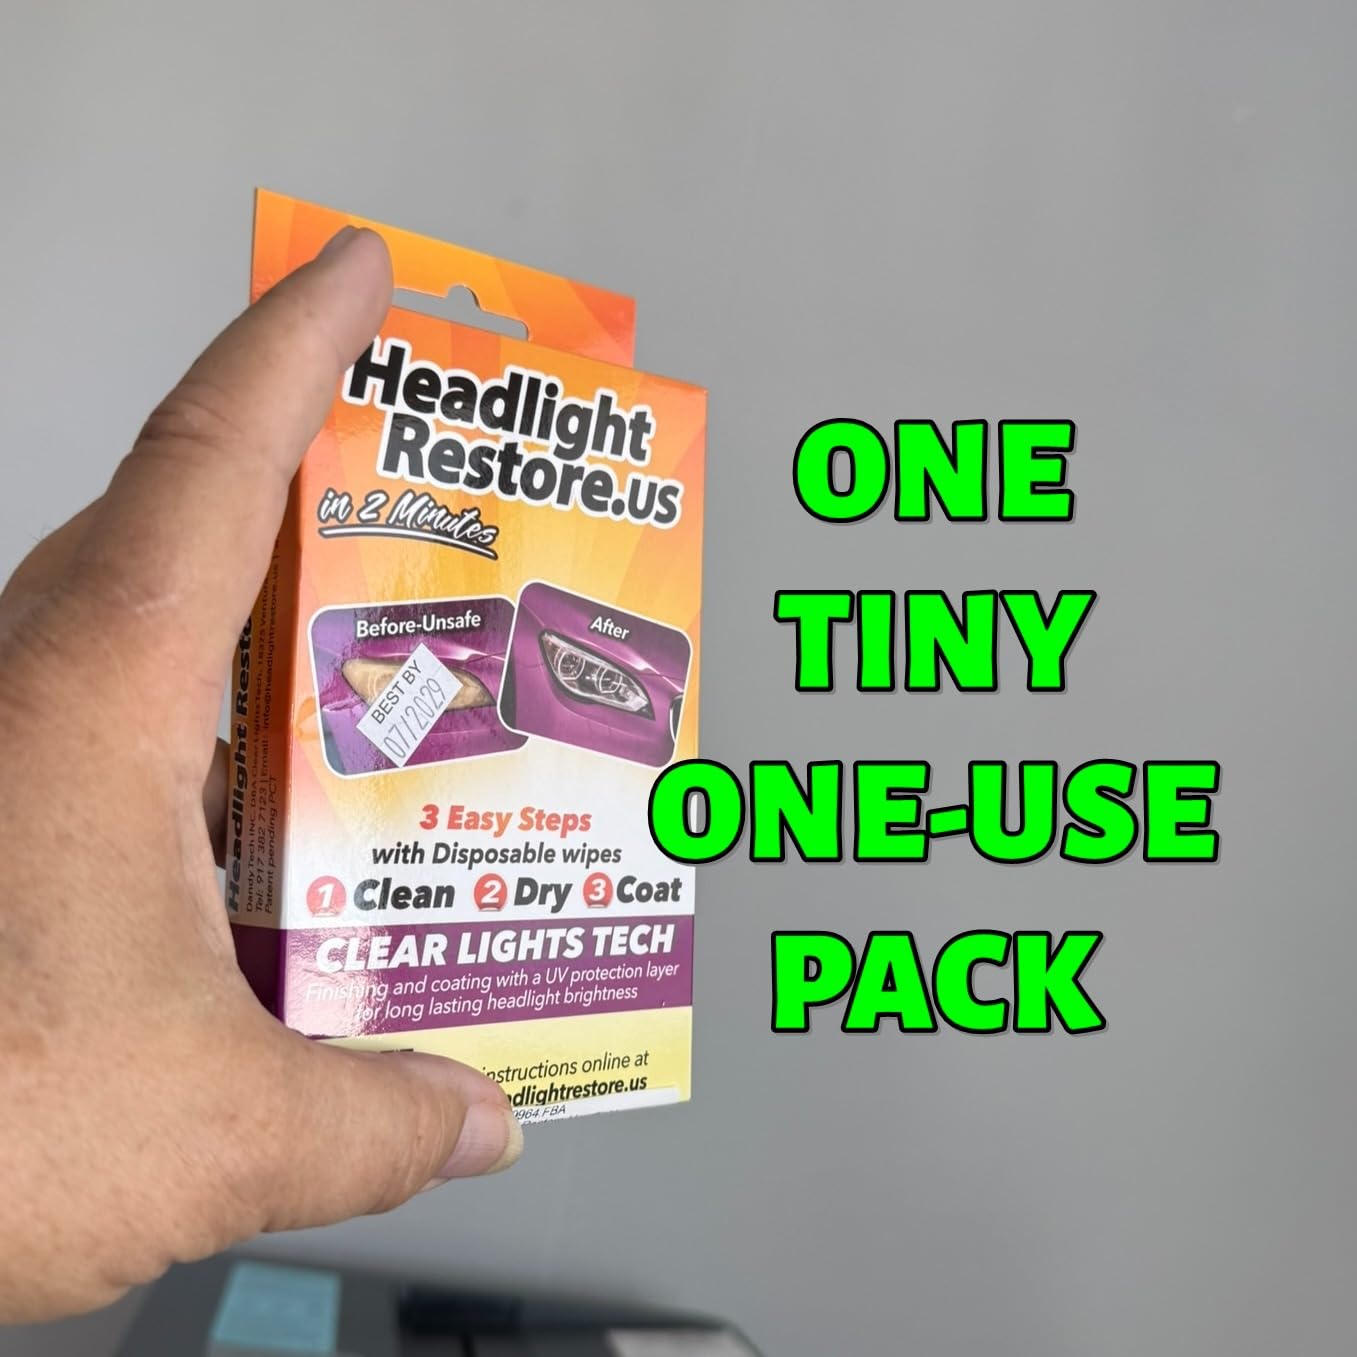
Owners with lightly hazed lenses are its happy customers. The UV coating wipe adds a layer that helps hold clarity through weather, and the convenience factor is hard to argue with when you only need a refresh rather than a correction.
It will not touch deep pitting or heavy yellowing. If you are starting from a foggy lens, put this in the cupboard and buy a real kit first, then use this twice a year to keep the result you paid for.
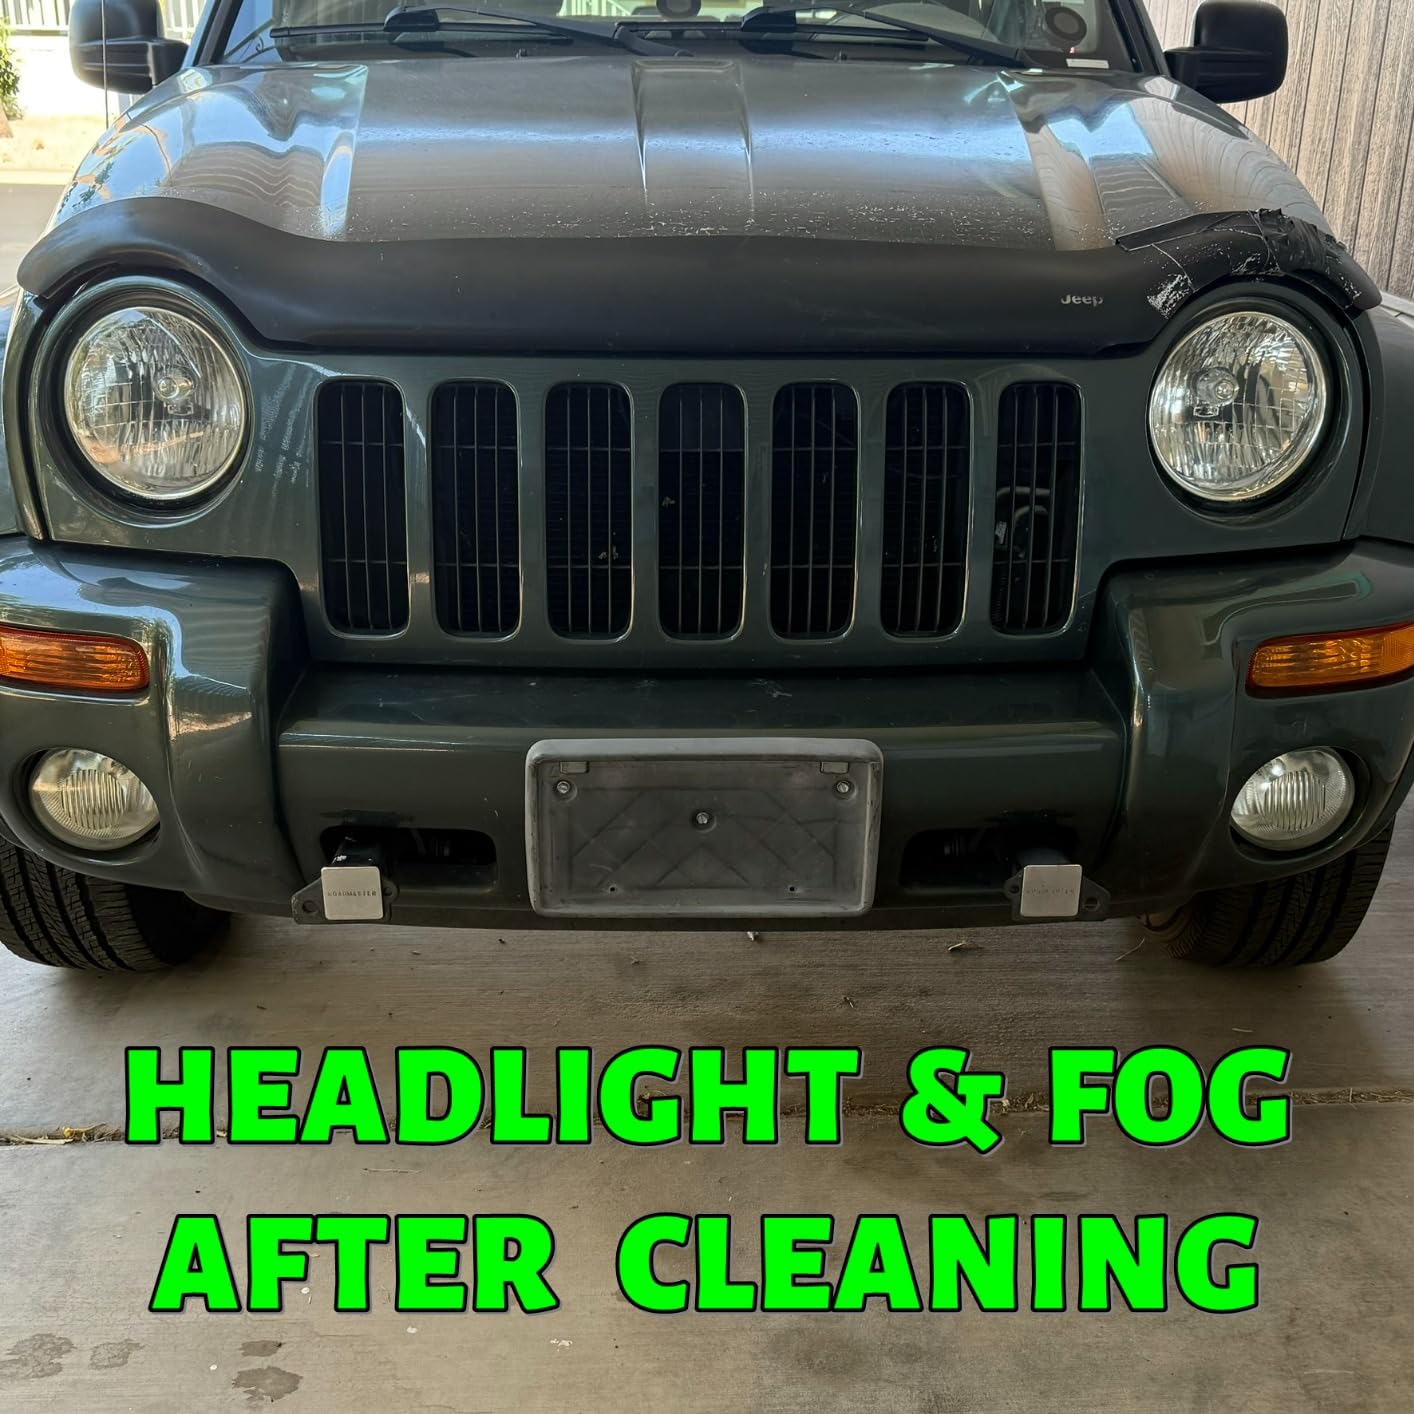
The right order of operations
Maintenance products come after correction, never before. Use a restoration kit to get the clarity back, then a wipe system like this to hold it. Running a chemical-only system on a lens that still has an oxidised layer just spreads the problem around.
What it is genuinely good for
Winter grime, plastic haze from a season of highway driving, and keeping a recently restored lens clear between washes. For those three jobs it is fast, easy to carry around, and carries no risk to the plastic.
9. Turtle Wax Headlight Restoration Kit – Best for Beginners
Turtle Wax Headlight Restoration Kit for Cars, Trucks & SUVs
Precision sanding pad with lubricant,clarifying compound,sealing wipe
No power tools
2.13 x 3.06 x 6.63 inches
Pros
- Budget-priced complete kit from a major car care brand
- Includes pad
- lubricant
- compound and sealing wipe
- Works in under 30 minutes with no tools
- Noticeably brighter lenses for the effort
Cons
- Compound removes some yellowing without fully clearing moderate haze
- Hand sanding needed for better results on worn lenses
- Less dramatic on severely oxidized headlights
The Turtle Wax kit is the least intimidating package on this list. A precision sanding pad with lubricant, a clarifying compound, and a sealing wipe, all hand tools, all in one small box, and the whole job takes under half an hour. It is model T-240KT and it works on cars, trucks, and SUVs.
Users in r/askcarguys and r/fixit name Turtle Wax repeatedly as an easy option that just works without any fuss, and I understand the appeal. The lubricant on the pad is the detail that makes hand sanding bearable, since a dry pad on polycarbonate generates heat fast.
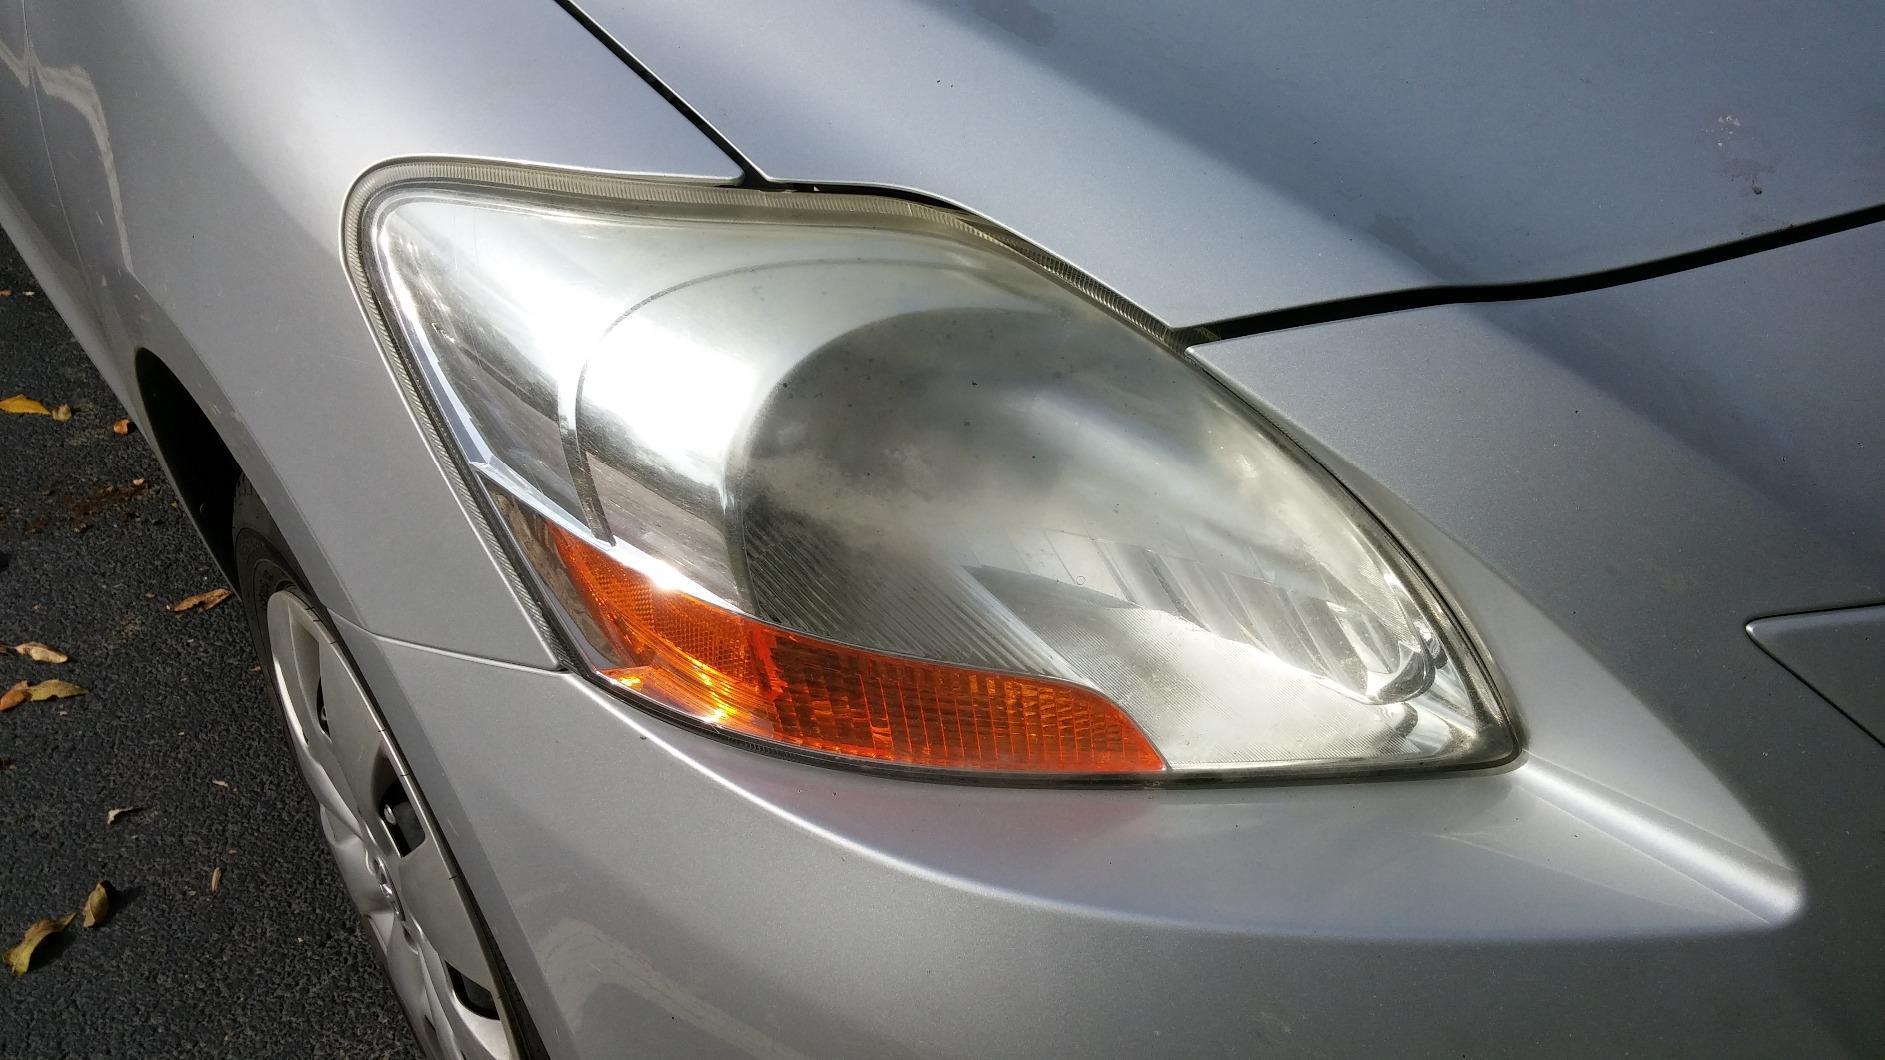
Fifty-eight percent of ratings are five stars and thirteen percent are three stars, which is the profile of a kit that reliably improves a hazy lens without reliably rescuing a bad one. Owners with moderate oxidation report a visibly brighter lens that still carries some residual haze.
For a first attempt on a car you care about, that may be exactly the right outcome. Learn the process on a lens like this rather than discovering drill burn marks on your own headlight.
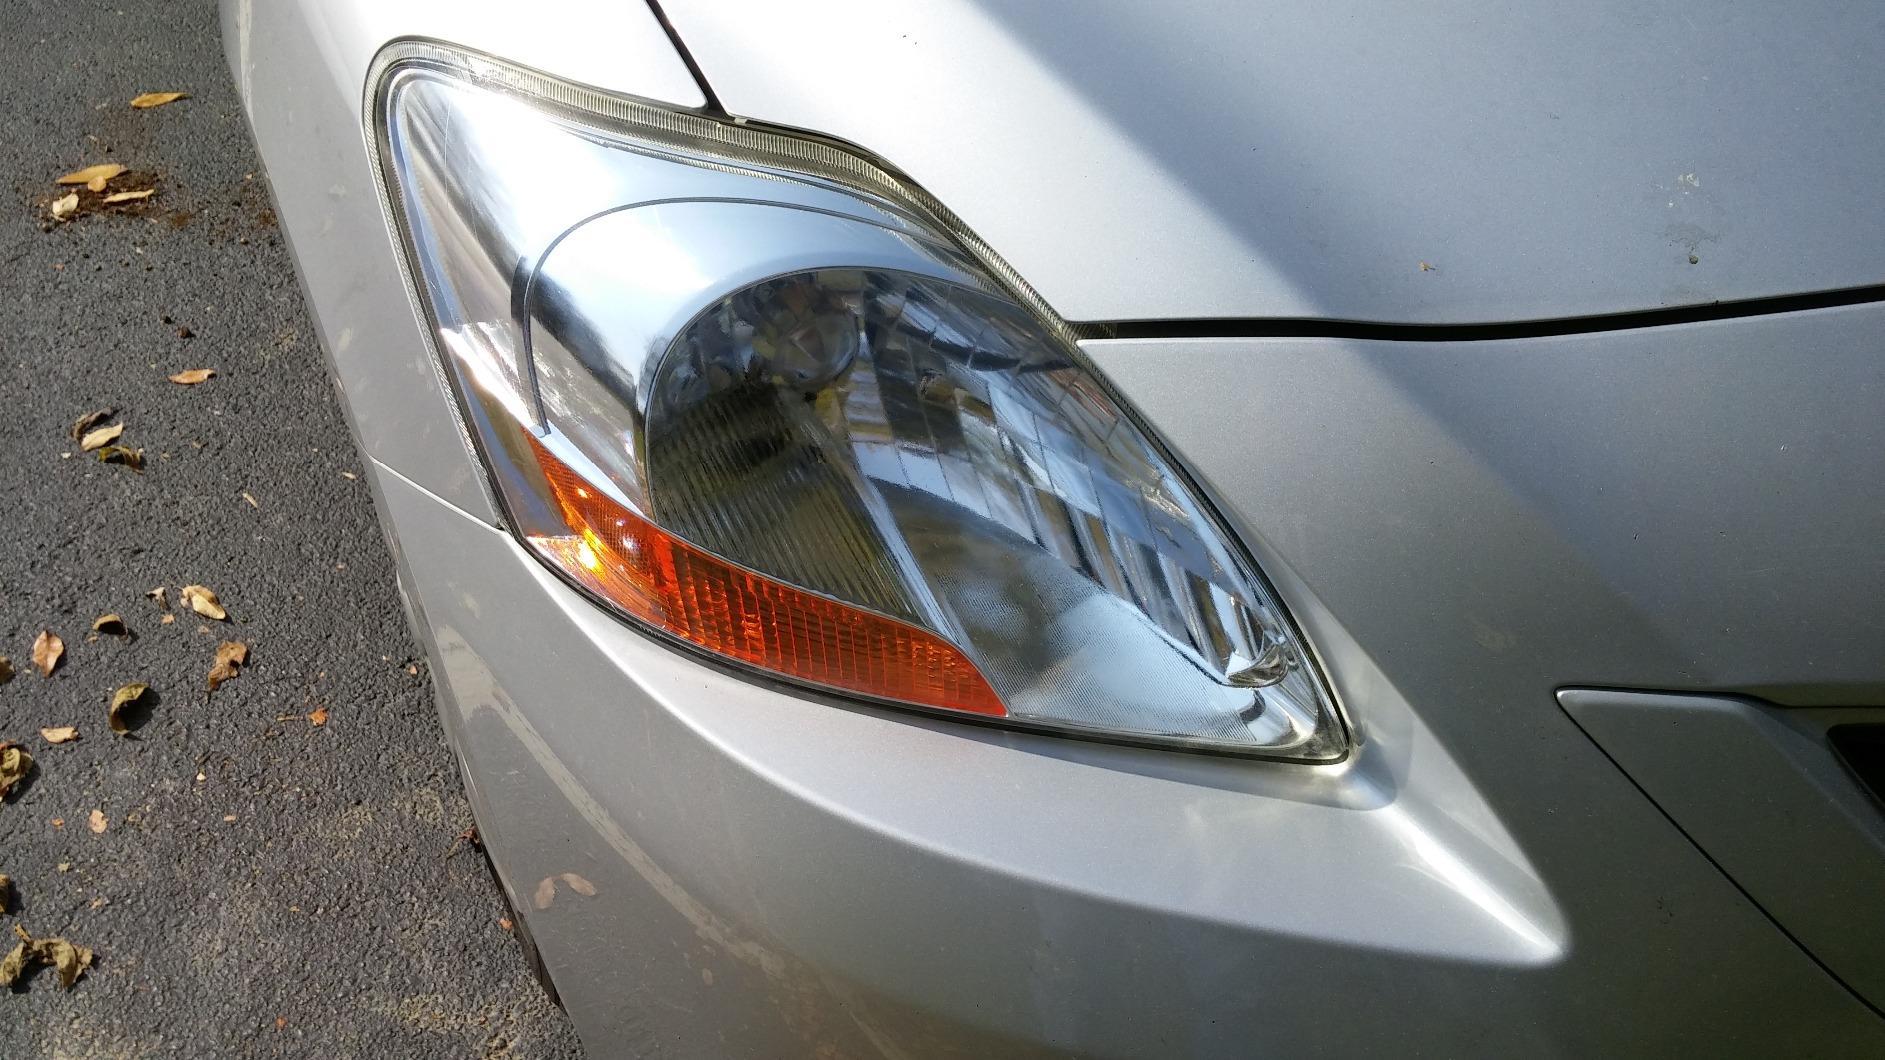
Wet or dry when you sand
Use the lubricant that comes with the pad. Wet sanding keeps the plastic cool and stops dust, and it dramatically reduces the microabrasion pattern you are trying to remove in the first place. Dry sanding on a lens is faster and produces a messier, less even result.
When you should graduate to a drill kit
If you have run the full hand process and the lens is still meaningfully yellow, the answer is more abrasive power, not more compound. Move to a kit with 500 and 800 grit discs and a drill. Beating at a badly oxidized lens by hand is how people end up with uniformly hazed headlights.
10. VIBRATITE 37-Piece Drill Kit – Best for Multiple Vehicles
VIBRATITE 37PCS Headlight Restoration Kit, 3″ Drill Sanding & Polishing Kit
6 waterproof discs from 1000 to 10000 grit,4 buffing pads,quarter inch backing pad,2 compounds,UV protectant
Pros
- Largest consumable count here with 37 pieces for two cars
- Wide grit range from 1000 to 10000
- Buffing pads included for every stage
- Masking film and UV protectant in the box
Cons
- Vague instructions and none included in the package
- Each grit needs several minutes per headlight
- Included final coating came out smeary for some users
The VIBRATITE 37-piece set is the volume play. Six waterproof sanding discs across 1000, 2000, 5000, and 10000 grit, four buffing sponge pads in orange, green, and black, a quarter inch shank backing pad, a soft interface pad, masking film, two polishing compounds, and four portions of UV protective liquid. It is sized for two cars.
That grit range is unusually wide for a drill kit of this size, and the 10000 grit step is what gets you from a corrected surface to genuinely clear plastic. The colour-coded pads also remove a real amount of guesswork about compound order.
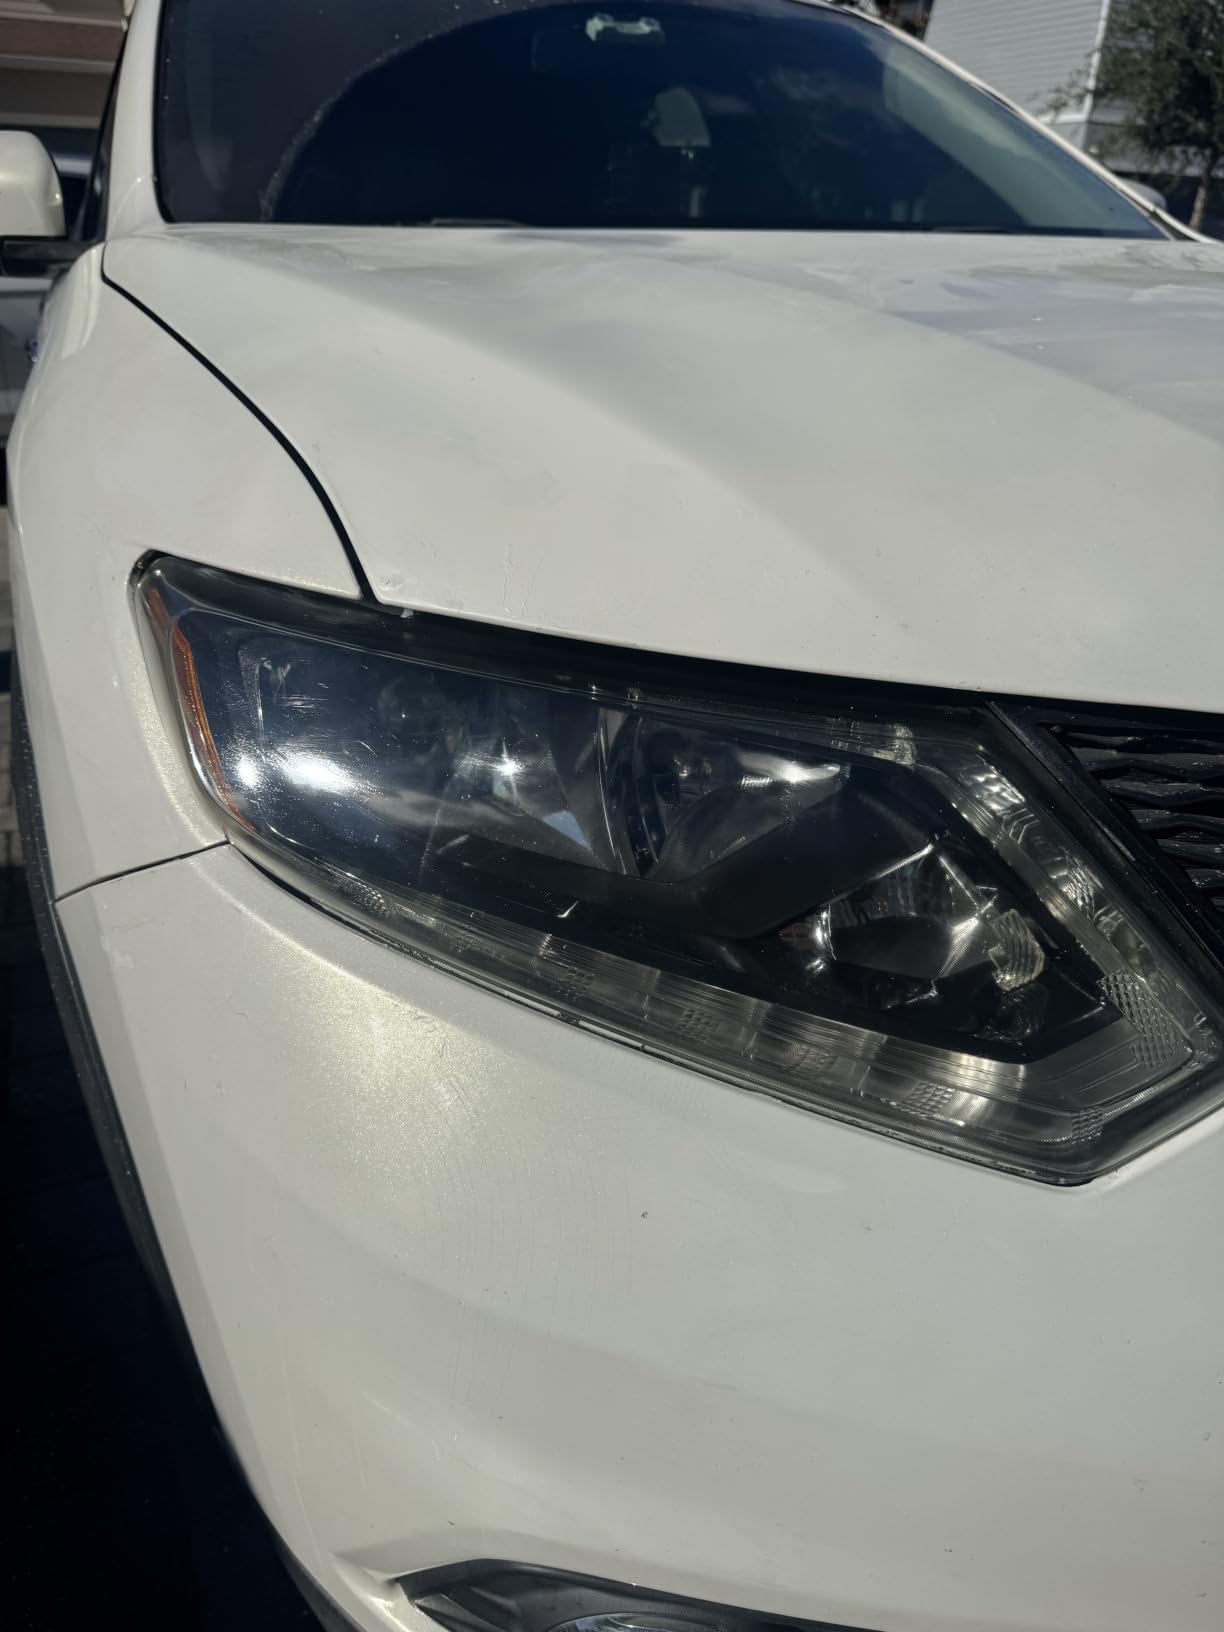
Reviewers generally approve of the hardware, reporting that patience and enough dwell time per grit delivers clear lenses. The recurring complaint is documentation. Instructions are not in the package, which is an easy fix on your end if you follow a standard grit sequence.
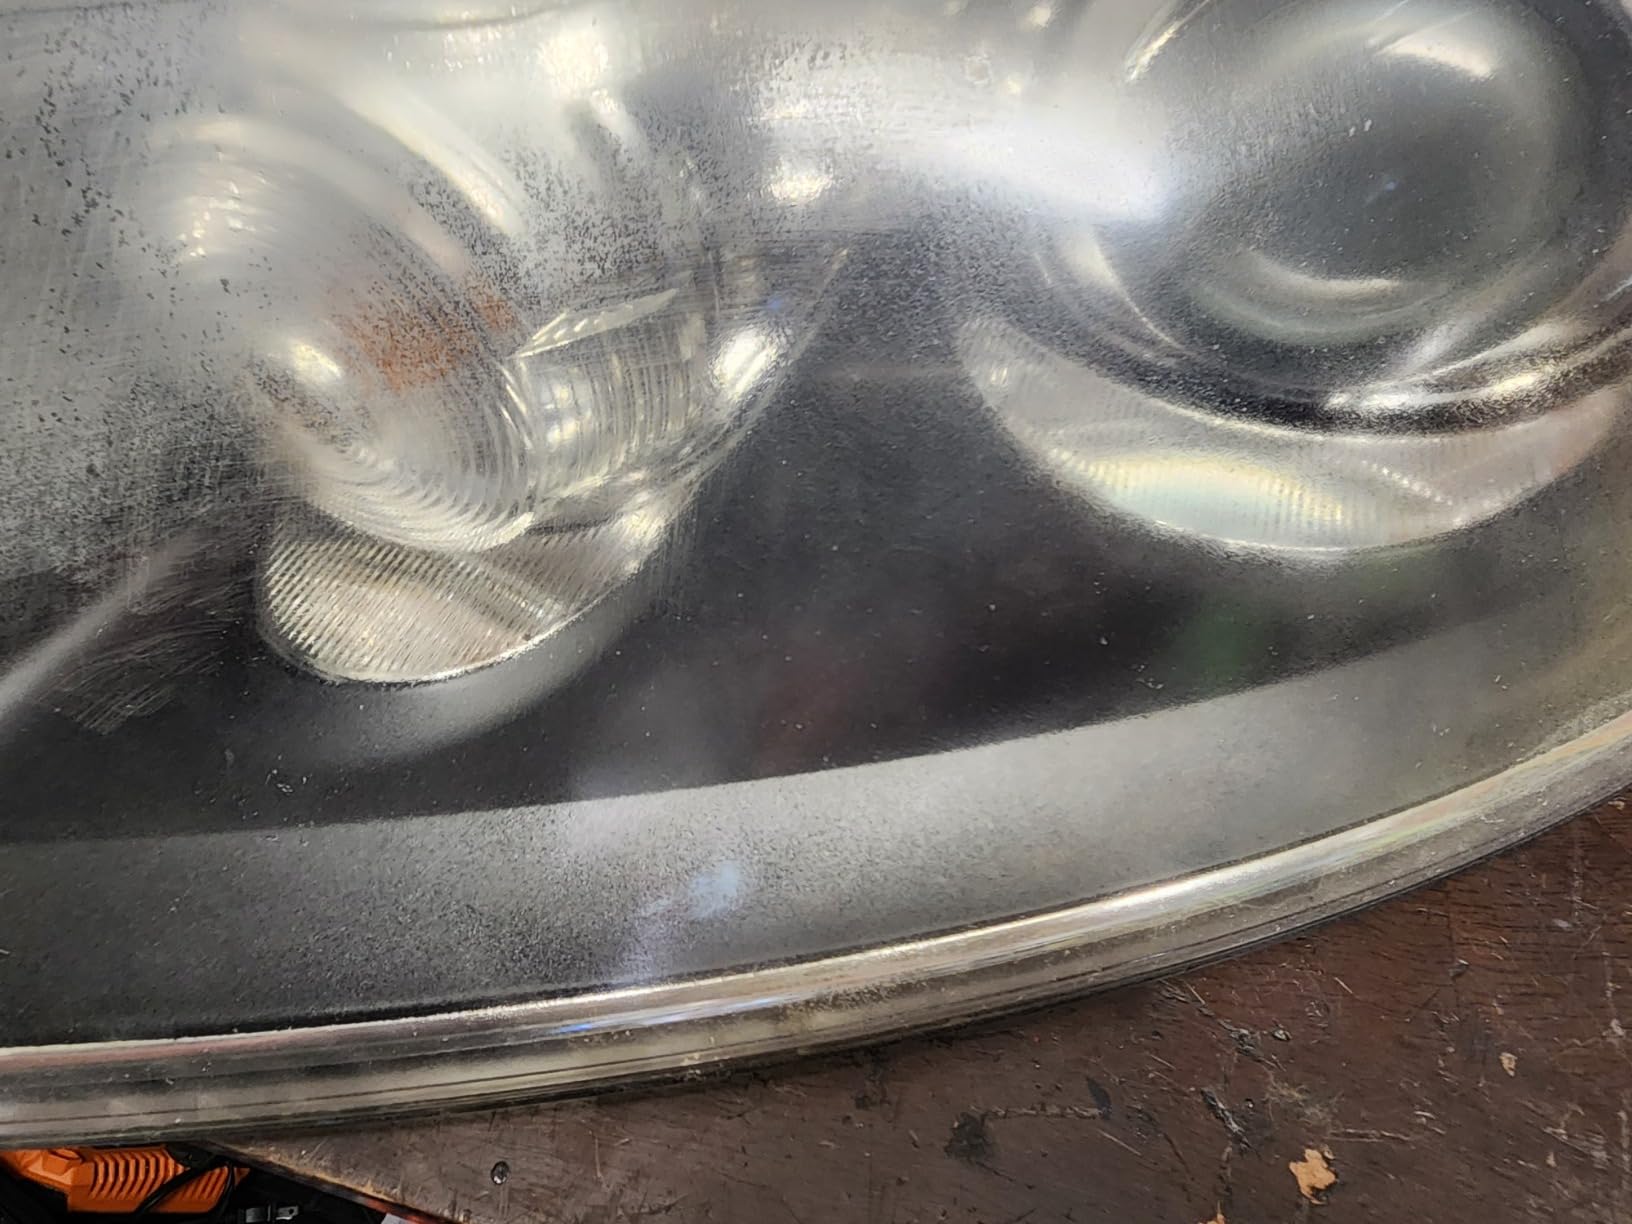
The second complaint is the included protective liquid, which some users found smeary and hazy, and a few replaced with a plain wax. A 2k+ review average of 4.3 reflects solid hardware with a so-so sealant.
Whether the multi-car claim holds up
Two cars is honest, unlike some kits that advertise a car count based on a token amount of compound. The disc and pad count is genuinely enough for four lamps. Forum complaints about kits promising three cars with one car worth of product do not apply here.
What to plan around
Each grit needs several minutes per headlight, so this is a slow process by design. Do not rush the dwell time. And note that the drill is not included, so count on owning one or borrowing one before you start.
11. Rain-X 610153 Headlight Restoration Kit – Best for a Long-Lasting Seal
Rain-X 610153 Headlight Restoration Kit – Car Light Lens Cleaner/Restorer with Sanding & Polishing Drill Attachments & Sealant Wipe, Removes Scratches & Oxidation- All in 1 Long Lasting Formula
Drill sanding and polishing attachments,sealant wipe,Recommended 1500 to 2000 RPM
Pros
- Very clear results on even badly yellowed lenses
- Drill attachments make the job quick
- Sealant wipe applies easily and holds the clarity
- Costs far less than a replacement assembly
Cons
- Discs can leave coloured residue or streaks
- Polish splatters onto surrounding paint
- Sealant needs about 8 hours to cure with no moisture
Rain-X 610153 pairs drill-mounted sanding and polishing attachments with a protective sealant wipe, and the manufacturer suggests running the drill at roughly 1500 to 2000 RPM for consistency. That specific guidance is more useful than most kits give you, because a common failure mode on drill kits is simply running the tool too fast.
Owners who read the instructions first report lenses that look brand new. This is a process kit rather than a wipe kit, so it suits a car that has real oxidation to correct rather than one that needs a maintenance refresh.
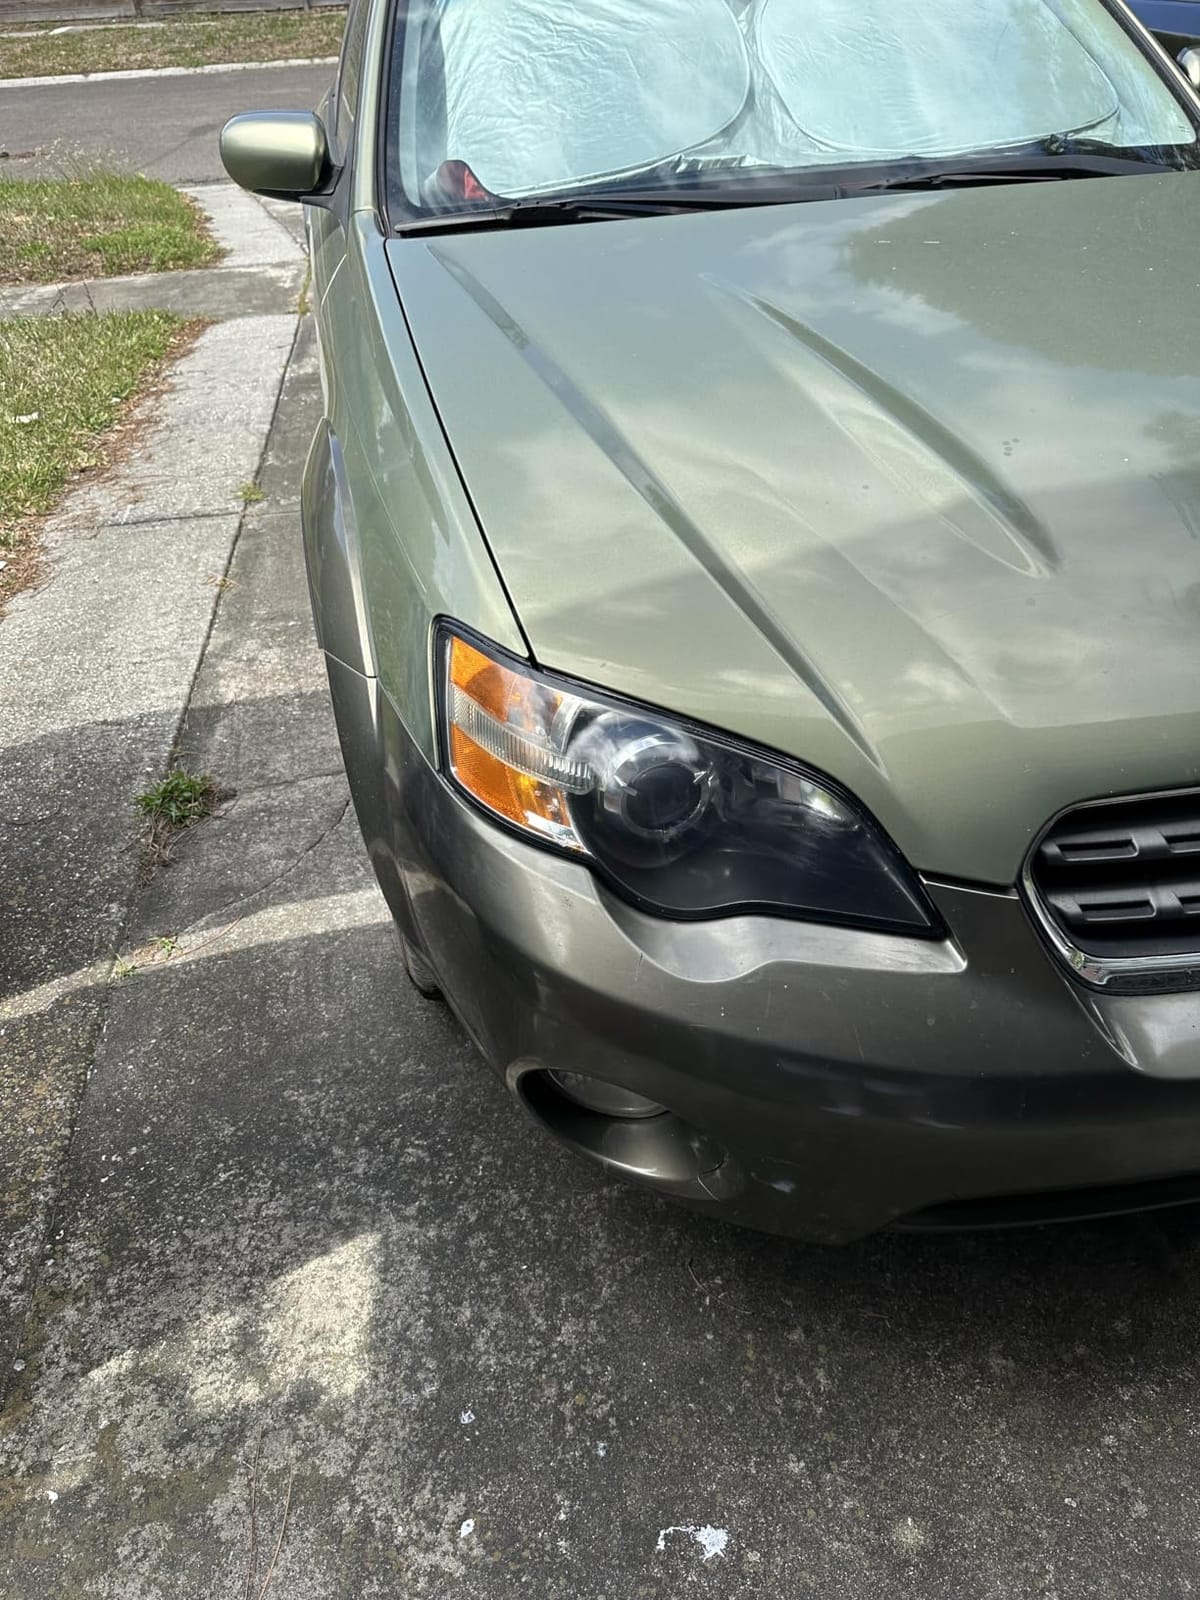
The handling issues are the real negatives. Sanding discs can deposit coloured residue on the lens, and the polish splatters onto adjacent paint where it is stubborn to remove. For a first-timer, masking is not optional, it is the difference between a good afternoon and a repaint.
One more practical constraint: the sealant needs about an hour before touching and around eight hours free of moisture to cure. Plan the job for a dry evening or a dry morning, not the night before you drive somewhere.
Why drill speed changes the finish
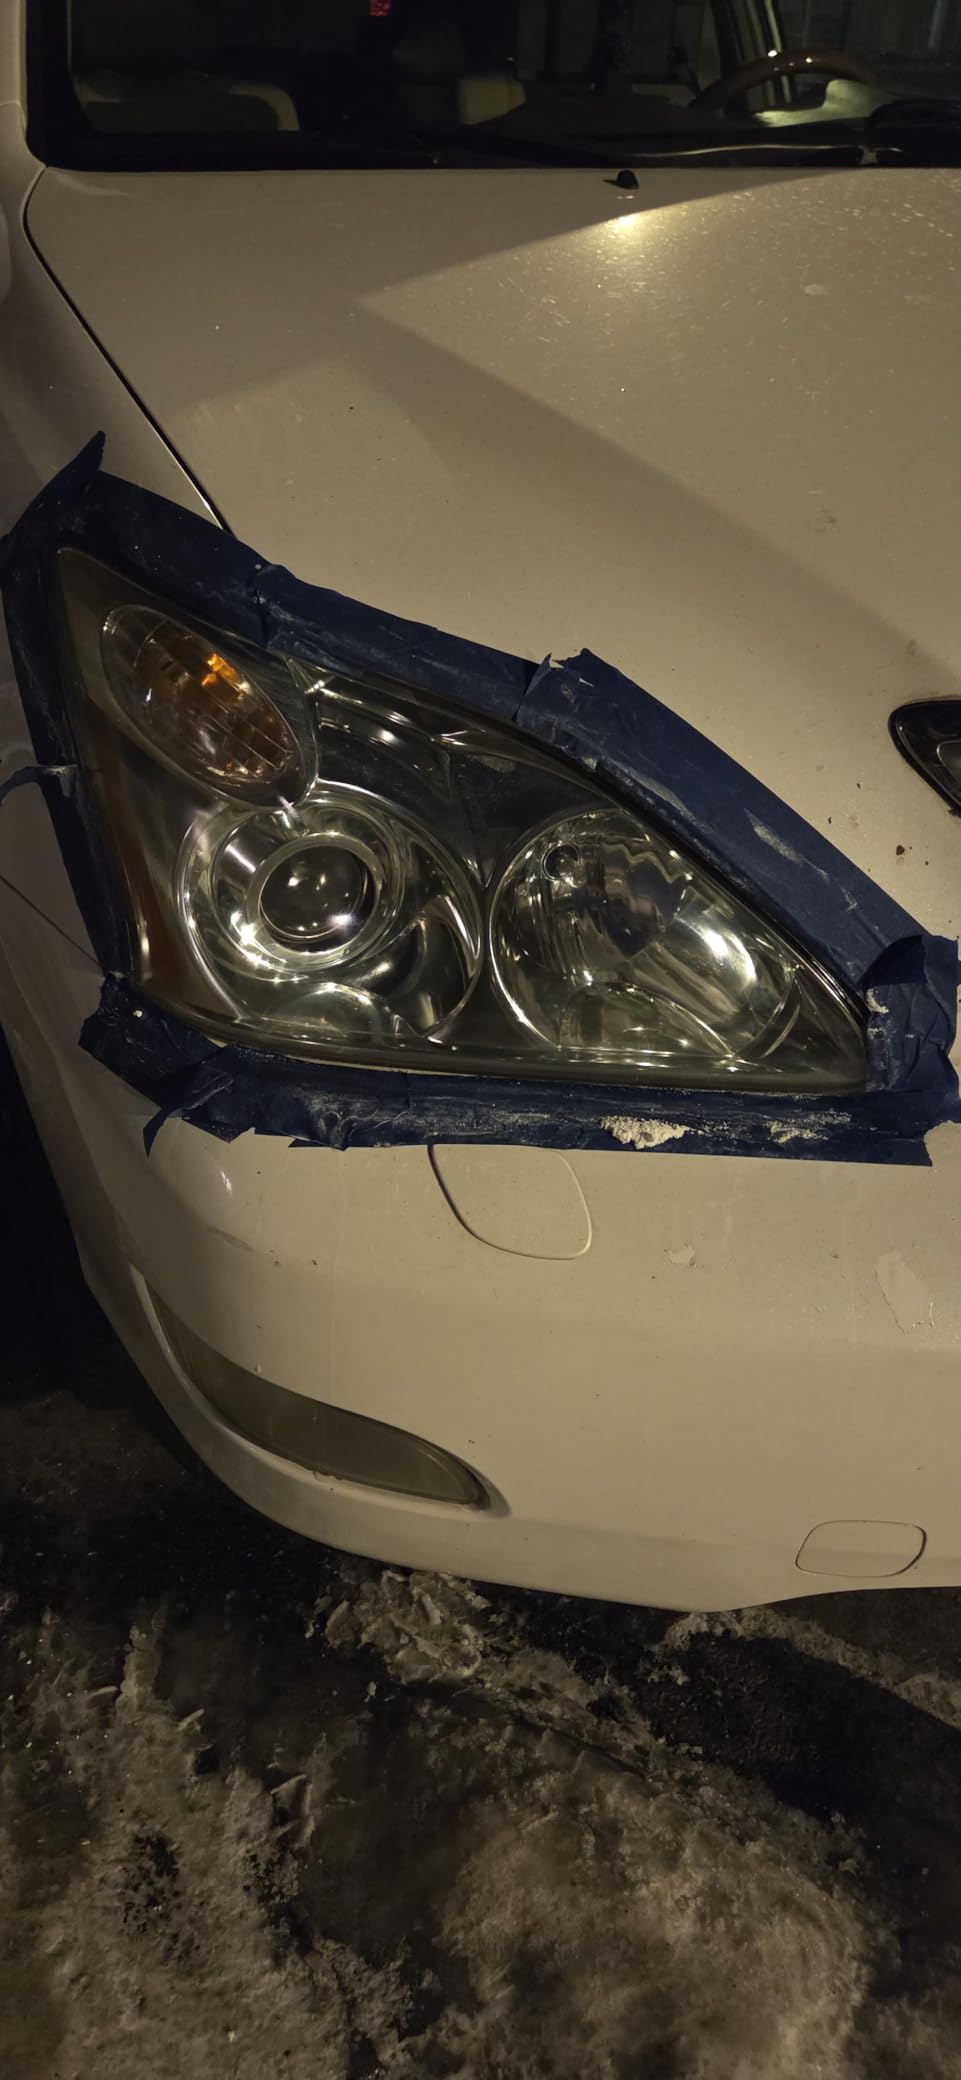
High speed generates heat, and heat on polycarbonate is what causes melting and swirl marks. Staying in the 1500 to 2000 RPM range lets the abrasive abrade rather than burn. Most of the horror stories in forums about sanded headlights come from a drill on max setting with pressure on the pad.
Residue and streaking cleanup
If the discs leave a coloured film, a pass with a damp microfibre and a little of the sealant wipes usually clears it. The larger issue is cure time. If the sealant is applied in humid conditions, it will not bond properly and the protection window shortens noticeably.
12. Chemical Guys Headlight Restore and Protect – Best One-Step Product
Chemical Guys, Headlight Restore & Protect, Clears Cloudy Lenses, 16 oz
16 oz all-in-one bottle,Cleans restores and protects,Works by hand or machine,UV protectant in the formula
Pros
- Five-minute hand application with no sanding
- Handles light scratches and moderate fogging
- 16 oz bottle covers several vehicles
- Works with a rotary or hand buffer for more correction
Cons
- Heavily pitted lenses need wet sanding first
- Protection can wear off sooner than expected
- Needs time and pressure by hand on badly discoloured lenses
This is not a kit in the traditional sense, it is a 16 ounce bottle of all-in-one cleaner, restorer, and protectant with UV protection built into the formula. Model GAP11516, and it is safe on headlights, taillights, fog lights, and turn signals, applied by hand or with a buffer.
It ranks among the top three in its Amazon category for a reason: it does the most with the least effort. A r/370z commenter cited Project Farm’s test of seven kits and singled this one out, reporting about ten minutes of work for a clear result on a lightly hazed lens.
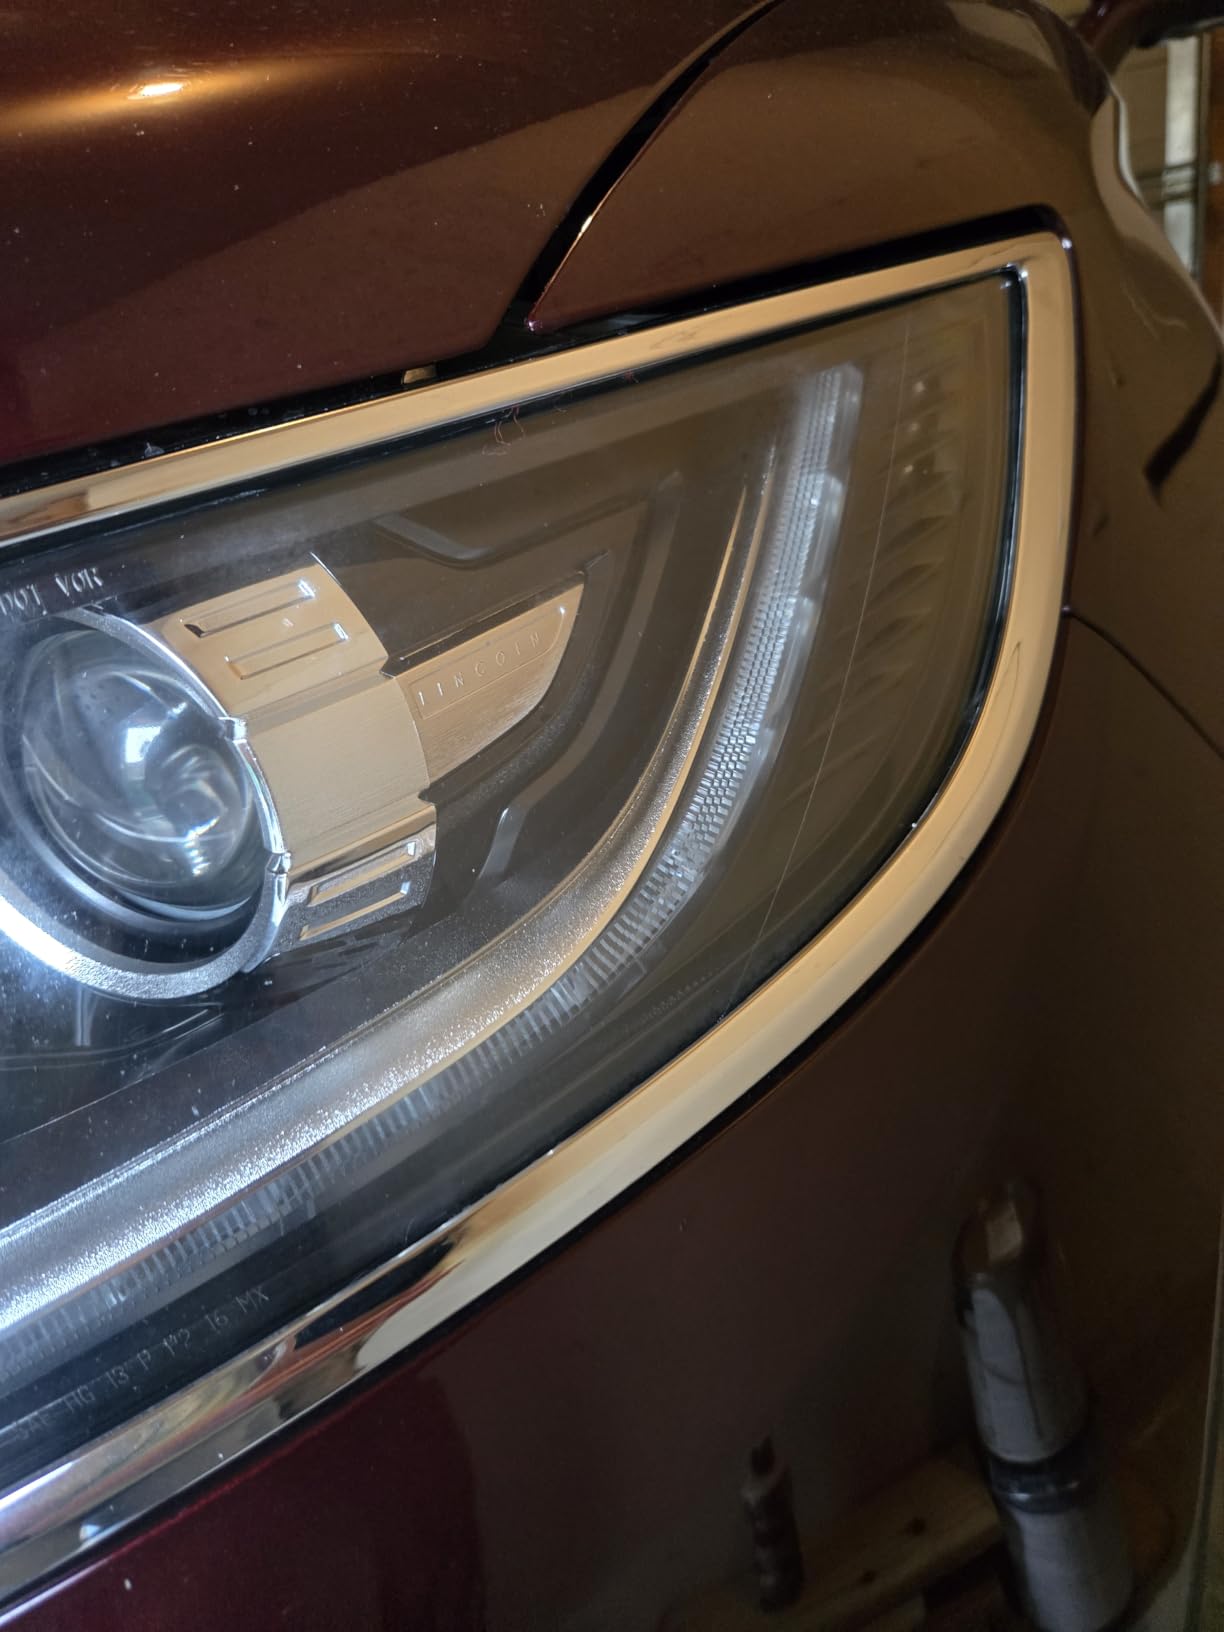
A r/AutoDetailing regular put it more precisely, describing it as legitimate and fast but best for headlights that are only slightly hazy without clear coat damage, and not for heavy oxidation. That is the fairest summary of any product in this roundup.
Reviewers are genuinely split on longevity. Some report clarity surviving rain and repeated washes, while others find the protective effect faded by the next wash. Expect to treat it more like a polish that happens to protect than a durable seal.
When one step is genuinely all you need
Light haze, plastic that has gone slightly cloudy from a season of driving, and lenses you want to maintain between full restorations. In those cases a single product beats a kit on both effort and cost per lens, and the bottle volume stretches across several vehicles.
Where the honest limit sits
Deep pitting. If the lens surface is abraded or pitted, the polish has nothing smooth to work against and you need a wet sanding prep first. Scratched and abraded lenses also respond noticeably worse than smooth ones, which is a fair warning to check the lens before opening the bottle.
How to Choose a Headlight Restoration Kit in 2026
Start with how foggy the lens actually is, because that single variable determines which process you need. Match the severity to the tool and you will finish in an afternoon. Match a one-step bottle to a severely yellowed lens and you will spend a Sunday and still not get there.
Mild haze, no yellowing. A wipe system or an all-in-one polish is enough. Chemical Guys and Clear Lights Tech both live here, and a Turtle Wax kit is a safe first step if you want a little more mechanical action.
Moderate yellowing across the whole lens. You want a kit with a surface activator and graded abrasives plus a UV coat. SYLVANIA is built for exactly this, and the CERAKOTE ceramic system handles it in half the time.
Severe oxidation, uniformly yellow. You need coarse abrasive power, which means a drill. The 3M 39008 with its 500 grit starting discs is the right tool, and the 3M Ultra 39195 is the better one-box version because it includes the masking tape and clear coat.
Deep pitting, cracks, or a lens that is delaminating. Stop. No kit restores structural damage to polycarbonate, and a pitted surface will stay pitted no matter how long you polish it. This is the case where replacement beats restoration, and it is the mistake we see most often in forums from owners who sand a wrecked lens for hours before admitting it needs replacing.
Do you actually need a drill?
Only for coarse abrasives. Fine refining discs, polishing pads, and every wipe system in this roundup work fine by hand. A drill earns its place when you need 500 grit, because hand-sanding at that grit is genuinely unpleasant and slow. If your haze is light to moderate, a hand system is the more forgiving choice on contoured lenses, where a rigid backing plate can dig a flat spot into the curve.
There is a related warning from detailers worth repeating: polished plastic re-yellows faster than untreated plastic, because sanding removes the factory UV layer and leaves the surface more porous. That is not a reason to skip restoration, it is a reason to always finish with a UV sealer and to park in a garage or under cover when you can.
Restoring versus replacing
Restoration costs a fraction of a replacement lens assembly, and that gap has not narrowed. Consumer Reports frames it the same way: results are real, improvement is noticeable, and it beats replacing headlights on value. The decision is rarely close unless the lens is physically damaged.
Clarity is the whole point, and it changes what a car looks like at night in the same way glass quality changes an image. If you enjoy that difference in photography, our guide to the best camera lenses for portrait photography makes the same argument about optics, cost per stop, and why cheaper glass rarely pays for itself.
The full step order matters more than the brand you pick. Wash and dry the lens first, since grinding dirt into the plastic scratches it permanently. Mask the surrounding paint and trim before anything else. Sand wet, polish with light pressure, then seal, and give the seal proper cure time before driving. We wrote about the same wash-then-work discipline in our vinyl record cleaning kit guide, and the logic is identical: you never abrasive a surface before you have removed what is sitting on top of it.
Two home remedies get repeated constantly in car forums. Toothpaste on a damp cloth does work for a light haze and costs nothing, and it is genuinely useful as a test of whether your lens is smooth or badly pitted. WD-40 does not do this. It will take the appearance of haze off a lens for a few weeks, then it comes back, and it leaves an oily film that can interfere with any coating you apply afterwards.
Good masking is the part everybody skips, and it is the only step that protects your paint permanently. If your headlights are already off the car and the housing is on the bench, the project becomes far less stressful. We covered a similar bench-work mindset in our airbrush kit roundup, where overspray control mattered as much as the actual finish.
Frequently Asked Questions
Can you restore cloudy headlight lenses?
Yes, if the cloudiness is oxidation rather than physical damage. Polycarbonate lenses yellow and go cloudy as the factory UV protective film breaks down, and a restoration kit removes that degraded outer layer by cleaning, sanding or dissolving, polishing, and sealing. Cracks, deep pitting, and delamination cannot be fixed this way, and those lenses need replacement.
Do any headlight restoration kits really work?
They work, and results are usually obvious within one session. AAA testing has shown cleaning OEM headlights can restore a large share of original light output effectiveness, and owner reviews across these twelve kits repeatedly describe dramatic before-and-after photos. What they do not do is last permanently, since the factory UV layer is gone once you sand it.
What is the best product for restoring foggy headlights?
For most cars, the CERAKOTE Ceramic Headlight Restoration Kit is the best all-round choice because it needs no power tools, takes about 30 minutes, and includes a chemical-bond ceramic UV coating. For severe uniform yellowing, the 3M Headlight Lens Restoration System with 500 grit discs cuts through oxidation faster.
Do I need a drill to restore cloudy headlights?
Only for coarse sanding work. Wipe systems, all-in-one polishes, and fine refining stages all work by hand, and hand work is safer on deeply contoured lenses where a rigid backing plate can gouge the curve. A drill earns its place when you need 500 grit abrasives on a severely oxidized headlight.
How long does headlight restoration last?
It depends on the kit and the climate. A kit with a UV-blocking or ceramic sealer commonly holds clarity for a year or more if the car is garaged, while a polish-only kit can re-fog within months. Road salt, desert UV, and frequent highway driving all shorten the timeline, and a maintenance wipe used a couple of times a year extends it.
Does WD-40 clean oxidized headlights?
No, not properly. WD-40 will reduce the appearance of haze temporarily and leaves an oily film on the plastic, but it does not remove the oxidised layer. The result fades within weeks and the residue can interfere with any UV coating you apply afterwards. Use a proper restoration kit instead.
What is the difference between a Sylvania and a Cerakote headlight restoration kit?
Sylvania is a manual four-stage system using a surface activator, sandpaper, clarifying compound, and a UV block clear coat, sized to treat two lenses. CERAKOTE is a three-wipe system with no power tools that finishes in about 30 minutes using a chemical-bond ceramic coating. Sylvania suits deeper yellowing that needs more mechanical action, CERAKOTE suits faster jobs on hazed lenses.
My headlights are still foggy after I restored them. What should I do?
First check whether the haze is even across the lens or concentrated in patches, which suggests uneven sanding rather than remaining oxidation. If the surface feels rough, add a finer refining step. If the lens is uniformly cloudy, you likely skipped the coarse grit stage, and a drill kit with 500 grit discs will fix it. Deep pitting needs wet sanding first, and cracks mean the lens is finished.
Final Verdict on the Best Headlight Restoration Kits in 2026
After working through all twelve, the CERAKOTE Ceramic Headlight Restoration Kit comes out ahead as the best headlight restoration kit for foggy lenses for most drivers. It is the fastest route to real clarity, it needs no power tools, and the ceramic coat is the difference between a result that lasts a season and one that lasts a year.
Reach for a drill kit when the yellowing is severe, and reach for a wipe system only after you have already restored. Match the process to the condition, mask everything around the lens, and seal the result properly.