
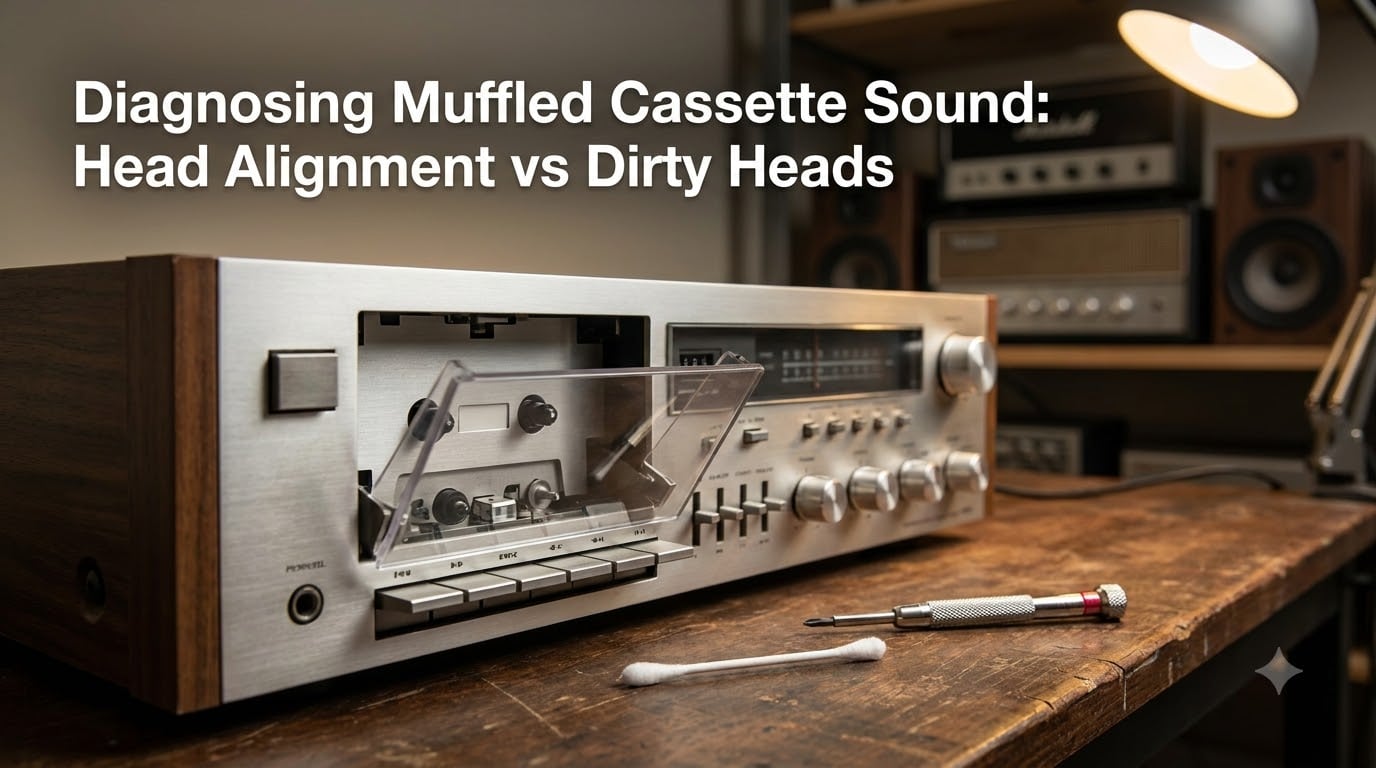
Muffled cassette sound is one of the most common complaints I hear from people getting back into tape playback. The deck spins, the tape moves, but everything sounds like it is underwater. The audio loses its sparkle, vocals sound buried, and cymbals disappear entirely. The frustration doubles when you clean the heads and nothing changes.
The good news is that nearly every case of muffled cassette sound comes down to one of two causes: dirty playback heads, or misaligned azimuth (the angle of the head relative to the tape). I have spent the last decade archiving cassettes for our team, and these two issues account for roughly 90 percent of dull, muffled playback we encounter. This guide will help you figure out which one is hurting your deck, then walk you through the fix.
Table of Contents
Quick Self-Diagnosis: Which Problem Do You Have?
Before you start taking anything apart, run through this short checklist. It separates dirty heads from azimuth issues in about two minutes.
Does the muffled sound affect every tape you play, including brand-new ones? Your deck has the problem.
Did the muffled sound start suddenly after a single session? Likely azimuth drift or oxide shed on the head.
Does the muffled sound come and go, or only happen on one side of the tape? Suspect a pressure pad or azimuth issue.
Did the problem start after you played an old, sticky tape? The heads are probably dirty.
Is the treble gone but the bass still sounds normal and full? Both issues do this, but combined with the answers above, you can narrow it down.
If the answer to the first question is yes, your deck is the cause. If the problem only happens on specific tapes, the tape itself may be at fault. Most of the time, the deck is the culprit, so we will focus there.
What Does a Dirty Tape Head Sound Like?
A dirty tape head produces a muffled, dull, and lifeless sound. The most recognizable symptom is missing high-frequency content. Hi-hats and cymbals lose their shimmer, vocals sound veiled, and snare drums lose their snap. Bass and midrange usually survive, which is why the result feels “woolly” rather than broken.
The cause is simple: a thin layer of oxide, dust, or shed tape coating builds up on the playback head. Even a tiny film creates a microscopic gap between the head and the tape. That gap kills treble response because high frequencies need intimate head-to-tape contact to be reproduced properly.
Dirty heads usually announce themselves with a few telltale signs. The muffled sound develops gradually over weeks or months. You might notice a faint gray-brown smear on the head when you peek inside the cassette door. And the problem gets worse with old or low-grade tapes, because they shed more oxide than modern Type II or Type IV formulations.
One quick warning: if the buildup looks like dark brown or black gunk, that is likely decomposing tape varnish, the sticky residue left behind by old ferrochrome and early chrome tapes. It is stubborn but very fixable with the right cleaning solution.
What Does Azimuth Misalignment Sound Like?
Azimuth is the angle of the head gap relative to the tape. When it drifts out of spec, you get muffled sound that behaves a little differently than dirty heads. Azimuth error mostly kills extreme high frequencies, but it also creates a hollow, slightly phasing quality, especially in stereo. Vocals can sound like they are coming from behind a wall.
The mechanical cause is also simple. Cassette decks have a small screw or cam that sets the head tilt. Bumps during shipping, heat cycles, worn springs, or a clumsy cleaning session can nudge it off. Once it drifts even a degree or two, the head reads a different part of the magnetic track than it was recorded with, and the high-frequency detail is the first thing to go.
Azimuth issues tend to feel more constant than dirty heads. Cleaning does not help, and the muffled sound affects brand-new tapes just as badly as old ones. You may also notice the problem shifts slightly as the tape runs across the head, because worn guide posts can pull the tape away from true alignment.
There is one more diagnostic trick: if the muffled sound is worse on one side of a tape than the other, and the same tape sounds fine in another deck, your azimuth is almost certainly off.
Side-by-Side Comparison: Dirty Heads vs Azimuth Error
This is the comparison I wish I had ten years ago. Bookmark it for the next time you are staring at a dull-sounding tape.
Symptom: Dirty heads create gradual muffling on all tapes. Azimuth error causes constant dullness that cleaning cannot fix.
Onset: Dirty heads build up slowly over weeks. Azimuth drift often appears suddenly after a bump or part replacement.
Treble loss: Both kill highs, but azimuth adds a hollow, phasing character in stereo. Dirty heads sound more uniformly veiled.
One side affected: Rare with dirty heads. Common with azimuth misalignment or pressure pad failure.
Affected tapes: Dirty heads worsen with old or sheddy tapes. Azimuth affects brand-new tapes just as much.
Fix: Cleaning solves dirty heads. Azimuth needs mechanical realignment with a screw or azimuth cam.
Visible clue: Dirty heads show oxide or varnish on the head face. Azimuth shows no visible residue.
If your symptoms match the first column, go to the cleaning section below. If they match the second column, skip ahead to azimuth adjustment.
Step-by-Step Fix: How to Clean Cassette Heads Properly
Cleaning the heads is the easiest fix and the right starting point for most muffled sound problems. Here is the procedure our team uses on every deck that comes through the shop.
Unplug the deck and open the cassette door. Press play with no tape loaded so the head and pinch roller swing out for access.
Gather your tools. You need 90 percent or higher isopropyl alcohol, lint-free cotton swabs, and optionally a wooden-head cleaning stick shaped for cassette decks.
Dip the swab in alcohol and squeeze out excess. The swab should be damp, not dripping. Dripping alcohol can seep into bearings and cause damage.
Gently rub the playback head face, the erase head, the capstan, and the pinch roller. Use slow straight strokes rather than scrubbing.
Inspect the swab. If it comes away gray or brown, repeat with a fresh swab until it returns clean. This usually takes two to four passes.
Wait three to five minutes for any residual alcohol to evaporate before playing a tape. Trapped alcohol can damage tape coatings.
Play a tape and listen for restored treble. If the muffled sound is gone, you had dirty heads. If not, move on to azimuth adjustment.
A few warnings to keep in mind. Never use rubbing alcohol with additives, and never use household cleaners. Avoid touching the head with anything metallic, including screwdrivers, because the head face is fragile. If your deck uses a wet-chemistry head cleaner with a special cassette, follow the manufacturer’s time limits, since overuse can over-clean and leave residue.
How to Adjust Azimuth on a Cassette Deck
Azimuth adjustment sounds intimidating, but it is one of the simplest calibrations on a cassette deck. You have two basic approaches: the easy way and the precise way.
The easy way works for most home listeners. You need a tape you know sounds good, ideally one recorded on a properly aligned deck, plus a small Phillips screwdriver.
Play the reference tape and listen carefully to the high frequencies. Pay attention to vocals and cymbals.
Locate the azimuth screw on the head assembly. It is usually at the top or side of the head mount, often labeled “AZ” or hidden under a small dab of paint.
Loosen the lock paint or lock nut just enough to let the screw move. Most decks only need a quarter-turn of play.
Make tiny adjustments while the tape plays. Move the screw in either direction in 1/16 turn increments and listen for treble improvement.
Tighten the lock and dab a tiny amount of nail polish or thread locker to hold the setting.
The precise way uses a calibration tape and either your ears or an oscilloscope. A 315 Hz or 6.3 kHz azimuth test tone lets you dial in exact alignment by ear. For the gold standard, tapeheads.net veterans use a vectorscope and watch for a clean Lissajous pattern that opens to a perfect diagonal line.
One practical tip from the field: if you cannot get the treble to come back no matter how you turn the screw, the head itself may be worn out. Replacement heads are available for many vintage decks and can bring a tired machine back to life.
Other Causes of Muffled Cassette Sound
If cleaning and azimuth do not solve the problem, the muffled sound may be coming from somewhere else in the signal chain. These are the next things I check, in order.
Dolby noise reduction mismatch: If a tape was recorded with Dolby B or C and you play it back with Dolby turned off, the treble sounds dull and the noise floor rises. If Dolby was off during recording and you turn it on for playback, highs sound unnaturally bright. Always match the Dolby setting to how the tape was recorded.
Tape formulation problems: Old Type I ferric tapes can lose high-frequency output as the oxide binder breaks down. If your muffled sound only happens on certain tapes, even after cleaning and alignment, the tape itself may be past its usable life.
Pressure pad failure: The small felt pad inside the cassette shell presses the tape against the head. If it drops off or hardens with age, contact is inconsistent and treble suffers. You can usually diagnose this by gently pressing the tape against the head with your finger mid-playback. If the sound brightens up, the pad is the culprit.
Pinch roller issues: A hard, shiny, or deformed pinch roller causes tape slippage and speed instability. The sound becomes muffled and slightly wavering. Inspect the roller for shine or flat spots.
When to Seek Professional Repair
Some cassette problems are beyond a safe home fix. If you have cleaned the heads, adjusted the azimuth, and the muffled sound persists, the issue may be a worn head, a stretched belt, or a dried-up capacitor in the playback amplifier. Belts are an easy swap for anyone with basic soldering skills, but capacitor replacement requires desoldering and proper ESR-matched replacements.
Take your deck to a technician if the muffled sound is accompanied by mechanical noise, erratic speed, or any smell of burning electronics. For decks older than 30 years, a recap and belt service is often enough to restore full performance. Expect to pay roughly the cost of a new entry-level deck, but you get your original machine back, properly serviced.
Prevention and Long-Term Cassette Deck Maintenance
A little routine care keeps muffled sound away for years. Our team cleans heads every 25 hours of playback, or after every 10 hours if we are running old tapes. We demagnetize the heads once a year using a cassette demagnetizer. We also store decks in a cool, dry place and avoid leaving tapes inside when not in use, since that lets oxide shed onto the head.
If you record your own tapes, clean the record head just as often as the playback head. A dirty record head writes muffled sound onto the tape permanently, and no amount of cleaning will fix that tape later. The AV Artifact Atlas team estimates that 80 percent of “bad” tapes in archive collections were recorded on dirty heads.
Finally, do not skip azimuth checks. Even a well-aligned deck drifts over time, especially after a move or a heavy cleaning. A five-minute azimuth tune-up every year or two keeps your playback crisp and your tapes sounding the way they were meant to.
Frequently Asked Questions
Why does my cassette tape sound muffled?
A muffled cassette tape usually means high-frequency information is being lost during playback. The two most common causes are a dirty playback head and misaligned azimuth. A dirty head creates a tiny gap between the head and the tape that kills treble, while an azimuth error means the head reads the magnetic tracks at the wrong angle.
What does a dirty tape head sound like?
A dirty tape head produces a dull, veiled, muffled sound with weak treble. Cymbals lose their shimmer, vocals sound buried, and snare drums lose snap. Bass and midrange usually remain intact, which is why the result sounds woolly rather than broken. The muffled sound typically develops gradually and worsens with old tapes that shed oxide.
How to fix muffled cassette sound?
Start by cleaning the playback head, capstan, and pinch roller with 90 percent isopropyl alcohol and a lint-free swab. If the muffled sound persists, adjust the azimuth screw on the head assembly in tiny increments while playing a reference tape. If both steps fail, check for Dolby noise reduction mismatch, pressure pad failure, or worn pinch roller.
What does a degraded cassette sound like?
A degraded cassette sounds muffled with reduced high-frequency response, increased hiss, and possibly dropouts or warble. The oxide coating on the tape loses its magnetic properties over decades, especially in Type I ferric formulations stored in warm or humid conditions. Once a tape is physically degraded, no amount of cleaning will restore its full frequency response.
How do I make my cassette deck sound better?
Clean the heads, capstan, and pinch roller regularly every 25 hours of playback. Adjust the azimuth using a reference tape for crisp high-frequency response. Match your Dolby noise reduction setting to how each tape was recorded. Demagnetize the heads once per year, and recap or belt-servicing older decks to keep playback clean and accurate.
Why does my cassette player sound distorted?
A cassette player can sound distorted from a worn playback head, an azimuth misalignment that causes phase cancellation in stereo recordings, a hardened pinch roller causing tape slippage, or a Dolby mismatch between recording and playback. Dirty heads usually cause muffling rather than harsh distortion, so if the sound is sharp or gritty, look beyond the head.
Final Thoughts on Diagnosing Muffled Cassette Sound
Muffled cassette sound almost always traces back to dirty heads, misaligned azimuth, or both. Start with a careful cleaning using 90 percent isopropyl alcohol and lint-free swabs. If the muffled sound stays with you, adjust the azimuth in tiny increments until the treble comes back. For everything else, work through the checklist of Dolby mismatch, pressure pad failure, and pinch roller condition. With a little patience, you can bring any cassette deck back to full, lively playback.