
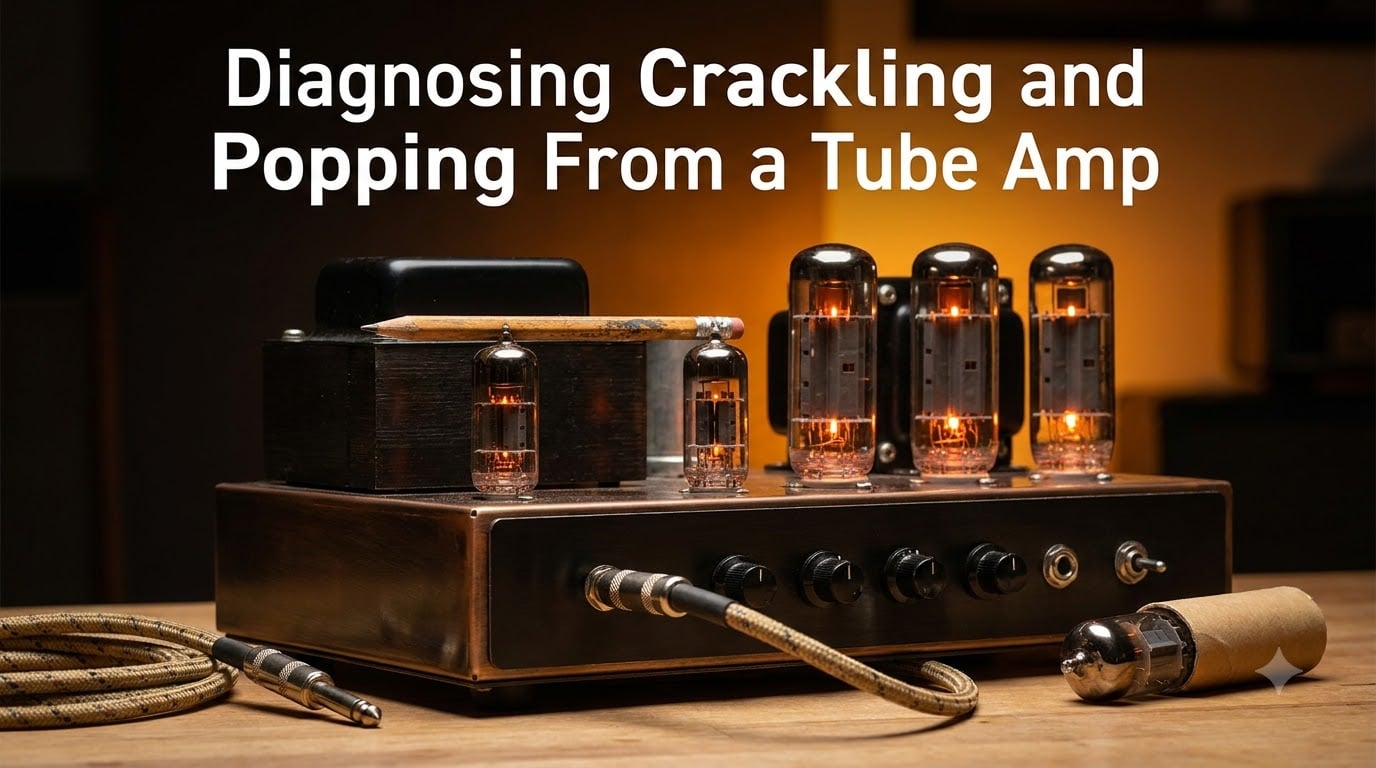
That crackle creeping through your favorite amp is enough to ruin any session. Whether it shows up at startup, gets worse the longer you play, or fires off random pops mid-solo, tube amp crackling and popping is one of the most common issues guitar players and audiophiles face. The good news: most causes are traceable, and many are fixable without a bench tech.
I have spent years around tube amps, from vintage Fender and Vox circuits to modern high-gain heads, and the noise patterns almost always point to a specific culprit. This guide walks through a complete diagnostic process for crackling and popping, starting with the safe external checks, moving into tube identification, and finishing with clear guidance on when to stop and call a professional.
Before we get into anything hands-on, there is one rule that overrides everything else in this article.
Table of Contents
Safety First: Tube Amps Carry Lethal Voltage
Tube amplifiers operate at high voltages, often 300 to 600 volts DC inside the chassis. That is enough to stop a heart. The real danger is that these voltages can remain stored in the filter capacitors for a long time after the amp is unplugged from the wall.
Unplugging the amp does not make it safe. A charged filter capacitor can hold a serious, even lethal, electrical charge for hours or days. This is the single most important thing to understand before diagnosing anything inside the chassis.
If you are not trained to discharge filter capacitors safely, do not open the chassis. The diagnostic steps in this guide that involve tube swapping, the tap test, and external checks are safe to perform with the amp powered off and unplugged, or powered on with the chassis closed. Anything beyond that, including soldering, capacitor replacement, or bias adjustment, belongs with a qualified technician.
Treat every tube amp as live until proven otherwise. When in doubt, take it to a tech.
Quick Safe Checks Before You Open Anything
Start simple. A surprising number of crackling and popping complaints trace back to a cable, an outlet, or a connection upstream of the amp itself. Run through these five checks before assuming the worst.
Step 1: Isolate the amp. Plug your guitar straight into the amp input using a known-good cable. Skip every pedal, loom, and wireless system. If the noise disappears, the problem lives somewhere in your signal chain, not the amplifier.
Step 2: Try a different wall outlet. A shared circuit with a fridge, fluorescent light, or dimmer switch can dump noise straight into your amp. Move to a different outlet, ideally on a different circuit, and listen again.
Step 3: Swap your instrument cable. Cables fail internally in ways you cannot see. A partially broken shield or center conductor causes exactly the kind of intermittent crackling that mimics a dying tube. Always rule this out first.
Step 4: Check the speaker connection. A loose speaker jack or a partially inserted speaker cable causes popping, crackling, and in worst cases, output transformer damage. Make sure the speaker cable is seated firmly and that you are using a speaker cable, not an instrument cable, between the amp and cab.
Step 5: Reseat the tubes. With the amp fully unplugged and cool, gently rock each tube in its socket and press it back into place. Tubes settle and oxidize over time, and simply reseating them clears up a surprising percentage of crackling complaints. Always handle tubes by the base, not the glass.
Types of Tube Amp Noise and What Each One Means
Tube amps make a lot of sounds, and the type of noise tells you a lot about where to look. Diagnosing crackling and popping from a tube amp starts with correctly identifying what you are actually hearing.
Crackling sounds like a vinyl record or a campfire. It is irregular, static-like, and often comes and goes. Crackling usually points to a failing preamp or power tube, a dirty tube socket, or a noisy resistor or capacitor in the signal path.
Popping is a sharper, discrete sound, almost like a small snap. Single pops at startup are often normal as tubes warm up. Continuous or rhythmic popping suggests a tube going gassy, a failing coupling capacitor, or a loose connection arcing.
Humming is a steady low tone, usually at 60 Hz (or 50 Hz depending on your country). Hum typically comes from ground loops, poor filtering in the power supply, or a heater wiring issue. It is distinct from crackling and has its own diagnostic path.
Buzzing is a harsher, buzzier version of hum. It often indicates a ground problem or a shielding issue, especially when the buzz changes as you touch the guitar strings.
Squealing is a high-pitched whine that sometimes tracks your playing. Squealing points to a microphonic tube, a failing screen grid resistor, or an oscillation issue in the circuit.
Hiss is steady white noise, like steam. A small amount of hiss is normal in tube amps. Excessive hiss usually comes from a noisy preamp tube in the first gain stage.
Common Causes of Tube Amp Crackling and Popping
Once you have identified the noise type, the next step is narrowing down the cause. Here are the most common culprits behind tube amp crackling and popping, ordered roughly by how often they show up.
Aging or failing tubes. Tubes are consumable parts. Preamp tubes typically last one to two years of regular use, while power tubes can go in six months to two years depending on how hard the amp is pushed. A tube that is losing vacuum, going gassy, or has an internal short will crackle, pop, or cut out. This is the first place to look.
Dirty or corroded tube sockets. Tube pins and socket contacts oxidize over years of heat cycling. The resulting poor contact causes intermittent crackling that often responds to vibration, which is why tapping the amp or hitting a low note can trigger it. Cleaning the sockets with proper contact cleaner and a soft tool often resolves this.
Cold solder joints. A solder joint that did not flow properly during manufacturing, or that has cracked from years of heat and vibration, creates a high-resistance connection. These joints expand as the amp warms up, which is why crackling often appears after 30 to 40 minutes of playing. Cold joints require reflowing with a soldering iron, a job for a technician.
Failing filter capacitors. The large electrolytic capacitors in the power supply dry out with age, typically after 15 to 20 years. When they fail, the amp develops hum, ghost notes, and sometimes crackling. Old filter caps are a leading cause of noise in vintage amps and require professional replacement.
Microphonic tubes. Some tubes become microphonic, meaning internal elements vibrate in response to sound and translate that vibration back into the signal as a ringing or squealing noise. Microphonic tubes are easy to identify with a tap test and simply need replacing.
Noisy resistors. Carbon composition resistors, common in older amps, get noisy as they age. They produce a steady crackling or hissing that does not change with playing dynamics. Replacing them with metal film resistors is a standard part of vintage amp restoration.
Bias problems. If the bias is set too hot, power tubes run too hard and can become noisy, red-plate, and fail early. Bias that is too cold can cause crossover distortion. Bias adjustment requires measuring current and voltage inside a live chassis, so this is strictly a technician job.
How to Diagnose Crackling and Popping From a Tube Amp
This is the core diagnostic procedure. Work through it in order, and stop when you find the problem. Each step narrows the possibilities without requiring you to open the chassis.
Step 1: Note when the noise happens. Does it appear at startup and fade as the amp warms? That often points to a tube settling in or a capacitor reforming briefly. Does it get worse the longer you play? That suggests a heat-related issue like a failing tube or cold solder joint. Does it happen with nothing plugged in? That narrows the problem to the amp itself, not your guitar or pedals.
Step 2: Determine which channel and input are affected. If the crackling only appears on the high-gain channel, the problem is downstream of the channel switching, likely in a specific preamp tube. If it appears on every input, the issue is in a shared gain stage or the power section.
Step 3: Identify whether the noise is in the preamp or power section. Turn the volume controls. If the crackling gets louder and quieter with the volume knob, the problem is before that control, in the preamp. If the noise stays the same volume regardless of the knobs, the problem is in the power section, phase inverter, or power supply.
Step 4: Swap tubes one at a time. This is the single most effective diagnostic for tube-related noise. Power the amp off, let the tubes cool, remove one preamp tube, and replace it with a known-good spare. Power on and listen. If the noise is gone, you found the bad tube. If not, swap the original back in and try the next position. Always have at least one known-good spare preamp tube (typically a 12AX7) on hand for this.
Step 5: Pay attention to power tubes. Power tube problems cause random pops, crackling, and sometimes a loss of volume or a change in tone. Swapping power tubes is more involved because of bias matching, but if one power tube is visibly different from the others, glowing brighter, or not glowing at all, that is a strong indicator. Power tubes should always be replaced as a matched set and re-biased by a technician.
Step 6: Check for mechanical sensitivity. Gently tap the chassis, wiggle each knob, and tap each tube with a non-conductive tool. If a specific action triggers or changes the noise, you have localized the problem to that component or connection.
The Tap Test: Identifying Microphonic Tubes
The tap test is the standard method for identifying microphonic tubes, and every tube amp owner should know how to do it. It is safe, fast, and remarkably effective.
Here is how I run it. Let the amp warm up for a few minutes with the volume set low. Take a wooden pencil (never metal) and lightly tap the glass of each preamp tube, one at a time, while listening through the speaker.
A healthy tube produces a soft, dull thump when tapped. A microphonic tube produces a loud ring, squeal, or bell-like tone that sustains. The difference is usually obvious. The tube that rings the loudest is your culprit.
Work from the input stage forward. The first preamp tube (V1) is the most gain-sensitive position, so microphonics there are the most disruptive. Replace any tube that rings loudly with a new one and re-test.
Do not tap power tubes. They run hot and the glass is under stress. Power tube problems are better diagnosed by visual inspection (looking for red-plating or uneven glow) and by the swap method described above.
Forum wisdom from long-time amp owners confirms the tap test as one of the most reliable DIY diagnostics. Experienced players on r/GuitarAmps and the Amp Garage forum recommend it as the first test after reseating tubes.
Red-Plating: An Emergency You Must Not Ignore
Red-plating is not a crackling issue, but if you are diagnosing a noisy amp you might encounter it, and it is an emergency. Red-plating happens when a power tube draws too much current and the internal plate structure literally glows orange or red hot.
If you see a power tube glowing bright orange inside, not the normal faint blue glow, turn the amp off immediately. Leave it in standby if you must, but powering down fully is safest. Red-plating will destroy the tube in minutes and can take out a screen grid resistor, the output transformer, or both.
Red-plating is caused by a bias that is set too hot, a shorted tube, or a failed screen grid resistor. All of these require a technician to diagnose and repair safely. Do not continue playing a red-plating amp under any circumstances.
This is one situation where crackling and popping take a back seat to a much bigger problem. If your amp is making noise and a tube is visibly red-hot, the noise is the least of your worries.
When to Call a Qualified Amp Technician?
DIY diagnosis has clear limits. Knowing when to hand the amp to a professional protects both you and the amplifier. Here is when to stop and book a service.
Call a technician if you have swapped all preamp tubes with known-good spares and the noise persists. At that point the problem is almost certainly inside the chassis, in the solder joints, capacitors, resistors, or transformers.
Call a technician if your amp is blowing fuses repeatedly. A fuse that blows more than once indicates a real fault, often a shorted power tube, a failed rectifier, or a power supply problem. Keep replacing fuses and you risk worse damage.
Call a technician if you see red-plating, smell burning components, or notice any visible damage inside the chassis. These are not DIY situations.
Call a technician if your amp is old enough that the filter capacitors are original. Electrolytic capacitors have a service life of 15 to 20 years. An amp from the 1970s or 1980s with original caps is overdue for a recap, and a noisy vintage amp almost always benefits from this service.
Finally, call a technician for anything that requires working inside a live chassis, including bias adjustment, soldering, or component replacement. The voltages inside a tube amp are genuinely dangerous, and a qualified tech has the training, tools, and insurance to do the work safely.
Keep Your Amp Quiet: Maintenance Best Practices
A little preventive care goes a long way toward keeping crackling and popping away. These habits extend tube life and keep your amp sounding clean.
Let your amp warm up in standby for 30 to 60 seconds before playing, and let it cool in standby before powering off. This reduces thermal shock on the tubes and extends their life. Keep spare preamp tubes on hand so you can swap and diagnose quickly when noise appears. Have your amp serviced by a technician every two to three years for a bias check and general inspection. Store your amp in a dry, temperature-stable environment, and avoid moving it while the tubes are hot.
Replace power tubes as a matched set and have the amp re-biased each time. Running unmatched power tubes causes uneven wear, noise, and in some cases damage to the output transformer.
Frequently Asked Questions
Why is my tube amp making a crackling sound?
A tube amp making a crackling sound is usually dealing with aging preamp or power tubes, dirty tube sockets, cold solder joints, or failing capacitors. The most common fix is swapping tubes one at a time with a known-good spare to isolate the noisy one. If reseating and swapping tubes does not help, the problem is likely inside the chassis and needs a technician.
Why do tube amps crackle?
Tube amps crackle because vacuum tubes wear out, internal connections oxidize, solder joints degrade from heat cycling, and electrolytic capacitors dry out over time. Some crackling at startup is normal as tubes warm up, but persistent or worsening crackling signals a component that needs attention.
How to tell if a tube amp is blown?
Signs of a blown tube include a tube that does not glow at all, a tube that glows bright orange (red-plating), a sudden loss of volume, loud popping, fuses blowing repeatedly, or a noticeable change in tone. The tap test helps identify microphonic preamp tubes. Swap suspected tubes with spares to confirm before replacing.
Why does my amp keep popping?
Continuous popping usually means a power tube is failing or going gassy, a coupling capacitor is leaking DC, or a connection inside the chassis is arcing. A single pop when you switch the amp on or off is normal. If the popping is continuous, rhythmic, or gets louder over time, replace the power tubes first and consult a technician if it continues.
Conclusion
Diagnosing crackling and popping from a tube amp comes down to a methodical process: rule out cables and connections first, then isolate the noisy tube through careful swapping and the tap test. Most crackling complaints trace back to a failing tube or a dirty socket, both of which are manageable with a spare tube and a few minutes of patience.
The line between safe DIY diagnosis and dangerous repair work is the chassis. Anything inside it, soldering, capacitors, bias, transformers, involves lethal voltages and belongs with a qualified technician. Run the external diagnostics, swap your tubes, run the tap test, and if the noise persists, book the amp in for service. Your tone, and your safety, are worth it.