
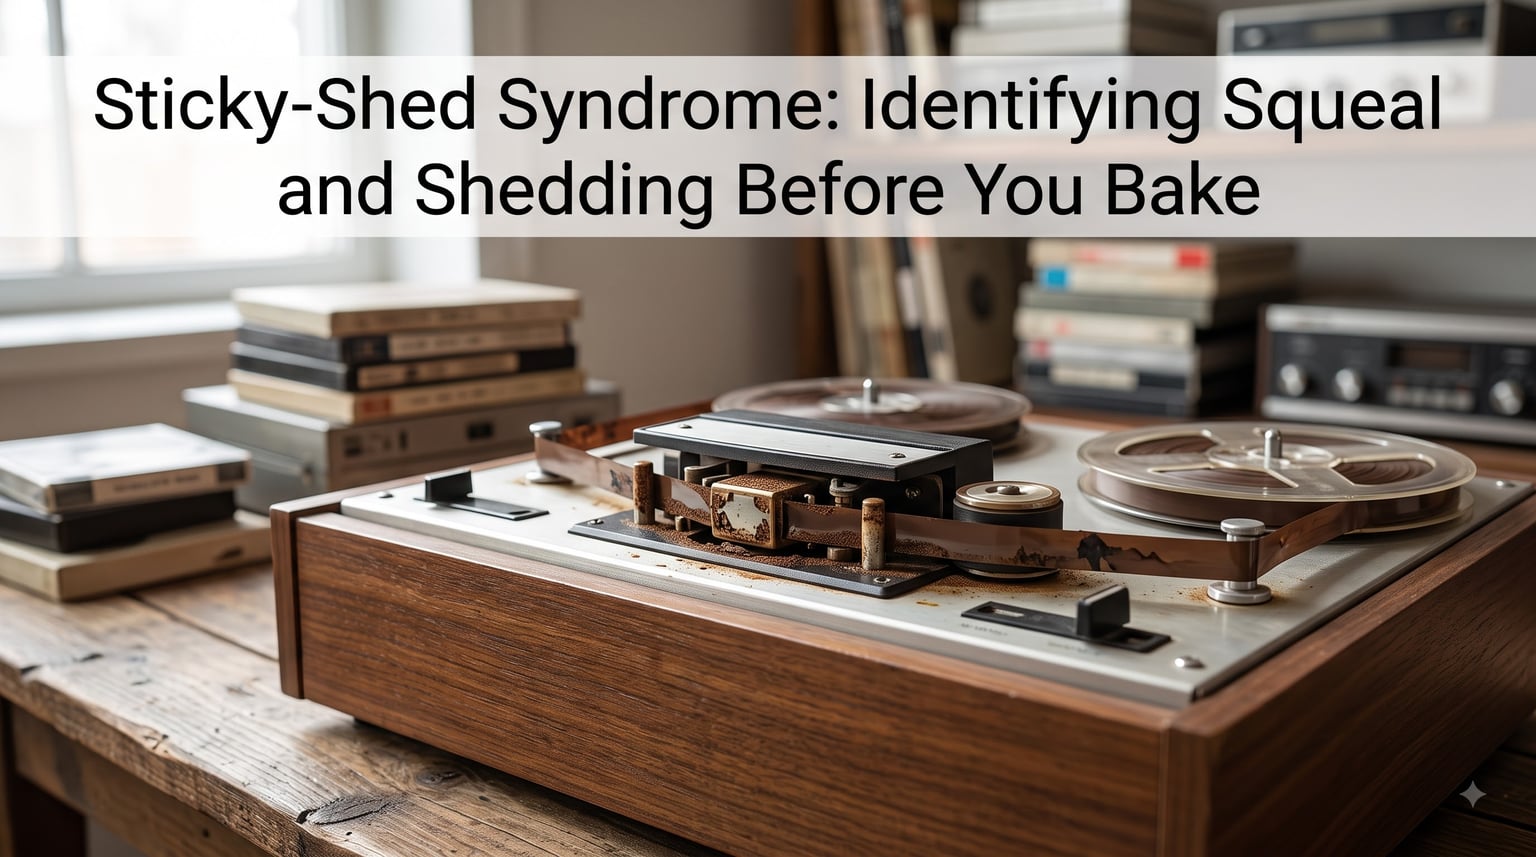
I learned the hard way that baking tapes before testing them can cost you recordings forever. Years ago, I cued up what I thought was a routine reel-to-reel transfer and watched the magnetic coating peel off like wet paint. The tape was a casualty of sticky-shed syndrome, and I had not checked first.
Sticky-shed syndrome is the single most common reason vintage reel-to-reel, audio cassette, and VHS tapes become unplayable. It happens when moisture and heat break down the polyurethane binder holding magnetic oxide particles to the tape base, leaving a gummy layer that shreds on contact with playback heads.
This guide walks you through identifying the two warning signs, squealing and shedding, before you ever press play. That way you protect both the tape and your equipment.
Table of Contents
What Is Sticky-Shed Syndrome?
Sticky-shed syndrome is a form of magnetic tape degradation caused by hydrolysis of the polyurethane binder layer that holds oxide particles onto the tape’s polyester base. When that binder absorbs moisture over decades, it becomes soft, sticky, and prone to shedding during playback.
The chemistry is simple but the consequences are severe. Polyester-urethane breaks down through hydrolysis, a reaction with water in the air. As the binder softens, oxide particles lift from the backing and clump onto everything the tape touches. The back-coating layer (a conductive carbon-loaded coating on many reel-to-reel tapes) is often the worst offender because it contains a similar polyurethane binder system.
Not every old tape has sticky-shed syndrome, and not every sticky tape is a hopeless case. The trick is identifying the problem before you thread the tape, so you can decide whether to bake it, transfer it immediately, or accept that it is too far gone.
The Two Telltale Symptoms: Squeal and Shedding
Sticky-shed syndrome announces itself in two ways during playback: a high-pitched squealing sound and visible residue on the tape path. Neither symptom is subtle.
The Squealing Sound
The squeal sounds like a sharp, rhythmic chirping or screeching that pulses as each reel turns. Picture a wet shoe on a gymnasium floor, repeated 2 to 4 times per second as the tape passes the heads. Normal tape tension produces a low, steady hum from the motors, not a piercing tone that varies with rotation speed.
What you are hearing is the magnetic coating briefly sticking to the playback head, then snapping free as the takeup reel pulls harder. Each snap is one piece of coating that will never reattach.
Shedding and Residue
Shedding looks like dark brown, rust-colored, or black dust coating the heads, guides, and capstan after only a few seconds of playback. On back-coated tapes, you may see fibrous, almost hair-like strands stuck to the guides, which is the back-coating layer literally unraveling.
The residue feels slightly tacky when you touch it (with the power off). It does not brush clean the way ordinary dust does. If you rub it between your fingers and it smears into a sticky film, that confirms the binder is breaking down.
Which Tapes Are Affected by Sticky-Shed Syndrome?
Sticky-shed syndrome shows up most often in tapes manufactured between the mid-1970s and mid-1980s using polyester-urethane binders. Three manufacturers produced the widest-affected stock.
Ampex — especially the 406/407/456/457 series grandmaster tapes produced from the mid-1970s onward. Ampex 499 is one of the most notorious.
3M / Scotch — the 226, 227, 806, 807, and 808 series reels are widely cited as problematic.
Sony — PR-150, SLH and certain FeCr cassette stock from this era have shown similar symptoms.
Radio Shack Concertape cassettes from the late 1970s and early 1980s are infamous in the Reel-to-Reel community for disintegrating without warning. VHS and U-matic formats can also develop sticky-shed, though less often than open-reel stock.
How to Identify Sticky-Shed Syndrome Before You Play a Tape?
You can spot sticky-shed syndrome in under five minutes without ever threading the tape. The preservation librarians at the University of Illinois PSAP developed the procedure I use, and it catches nearly every case.
Step 1: Inspect the Tape Pack Visually
Set the reel on a flat surface in good light. Look at the edges of the wound pack. A healthy tape shows clean, even layers with no warping. A sticky-shed tape often has a slight bulge or uneven wind because layers cling to each other.
Step 2: Perform the Slow-Reel Test
Slowly turn the supply reel by hand and watch the pack. On a clean tape, each layer releases and feeds onto the takeup side smoothly. On a sticky-shed tape, the layers hesitate, drag, or momentarily stick before releasing.
If the pack releases cleanly as you turn, the tape likely does not have full sticky-shed syndrome. If it drags or lingers, treat it as suspect and continue.
Step 3: Check the Tape Edges for Residue
Gently pinch the tape edge between thumb and forefinger (after rewinding a few inches into the pack so you are sampling tape). Drag your fingers along an inch of surface. A clean tape leaves your fingers dry. A sticky-shed tape leaves a faint tacky film or even a faint brown smudge.
Step 4: Sniff the Tape
This sounds odd, but experienced archivists swear by it. Pull a short length of tape out and smell it. A clean tape has a faint plastic smell or nothing. A degrading tape can smell slightly sweet or vinegary, the classic hydrolysis odor described by the Library of Congress preservation team.
Step 5: Decide Whether to Bake
If any of steps 1 through 4 came back positive, do not play the tape until you have either baked it or transferred it through a professional archival service that uses controlled low-tension transports. Baking at roughly 150 degrees F (65 degrees C) for 4 to 16 hours can temporarily restore playability by driving off the absorbed moisture.
Why Playing an Affected Tape Causes Permanent Damage?
Once the binder has turned gummy, every rotation past the head pulls oxide off the backing. That signal layer cannot be replaced. The coating that flakes off today is the music, the interview, the family recording you will never hear again.
Playback damage travels in two directions. Your heads and guides become coated in sticky residue, which contaminates the next tape you load and can scratch its surface within seconds. And many affected tapes will simply snap or stretch under the tension of normal play, ruining the recording on the spot.
This is why the Library of Congress preservation guidelines warn against running suspect tapes on a standard consumer deck. The two-to-three minutes you save by skipping the test can cost an irreplaceable recording.
Baking Basics: What Comes After Identification
Once you have confirmed sticky-shed, baking is the most common short-term solution. Most home archivists use a food dehydrator set to 150 degrees F (65 degrees C) for 4 to 16 hours, depending on tape thickness and how far the degradation has progressed.
Baking is not permanent. The moisture driven out during baking slowly returns over weeks to months. The recommendation among experienced users is to transfer the tape within a few days of baking, then store the original in a cool, dry environment (around 50 percent relative humidity) to slow re-absorption.
For tapes that are flaking oxide, leaving visible residue even before contact, or have been stored in a flood or attic, baking will not save them. In those cases, professional conservation through an audio archive or specialist transfer service is the safer path.
Frequently Asked Questions
What does sticky-shed syndrome look like?
It looks like dark brown, rust-colored, or black dust on playback heads and guides, sometimes with fibrous strands from the back-coating layer. The wound tape pack may bulge or appear uneven, and the tape edges can leave a faint tacky film on your fingers when touched.
How to fix sticky-shed syndrome?
The standard temporary fix is to bake the tape at around 150 degrees F (65 degrees C) for 4 to 16 hours using a food dehydrator, then transfer it to a digital format within days. Tape baking is not permanent; the moisture returns over weeks or months in normal storage conditions.
What causes the screeching sound in tape?
The screech is caused by the magnetic coating temporarily sticking to playback heads and guides as the binder has turned gummy, then snapping free. Each snap is a small piece of oxide layer that has detached from the tape and will not reattach.
How do you bake old audio tapes?
Place tapes vertically in a food dehydrator set to 150 degrees F (65 degrees C) for 4 to 16 hours. Reel hubs should be loose so air circulates, and the reels should not touch each other. Transfer the tapes to digital within a few days of baking before moisture returns.
Conclusion
Identifying sticky-shed syndrome before you bake comes down to listening for the squeal, looking for the residue, and running the slow-reel test. Five minutes of inspection can save recordings that no amount of baking can recover.
If a tape passes your checks, go ahead and play it. If it fails, bake and transfer within days. Either way, store the originals cool and dry, and you will keep that magnetic coating on the backing where it belongs.