
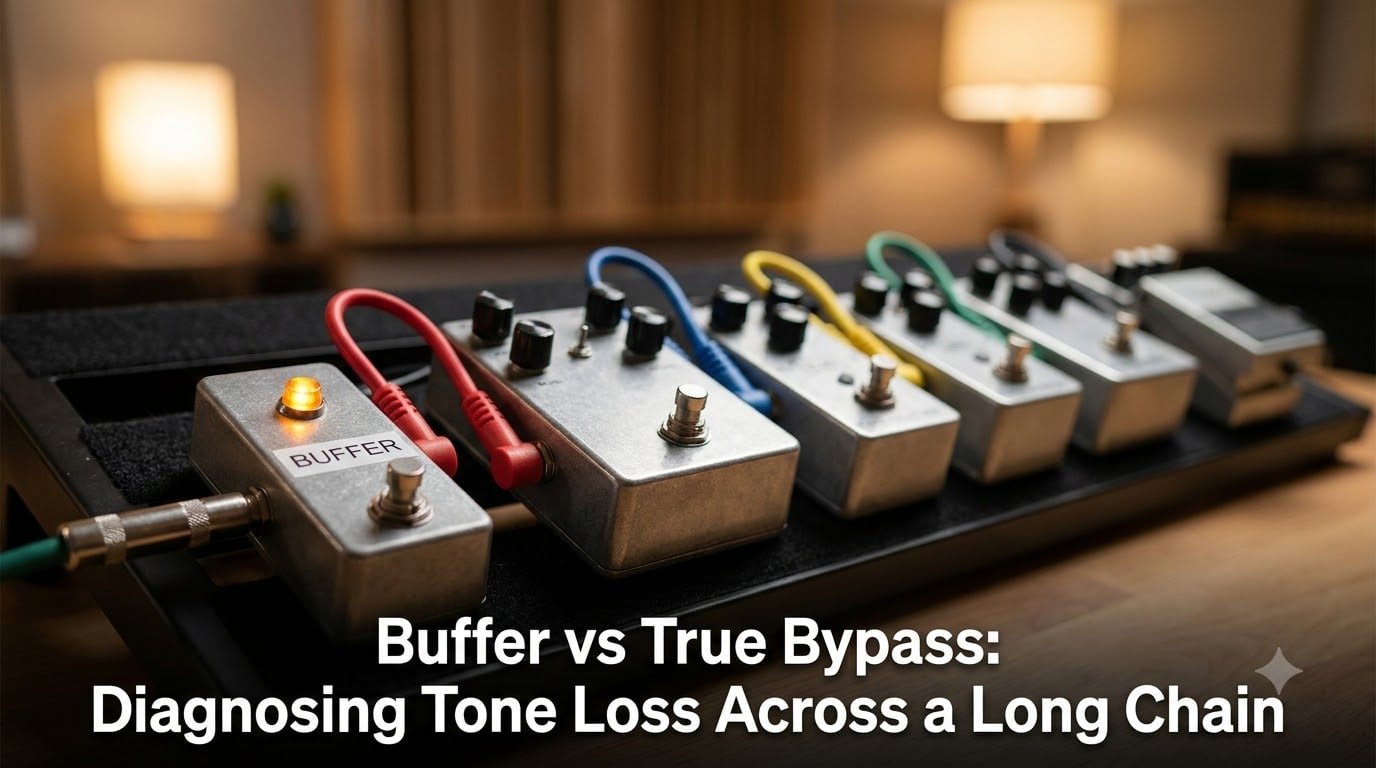
Buffer vs true bypass is a debate every guitarist with more than a few pedals eventually faces. I remember the first time I noticed my Strat sounding dull and lifeless through a board of seven true bypass pedals, and I had no idea what was causing it. After weeks of swapping cables and blaming my amp, I discovered the culprit was simple physics: cable capacitance stealing my high end one foot at a time.
If your guitar tone suddenly sounds flat, dark, or lacks sparkle through your pedalboard, you are likely dealing with the classic buffer vs true bypass problem. This guide walks you through exactly what each bypass type does, what tone suck sounds like, and most importantly, how to diagnose which part of your chain is killing your tone. By the end, you will have a clear troubleshooting checklist you can run in your own studio.
Table of Contents
What Is True Bypass and How Does It Work?
True bypass means your pedal’s circuit is completely removed from the signal path when the effect is switched off. The signal travels through a mechanical switch from input to output with zero electronics in between, preserving the raw character of your guitar pickups.
True bypass became the gold standard after 1977, when Electro-Harmonix engineer Howard Davis designed the seminal LPB-1 circuit. Players discovered that older pedals with primitive switching (like the early Fuzz Faces) colored their tone even when disengaged. A true bypass switch solves this by physically routing the signal around the entire circuit board.
When the pedal is engaged, the true bypass switch flips and the signal passes through the effect circuit. When you stomp it off, the switch physically disconnects that circuit, sending your guitar signal directly to the next pedal or your amp via a relay or 3PDT switch. No transistors, no capacitors, no buffers, just wire and solder.
The result is complete transparency when the pedal is off. Your guitar’s high-impedance signal reaches the next pedal exactly as it left the previous one, with nothing in between to filter or color it.
What Is Buffered Bypass and How It Differs?
Buffered bypass means the signal passes through an active electronic circuit (a buffer) even when the pedal is switched off. The pedal is never truly out of the signal path. The buffer circuit stays engaged constantly, while the effect portion is bypassed.
Brands like Boss, TC Electronic, and most digital pedals use buffered bypass because it solves a different set of problems. The buffer does not color your tone the way a vintage germanium fuzz might. Instead, it actively preserves it by maintaining signal strength across long cable runs and multiple pedal connections.
The key difference is impedance. Your guitar pickups output a high-impedance signal (often 250k ohms or more). When that signal hits cable capacitance, high frequencies bleed away. A buffer converts your high-impedance signal into a low-impedance one that is far more resistant to capacitance-induced tone loss.
Imagine water flowing through a long, thin pipe. The pressure drops the further it travels. A buffer is like adding a pump halfway through, restoring pressure without changing what is actually in the water.
What Is a Buffer and What Does It Actually Do?
A buffer is a 1:1 amplifier. It does not boost your volume or change your gain. It takes the exact signal entering it and reproduces that signal at the output with one critical difference: lower output impedance.
Your guitar’s pickups produce a high-impedance signal that is extremely susceptible to the capacitance in your guitar cables. Every foot of cable adds roughly 30 picofarads of capacitance. That capacitance forms a low-pass filter with your pickup impedance, gradually rolling off high frequencies. After 20 feet of cable plus several pedal connections, your bright, jangly Strat tone can sound muffled and dull.
A buffer solves this by converting that high-impedance, capacitance-vulnerable signal into a low-impedance signal that ignores cable capacitance almost entirely. The high frequencies stay intact, no matter how long your cable run or how many pedals you chain.
There are two main buffer designs. Class A buffers use a single transistor and tend to sound slightly warmer, with subtle harmonic richness. Many audiophile-grade buffers use Class A designs. Class B buffers use a push-pull transistor arrangement. They measure cleaner on paper but some players feel they sound slightly sterile or compressed. Boss pedals famously use Class B buffers, yet they are well-engineered and rarely cause the tone suck people blame them for.
What Is Tone Suck and What Does It Sound Like?
Tone suck is the high-frequency roll-off and loss of transient response that happens when your high-impedance guitar signal travels through too much cable and too many passive connections. Your tone sounds duller, darker, less articulate, and sometimes quieter than it should.
The classic symptoms are a rolled-off treble response, reduced pick attack, and a compressed, almost “underwater” quality to your sound. Your cleans lose shimmer. Your drive tones lose bite. Your single-coils sound like humbuckers. The effect is subtle at first and worsens with every additional pedal and foot of cable.
For years, players blamed this phenomenon on buffered pedals, calling them “tone killers.” In reality, the opposite is true. Tone suck happens when you do not have a buffer in a long chain of true bypass pedals. The buffer would have prevented the capacitance from stealing your highs.
If your guitar sounds bright and clear when plugged straight into your amp but dull through your pedalboard, you are experiencing tone suck.
True Bypass vs Buffered Bypass: Advantages and Disadvantages
| Feature | True Bypass | Buffered Bypass |
|---|---|---|
| Signal when pedal is off | Direct wire connection | Passes through active buffer circuit |
| Best for short chains | Excellent | Good |
| Best for long chains (5+ pedals) | Can cause tone suck | Prevents tone suck |
| Long cable runs (20ft+) | Susceptible to high-frequency loss | Maintains highs |
| Switching noise | Can produce pops and clicks | Usually quieter switching |
| Fuzz pedal interaction | Friendly to vintage fuzz | Can affect germanium fuzz |
| Circuit complexity | Simple mechanical switch | Requires powered circuit |
| Tone character | Transparent and passive | Transparent and active |
Neither approach is universally better. True bypass shines in short, simple setups and when running vintage fuzzes that interact with your guitar’s impedance. Buffered bypass wins in complex pedalboards, long cable runs, and live situations where signal reliability matters.
Many professional players use a hybrid approach: true bypass pedals throughout the chain, with a dedicated buffer at the start or end to preserve signal integrity.
How to Diagnose Tone Loss in Your Pedal Chain: Step-by-Step
This is the diagnostic process I developed after troubleshooting my own pedalboards and helping local players fix their tone for years. Run each step in order. Most tone suck problems reveal themselves within the first three tests.
Step 1: Establish a baseline. Plug your guitar directly into your amp with a single 10-foot cable. No pedals, no pedalboard. Play for a minute and memorize your clean tone, especially the brightness and attack. This is your reference. Everything else gets compared to this.
Step 2: Test your cable run. Without changing anything else, swap that 10-foot cable for the longest cable you use in your setup (often 20 feet or more to reach the front of the stage). If the tone noticeably darkens or loses sparkle, your cable length is contributing to tone loss. This is your first clue.
Step 3: Bypass each pedal individually. Add your pedals back into the chain one at a time, each in bypass mode. If your tone stays clean and bright, the bypass is doing its job. If your tone suddenly dulls when you add a specific pedal, even in bypass mode, that pedal or its buffer is the culprit.
Step 4: Try a dedicated buffer. Place a quality buffer at the start of your chain. If your tone restores to match your baseline, cable capacitance was the issue and a buffer fixes it. If the tone still suffers, you have a deeper problem like a bad cable, a failing pedal, or a buffer that is coloring your signal.
Step 5: Isolate the problem pedal. If Step 3 revealed a specific pedal that kills your tone when bypassed, try placing a buffer before it and after it. If a buffer before the pedal fixes the issue, that pedal has poor bypass design. If only an after-buffer helps, your run to the next pedal is too long.
I have used this process on dozens of pedalboards and it catches the problem 90 percent of the time. The remaining 10 percent are usually bad patch cables, dying pedal power supplies, or interaction between two specific pedals.
When Do You Need a Buffer? Threshold Guidelines
You probably need a buffer if you answer yes to any of these: you use five or more true bypass pedals in a row, your guitar cable run exceeds 20 feet total, you play large venues where the amp sits far away, or you split your signal to multiple amps.
The five-pedal rule is a rough guideline. With four true bypass pedals and a 15-foot cable, most players do not notice tone suck. Add a fifth pedal or extend the cable to 25 feet, and the capacitance adds up. By pedal seven in a true bypass chain, the dulling is usually obvious.
Long cable runs are even more critical. Capacitance accumulates linearly with cable length. A 30-foot run to your amp can roll off more treble than five true bypass pedals combined. This is why touring guitarists with wireless setups often use buffers, even with only a few pedals.
Multiple amp setups are a special case. Splitting your signal with a passive Y-cable introduces massive capacitance and ground loop issues. A buffered splitter is almost mandatory here.
Where to Place a Buffer in Your Signal Chain
The most common placement is the very first position in your chain, right after the guitar. This protects your signal from capacitance in every cable and pedal connection that follows. This is the standard recommendation for most players.
Some players prefer placing a buffer at the very end, just before the amp. This restores signal strength after a long pedal chain but does not protect the internal connections from capacitance. If you use a long cable from your board to your amp, this placement helps.
Advanced players use both: a buffer at the start and another at the end. This is overkill for most setups but works well for massive boards with splits.
The one exception is vintage germanium fuzz pedals. Germanium transistors interact with your guitar’s impedance in ways that define their sound. Placing a buffer before a germanium Fuzz Face often kills the classic woofy, saggy character. Run germanium fuzz first, with no buffer before it, then place your buffer after the fuzz.
Buffer and Fuzz Pedal Compatibility: Special Considerations
Vintage-style fuzz pedals are the one category where buffer placement matters enormously. Germanium Fuzz Faces, Tone Benders, and similar circuits were designed when guitars connected directly to amps with short cables. They expect to see a high-impedance signal directly from your pickups.
Place a buffer before a germanium fuzz and the impedance changes, the interaction shifts, and the classic velcro-like gating and sag often disappears. The fuzz might still work, but it sounds wrong, gated, harsh, or thin.
Silicon fuzzes (like the standard Fuzz Face or Big Muff) are generally more tolerant of buffers. Some silicon circuits do not care if a buffer comes first. Others change slightly but remain musical.
The practical rule: keep fuzz pedals early in your chain, before any buffer, unless the specific pedal manufacturer says otherwise.
Quick Reference Troubleshooting Checklist
Symptom: Tone sounds dull through pedalboard but bright direct to amp. Cause: Cable capacitance from long runs or many true bypass pedals. Fix: Add a buffer at the start of your chain.
Symptom: Pop or click when engaging or bypassing a pedal. Cause: True bypass switch with no buffer to isolate signal. Fix: Add a buffer or use pedals with buffered bypass.
Symptom: Fuzz sounds wrong or weak when placed after other pedals. Cause: Buffer or other pedals loading the fuzz circuit. Fix: Move fuzz to first position in chain.
Symptom: Tone degrades only on long cable runs to amp. Cause: Cable capacitance exceeding buffer strength. Fix: Use shorter cable or add a buffer right before the amp.
Symptom: Splits to two amps sound uneven or weak. Cause: Passive splitter loading the signal. Fix: Use a buffered splitter or ABY box with isolated outputs.
If none of these checks solve your issue, the problem is likely a bad cable, a failing pedal power supply, or a specific pedal that needs repair. Swap cables one at a time, then try a different power supply, before assuming the worst.
Frequently Asked Questions About Buffer vs True Bypass
Is buffered or true bypass better?
Neither is universally better. True bypass is ideal for short chains and vintage fuzz pedals because it keeps your guitar’s high-impedance signal untouched. Buffered bypass is better for long pedal chains, long cable runs (20ft+), and complex setups because it prevents tone suck from cable capacitance. Many professional players use a hybrid: true bypass pedals with a single buffer at the start or end of the chain.
How to tell if a pedal is buffered?
Check the manufacturer’s specifications first. Most brands clearly list whether a pedal is true bypass or buffered bypass. If the documentation is unclear, look at the circuit. Buffered pedals require power even when bypassed and often have an always-on LED or active input stage. You can also call or email the manufacturer directly. Most pedal builders respond quickly to technical questions about their bypass design.
How many true bypass pedals before you need a buffer?
As a general guideline, you will likely notice tone suck after five or more true bypass pedals in a chain, especially with cables longer than 15 feet. By pedal seven in a true bypass chain, the high-frequency loss is usually obvious. However, the exact threshold depends on your cable length, pickup impedance, and personal sensitivity to treble loss. If your tone starts sounding dull, try a buffer before adding more pedals.
How to know if pedal is true bypass?
True bypass pedals use a mechanical switch (usually a 3PDT or relay) that physically routes the signal around the circuit when disengaged. Check the manufacturer’s website or manual, which usually states the bypass type. You can also look inside the pedal: true bypass designs have a direct wire path from input to output jack via the switch, with no active components in the bypass signal path. If the pedal still draws current when bypassed, it is likely buffered, not true bypass.
What is tone suck?
Tone suck is the loss of high frequencies and transient response that occurs when your high-impedance guitar signal travels through too much cable capacitance. It makes your tone sound dull, dark, and lifeless. The cause is passive cable capacitance interacting with your pickup impedance to form a low-pass filter. Adding a buffer early in the signal chain prevents tone suck by converting the signal to low impedance before capacitance can affect it.
Where should a buffer be placed in a pedal chain?
Place a buffer at the very first position in your chain, right after the guitar, for most setups. This protects your signal from capacitance in every cable and pedal that follows. Place a buffer at the very end if you have a long cable run from your board to the amp. The only exception is vintage germanium fuzz pedals: place those first in the chain with no buffer before them, since germanium circuits interact with your guitar’s impedance to produce their characteristic sound.
Conclusion: Solving the Buffer vs True Bypass Puzzle
The buffer vs true bypass debate does not have a single winner because the answer depends on your specific setup. Short chains, vintage fuzzes, and direct-to-amp connections favor true bypass. Long chains, long cables, and complex pedalboards demand at least one buffer to prevent tone suck.
Start by running the five-step diagnostic process outlined above. Most tone problems reveal themselves within minutes. If cable capacitance is the issue, a single quality buffer (placed first in your chain, or last if you have a long amp cable) solves it without changing your tone. If a specific pedal is the culprit, you now know to isolate it or replace it. Understanding buffer vs true bypass puts you in control of your signal chain and your sound.