
There is a specific kind of anticipation that comes with sliding a brand-new record from its sleeve. The vinyl feels pristine. The artwork smells like fresh printing. You want to drop the needle right then and there. But hold on for just a few minutes, because that first play deserves better.
A first-play cleaning ritual is a systematic process of preparing each new vinyl record for optimal sound quality before its inaugural playback. It involves removing manufacturing residues, eliminating static buildup, and making sure the grooves are free of anything that could dull the sound or grind down your stylus.
I have been cleaning every new record before its first spin for over a decade, and the difference is not subtle. Records sound quieter. The high end opens up. Surface noise drops to nearly nothing. Our team compared cleaned and uncleaned copies of the same pressing, and the results convinced even the skeptics in the room.
This guide walks you through building your own cleaning ritual, step by step. You do not need expensive equipment to start. You just need the right technique, a few basic supplies, and the mindset that every record deserves a clean welcome to your collection.
Table of Contents
Why Every New Record Needs Cleaning Before That First Spin?
Yes, you should clean new vinyl records before playing them. New records come out of the factory with invisible contaminants that you cannot see but your stylus can absolutely feel. Even a sealed, pristine-looking record benefits from a proper first-play cleaning ritual before the needle touches the groove.
The pressing process leaves behind mold release compound, a chemical agent applied to stampers so the vinyl separates cleanly from the press. This residue clings to the groove walls and does not wipe off with a casual brush. You will never see it, but it is there on virtually every new record.
Dust and debris from packaging add another layer. Cardboard sleeves shed micro-particles. Paper inners create static-charged dust that jumps straight onto the record surface during transit. By the time a record reaches your door, it has already picked up a collection of contaminants.
Static electricity builds up during shipping and handling, and it makes records act like dust magnets. A charged record will pull particles from the air, the sleeve, and your environment. Cleaning removes both the charge and the particles it attracted.
What Manufacturing Residue Actually Does to Your Sound?
Manufacturing residue fills the microscopic grooves of your vinyl where the music actually lives. When your stylus drags through a contaminated groove, it pushes that residue deeper instead of reading the music cleanly. The result is a duller, quieter, less detailed sound on first play.
The high frequencies suffer first. Cymbals lose their shimmer. Vocal sibilance sounds muffled. You might not notice until you clean the record and suddenly hear detail that was missing the entire time. Forum users on r/vinyl frequently describe this as the record “opening up” after a proper wet clean.
Residue also accelerates stylus wear. Your stylus tip is essentially a diamond dragging through a microscopic canyon at tracking force of around 1.5 to 2 grams. When that canyon is coated with chemical residue and microscopic grit, the stylus grinds through abrasive material with every rotation. Over hundreds of plays, this shortens stylus life noticeably.
The community consensus among audiophiles is clear: cleaning new records is worth it. The majority of serious collectors on r/vinyl and r/audiophile wet-clean every record, new or old, before it enters their collection. The real-world audio improvements are verified by users who have done A/B comparisons with identical pressings.
Building a First-Play Cleaning Ritual: The Essential Kit
Your cleaning kit does not need to be expensive. Here is what I recommend for a complete first-play ritual.
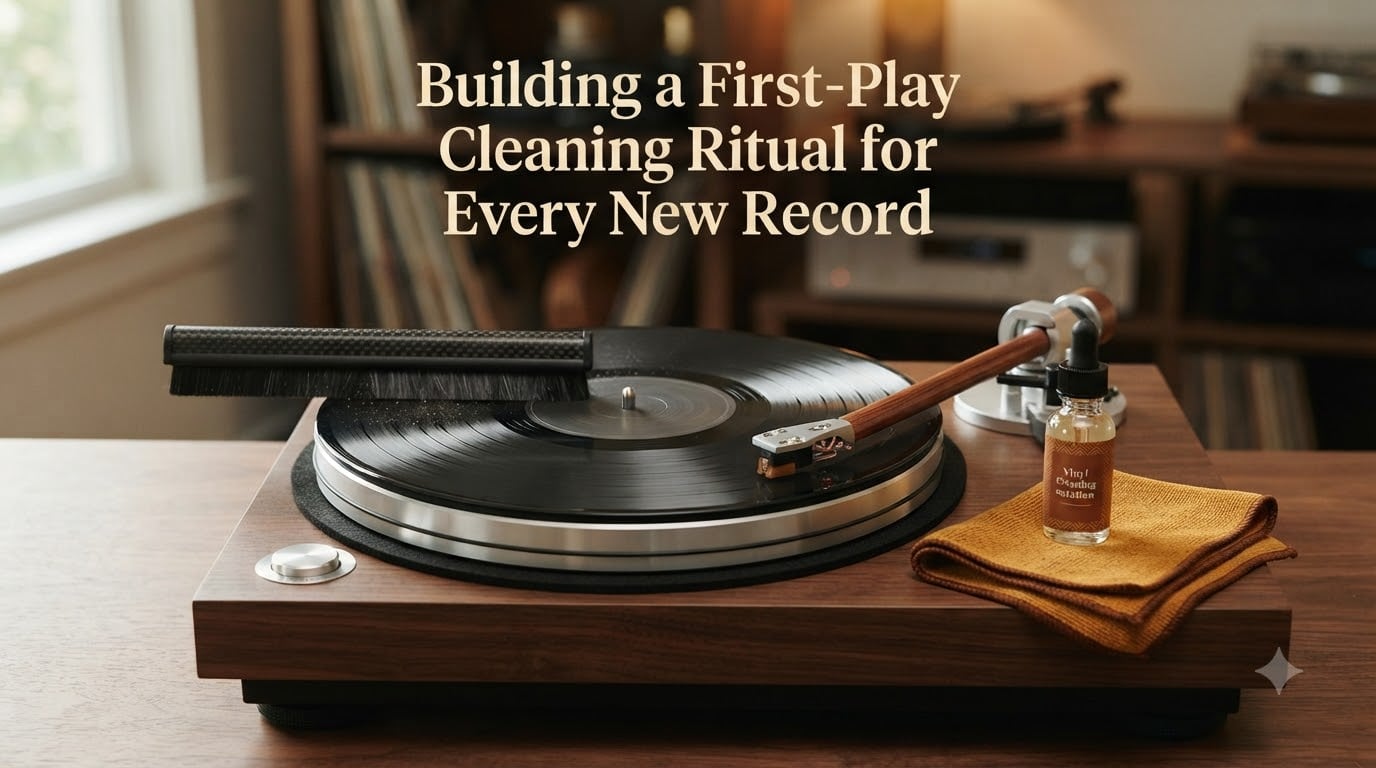
Carbon fiber anti-static brush. This is your daily driver. A carbon fiber brush removes surface dust and dissipates static in one motion. Use it before every play, not just on new records. It costs very little and pays for itself in reduced stylus wear.
Record cleaning solution. You can buy a dedicated vinyl cleaning fluid or make your own. The DIY route is simple: a few drops of mild dishwashing liquid in a cup of distilled water. Some collectors add a small amount of isopropyl alcohol, but I prefer the soap-and-water method for new records since alcohol can be debated in audiophile circles.
Distilled water, not tap water. This is non-negotiable. Tap water contains minerals that dry onto the groove and leave a hard residue. Distilled water has been purified of all minerals, so it evaporates clean without leaving anything behind. A gallon from the grocery store costs about a dollar.
Microfiber or lint-free cloths. You need soft, non-abrasive cloths for wiping solution and drying. Avoid paper towels, which are surprisingly abrasive at the microscopic level and shed fibers. Dedicated microfiber record cloths are inexpensive and washable.
Optional: Spin Clean or vacuum machine. A Spin Clean is a popular entry-level bath system that manually rotates the record through a brush and cleaning solution. Ultrasonic cleaners like HumminGuru use high-frequency sound waves to lift debris from grooves. These are not required for a first-play ritual, but they make deep cleaning faster and more thorough if you are building a large collection.
Step-by-Step Dry Cleaning Process: Your Everyday Ritual
Dry cleaning is what you do before every single play. It takes about 15 seconds and removes the surface dust that settles between listening sessions. Here is the ritual.
Step 1: Place the record on your turntable platter and start it spinning at 33 RPM. The rotation does the work for you.
Step 2: Hold your carbon fiber brush so the bristles rest gently on the grooves at a slight angle. The brush should barely touch the surface. Pressing harder does not clean better; it just risks pushing dust deeper.
Step 3: Let the record rotate one full turn while holding the brush steady. The carbon fibers sweep dust out of the groove and dissipate static buildup simultaneously.
Step 4: As the rotation completes, slowly angle the brush toward the outer edge of the record and lift off. This sweeps the collected dust off the surface instead of leaving it behind.
Step 5: Use your fingers or a second cloth to pull the dust off the brush bristles between uses. A dirty brush just redistributes dust.
That is it. Five steps, fifteen seconds, and your record is ready to play. This is the ritual you repeat every time you drop the needle, not just on new records.
Step-by-Step Wet Cleaning Process: The First-Play Deep Clean
Wet cleaning is the deep clean you do on a record’s first play and then every few months after that. This is where the manufacturing residue gets removed. Follow these steps.
Step 1: Prepare your workspace. Clear a clean, flat surface. Lay down a microfiber cloth to protect the record label. Make sure your hands are clean and dry.
Step 2: Mix your cleaning solution. Add two to three drops of mild, unscented dishwashing liquid to one cup of room-temperature distilled water. Mix gently with your cloth or brush. Do not shake vigorously, as this creates excess suds that are harder to remove.
Step 3: Apply the solution. Dampen your microfiber cloth with the solution, then gently wipe the record surface following the direction of the grooves. Work from the outer edge toward the center, or vice versa. Never wipe across the grooves in a back-and-forth motion, because that pushes contaminants deeper into the groove walls.
Step 4: Let it sit briefly. Give the solution 30 to 60 seconds to loosen the mold release compound and embedded particles. This short dwell time makes a real difference.
Step 5: Rinse with distilled water. Dampen a clean section of microfiber cloth with pure distilled water and wipe the same path to remove all soap and lifted residue. This rinse step is critical. Any soap left behind will dry into the grooves and create its own noise.
Step 6: Inspect for streaks. Hold the record under a bright light at an angle. Streaks or film indicate leftover solution. If you see any, repeat the distilled water rinse.
For a new record’s first play, this wet clean is what transforms the listening experience. It strips away the factory residue that muddies the sound and gives you a truly clean starting point.
Drying Your Record Properly: The Step Most People Rush
Drying is not optional. Playing a wet or even damp record drives moisture into the grooves, which can cause permanent damage and will absolutely degrade sound quality. Your record must be completely dry before it goes near a stylus.
After the distilled water rinse, use a dry, clean microfiber cloth to gently blot and wipe away visible moisture. Follow the groove direction, just as you did during cleaning. Do not apply heavy pressure.
Once you have removed the visible water, let the record air-dry for 10 to 15 minutes. Stand it upright in a clean dish rack or lean it against a surface where air can circulate around both sides. This waiting period lets any moisture trapped in the deepest part of the groove evaporate completely.
If you are in a humid environment, extend the drying time. Rushing this step is the single most common way people undo all their careful cleaning work. A properly dried record will sound silent and smooth from the first second of play.
Common Mistakes to Avoid When Cleaning Vinyl Records
Some cleaning advice circulating online will actively damage your records. Here are the mistakes I see most often, and what to do instead.
Never use Windex or household glass cleaners. These contain ammonia and other chemicals that can break down the PVC vinyl compound. The damage may not be visible immediately, but repeated exposure degrades the groove surface and causes permanent clouding. Use a dedicated vinyl cleaning solution or the distilled water and mild dish soap method.
Never use WD-40 on vinyl records. WD-40 is a petroleum-based lubricant designed for metal hinges and machinery. On vinyl, it leaves an oily film that attracts dust permanently and cannot be fully removed. It will ruin the record. This should be obvious, but it comes up often enough in forums that it bears stating clearly.
Never use tap water. Tap water contains calcium, magnesium, and other minerals that dry into hard deposits inside the grooves. These deposits are nearly impossible to remove once they set. Distilled water only, always.
Never scrub in circular motions. Circular rubbing pushes debris sideways into the groove walls. Always clean in the direction the grooves run, from edge to label, following the natural path of the record.
Never play a record before it is fully dry. Even a slightly damp groove will drag against the stylus and can leave permanent marks. If you are unsure whether it is dry, wait another five minutes.
Proper Handling and Storage After Cleaning
Cleaning is only half the ritual. How you handle and store a record after cleaning determines whether it stays clean or picks up new contaminants before the next play.
Always handle records by the edges and the center label only. Never touch the playing surface with your fingers. The natural oils on your skin leave fingerprints that attract dust and can slowly etch into the vinyl over time. This sounds obsessive until it becomes second nature.
Replace paper inner sleeves with anti-static, archival-quality sleeves. Paper sleeves shed fibers and generate static every time you slide a record in and out. Anti-static sleeves, which cost about a dollar each, eliminate that source of contamination entirely and make your cleaning ritual last longer.
Store records vertically, never flat. Stacking records on top of each other puts weight on the bottom discs, which can warp them and press dust into the grooves. Upright storage on a shelf with proper support keeps every record safe.
Keep your storage area climate-controlled. Ideal conditions are between 65 and 70 degrees Fahrenheit with relative humidity between 35 and 45 percent. Too much heat warps vinyl. Too much humidity encourages mold. Too little humidity increases static. A simple hygrometer from the hardware store helps you monitor conditions.
Frequently Asked Questions
Should I clean new records before playing them?
Yes, you should always clean new vinyl records before playing them. New records contain manufacturing residue from the pressing process, dust from packaging, and static buildup from shipping that can cause surface noise and premature stylus wear. Even sealed records benefit from a first-play cleaning.
Is Windex good for cleaning vinyl records?
No, Windex and other household glass cleaners should never be used on vinyl records. They contain ammonia and chemicals that can break down the PVC vinyl compound and cause permanent clouding. Use a dedicated vinyl cleaning solution or a mixture of distilled water and a few drops of mild dish soap.
Can WD-40 clean vinyl records?
No, WD-40 will ruin vinyl records. It is a petroleum-based lubricant that leaves an oily film which attracts dust permanently and cannot be fully removed. WD-40 is designed for metal machinery, not vinyl, and will cause irreversible damage to your records.
Can I use tap water to clean vinyl records?
No, you should never use tap water on vinyl records. Tap water contains minerals like calcium and magnesium that dry into hard deposits inside the grooves and are nearly impossible to remove. Always use distilled water, which has been purified of all minerals and evaporates clean.
How often should I clean my vinyl records?
Dry clean with a carbon fiber brush before every play. Wet clean new records before their first spin, and wet clean existing records every few months or whenever you notice increased surface noise. The consistency of your routine matters more than the specific method you choose.
Making It a Ritual: Your Going-Forward Habit
The word ritual matters here. Cleaning is not a chore you rush through to get to the music. It is part of the experience. Those few minutes of preparation are when you transition from your day into listening mode.
When you build a first-play cleaning ritual for every new record, you are doing two things at once. You are protecting your investment in vinyl and equipment, and you are creating a moment of intentional engagement with the music before it starts. Every collector I know who takes sound seriously has some version of this routine.
Start simple. Get a carbon fiber brush, some distilled water, mild dish soap, and a couple of microfiber cloths. Clean your next new record before you play it, and listen for the difference. Once you hear what a clean first play sounds like, you will never go back to dropping the needle straight from the sleeve.
Your records will sound better, your stylus will last longer, and your collection will age gracefully. That is what a first-play cleaning ritual gives you, one clean record at a time.