
Sibilance is one of the most common problems I see when recording and mixing vocals. That harsh, sibilant “S” sound in the 4-10 kHz range can ruin an otherwise perfect take. After ten years of recording, I have learned that the best way to reduce sibilance at the source is to prevent it from being recorded in the first place, before you ever touch a de-esser plugin.
The plugin-only approach treats the symptom, not the cause. When you fix sibilance at the source through better mic placement, smart recording techniques, and vocal coaching, the entire mix sounds more natural. Your de-esser has less work to do, and your vocals stay clear and present.
In this guide, I will walk you through the exact workflow I use to reduce sibilance before it ever reaches a plugin. You will learn recording techniques, the famous pencil trick, manual de-essing with clip gain, and how to position your de-esser in the signal chain for the cleanest results.
Table of Contents
What Is Sibilance and Why It Matters?
Sibilance is the harsh, piercing high-frequency sound produced when pronouncing letters like S, F, SH, CH, and T in speech or singing. These sounds sit roughly between 4 kHz and 10 kHz, with most of the energy concentrated between 5 kHz and 8 kHz.
It is important to distinguish sibilance from plosives. Plosives are the low-frequency bursts from P, B, and T sounds that hit around 80-200 Hz. Sibilance lives in the upper frequencies and sounds more like a hiss or whistle than a thump.
Why does reducing sibilance at the source matter so much? When you record sibilance into the track, every downstream processor amplifies the problem. Compression pulls those sibilant peaks up. EQ boosts make them sharper. Reverb and delay expose them even more. Fixing it after the fact is fighting a battle you could have avoided with five minutes of mic technique.
How to Reduce Sibilance at the Source: Recording Techniques?
Your recording session is the single best place to control sibilance. I have found that 90% of sibilance can be eliminated at the source with proper technique. Here is the step-by-step approach I follow on every vocal session.
Step 1: Angle the Microphone Off-Axis
The number one rule for reducing sibilance at the source is microphone angle. A microphone placed directly in line with the vocalist’s mouth captures the full force of every S sound. By angling the mic 15 to 30 degrees off-axis, you can dramatically reduce sibilance without affecting the overall vocal tone.
I learned this technique from watching Andrew Scheps talk about his workflow. He angles almost every vocal mic slightly to the side. The result is a smoother, less sibilant capture that needs very little processing later.
Step 2: Adjust the Microphone Distance
Distance matters more than most beginners realize. The closer the vocalist gets to the mic, the more proximity effect boosts the low end, but also the more pronounced sibilance becomes. Moving the singer back just a few inches can make a real difference.
Try recording the vocalist at 8 to 12 inches instead of 4 to 6 inches. You will hear an immediate reduction in harshness. If they need more intimacy in the vocal, you can always add it back in the mix with proximity EQ.
Step 3: Choose the Right Microphone
Not every microphone treats sibilance the same way. Bright condenser microphones with a strong presence peak around 5-8 kHz will capture more sibilance than dynamic mics or ribbon microphones with a smoother top end.
For naturally sibilant voices, I reach for dynamic microphones like the SM7B or ribbon mics that naturally tame the high frequencies. If the vocalist prefers a condenser for its detail, I choose one with a flatter response above 5 kHz.
Step 4: Use a Pop Filter Strategically
A pop filter is designed to reduce plosives, but it can also help with sibilance when positioned correctly. Place the pop filter at an angle that blocks some of the direct airflow from S and T sounds.
I keep my pop filter about 3 to 4 inches from the mic and 2 to 3 inches from the vocalist’s mouth. This distance softens the harshest sibilance peaks before they hit the diaphragm.
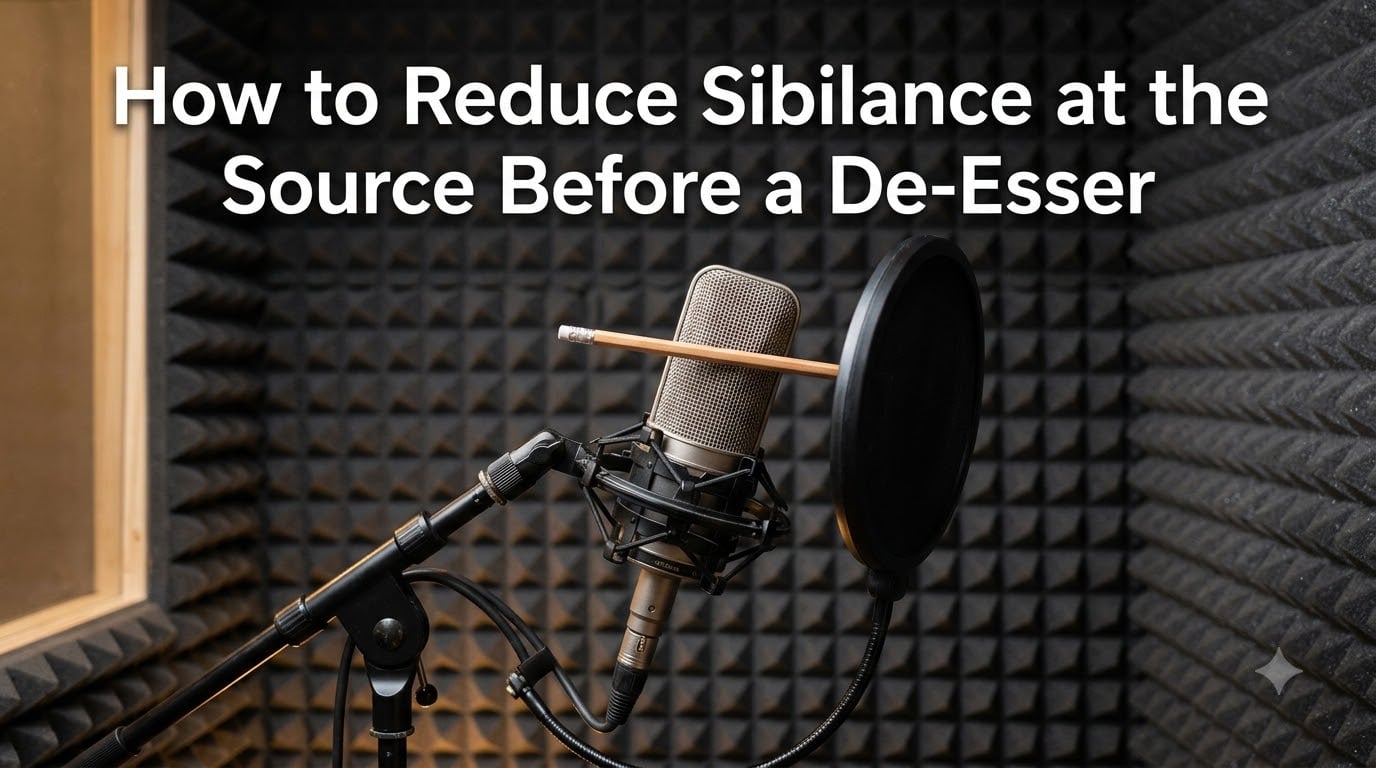
Step 5: Try the Pencil Trick for Sibilance
The pencil trick is one of the most effective tricks I know. Before recording, hold a pencil horizontally across the front of the microphone grille. This forces the vocalist to sing around it, naturally angling their breath and softening their S sounds.
This technique works because it changes the airflow pattern at the source. Instead of a direct stream of air hitting the mic on every S, the breath is slightly diffused. The result is a much smoother top end with no processing required.
Step 6: Treat the Room
A reflective room amplifies sibilance. Hard surfaces bounce high frequencies back into the mic, adding brightness that compounds with sibilant sounds. Basic acoustic treatment with absorption panels at the first reflection points can make a noticeable difference.
You do not need a professionally treated studio for this to work. Even hanging some heavy blankets or using a portable vocal booth can reduce unwanted reflections that worsen sibilance.
Coaching the Vocalist to Reduce Sibilance
The vocalist is your best tool for reducing sibilance at the source. Most singers do not realize how much control they have over their own sibilance until you show them.
Teach Them to Back Off on S Sounds
I coach my vocalists to pull back slightly when they hit an S sound. Not to drop it entirely, just to soften the attack. Think of it as shaping the air rather than pushing it.
A simple exercise works wonders. Have the vocalist record a verse while focusing only on their S sounds. Play it back and compare it to a normal take. They will hear the difference immediately.
Aim for Consistent Mic Distance
Sibilance gets worse when the vocalist drifts closer to the mic on louder passages. Coach them to maintain a consistent distance. Mark a spot on the floor with tape so they have a physical reference point.
Stay Hydrated
Dry mouth produces sharper, harsher sibilance. I keep room-temperature water in the studio and remind vocalists to sip regularly. It sounds small, but it makes a real difference in the smoothness of the recording.
Manual De-Essing: The Pre-Plugin Step
Even with perfect recording technique, some sibilance will still make it onto the track. Manual de-essing is the next step before you reach for a plugin. This is where I spend most of my editing time.
Use Clip Gain to Tame Sibilant Peaks
Clip gain editing is the most transparent way to reduce sibilance. Instead of letting a plugin duck the entire signal when an S sound triggers it, you simply lower the gain of the sibilant syllables by 2 to 4 dB.
In Pro Tools, Logic, or Reaper, zoom in on the waveform and look for the tallest spikes on S sounds. Use the clip gain handle to bring those specific moments down. The rest of the performance stays untouched.
As iZotope recommends, attenuating sibilance with clip-gain before the de-esser reduces the workload on your plugin dramatically. You will end up with smoother results and less pumping.
Use Volume Automation
For more precise control, use volume automation lanes. This lets you shape the gain curve around sibilant syllables without affecting neighboring words. I use this approach when a single S sound is significantly louder than the rest of the performance.
The key is to make the gain changes fast and subtle. You want the listener to feel the reduction, not hear it. A 2 to 4 dB pullback on a 50-millisecond region around each S sound is usually plenty.
Signal Chain and Plugin Order
Once you have reduced sibilance at the source and manually edited the worst peaks, it is time to position your de-esser in the signal chain. The order matters.
The most common question I get is whether a de-esser should go before or after compression. The answer depends on your goal. If you want the de-esser to control sibilance that the compressor brings up, place it after compression. If you want the compressor to react more naturally to the sibilant material, place the de-esser before compression.
For most vocal sessions, I use the following order: high-pass filter, de-esser, compressor, EQ. The de-esser catches the sibilance before the compressor can pull it up, then the compressor works on a smoother signal.
Another approach I use often is multiple gentle de-essers. Instead of one aggressive de-esser doing 8 dB of reduction, I stack two or three at lower thresholds for more transparent results.
Common Mistakes to Avoid
I have made every mistake in the book when it comes to de-essing. Here are the ones that hurt the most.
Setting the frequency too low is one of the most common de-esser mistakes. If you set the threshold at 3 kHz, you will start reducing presence and clarity along with sibilance. Most sibilance lives between 5 kHz and 8 kHz. Stay in that range.
Over-de-essing is another trap. Pulling 10 dB of reduction on every S sound produces a lispy, unnatural vocal. The goal is to make sibilance tolerable, not to erase it. Sibilance is part of how consonants work. You need some of it for intelligibility.
Using a single aggressive de-esser on difficult material is also a mistake. Two or three gentle passes always sound better than one heavy pass. This is true across almost every form of audio processing.
Skipping the source reduction step is the biggest mistake of all. If you jump straight to a plugin without addressing mic placement, vocal technique, and manual editing first, you will fight your de-esser the entire mix.
Frequently Asked Questions
How to decrease sibilance?
The fastest way to decrease sibilance is to angle your microphone 15-30 degrees off-axis from the vocalist’s mouth. For recordings already captured, use clip gain editing to lower sibilant syllables by 2-4 dB. These source-reduction techniques work better than aggressive plugin processing.
What are common de-esser mistakes?
Setting the detection frequency too low (below 5 kHz), reducing more than 6 dB of gain, and using a single aggressive de-esser instead of multiple gentle passes. The biggest mistake is skipping source reduction entirely and relying on the plugin alone to fix the problem.
What is the pencil trick for sibilance?
Hold a pencil horizontally across the front of the microphone grille while recording. This forces the vocalist to direct their breath around the pencil, naturally softening S and T sounds before they hit the mic. It is a free, zero-processing technique used by professional engineers.
Should de-esser go before compression?
Place the de-esser before compression for most vocal sessions. This order lets the de-esser tame sibilant peaks first, so the compressor reacts to a smoother signal. Place the de-esser after compression only when you specifically want the compressor to bring up sibilance that the de-esser will then control.
Conclusion
Learning to reduce sibilance at the source changed the way I approach every vocal session. Mic angle, distance, microphone choice, vocal coaching, manual clip gain editing, and proper signal chain order together produce vocals that sound natural and clear without heavy-handed de-essing.
Start with your recording technique. Angle the mic, give the vocalist enough distance, and try the pencil trick. Move to manual editing with clip gain to clean up any remaining peaks. Only then should you reach for a de-esser plugin. Your mixes will sound more open, more transparent, and a lot more professional.