
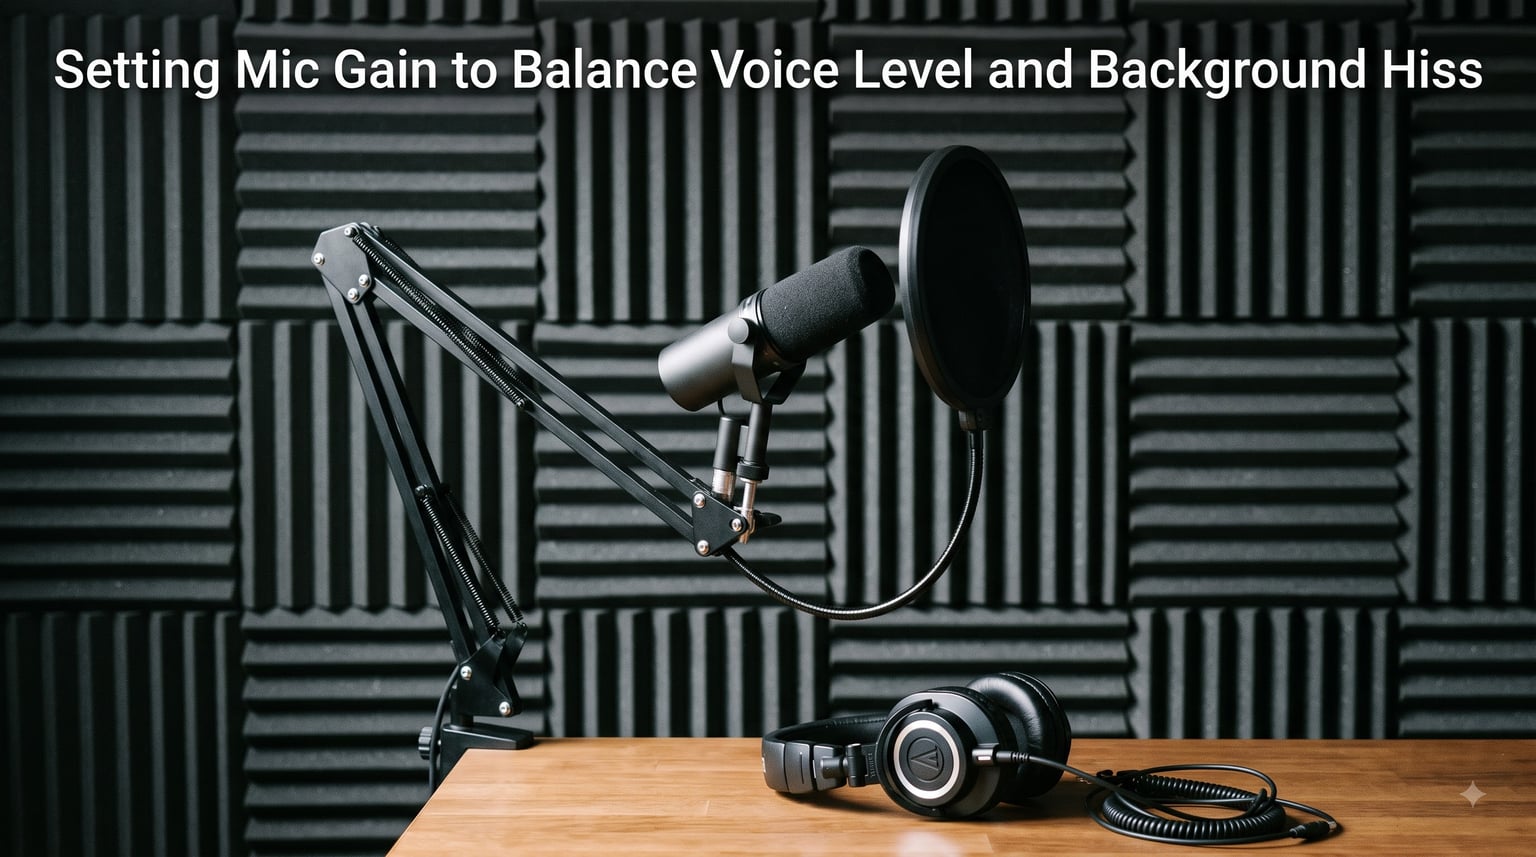
You turn up the gain to hear your voice clearly, and suddenly there’s a hiss sitting underneath every word. Turn the gain back down, and now nobody can hear you at all. If that cycle sounds familiar, you’re dealing with one of the most common frustrations in home recording, podcasting, and video calls.
Setting mic gain to balance voice level and background hiss is the single most important skill for getting clean, professional audio. The problem is that most advice online tells you to “just lower the gain” to kill the hiss, which only works half the time and misses the actual cause of the noise.
I’ve spent years recording in everything from treated studios to bedrooms with a fan humming in the corner. Through all of that, I learned that gain and hiss have a specific relationship that most people misunderstand. Once you understand how that relationship works, fixing your audio becomes predictable instead of guesswork.
In this guide, you’ll learn what gain actually does, why lowering it doesn’t always reduce noise, how to set the correct level for your voice, and the practical steps to keep hiss out of your recordings for good. Let’s get into it.
Table of Contents
What Is Microphone Gain?
Microphone gain is the amount of amplification applied to your microphone’s output signal, measured in decibels (dB). Your mic produces a very weak electrical signal, and gain boosts that signal to a usable level for recording, streaming, or processing.
Think of gain as the first stage of volume control in your signal chain. It happens at the input, before any other processing. The preamp inside your audio interface, mixer, or sound card handles this boost.
Here’s the part that trips people up: gain amplifies everything the mic picks up equally. Your voice, the air conditioner, the keyboard clicks, and the inherent noise of the preamp itself all get louder together. That’s why simply cranking gain higher doesn’t make your voice “win” against background hiss.
A typical microphone produces a signal measured in millivolts. Your recording software expects something closer to a volt or more. Gain bridges that gap, usually offering anywhere from 0 dB (no boost) to 60+ dB of amplification on a decent audio interface.
Gain vs Volume: What’s the Real Difference?
Gain controls the input level. Volume controls the output level. They sit at opposite ends of your signal chain and do fundamentally different jobs.
Gain affects what gets recorded. When you raise gain, you’re telling the preamp to amplify the raw mic signal harder before it reaches your computer. This setting changes the actual audio file you capture.
Volume affects what you hear. When you turn up your headphone volume or speaker volume, you’re amplifying the playback of an already-recorded signal. It doesn’t change the recording at all.
Here’s a simple way to remember it: if your recording sounds noisy and you turn down your headphone volume, the noise is still in the file. You just can’t hear it anymore. Gain is where you fix the actual capture. Volume is just monitoring.
This distinction matters because many beginners try to fix recording problems with volume knobs. If your gain is wrong, no amount of volume adjustment will save the recording.
Setting Mic Gain to Balance Voice Level and Background Hiss
Setting mic gain to balance voice level and background hiss requires hitting a target where your voice is strong and clear without forcing the preamp to work so hard that it introduces its own noise. The sweet spot is usually between -18 dB and -6 dB on your input meter.
Here’s the step-by-step process I use every time I set up a mic:
Step 1: Set your microphone position first. Get the mic 4 to 6 inches from your mouth for voice recording. Closer means a stronger signal hitting the capsule, which means you need less gain. Less gain means less preamp noise.
Step 2: Mute or silence everything you can. Turn off fans, close windows, silence your phone. This won’t change your signal-to-noise ratio, but it reduces the actual noise entering the mic before you even touch a knob.
Step 3: Speak at your normal recording volume. Don’t whisper and don’t shout. Talk exactly the way you will during the actual recording. Your gain setting needs to match your real-world voice level.
Step 4: Watch your input meter. Most recording software and audio interfaces show an input level meter. Adjust the gain knob until your average speaking level sits around -18 dB to -12 dB, with peaks reaching -6 dB at the loudest moments.
Step 5: Leave headroom. Never let your peaks hit 0 dB. That causes clipping, which is unrecoverable distortion. Aim to keep your loudest peaks below -6 dB to give yourself a safety buffer for unexpected volume spikes.
Step 6: Test and listen back. Record 30 seconds of speech, then play it back with headphones. If your voice is clear and the background is quiet, you’re set. If the hiss is obvious, the problem is likely your environment or preamp quality, not the gain setting itself.
The Big Myth: Does Lowering Gain Reduce Background Noise?
Lowering gain does not reduce background noise relative to your voice. This is the single most misunderstood concept in audio recording, and getting it wrong wastes hours of trial and error.
Here’s why: gain amplifies your entire signal uniformly. When you reduce gain by 10 dB, your voice drops by 10 dB AND the background hiss drops by 10 dB. The ratio between them stays exactly the same. Your voice is still the same amount louder than the hiss.
You can verify this yourself right now. Record something with high gain, then record the same thing with low gain. Normalize both files to the same volume in your editing software. The hiss will be equally present in both.
Reddit users on r/LocationSound confirmed this repeatedly in testing threads. The signal-to-noise ratio of your recording is fixed at the moment sound hits the microphone capsule. Gain only scales everything up or down after that point.
So when does lowering gain actually help? Only when the preamp itself is adding noise at high gain settings. Cheap preamps get noisier the harder you push them. If you’re running a budget interface at 80% gain, the preamp circuitry becomes a noise source. Lowering gain reduces that specific noise, but only because you’re working the hardware less hard.
The real fix for background noise almost always involves changes before the gain stage: better mic placement, a quieter room, a less sensitive microphone, or acoustic treatment. Gain is a dial, not a solution.
Understanding Signal-to-Noise Ratio
Signal-to-noise ratio (SNR) is the difference in volume between your desired signal (your voice) and the unwanted noise (hiss, hum, room tone). A higher SNR means your voice stands out more clearly against the background.
SNR is measured in decibels. A good recording might have an SNR of 50 dB or more, meaning your voice is 50 dB louder than the noise floor. A noisy recording might only have 20 dB of separation.
Gain doesn’t change SNR because it affects both signal and noise equally. To improve SNR, you need to either make your signal louder at the source (move closer to the mic, speak louder) or make the noise quieter (treat your room, use a directional mic, kill noise sources).
This is why professionals obsess over the recording environment. A great room with proper mic placement produces a high SNR before any gain is applied. A bad room produces a low SNR that no amount of gain tweaking can fix.
Dynamic vs Condenser Mics: Gain Needs Explained
Dynamic microphones need more gain than condenser microphones. That’s because dynamic mics produce a weaker output signal and are less sensitive to quiet sounds.
A typical dynamic mic like a Shure SM7B might need 50 to 60 dB of gain to reach proper recording levels. A condenser mic with built-in amplification (phantom power) might only need 30 to 40 dB. This difference matters a lot for background hiss.
If your audio interface has a mediocre preamp, pushing it to 60 dB for a dynamic mic will introduce audible hiss from the preamp itself. This is why devices like the Cloudlifter exist. They add clean gain before the signal reaches your interface, so you don’t have to push the interface preamp so hard.
Condenser mics are more sensitive, which means they pick up more of everything. Your voice sounds richer and more detailed, but so does the air conditioner three rooms away. For noisy environments, a dynamic mic often produces cleaner results despite needing more gain.
Choose your mic type based on your environment. Quiet treated room? Condenser. Noisy bedroom or office? Dynamic. This single decision impacts your background hiss more than any gain setting ever will.
How to Reduce Background Noise (Without Touching Gain)?
Since gain can’t fix your SNR, you need other tools to actually reduce background noise. Here are the methods that work, ranked by impact.
Move closer to the microphone. Every time you halve the distance between your mouth and the mic, your voice gets about 6 dB louder while background noise stays the same. This is the fastest way to improve SNR. Get within 4 inches if your mic allows it.
Use a noise gate. A noise gate silences audio below a set threshold. Set the threshold just below your quietest speech, and the gate will cut out background hiss during pauses. Most recording software includes this. Just don’t set the threshold too high or your voice will cut in and out.
Apply a high-pass filter. Also called a low-cut filter, this removes low-frequency rumble below 80 to 100 Hz. Computer hum, air conditioning rumble, and traffic noise often live in this range. Cutting them out cleans up your signal without affecting your voice.
Switch to a directional pickup pattern. Cardioid and supercardioid patterns reject sound from the sides and rear. Position the back of the mic toward your noise source (like a window or fan) and it will reject much of that sound naturally.
Treat your room. Hard surfaces reflect sound and create reverberation that mixes with background noise. Add absorption with rugs, curtains, foam panels, or even a closet full of clothes. Softer surfaces mean less reflected noise hitting your mic.
Use software noise reduction sparingly. Tools like RX, Krisp, or Discord’s Krisp integration can clean up noise in post-processing. They work well but can introduce artifacts if pushed too hard. Use them as a finishing touch, not a replacement for good recording technique.
Common Gain Setting Mistakes to Avoid
Mistake 1: Recording too hot. If your peaks regularly hit 0 dB, you’re clipping. Clipping destroys audio and can’t be fixed in editing. Always leave at least 6 dB of headroom.
Mistake 2: Recording too quiet. If your signal peaks below -30 dB, you’ll need to boost it heavily in editing. That boost raises the noise floor along with your voice, making hiss obvious. Get the level right at the source.
Mistake 3: Setting gain once and forgetting it. Your voice changes throughout the day. Morning voice is quieter. Excited voice is louder. Check your levels at the start of every session.
Mistake 4: Blaming gain for room problems. If your recording sounds bad, the room is usually the culprit. Fix the environment first, then fine-tune the gain.
Mistake 5: Using software gain instead of hardware gain. Boosting a quiet recording in your DAW is not the same as using proper preamp gain. Digital boosting adds noise. Get it right at the interface.
Troubleshooting Mic Hiss Issues
If you’ve set your gain correctly and you still hear hiss, work through this diagnostic checklist.
Check your preamp quality. Built-in computer sound cards and cheap USB mics have noisy preamps. An external audio interface with a quality preamp (Focusrite Scarlett, MOTU M2, or similar) will dramatically reduce self-noise.
Verify your cables. A damaged or unshielded cable can pick up electromagnetic interference that sounds like hiss or buzz. Try a different XLR or USB cable and see if the noise changes.
Test for ground loop issues. If you hear a low hum along with hiss, you may have a ground loop. Plug all your gear into the same power strip or use a ground loop isolator.
Isolate the noise source. Mute your mic input and record 10 seconds of silence. If the hiss is still there, it’s your preamp or interface. If the hiss disappears, it’s your environment. This tells you where to focus your fix.
Check phantom power. If you’re using a condenser mic, make sure phantom power (48V) is on. A condenser running without phantom power produces a weak, noisy signal no matter how high you set the gain.
Frequently Asked Questions
What should mic gain be set at?
Set your mic gain so your average speaking level sits between -18 dB and -12 dB on your input meter, with the loudest peaks reaching around -6 dB. This gives you a strong, clear signal while leaving enough headroom to avoid clipping. Speak at your normal recording volume while adjusting the gain knob, and never let peaks hit 0 dB.
How do I get my mic to stop picking up background noise?
To stop your mic from picking up background noise, move closer to the microphone to improve your signal-to-noise ratio, use a directional cardioid pattern aimed away from noise sources, treat your room with soft materials to reduce reflections, enable a noise gate in your software to silence gaps, and apply a high-pass filter to cut low-frequency rumble. Switching to a dynamic mic also helps because it is less sensitive to ambient sound.
How to get rid of background hiss in vocals?
To get rid of background hiss in vocals, first identify whether the hiss comes from your room or your preamp by recording silence with the mic muted. If it is preamp noise, upgrade to a better audio interface or add a clean gain booster like a Cloudlifter. If it is room noise, improve mic placement and acoustic treatment. You can also use a noise gate and targeted noise reduction in post-production to clean up any remaining hiss.
How do I get rid of the hiss on my mic?
To remove hiss from your mic, check your preamp quality since cheap preamps add noise at high gain, replace any damaged cables, ensure phantom power is on if using a condenser, plug all gear into the same power source to avoid ground loops, and lower your gain if you are pushing a budget interface past 70 percent. Use software noise reduction as a final cleanup step, not a replacement for fixing the source.
Conclusion
Setting mic gain to balance voice level and background hiss comes down to one core principle: gain amplifies everything equally, so fix your noise problems before the gain stage. Aim for peaks around -6 dB, choose the right mic for your environment, treat your room, and use gates and filters to clean up what’s left.
Once you understand that gain isn’t a noise control tool, every recording decision gets easier. Set your level right, fix your room, and the hiss takes care of itself.