
You cleaned your record. You put it back on the turntable. And the crackle is still there — maybe even worse than before. If that sounds familiar, you are not alone. This is one of the most common frustrations vinyl collectors face, and it has specific, fixable causes.
Learning how to reduce persistent crackle and surface noise on clean records starts with understanding that “clean” and “groove-contaminant-free” are two very different things. Surface brushing removes visible dust. It does almost nothing for the microscopic debris lodged deep in the groove walls where your stylus actually reads the music.
In this guide, we will walk through why records keep crackling after cleaning, the three types of vinyl noise, a step-by-step method to tackle stubborn crackle, the white residue problem nobody talks about, and how to prevent noise from coming back.
Table of Contents
Why Clean Records Still Crackle: The Three Main Culprits
If your records still crackle after cleaning, the problem almost always comes down to one of three things: static recontamination, deep groove debris that surface cleaning cannot reach, or residue left behind by your cleaning method itself.
Static Electricity Recontamination
Vinyl records are insulators. As they spin on your platter and rub against felt mats, acrylic surfaces, and slip mats, they build up a significant static charge. That charge turns the record surface into a magnet for airborne dust.
I have watched records go from spotless to visibly dusty in under an hour during dry winter months. The static charge literally pulls particles out of the air and locks them onto the groove. If you clean a record without addressing static, you are fighting a losing battle.
Deep Groove Contamination
A vinyl groove is roughly 50 microns wide. The debris that causes crackle — skin cells, smoke particles, mold spores, compacted dust — sits at the very bottom of those grooves, pressed against the walls where the stylus rides. A carbon fiber brush skims the surface. It never touches the contamination causing the actual noise.
This is why forum users on r/vinyl and AudioKarma consistently report that wet cleaning outperforms dry brushing. You need fluid to break surface tension and flush debris out of the groove entirely.
Cleaning Residue Left Behind
Here is a painful truth: your cleaning method might be causing the noise. Tap water leaves mineral deposits. Some commercial solutions leave film. Even alcohol-based cleaners, if not properly rinsed, can leave residue that dries inside the groove and creates a grinding sound against the stylus.
If your record sounds worse after cleaning than before, residue is the prime suspect.
Types of Vinyl Noise: Static, Pops, and Crackle Explained
Not all noise is the same. Before you fix the problem, you need to identify what you are actually hearing. Each type of vinyl noise has a distinct cause and a different fix.
Static Noise
Static sounds like an intermittent frying or sizzling, often worse in dry conditions. It comes and goes depending on humidity and season. You might notice it disappears completely on rainy days. That seasonal pattern is your confirmation that static is the culprit.
Pops
Pops are sharp, sudden clicks — the jump-scare of vinyl noise. Each pop corresponds to a specific physical obstruction in the groove: a dust particle, a fleck of debris, or a microscopic scratch. If pops happen at the same spot every revolution, you are hearing a fixed obstruction that cleaning can often remove.
Crackle
Crackle is the steady, low-level grit underneath the music. Think of it like bacon frying quietly in the background. This is the hardest noise to eliminate because it comes from widespread micro-contamination distributed across the entire groove surface. Crackle is what remains when individual pops merge into a continuous carpet of noise.
How to Reduce Persistent Crackle and Surface Noise on Clean Records
This is the step-by-step process our team has refined through years of restoring vintage pressings and second-hand finds. Follow these steps in order, and you will address every major cause of persistent noise.
Step 1: Wet Clean With the Right Solution
Mix a cleaning solution of 4 parts distilled water, 1 part isopropyl alcohol (90 percent or higher), and 2 drops of mild dish soap (Dawn works well, according to dozens of upvoted Reddit recommendations). The alcohol breaks surface tension. The soap lifts oils and organic debris. The distilled water carries it all away without leaving mineral deposits.
Apply the solution generously to the record surface using a soft applicator pad or a dedicated record cleaning brush. Work it into the grooves in a circular motion, following the groove path. Let it sit for 30 to 60 seconds to penetrate compacted debris.
Step 2: Rinse Thoroughly With Distilled Water
This step is non-negotiable. After cleaning, rinse the entire record with plain distilled water. Use a separate clean brush or pad to physically push the rinse water through the grooves. Repeat this rinse two or three times until the water runs clear.
Any cleaning solution left in the groove will dry into a film that causes exactly the crackle you are trying to eliminate. Most people who report worse sound after cleaning skipped or rushed this step.
Step 3: Dry Completely Before Playing
Use a clean microfiber cloth or a lint-free cotton cloth to remove excess water. Then let the record air-dry in a dust-free environment for at least 30 minutes. Better yet, use a record vacuum system (like a Record Doctor or a DIY vacuum wand) to pull fluid and dissolved debris straight out of the grooves.
Never play a wet or damp record. The stylus will push remaining moisture deeper into the groove, trapping contamination underneath.
Step 4: Eliminate Static Charge
After the record is clean and dry, address static. Run an anti-static brush over the surface immediately before playback. For stubborn static, consider an anti-static gun (like the Milty Zerostat) which neutralizes charge with a burst of ions.
Long-term, switch to anti-static inner sleeves. Standard paper sleeves generate static every time you slide a record in and out. Rice paper or MoFi-style sleeves with anti-static lining make a noticeable difference that users across vinyl forums consistently confirm.
Step 5: Clean Your Stylus
A dirty stylus tracks dirty grooves and creates noise on otherwise clean records. Inspect your stylus under a bright light. If you see a tiny fuzz ball on the cantilever, that is accumulated groove debris being dragged through every rotation.
Use a stylus brush (back to front only, never side to side) or a dedicated stylus cleaning gel pad. Gently lower the stylus onto the gel and lift it straight up. The gel pulls debris off the diamond tip without risking damage to the cantilever.
Step 6: Check Your Tracking Force
If your tracking force is set too light, the stylus skips over groove contamination instead of pushing through it, exaggerating pops and crackle. If it is too heavy, the stylus grinds debris into the groove walls, causing permanent damage.
Check your cartridge specifications and verify your tracking force with a digital stylus scale. A difference of even 0.2 grams can noticeably change surface noise levels.
The White Residue Problem After Cleaning
If you have noticed a white, paste-like residue on your records after wet cleaning, you are experiencing one of the most confusing problems in vinyl maintenance. Forum users ask about this constantly, and most cleaning guides never mention it.
That white residue is almost certainly rehydrated skin cells. Human skin flakes are the dominant component of household dust, making up 90 percent or more of typical household particulate. When they are dry in the groove, they are invisible. When your cleaning solution wets them, they swell, turn into a paste, and become visible as a white film.
The solution is thorough rinsing. The rehydrated skin cells need to be physically flushed out with multiple distilled water rinses. A single rinse will soften them but may not carry them out of the groove. Two to three rinse cycles, each with agitation from a clean brush, will resolve the problem.
If the residue persists after multiple rinses, it may be mineral deposits from tap water used in a previous cleaning session. In that case, a fresh wet clean with distilled water and isopropyl alcohol should dissolve and remove the buildup.
Preventing Static and Surface Noise Before It Starts
Prevention is far easier than correction. Once you have your records clean and quiet, these practices will keep them that way.
Upgrade Your Inner Sleeves
This is the single highest-impact change you can make. Replace factory paper sleeves with anti-static rice paper sleeves or MoFi-style three-layer sleeves. The difference is immediate and lasting. Paper sleeves shed fibers into the groove and generate static with every use. Anti-static sleeves prevent charge buildup and keep dust away from the groove surface.
Control Your Room Humidity
Static thrives in dry air. If your listening room drops below 35 percent relative humidity (common in winter with forced-air heating), static buildup becomes severe. A simple room humidifier set to 40 to 50 percent humidity dramatically reduces static-related noise. You will notice fewer pops on dry days and almost none during humid weather.
Handle Records by the Edges Only
Every time you touch the playing surface, you deposit skin oils and cells directly into the groove. Those oils attract and trap dust, creating the exact contamination that causes crackle. Handle records by the label and outer edges only. This habit alone prevents a significant amount of groove contamination over time.
Store Records Vertically and Clean
Store records upright, never flat, to prevent warping and uneven pressure on the grooves. Keep them in their jackets and inner sleeves when not in use. Avoid storing records near heating vents, radiators, or in direct sunlight, as heat softens vinyl and accelerates groove damage.
Use a Carbon Fiber Brush Before Every Play
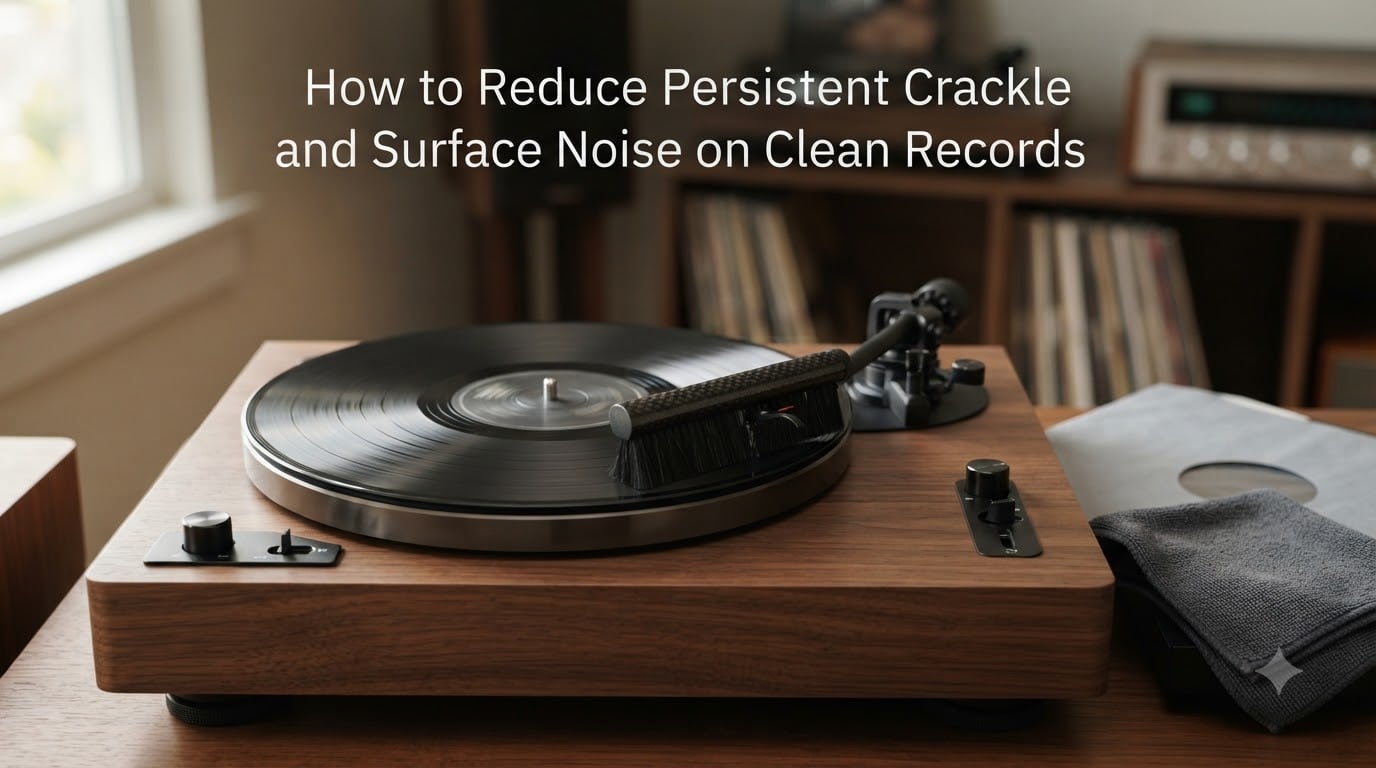
A quick pass with an anti-static carbon fiber brush before each listening session removes newly settled dust and dissipates charge buildup. Hold the brush lightly on the spinning record for one full rotation, then angle it off the edge to pull dust away. This 10-second habit prevents the most common cause of noise on otherwise clean records.
When Noise Is Permanent: Identifying Actual Damage
Not all noise can be fixed. If you have followed every cleaning step and a record still crackles heavily, you may be dealing with physical damage rather than contamination. Knowing the difference saves hours of frustration.
Groove Wear
Records played hundreds of times with a worn or improperly tracked stylus develop permanent groove wear. The smooth groove walls become microscopically rough, and no amount of cleaning will restore them. Groove wear sounds like a consistent hiss or grinding, loudest in the inner grooves where the stylus travels slowest and contact pressure is highest.
Pressing Defects
Some records are noisy from the factory. Poor-quality vinyl, contaminated pressing pellets, and worn stampers at the pressing plant all produce records with built-in surface noise. If a brand new record crackles right out of the sleeve, this is likely the cause. A wet clean may reduce it slightly, but the underlying defect remains.
Heat and Warp Damage
Records exposed to heat — left in a hot car, stored near a radiator, or left in direct sunlight — can develop subtle warp and groove distortion. This produces intermittent noise, wow and flutter, and in severe cases, skipping. Warped records cannot be fully restored to original condition.
When to Accept the Noise
Vintage pressings, well-loved second-hand finds, and budget-label records from the 1970s and 1980s will never be dead silent. Some background crackle is part of the format’s character. If cleaning has removed the pops and reduced the crackle to a low, consistent level, you have likely achieved the best result that particular record can deliver.
Frequently Asked Questions
How to stop crackling on records?
To stop crackling on records, wet clean the record using a solution of distilled water, isopropyl alcohol, and a drop of dish soap, then rinse thoroughly with distilled water and let it dry completely. Eliminate static with an anti-static brush and anti-static inner sleeves, and keep your stylus clean before every play. If crackle persists, check your tracking force with a digital scale to ensure it matches your cartridge specifications.
How to remove surface noise from vinyl records?
To remove surface noise from vinyl records, address three causes: groove contamination, static, and stylus debris. Wet clean the record with a proper solution to flush debris from the groove walls, rinse with distilled water to remove residue, use an anti-static brush or gun to neutralize charge, and clean the stylus with a gel pad or brush. For persistent noise, consider an ultrasonic record cleaner, which removes compacted contamination that manual cleaning cannot reach.
How to get rid of crackling in recording?
To reduce crackling in a vinyl recording (digitally transferred), first eliminate the source noise by properly cleaning the record as described above. For the digital file, use software tools like Audacity’s Click Removal or dedicated vinyl restoration software such as iZotope RX, which can detect and reduce crackle without affecting the music. Software cleanup works best as a supplement to, not a replacement for, proper physical record cleaning.
Why is my record still popping after cleaning?
Your record is likely still popping after cleaning because residue or contamination was left in the groove. The most common cause is insufficient rinsing — cleaning solution and loosened debris need to be flushed out with multiple distilled water rinses. Another common cause is the white residue effect, where rehydrated skin cells form a paste visible in the groove. Static recontamination can also pull dust back onto the record within minutes if you are not using anti-static sleeves. Finally, a dirty stylus will introduce pops even on a clean record.
Conclusion
Learning how to reduce persistent crackle and surface noise on clean records comes down to a simple principle: you must address every source of noise simultaneously. Surface cleaning alone does not work. A clean stylus on a contaminated record does not work. Anti-static measures on a dirty groove do not work.
Start with a proper wet clean using the distilled water, alcohol, and soap solution we outlined. Rinse thoroughly — then rinse again. Neutralize static with anti-static sleeves and brushes. Keep your stylus pristine. Verify your tracking force. These steps, done together and done consistently, will quiet even stubborn vintage pressings.
The most rewarding moment in vinyl collecting is dropping the needle on a record you have restored to near-silence. With this systematic approach, that moment is within reach for the vast majority of noisy records in your collection.