
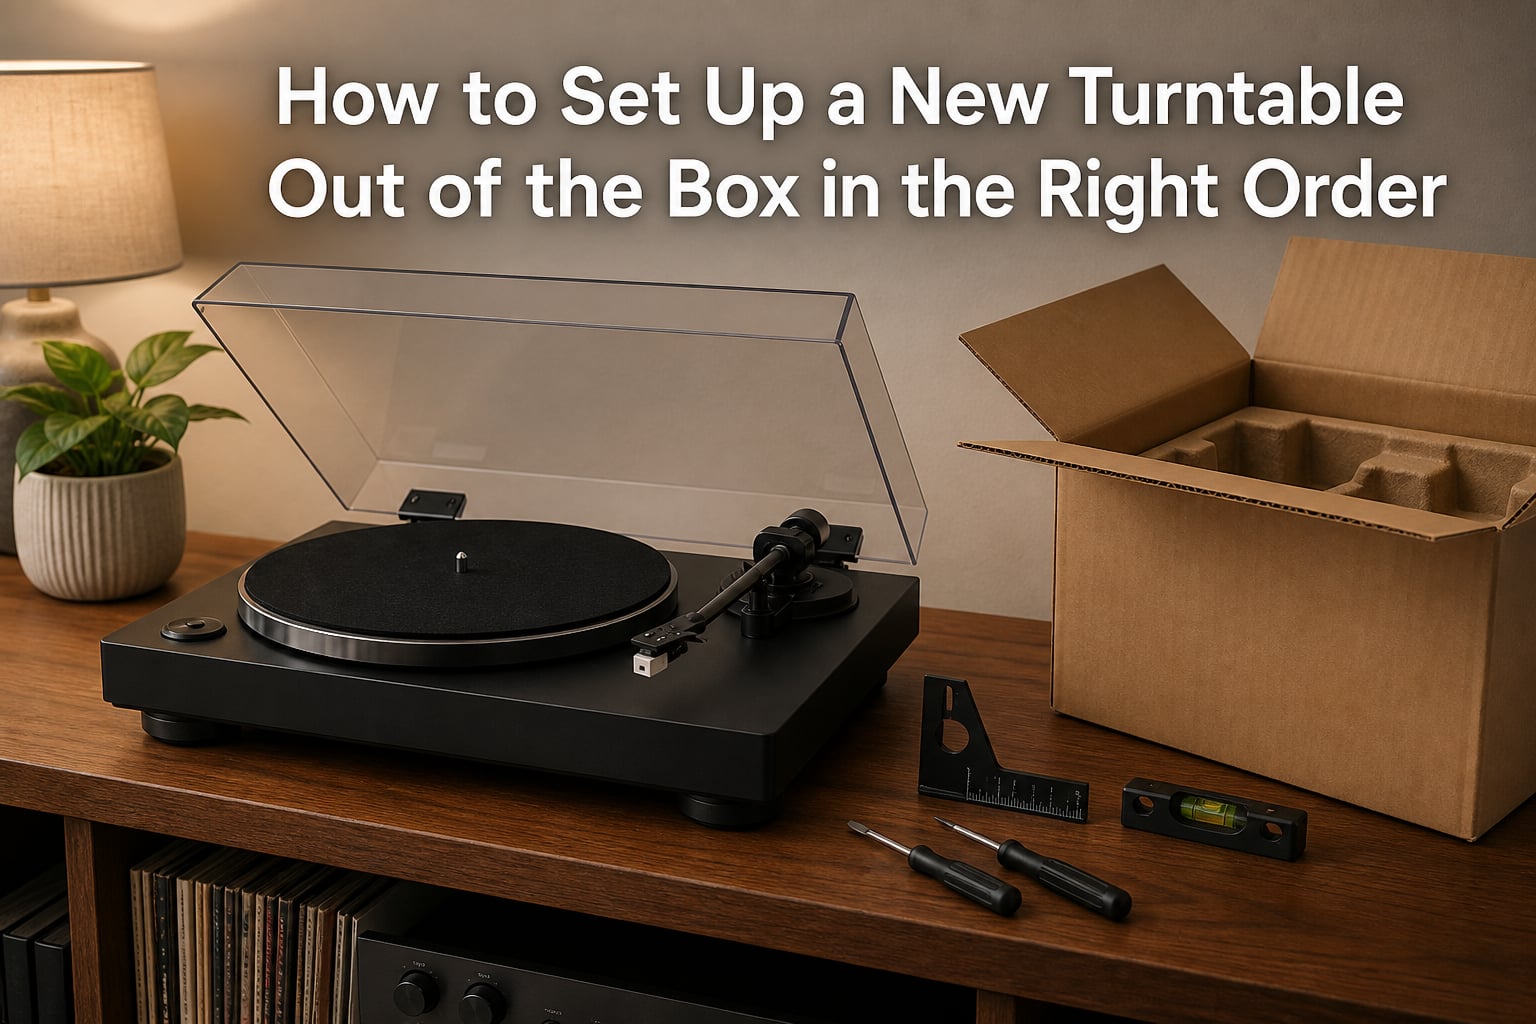
Pulling a brand-new turntable out of its box is one of the most satisfying moments in vinyl. I still remember the first record player I set up at our studio, plugging in my headphones before realizing I hadn’t removed the transit screws and listening to that awful motor whine for ten minutes before I figured out what was wrong. That moment is exactly why the right order matters when you set up a turntable.
If you jump straight to plugging it in, you risk skipping records, burning out a stylus, or spending a whole weekend wondering why the left channel sounds thin. The good news is that the whole process takes about 45-60 minutes if you go step by step. In this guide, I’ll walk you through the exact sequence I use whenever I unbox a deck, from choosing where to put it down to dropping the needle for the first time.
Table of Contents
Tools and Equipment Checklist
Before you open the box, gather a few small tools. Most beginners already own everything except the stylus gauge, and the total cost runs between $15 and $30. Having these on hand before you start saves you from halfway-pausing the setup later.
- Small Phillips and flathead screwdrivers – $0 (usually in a kitchen drawer)
- Bubble level (a phone app works in a pinch) – $0-$5
- Stylus force gauge (digital or mechanical) – $10-$20
- Cartridge alignment protractor – $5-$10
- Soft microfiber cloth – $3-$5
- Isopropyl alcohol (90%+) for cleaning – $0 (already in the bathroom cabinet)
- A known-good record to test with – $0 (a thrift store LP works perfectly)
One tool I recommend strongly is the stylus gauge. Some manufacturers include a cheap one in the box, but a calibrated digital gauge from the start gives you reliable VTF readings every time. I’ve been using the same $15 gauge for three years and it has never drifted.
Step 1: Choose the Right Surface and Location
The first thing you do when you set up a turntable is not actually inside the box. Pick the surface and the room first. A wobbly shelf or a tabletop next to a speaker will sabotage even a perfectly calibrated deck.
Place your turntable on a solid, low-resonance surface. An IKEA Kallax shelf, a solid wood console, or a dedicated audio rack all work well. Avoid glass, hollow-core doors, or anything that flexes when you press on it. Keep the deck at least 30 cm (about a foot) away from your speakers to reduce vibration feedback.
If you live in an apartment with bass-heavy neighbors, look for a wall that does not share a stud with a frequently slammed door. I learned this the hard way in our old Brooklyn studio where closing a kitchen cabinet made the stylus jump on the third track of every record.
Step 2: Unbox and Remove Transit Screws
This is the step most first-timers skip, and it’s the number one cause of “my turntable sounds terrible out of the box.” Transit screws are the bright red or yellow screws holding the sub-platter or tonearm in place during shipping. They must come out before you power on the motor, or the belt can stretch or the bearings can seize.
Set the deck on a soft towel, lift it out of the box, and search the underside and around the tonearm base for colored screws. Most belt-drive turntables have two or three; direct-drive decks usually have one large platter lock. The owner’s manual has a diagram, but the screws are obvious once you know they exist.
Unscrew them and store them in the box. You’ll need them again if you ever move. I tape mine to the inside of the lid with a piece of masking tape – cheap but effective.
Step 3: Install the Platter and Drive Belt
For belt-drive turntables, the belt connects the motor pulley to the sub-platter. Direct-drive decks skip this step entirely because the motor drives the platter directly. Both work well, but the setup steps differ slightly.
Drop the platter onto the spindle, then stretch the rubber belt around both the inner platter rim and the motor pulley. The pulley is usually off to the side near the front or back of the plinth. Make sure the belt is not twisted and sits flat against both surfaces. A misaligned belt causes wow and flutter that sounds like a warbling pitch.
Most decks ship with a small plastic platter mat. Place it on top of the platter before any record goes down. The mat dampens resonance and protects the record surface from the metal platter. I treat my mat gently and replace it every five years or so.
Step 4: Mount and Wire the Cartridge
If you bought the turntable with a cartridge pre-installed, you can skip to the next step. Many decks in the mid-range category ship with a separate cartridge in the box, so you have to mount it yourself. It feels intimidating, but it’s two screws and four tiny color-coded wires.
Loosen the cartridge mounting bolts on the headshell (the small clip-on piece at the end of the tonearm) and attach the cartridge snugly but not fully tight. Then connect the four wires from the headshell to the tiny pins on the back of the cartridge. The standard color code is:
- Red – Right channel positive (R+)
- Green – Right channel negative (R-)
- White – Left channel positive (L+)
- Blue – Left channel negative (L-)
Each pin is also labeled on the cartridge body. Use tweezers or a small needle to push the wire clips onto the pins; never yank them. Once all four are secure, tighten the mounting bolts gently. Snug enough that the cartridge does not wiggle, loose enough that you can still rotate it for alignment.
Step 5: Set the Tracking Force (VTF)
Tracking force (also called Vertical Tracking Force or VTF) is the downward pressure the stylus applies to the groove. Each cartridge has a manufacturer-recommended range printed on the spec sheet – usually between 1.8 and 2.2 grams for most moving-magnet cartridges. Too light and the stylus skips; too heavy and you wear out your records faster.
Start by setting the anti-skate dial to zero, then move the counterweight all the way back so the tonearm floats freely. Next, slowly rotate the counterweight forward until the tonearm balances perfectly horizontal in the cueing rest. This is your zero point.
Now turn the entire counterweight assembly (not just the weight) so the dial number reads the manufacturer-recommended VTF. Every full rotation is typically 1 gram, and the dial’s numbers are marked in tenths of a gram. Use a stylus gauge for the final calibration – rest the stylus on the gauge platter and read the number directly. The two methods should agree within 0.1 g; if not, trust the gauge over the dial.
I always confirm with a gauge because manufacturer dials are often slightly off. A $15 digital gauge paid for itself the first time I used it by catching a 0.2 g discrepancy on a brand-new deck.
Step 6: Set the Anti-Skate
Anti-skate applies a tiny outward force on the tonearm that counteracts the natural inward pull created by the stylus riding in the groove. Without it, the stylus presses harder against the inner wall of the groove than the outer wall, which causes distortion and uneven wear on the inner grooves.
The simplest starting rule is to set the anti-skate number equal to your tracking force. If you’re running 2.0 grams of VTF, set anti-skate to 2.0 as well. Some audiophiles tweak by ear after that, but matching VTF works correctly for about 90% of cartridges on the market.
Test by playing a record you know well. If you hear sibilance (harsh “sss” sounds) or distortion that increases toward the inner grooves, bump anti-skate up by 0.1. If the stylus sounds loose or skates across the record, lower it. Small adjustments make a real difference.
Step 7: Connect to Your Audio System
Now it’s time to connect the turntable to your speakers. The right path depends on whether your deck has a built-in phono preamp and what kind of speakers you own.
If your speakers are powered (have a volume knob on them)
Many turntables today ship with a built-in phono preamp and a small LINE/PHONO switch on the back. Set the switch to LINE, then run an RCA cable (red and white plugs) from the turntable to the speakers. Some powered speakers use a 3.5 mm aux input instead of RCA, so you may need a simple RCA-to-3.5 mm adapter.
If your deck does not have a built-in preamp and your speakers do not have a PHONO input, you need an external phono preamp. These start around $30 and are essential – skipping one gives you thin, quiet, weirdly bass-less sound regardless of how well you calibrated everything else.
If you have a stereo receiver
Plug the RCA cables from the turntable into the receiver’s PHONO input. Important: the PHONO input is not the same as AUX, CD, or TAPE. PHONO inputs include a built-in preamp and RIAA equalization. Plugging a turntable into AUX gives you the same thin, weak sound as skipping the preamp entirely.
Connect the separate thin ground wire from the turntable to the GND terminal on the receiver. This small bare or spade connector is what prevents the low-frequency hum you hear when the ground is missing. Tighten the grounding screw until it grips the wire firmly.
Step 8: Level the Turntable
Once everything is connected and the cartridge is set, place a bubble level on the platter (not the plinth – the platter is the truer surface). Adjust the feet until the bubble sits centered in both axes. Most turntables have four threaded feet, sometimes only two, that you can screw in or out by hand.
An unlevel deck causes the tonearm to drift sideways, which skews VTF readings and ruins channel balance. A phone level app works in a pinch, but a $5 hardware bubble level is quicker and more reliable. I keep one taped to the back of my audio rack.
Common Turntable Setup Mistakes to Avoid
After walking hundreds of customers through turntable setup at our store, I’ve seen the same handful of mistakes over and over. Avoiding these will save you hours of troubleshooting and possibly the cost of replacing a damaged stylus or worn-out cartridge.
Forgetting transit screws. The motor whine when you power on a turntable with transit screws still installed is unmistakable. Always check before the first power-up.
Plugging into the wrong input. A turntable needs a PHONO input or a dedicated phono preamp. AUX, CD, or TAPE will not work – the signal ends up too quiet and thin.
Missing the ground wire connection. The bare ground wire is easy to overlook. Without it, you get a loud 60 Hz hum that doesn’t go away with volume changes.
Setting VTF by dial only. Manufacturer dials are sometimes off by 0.2 g or more. Always verify with a stylus gauge.
Cartridge wires on the wrong pins. If the right channel sounds like it’s coming from the left speaker, two of the wires are swapped. Power off and check the color code again.
Skipping the alignment protractor. Setting VTF without aligning the cartridge overhang is like tuning a guitar with one string out of tune. The protractor ensures the stylus rides the groove at the correct angle.
Turntable Troubleshooting: Problems and Solutions
Even with a perfect setup, things occasionally go wrong. This quick reference solves the problems I see most often.
| Problem | Most Likely Cause | Solution |
|---|---|---|
| No sound at all | Wrong input selected on receiver/speakers | Switch to PHONO or LINE depending on your preamp setup |
| Loud hum or buzz | Ground wire disconnected | Connect the bare ground wire to the GND terminal on the receiver or preamp |
| Skipping or jumping stylus | VTF too low or anti-skate mis-set | Increase VTF by 0.1 g using a gauge, then match anti-skate to VTF |
| Distortion in inner grooves | Anti-skate too low | Increase anti-skate by 0.1 increments until distortion clears |
| Right and left channels swapped | Cartridge wires crossed | Power off and recheck the red/green/blue/white wire assignment |
| Slow platter speed or warble | Belt twisted or stretched (belt-drive) | Remove the belt, check for twists, and reseat it on both pulleys |
| Very quiet, thin sound | Missing phono preamp in the chain | Confirm PHONO input is in use or add an external phono preamp |
First Play Checklist
Before you drop the needle on your favorite record, run through this final checklist. Ten seconds here saves a stylus replacement later.
- Stylus guard removed and stored safely
- Speed selector set correctly (33 1/3 for LPs, 45 for singles)
- Platter spinning freely with no wobble or noise
- Tonearm balance confirmed horizontal at zero VTF
- VTF verified with a stylus gauge
- Anti-skate set equal to VTF
- RCA cables fully seated into the PHONO input
- Ground wire firmly attached
- Receiver volume set to zero before you cue
- A known-clean test record (not your favorite pressing!) on the platter
Lower the cueing lever gently and let the stylus settle into the outer groove before raising the volume. The first record I drop on any newly set up deck is always a used thrift store find – if something is off, I’d rather find out on a $1 LP than my original pressing of Kind of Blue.
Frequently Asked Questions
How long does it take to set up a turntable for the first time?
Plan on 45 to 60 minutes for a complete first-time setup, including transit screw removal, belt install, cartridge mounting, VTF calibration, anti-skate adjustment, and audio connection. A second deck takes most people about 20 minutes.
Do I need a phono preamp to set up a turntable?
Yes, somewhere in the chain you need a phono preamp – either one built into the turntable, the PHONO input on a receiver, or an external phono preamp box. Without it, the signal is too quiet and bass-light to play through speakers.
What order should I set up a turntable in?
The correct order is: 1) pick a stable surface, 2) remove transit screws, 3) install the platter and belt, 4) mount and wire the cartridge, 5) balance the tonearm and set tracking force with a gauge, 6) set anti-skate equal to VTF, 7) connect to the audio system and ground wire, 8) level the deck, then run a first play test.
Why is my new turntable humming?
A loud steady hum on a turntable almost always means the ground wire is not connected. Attach the bare ground wire from the turntable to the GND screw on your receiver or external phono preamp.
Can I set up a turntable without a receiver?
Yes. If your turntable has a built-in phono preamp, run RCA cables directly to powered speakers. If not, add an external phono preamp between the turntable and the powered speakers.
Final Thoughts on Setting Up a Turntable the Right Way
Setting up a turntable is one of those hobbies where the order of operations genuinely matters. Doing the steps in the right sequence – location first, transit screws second, cartridge and tracking force in the middle, audio connection near the end – means you will not have to backtrack and recheck earlier work. The full setup takes under an hour and gives you years of reliable playback once it is done.
Invest in a stylus gauge and an alignment protractor early on. Those two tools pay for themselves the first time you catch a calibration error before it damages a record or a stylus. And always run a first play on a record you do not care about, just in case something needs one more adjustment.