
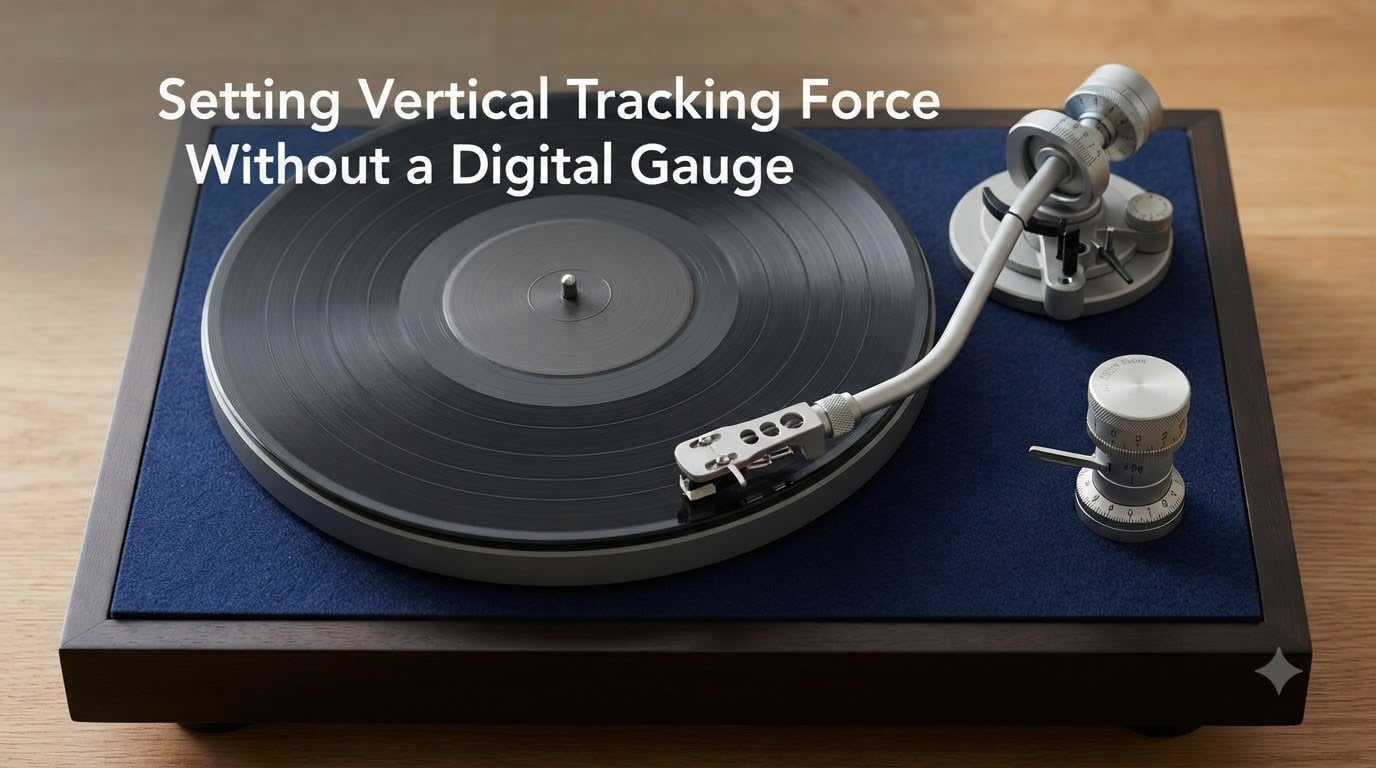
Getting your turntable dialed in can feel intimidating when you don’t own a digital stylus gauge. The good news is that the engineers who built your tonearm gave you everything you need to get close without extra tools. Setting vertical tracking force without a digital gauge is entirely possible using the counterweight markings, manufacturer specifications, and a few simple verification tests.
In this guide, I’ll walk through the methods I have used on my own turntables and what vinyl community members on Reddit’s r/turntables and Vinyl Engine recommend. You will learn what tracking force actually does, how to balance your tonearm, three practical methods to set force without a digital gauge, and how to verify your results by ear.
Vertical tracking force matters because it determines how firmly your stylus sits inside the record groove. Too little and the needle skips, mistracks, and wears unevenly. Too much and you grind away vinyl with every play. Hit the right number and your records sound fuller, track cleaner, and last for decades.
Table of Contents
What Is Vertical Tracking Force (VTF)?
Vertical tracking force, often abbreviated VTF, is the downward pressure the stylus tip applies to the record groove during playback. It is measured in grams, with most moving magnet cartridges landing somewhere between 1.5 and 2.5 grams.
The counterweight is the rounded cylinder threaded onto the back of your tonearm. Rotating it forward or backward shifts that weight relative to the pivot point, which changes how many grams of force reach the stylus. Think of it like a seesaw: move the heavy end closer to the center and the far end presses down harder.
Anti-skating is a related force that pulls the tonearm slightly outward to counteract the inward pull created by groove friction. We will cover it later because it should always be set to match your tracking force.
Why Tracking Force Matters for Vinyl Playback?
Tracking force sits at the center of a tradeoff between groove tracking and record wear. The stylus needs enough pressure to stay planted in the groove through loud passages and warped sections. It also needs to stay light enough to avoid grinding the vinyl surface.
When the force is too light, the stylus bounces and the cantilever distorts the audio signal. You hear inner groove distortion, sibilance, and occasional skipping on dynamic tracks. The needle also rides the top of the groove wall unevenly, wearing one channel faster than the other.
When the force is too heavy, the stylus digs into the vinyl and removes material with every play. Records wear out faster, high frequencies dull first, and the cantilever suspension on the cartridge itself fatigues over time.
Hitting the manufacturer’s recommended range keeps the stylus planted without destroying your collection. That sweet spot is what we are aiming for with every method below.
Step 1: Balance Your Tonearm First
Before you can set tracking force by any method, you need the tonearm floating horizontally. This zero-force reference point lets the counterweight dial or scale work accurately.
Start by lifting the cue lever so the tonearm rests in its cradle. Turn off the turntable and unplug it. Remove any stylus guard if your cartridge has one. Set the anti-skate dial to zero.
Hold the tonearm gently and rotate the counterweight until the arm floats level, parallel to the platter. The headshell should neither dip toward the platter nor rise upward. This is called the zero balance point. Take your time, because getting this right makes every subsequent step more accurate.
If your counterweight has a separate numbered ring, rotate only the ring, not the weight itself, until the zero lines up with the reference mark on the tonearm. Now your tracking force reading starts from true zero.
Method 1: Using the Counterweight Staked Scale
Most turntables with a counterweight include a calibrated dial or staked ring marked in tenths of a gram. This is the most reliable method for setting vertical tracking force without a digital gauge, and it is what I use on my primary deck.
Find the recommended tracking force range for your cartridge. The manual, the cartridge box, or the manufacturer website lists a range like 1.75 to 2.25 grams. Aim for the middle of that range on your first attempt.
From the zero balance point, rotate the entire counterweight forward, toward the front of the turntable, while watching the numbered ring. Each number represents the grams of downward force added. Stop when the ring shows your target number. That is your tracking force set.
This method works because the counterweight is engineered so that one full rotation corresponds to a known gram range. Trust the dial, especially on turntables from Audio-Technica, Rega, Pro-Ject, and Fluance, which use reasonably accurate markings.
Method 2: Counting Counterweight Rotations
If your counterweight has no numbered ring, or the markings have worn off, you can still set tracking force by counting rotations. This works because every counterweight follows a known thread pitch.
Start from the zero balance point and mark where the weight sits. Many turntable manuals list how many grams each full rotation of the counterweight adds. A common value is roughly 1 gram per full turn on entry-level tonearms, though the exact number varies by model.
Check your turntable manual for the grams-per-rotation spec. Divide your target tracking force by that number. Rotate the counterweight forward by that fraction of a turn. For example, if one full rotation equals 1 gram and you want 2 grams, rotate forward two complete turns from zero.
This is less precise than the dial method, but vinyl community members report it lands within a tenth of a gram on most tonearms. That is close enough to protect your records while you track down a gauge.
Method 3: Using Household Items as a Reference Weight
When you have no calibrated dial and no manual spec, you can estimate tracking force using common household items of known weight. This is the least accurate method, but it is better than guessing by feel.
One approach uses coins. A US nickel weighs exactly 5 grams, a penny 2.5 grams, and a dime 2.268 grams. Place the tonearm stylus onto a small platform, like a pill bottle cap, balanced on the platter. Add coins to a small tray attached to the headshell area and compare the resistance to the tonearm’s downward pressure.
This works best as a rough sanity check rather than a primary setup tool. The geometry is not exact, and friction in the tonearm pivot throws off the reading. Use it to confirm your counterweight setting is in the right neighborhood, not to replace the dial method.
A cleaner alternative is to borrow a beam balance or shipping scale that reads to 0.1 grams. Lower the stylus onto the scale platform on the platter and read the grams directly. Even a cheap kitchen scale with 0.1 gram resolution gets you within the cartridge’s acceptable range.
Signs Your Tracking Force Is Wrong
Your ears and eyes tell you a lot about whether your tracking force is on target. Here are the symptoms I check after every setup.
If the force is too light, the stylus skips on loud or sibilant passages. You hear distortion in inner grooves near the label, where the groove speed is slower. The left and right channels sound unbalanced, and vocals develop a harsh edge.
If the force is too heavy, records sound muddy and compressed. High frequencies lose their sparkle because the stylus is grinding the groove walls flat. You may also hear a rushing or whooshing noise between tracks as the needle digs into the silent groove.
A simple test is to play a track you know well at the start, middle, and end of a record. Consistent sound across all three positions suggests your tracking force is close. If the inner grooves distort noticeably, try nudging the force up by a tenth of a gram.
Setting Anti-Skating to Match Your Tracking Force
Anti-skating should always mirror your tracking force. If you set VTF to 2 grams, set the anti-skate dial to 2 as well. This counteracts the inward pull that the groove exerts on the stylus.
Wrong anti-skating causes one channel to distort before the other. A test record with separate left and right channel tracks reveals this clearly. Without a test record, listen for whether distortion is worse on one side during loud passages.
Forum members on Vinyl Engine emphasize matching these two settings as the single biggest improvement you can make after setting the tracking force itself. Reset anti-skate every time you adjust the counterweight.
Tips and Warnings
Always set tracking force with the turntable powered off and the platter stopped. A spinning platter can fling the tonearm and damage the cantilever.
Never lower the stylus directly onto a metal platter or scale edge. Use the cue lever, and place a record or mat on the platter first.
If you change cartridges, repeat the entire process from zero balance. Different cartridges have different weights and require fresh calibration.
When in doubt, err slightly heavier rather than lighter. A touch too much force wears records slowly. Too little force causes mistracking that damages grooves in a single play.
Frequently Asked Questions
Do I need a stylus force gauge?
A digital stylus gauge improves accuracy but is not required. The calibrated dial on your counterweight gets you within the acceptable range for most cartridges.
How do you know if your tracking force is too high?
Records sound muddy, high frequencies dull quickly, and you may hear a rushing noise in silent grooves. The stylus is grinding the vinyl instead of riding it.
What happens if the tracking force is too light?
The stylus skips, distorts on inner grooves, and wears the groove walls unevenly. Channels can sound unbalanced and vocals develop harshness.
Can you set tracking force without a scale?
Yes. Use the calibrated counterweight dial, count rotations from zero balance, or estimate with known-weight household items. Verification by ear catches gross errors.
Conclusion
Setting vertical tracking force without a digital gauge comes down to three reliable approaches: the calibrated counterweight dial, counting rotations from zero balance, and rough estimation with known weights. The dial method is the one I recommend for nearly every turntable owner.
Always start by floating the tonearm to zero balance, then dial in your cartridge’s recommended range. Match the anti-skate to your tracking force, and verify the result by listening across a full record side. Your ears catch what a gauge cannot.
If you plan to swap cartridges often or want maximum accuracy, a digital stylus gauge is a worthwhile investment. But for protecting your records and getting clean playback today, the methods in this guide get the job done. Setting vertical tracking force without a digital gauge is a skill every vinyl listener can master.