
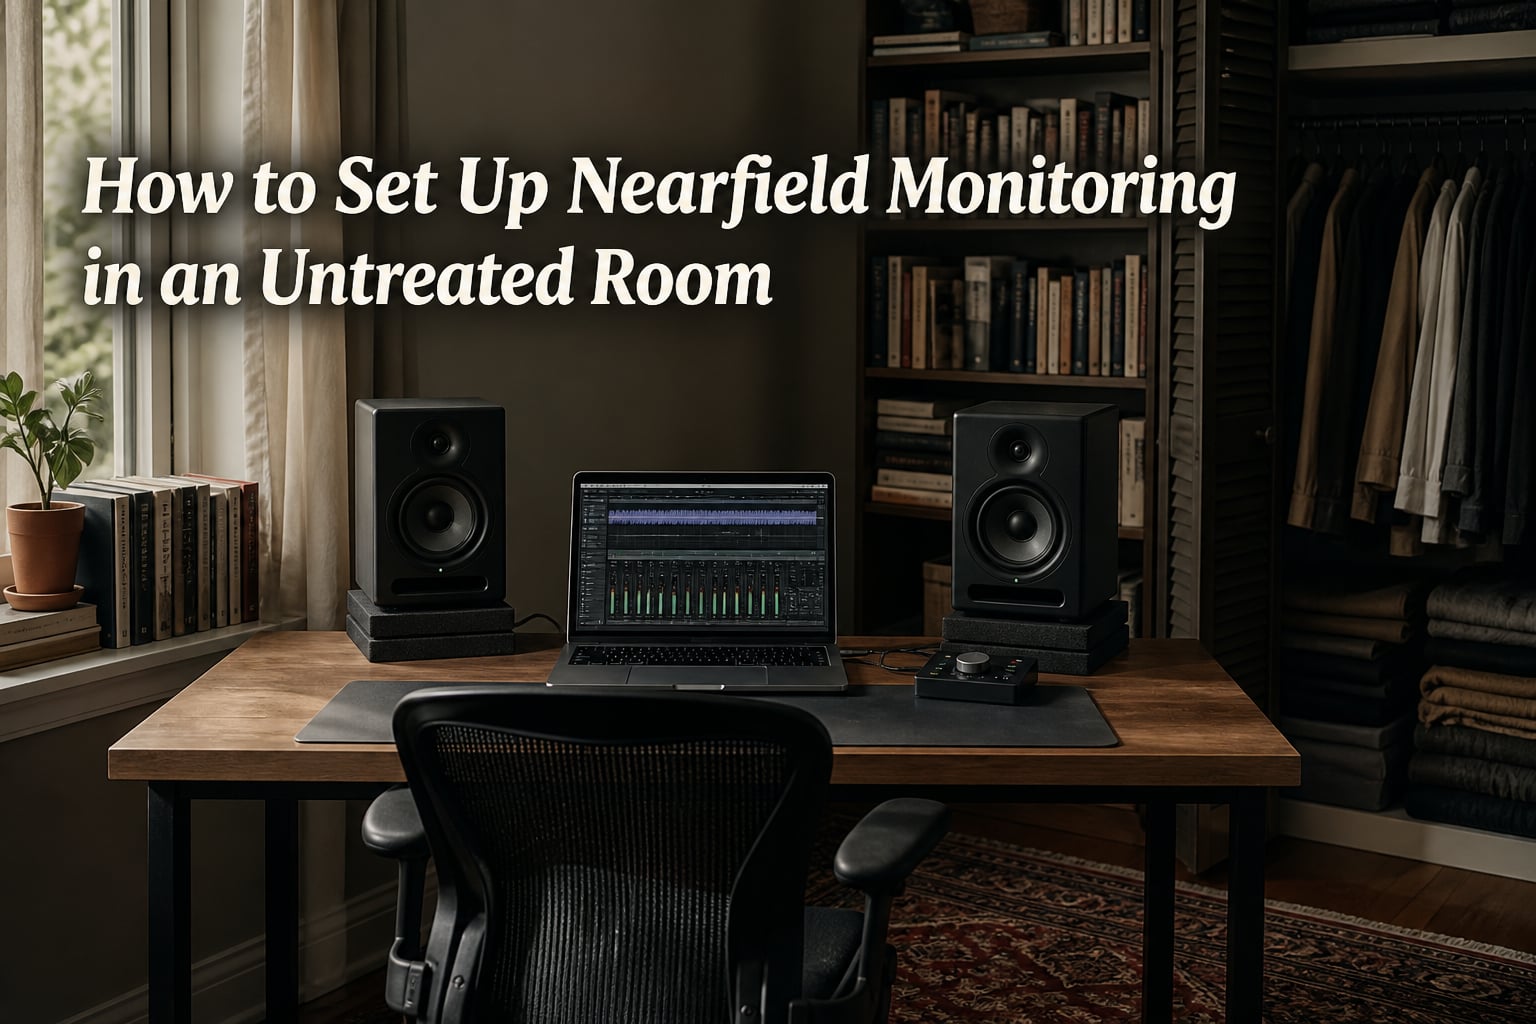
Setting up nearfield monitoring in an untreated room is one of the most common challenges home producers face. I have spent the past three years working in untreated bedroom studios, and I can tell you from experience that smart monitor placement matters more than any gear upgrade.
In this guide, I will walk you through the exact steps our team uses to get accurate monitoring without spending thousands on acoustic panels. You will learn the equilateral triangle principle, wall distance rules, and practical workarounds that real producers rely on every day in 2026.
Table of Contents
What Is Nearfield Monitoring and Why Does It Matter in an Untreated Room?
Nearfield monitoring is a listening setup where you sit close enough to your studio monitors (typically 3 to 5 feet) that the direct sound from the speakers reaches your ears before significant room reflections arrive. The term “nearfield” literally means you are positioned in the acoustic field closest to the source.
This matters in an untreated room because untreated spaces are dominated by reflections, standing waves, and bass buildup that color everything you hear. When you sit further back, those reflections overpower the actual speaker output and your mixes suffer.
By positioning yourself close to the monitors, you give your ears the best chance to hear what the speakers are actually producing rather than what your room is adding to the sound. The direct-to-reflected sound ratio drops, and your mix decisions become far more accurate.
I have used this approach in three different bedroom studios with zero treatment, and the improvement over sitting 6+ feet away is dramatic. The bass tightens, the stereo image locks in, and mixes translate better to other systems.
The Equilateral Triangle Principle for Speaker Placement
The equilateral triangle principle is the foundation of accurate stereo monitoring. Your two monitors and your head should form an equilateral triangle, with all three sides being equal in length.
Here is how to set it up in practice:
Measure the distance between the acoustic centers of your two monitors.
Mark your listening position at the exact same distance from each speaker.
Aim the tweeters directly at your ears when seated.
The most common distance for nearfield work is between 3 and 4 feet on each side. Smaller triangles (under 3 feet) can produce a “hyper-stereo” effect that exaggerates stereo width. Larger triangles start to pull you out of the nearfield and reintroduce room influence.
Toe-in angle matters too. Start with the speakers pointed directly at your ears (a 30-degree angle from parallel walls). If the high frequencies feel harsh, reduce the toe-in slightly. If the stereo image feels narrow, increase it.
I tested this with a tape measure and a protractor in my own studio. The image clarity difference between correct and incorrect placement was night and day, particularly for panning decisions.
Finding Your Sweet Spot and Listening Position
The sweet spot is the single position where the stereo image snaps into focus and both speakers combine into a coherent soundstage. It is also the only spot where stereo imaging, depth, and low-frequency balance are represented accurately.
To find your sweet spot, sit at the apex of the equilateral triangle you just created. Both speakers should sound equally loud. Pan a test track fully left, then fully right, and confirm the sound moves predictably between speakers rather than jumping erratically.
Equidistance from side walls is just as important as equidistance from the monitors themselves. Asymmetrical placement causes one speaker to excite room modes more than the other, skewing the stereo image even when both speakers are well-positioned.
A quick test: close your eyes while a mono track plays and slide your head left and right by a few inches. If the sound shifts dramatically, you are not yet in the sweet spot. Adjust until the image remains stable with small head movements.
Monitor Height and Acoustic Axis Alignment
Your tweeters should sit at ear level when you are seated in your mixing position. This places the acoustic axis of each monitor pointing directly at your ears, which is where the speaker’s frequency response is most neutral.
The acoustic axis is the line of direct radiation from a monitor, typically running between the tweeter and woofer or directly out from the tweeter depending on design. Anything above or below that line introduces frequency response changes that alter what you hear.
If your desk is too low, invest in proper monitor stands or isolation pads. I have used a $40 pair of foam isolation pads on a desk for years and they make a meaningful difference in decoupling the monitors from the desk surface.
Sit in your normal mixing position and have someone measure the height of your ears. Adjust your stands or pads until the tweeters match that height exactly. This single adjustment fixes more imaging problems than most people realize.
Wall Distance and Boundary Effects in Untreated Rooms
Placing monitors too close to walls causes bass buildup that makes your mixes sound boomier than they actually are. This is called boundary effect, and it is one of the biggest problems in untreated rooms.
The 38% rule is a simple guideline: keep your monitors at least 38% of the room’s length away from the front wall. Measure your room, multiply the length by 0.38, and that gives you the minimum front-wall distance for your monitors.
The 83% rule works similarly for side wall symmetry. The center of your monitor-to-listener triangle should sit at 83% of the room’s width from one side wall. This places your listening position in a spot where reflections from both side walls arrive at nearly equal times, preserving stereo symmetry.
If you cannot achieve ideal distances due to room limitations, get as close as you reasonably can. Even 12 to 18 inches of front-wall clearance dramatically reduces boundary-induced bass buildup compared to placing monitors flush against the wall.
I tested this rule in a 10×12 foot room and the 38% mark put my monitors 4.5 feet from the front wall. That distance noticeably reduced low-frequency ringing compared to the 2-foot placement I had been using.
Understanding Nearfield vs Reverberant Field
Every room has two acoustic regions: the nearfield, where direct sound from the speakers dominates, and the reverberant field, where room reflections take over. The transition point between the two is called the critical distance.
Nearfield monitoring works because you position yourself inside the nearfield region. Your ears capture mostly the direct sound, with reflections arriving late enough that your brain largely ignores them. This gives you an accurate representation of what the speakers are producing.
In untreated rooms, the reverberant field is strong because hard surfaces (drywall, windows, wood floors) reflect almost all the sound back into the room. If you sit in that field, your mixes get colored by comb filtering, slap echo, and exaggerated low frequencies.
Critical distance in an untreated room is often only 2 to 3 feet. That is exactly why nearfield positioning at 3 to 4 feet puts you right at the edge of usefulness. Any further back and the room takes over your monitoring.
Step-by-Step Guide to Set Up Nearfield Monitors
Follow these steps in order to set up your nearfield monitors for the best possible accuracy in an untreated room.
Step 1: Measure your room dimensions. Note the length and width. Calculate the 38% mark for front-wall distance and the 83% mark for side-wall listening position.
Step 2: Mark your speaker positions. Place your monitors at the calculated distances. Use painter’s tape on the desk or floor to mark these spots so you can return to them.
Step 3: Set up the equilateral triangle. Measure the distance between the two monitors. Adjust your listening position so it sits the same distance from each speaker, forming a true equilateral triangle.
Step 4: Adjust monitor height. Position the stands or pads so the tweeters align with your ears at seated height. The acoustic axis should point directly at your head.
Step 5: Set the toe-in angle. Start with the speakers aimed directly at your ears. Make small adjustments based on high-frequency balance and stereo image width.
6: Verify with reference tracks. Play familiar, well-mixed songs at moderate volume. Listen for accurate bass, stable stereo image, and natural-sounding vocals. Adjust as needed.
Step 7: Test with mono signals. Switch your DAW output to mono and listen to a centered element. It should appear exactly in the middle of the soundstage with no drift left or right.
Step 8: Mark and finalize. Once everything sounds correct, mark the position with tape. This becomes your permanent mixing spot.
Practical Workarounds for Untreated Rooms
Real home studios rarely have ideal acoustic conditions. Here are workarounds I have tested that actually help.
Use bookshelves, closets full of clothes, and upholstered furniture as makeshift bass traps. They absorb low frequencies far better than bare walls. A closet full of clothes behind your listening position can act as a wide bass trap.
Decouple your monitors from the desk surface using isolation pads or a foam mat. This prevents the desk from resonating and adding false low-frequency information to what you hear.
Mix at lower volumes in untreated rooms. The bass buildup from boundary effects scales with volume, so mixing quieter reduces how much your room colors your decisions. Many forum users report better translation when working at 75 to 80 dB rather than louder levels.
Use headphones for occasional bass verification. Treat them as a secondary check, not your primary mixing tool, but they help confirm if low-end problems are monitor placement issues or actual mix issues.
Put a rug or thick carpet on hardwood floors between you and the monitors. Floor reflections are a common source of comb filtering, and a rug dramatically reduces them.
Common Mistakes to Avoid in Monitor Placement
Avoiding these mistakes will save you from months of bad mixes.
Placing monitors flush against a wall guarantees exaggerated bass that does not exist in your recordings. Always leave at least some clearance.
Unequal distances between speakers and walls causes one speaker to excite different room modes than the other, ruining the stereo image. Measure both sides and keep them equal.
Skipping acoustic axis alignment means you are always listening slightly off-axis, which changes the frequency response. Take 10 minutes to get tweeter height perfect.
Working without a verified listening position means every mix is a guess. Mark your spot and return to it every session.
Ignoring the desk reflection point leads to comb filtering around 2 to 4 kHz where the desk reflects sound into your ears before the direct sound arrives. Tilting monitors slightly downward or raising them above the desk helps.
Frequently Asked Questions
Where should nearfield monitors be placed?
Nearfield monitors should be placed so that they and your head form an equilateral triangle, with the tweeters aimed directly at your ears at seated height. Keep them at least 12 inches away from the front wall and equidistant from both side walls.
What is the 83% rule for speaker placement?
The 83% rule states that the center of your listening position should sit at 83% of the room’s width from one side wall. This places you in a spot where reflections from both side walls arrive at nearly equal times, preserving stereo symmetry and imaging accuracy.
What is the sweet spot for studio monitors?
The sweet spot is the single position where both speakers combine into a coherent soundstage, stereo imaging snaps into focus, and frequency balance is represented accurately. It sits at the apex of the equilateral triangle formed by your head and the two monitors.
What is the 38 percent rule for studio monitors?
The 38% rule is a guideline that your monitors should sit at least 38% of the room’s length away from the front wall. For example, in a 12-foot room, place your monitors at least 4.5 feet from the wall behind them to reduce boundary-induced bass buildup.
How do you set up nearfield studio monitors?
Set up nearfield studio monitors by measuring the equilateral triangle distance, aligning tweeters with ear height, applying the 38% and 83% placement rules, setting proper toe-in angle, and verifying the sweet spot with mono test signals and reference tracks.
How close should nearfield monitors be to the listener?
Nearfield monitors should be between 3 and 5 feet from the listener. This distance keeps you in the nearfield region where direct sound from the speakers reaches your ears before significant room reflections arrive, giving you a more accurate representation of your audio.
Conclusion
Setting up nearfield monitoring in an untreated room comes down to a few core principles that work regardless of your gear. Position your monitors and head in an equilateral triangle, keep tweeters at ear height, apply the 38% and 83% placement rules, and verify your sweet spot with test signals.
Our team has used these exact techniques across multiple untreated bedroom studios, and they consistently produce more accurate mixes than working at casual distances without measurement. The improvements come from physics, not expensive equipment.
Start by measuring your room and marking the ideal positions today. Spend a few hours testing different placements with familiar reference tracks. Once you find the sweet spot in your untreated room, your mixes will translate to other systems far more reliably than they did before.
If you want to dive deeper into home studio acoustics as you continue building your setup, come back to SK Records for more practical guides like this one throughout 2026.