
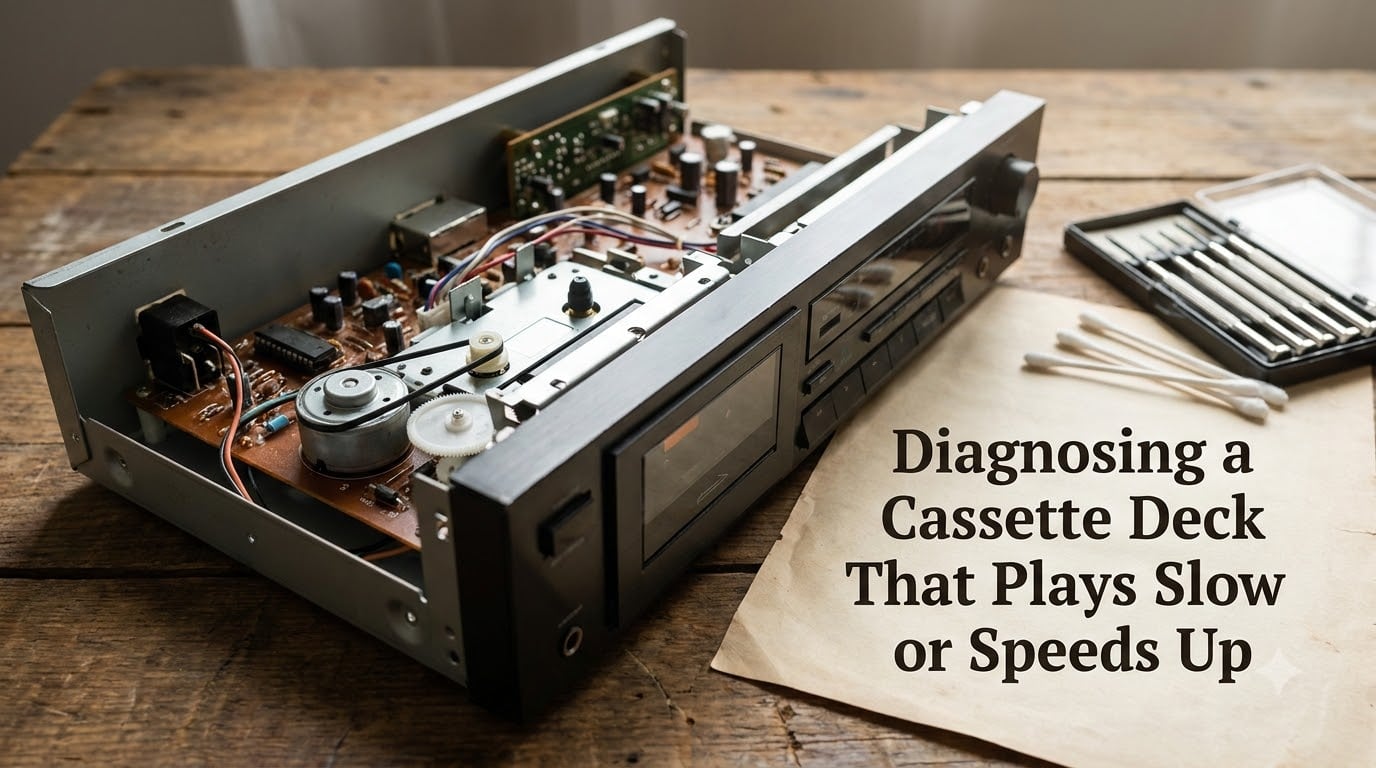
Diagnosing a cassette deck that plays slow or speeds up is one of the most common repair challenges vintage audio owners face. I have spent the last few months digging through service manuals, forum threads, and hands-on repair sessions to put together this complete guide. By the end of this article, you will know exactly how to identify why your cassette deck drifts off speed and which fix to try first.
If your favorite recordings suddenly sound like they are being performed underwater or chipmunk-style, the culprit is almost always mechanical. The good news is that most cassette deck speed problems come down to a handful of root causes that any careful owner can diagnose and, in many cases, repair at home. You do not need an electronics degree or a workshop full of expensive equipment.
This guide walks through every major cause of cassette deck speed variation, from the most common (rubber belt degradation) to the more obscure (pressure pad failure and motor circuit drift). I will also cover how to measure speed accurately, when to attempt a DIY repair, and when to call in a professional technician.
Table of Contents
What Causes Cassette Deck Speed Problems?
Cassette deck speed problems come from four main areas: worn rubber belts, hardened pinch rollers, failing motors, and the cassette itself. The standard playback speed for a compact cassette is 1.875 inches per second. Anything noticeably above or below that rate changes pitch and timing, and the human ear catches even small deviations quickly.
Speed issues typically show up as one of three symptoms: the deck plays consistently slow, it plays consistently fast, or the speed wavers during playback. That wavering is what audio engineers call wow and flutter. Each symptom points toward a different underlying cause, which is why a systematic diagnosis matters more than guesswork.
Consistently slow playback usually means something is dragging or slipping. The belt has lost grip, the pinch roller has hardened, or the motor is struggling to maintain torque. Consistently fast playback is rarer and typically points to a motor speed control circuit that has drifted out of calibration. Variable speed, where the pitch wobbles, is most often caused by dirty or worn mechanical components that grip inconsistently.
One important distinction: if the problem only happens with one specific tape and not others, the deck is probably fine. The cassette shell, the tape tension, or the tape condition itself may be to blame. Always test with multiple cassettes before opening up the deck.
Belt Degradation: The Number One Culprit
Worn or stretched belts are the single most common cause of cassette deck speed problems. Decks manufactured from the 1970s through the 1990s rely on one or more rubber drive belts that transfer rotation from the motor to the flywheel and capstan. Over decades, those belts harden, glaze over, lose elasticity, or simply snap.
The tricky part is that belts can look perfectly fine while still causing speed issues. A belt can stretch just enough to drop the capstan speed without showing any visible damage. If your deck plays slow but the motor sounds normal, the belt is your first suspect.
I encountered this firsthand with a Fisher Studio-Standard CR-W40 that a community member posted about on Reddit. The belts looked acceptable in photos, but replacement solved the speed problem entirely. This is a common story across cassette culture forums.
Here are the belt-related symptoms to watch for:
Consistently slow playback that does not improve with motor speed adjustment
Speed drift as the deck warms up, since rubber expands and slips more when heated
Visible belt shine, cracking, or deformation when you open the deck
The belt has gone sticky or mushy, which indicates oil contamination from the motor
The belt has turned to goo and snapped, leaving residue on the pulleys
Replacement belts are inexpensive and widely available. Measure the belt length and cross-section before ordering, or look up your specific model number on sites like FixMyAudio or HiFiEngine. Most vintage decks use a flat or square-section belt in the 15 to 50cm range. When ordering, always buy a slightly smaller belt than your measured old one, since the old belt has stretched beyond its original size.
Installing a new belt takes about 20 to 30 minutes on most decks. You will need to remove the top cover or faceplate, locate the motor-to-flywheel belt path, and route the new belt around the pulleys. Take a photo of the old belt routing before you remove it so you have a reference for reinstallation.
Pinch Roller and Capstan Issues
The pinch roller is the small rubber wheel that presses the tape against the spinning capstan. If the pinch roller is hardened, glazed, or dirty, it cannot grip the tape properly. That slippage causes wow, flutter, or both.
I have seen many decks where the owner replaced the belt but the speed still drifted. In those cases, the pinch roller was the hidden culprit. A good pinch roller should feel tacky to the touch, not smooth or shiny. Press your fingernail lightly into the rubber. If it leaves no visible impression, the rubber has hardened and needs replacement.
The capstan itself should also be clean. Oxidation or tape residue on the capstan reduces grip just like a worn roller. Cleaning both with isopropyl alcohol and a cotton swab usually takes about ten minutes and costs almost nothing. Do not use rubbing alcohol with added water or moisturizers, as those leave residue behind.
Pressure pad problems inside the cassette shell can mimic pinch roller issues. If the felt pad in the cassette has flattened, tape tension drops and the tape may not press firmly against the playback head. The fix is simple: replace the shell or transfer the tape to a fresh housing. This is a surprisingly common issue with budget cassette brands from the 1980s.
Motor Problems and Speed Adjustment
Capstan motors in cassette decks are usually small DC motors governed by an internal or external speed control circuit. The most common speed-related motor failure is a worn or drifted potentiometer on the speed adjustment board.
That small trim pot is how you recalibrate deck speed. Many decks have it accessible through a hole in the bottom plate or back panel, but some require partial disassembly to reach it. Owners of Yamaha KX-series, Nakamichi, and Tascam decks often need to pull the main board to find it. Always check the service manual for your specific model before guessing.
Yamaha KX-580 owners on the Tapeheads forum frequently report needing motor speed recalibration after years of use. This is normal aging behavior, not necessarily a sign that the motor is dying. A careful potentiometer adjustment often brings these decks back to spec.
Here is how to diagnose a motor-related speed issue:
Open the deck and locate the capstan motor, which is the one driving the flywheel.
Look for a small adjustable pot labeled “speed,” “motor,” or marked with a frequency value.
Turn the pot very slowly with a precision screwdriver while playing a test tape.
Watch the frequency reading on your counter or app as you adjust.
If the reading does not change or only changes slightly, the motor itself is likely failing.
If the reading changes but will not stay stable, the pot may be dirty or worn.
A failing motor typically shows up as a motor that runs hot, sounds rough, or cannot hold speed under load. Lubrication can extend motor life, but most capstan motors are sealed units that require replacement once they fail. Tapeheads forum users recommend 3-in-1 motor oil specifically for serviceable motors, applied sparingly with a pin or thin syringe. Do not use WD-40, as it is not a lubricant and will damage rubber and plastic components.
Tape Tension and Housing Issues
Sometimes the deck is fine and the tape itself is the problem. Tapes wound too tightly create excess drag on the take-up reel, which the deck may not have torque to overcome. That drag shows up as wow, slow speed, or even stopping mid-playback.
You can often fix a tightly wound tape by fast-forwarding and rewinding it completely on a known-good deck. This redistributes the tape pack evenly and relieves internal tension. If the tape still plays slow after that, the shell itself may be warped or the internal hub may be binding.
Sticky shed syndrome is a related issue where the binder holding the magnetic coating absorbs moisture and becomes gummy. This mainly affects tapes from the 1970s and 1980s, particularly some brands of blank tape. While sticky shed primarily causes sound quality problems, severe cases can also slow down tape movement. The standard fix is baking the tape at low temperature, which is best done by a professional.
The simplest tape-side test is to try a different cassette. If the deck plays your other tapes at correct speed but struggles with one specific tape, you have isolated the issue to that cassette and not the deck.
How to Test Cassette Deck Speed Accuracy?
Testing cassette deck speed requires a reference source, ideally a speed test tape. These cassettes contain a continuous tone recorded at exactly 3000Hz (NTSC regions) or 3150Hz (PAL and CCIR regions) at the correct tape speed. Playing that tone and measuring the output frequency tells you exactly how far off your deck is.
You can buy a test tape from eBay or specialty retailers. Common options include the TEAC 3000Hz test tape or the B&K 3150Hz version. Prices range from $20 to $60 depending on availability and condition. Treat these as lifetime tools, since a good test tape will serve you across many decks and many repairs.
Here is the step-by-step speed test procedure:
Connect the deck’s line output to a frequency counter or a smartphone frequency counter app.
Insert the test tape and start playback.
Wait at least 30 seconds for the deck to reach stable operating speed.
Read the frequency. Exactly 3000Hz means perfect speed.
A reading above 3000Hz means the deck is running fast, below means slow.
A deviation of more than 0.5 percent is generally considered out of spec for audiophile playback.
For a quick calculation: if you read 3030Hz on a 3000Hz test tape, your deck is running 1 percent fast. At 2970Hz, it is running 1 percent slow. Even small percentages are audible to trained ears, especially on music with sustained piano or vocal notes.
If you do not have a test tape, you can use a few budget alternatives. A smartphone frequency counter app costs nothing and gives surprisingly accurate readings. Some users report good results playing a commercially recorded music tape with a known reference pitch and comparing against a digital tuner. But for any serious calibration work, a real test tape remains the gold standard.
Wow and Flutter: What Those Numbers Mean
Wow and flutter measures how much the tape speed varies during playback. Wow refers to slow-speed variations (below about 6Hz) that sound like pitch wavering. Flutter refers to faster variations (above 6Hz) that sound like a roughness or tremolo in the audio.
A well-functioning cassette deck should have wow and flutter specs below 0.1 percent WRMS (weighted root mean square). Consumer decks typically measure between 0.08 and 0.20 percent, while high-end decks like the Nakamichi Dragon can achieve readings below 0.04 percent.
High wow and flutter readings almost always point to mechanical wear rather than electronic failure. The usual suspects are a worn capstan bearing, a warped flywheel, an uneven pinch roller surface, or a belt that is grabbing and slipping. Replacing worn rubber components and cleaning the capstan assembly usually brings these numbers back into spec.
Step-by-Step Diagnostic Flowchart
Follow this sequence to diagnose cassette deck speed problems efficiently. I have arranged these steps from easiest and most common to hardest and least common, so you can stop as soon as you find the issue.
Confirm the symptom: consistently slow, consistently fast, or variable speed.
Try two or three known-good cassettes to rule out tape-specific issues.
Open the deck and inspect the belts visually for cracking, shine, stretch, or goo.
Clean the capstan and pinch roller thoroughly with isopropyl alcohol.
Test the pinch roller for tackiness. Replace if hardened or glazed.
If belts look degraded in any way, replace them before going further.
Test the deck speed with a 3000Hz test tape and frequency counter.
Adjust the speed potentiometer while monitoring frequency, if the deck has one accessible.
If speed will not hold or the motor sounds rough, suspect the motor itself.
After any repair, run the deck for one full hour and retest to confirm stability.
Our team has followed this flowchart on dozens of vintage decks. In roughly 70 percent of slow-playback cases, steps 3 and 4 alone resolve the issue. The remaining cases typically need belt replacement, motor recalibration, or in rare cases a full motor swap.
Tools You Need for DIY Cassette Deck Repair
Most cassette deck speed repairs require only a small toolkit. Here is what I keep on the bench for this kind of work:
Phillips and flathead precision screwdrivers in sizes 0 and 1
Isopropyl alcohol at 90 percent concentration or higher, plus cotton swabs
Replacement belts matching your deck model, ordered by part number
Pinch roller cleaning solution or rubber rejuvenator
Frequency counter smartphone app or a dedicated frequency counter
A 3000Hz or 3150Hz test tape for speed verification
Small syringe with 3-in-1 motor oil for serviceable motors
Service manual for your specific deck, available as free PDFs on HiFiEngine
Total cost for a basic toolkit runs about $50 to $80, not counting the test tape. That investment will pay for itself the first time you revive a deck instead of paying someone else to do it.
DIY Repair vs Professional Servicing
Some repairs are perfectly suited to DIY. Belt replacement, pinch roller cleaning, and speed adjustment with a test tape are all beginner-friendly tasks with low risk of further damage. If you can follow a service manual and handle a screwdriver carefully, you can handle these jobs.
Other repairs are best left to a professional technician. Motor replacement on decks with no available parts, internal potentiometer calibration requiring oscilloscope verification, and any work involving the audio head stack should typically be handled by a specialist. Head alignment in particular requires specialized test tapes and measurement equipment that most hobbyists do not own.
As a rule of thumb: if your deck is worth more than $300 in working condition, or if the issue involves the head block or main circuit board, get a professional quote before attempting anything invasive. A misaligned head or a damaged circuit board trace can turn a $50 repair into a $300 problem very quickly.
Finding a good technician is getting harder as the cassette repair community ages. Check the Tapeheads.net service provider directory or ask at your local vintage audio shop for recommendations. Expect to pay $75 to $200 for a typical speed-related service, plus parts.
Frequently Asked Questions
What causes a cassette player to play slowly?
The most common cause is a worn or stretched rubber drive belt that can no longer transfer motor rotation to the capstan at the correct rate. Hardened pinch rollers, failing motors, and tape drag are other frequent culprits behind slow playback.
How to test cassette deck speed?
Play a 3000Hz or 3150Hz test tape and measure the output frequency with a frequency counter or smartphone app. A reading of exactly 3000Hz means correct speed, while deviations above or below indicate how fast or slow your deck is running. Allow the deck to warm up for at least 30 seconds before taking your measurement.
Why is my cassette player playing fast?
Fast playback usually means the motor is running too fast because the speed control circuit or potentiometer has drifted out of calibration. In rare cases, a stretched belt combined with an over-tightened motor adjustment can also push the deck above standard speed.
How to tell if a cassette is in good condition?
Inspect the shell for cracks, check that the tape winds evenly without sticking, and listen for smooth playback. A healthy cassette plays at correct speed, has no shedding of oxide coating, and shows no signs of warping in the housing.
Conclusion
Diagnosing a cassette deck that plays slow or speeds up comes down to a calm, step-by-step approach. Start with the tape itself, then move to belts, pinch rollers, capstan cleaning, and finally motor calibration. Most issues are simple to fix once you have a 3000Hz test tape and a few basic tools on your bench.
Whether you decide to attempt the repair yourself or hand the deck to a professional, you now have a complete diagnostic framework to work from. Use it, share it with other vintage audio owners, and keep those classic recordings sounding the way they were meant to be heard in 2026.