
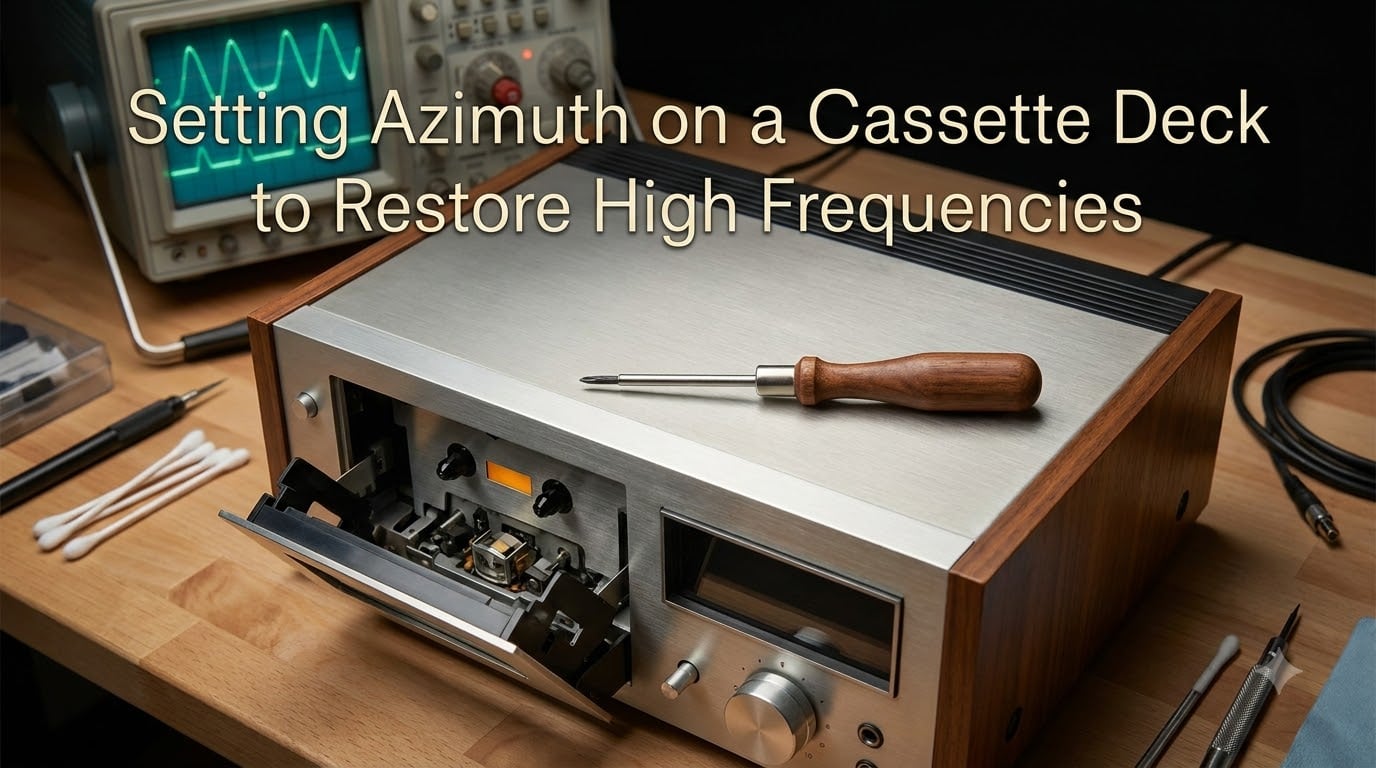
If your cassette tapes sound dull, muffled, or just lifeless, the azimuth on your cassette deck is probably off. We hear this complaint constantly from people trying to digitize old tapes, and the fix is almost always simpler than people think. Setting azimuth on a cassette deck to restore high frequencies takes about 15 minutes with the right test tone, and the difference in sound quality is dramatic.
In this guide, I’ll walk you through what azimuth actually is, why it matters so much for treble reproduction, how to know when yours needs adjustment, and the exact step-by-step procedure I use on my own decks. Whether you have a Nakamichi Dragon or a basic home deck from the 1990s, the principles are the same.
Table of Contents
What Is Azimuth on a Cassette Deck?
Azimuth is the angle of the magnetic head gap relative to the tape’s direction of travel. For proper playback, this gap must be exactly perpendicular (90 degrees) to the tape. When the head was originally recorded at the factory, it was aligned to this exact 90-degree standard, and your playback head needs to match.
The head gap is the tiny vertical opening in the playback head where magnetic flux is read from the tape. Think of it like the slit on a vinyl record player’s stylus, except magnetic instead of mechanical. If that slit is tilted even a fraction of a degree from perpendicular, the left and right stereo channels will be slightly out of phase with each other.
This is one of those audio terms that sounds intimidating but is really just geometry. We use the word “azimuth” because the same concept applies in navigation, photography, and telescope alignment. The tape head needs to “face” the tape at exactly the right angle, and that angle is 90 degrees from the tape’s path.
Why Incorrect Azimuth Kills High Frequencies
Incorrect azimuth causes phase cancellation between the left and right stereo channels, and high frequencies are the first casualty. When the head gap is tilted away from 90 degrees, the magnetic signal from the tape arrives at slightly different times in each channel. The brain interprets that timing difference as dull, smeared treble.
Here’s what happens physically. A cassette tape stores information across its width as alternating magnetic patterns. The left channel is recorded along one edge, the right channel along the other edge, with the head gap straddling the middle. When the playback head gap is perpendicular, both channels are read at exactly the same moment. When the gap is tilted, the right channel signal is read microseconds before or after the left channel.
That microsecond delay is invisible at low frequencies, but at 10kHz or higher it creates destructive interference. The two channels partially cancel each other out, and you lose the cymbal shimmer, vocal sibilance, and overall treble clarity that make music sound alive. Forum users frequently describe the result as “muffled” or “like listening through a pillow.”
The technical term for this is comb filtering, because the frequency response shows a series of peaks and dips that look like a comb when graphed. We have seen decks where 15kHz was attenuated by 15dB or more from azimuth misalignment alone.
Signs Your Cassette Deck Azimuth Needs Adjustment
The clearest sign is dull, lifeless high frequencies on commercial tapes that should sound bright. If your favorite 1985 pop recording sounds like it was recorded underwater, azimuth is the prime suspect. Test tapes recorded under lab conditions will sound obviously wrong.
Other symptoms include a “phasey” or hollow quality, where vocals seem to recede into the background. Some listeners describe it as “mono-ish” sound, because the phase issues trick your ears into hearing less stereo separation. Cymbal crashes lose their sparkle and hi-hats sound like cardboard.
If you have recorded tapes that sound fine on the same deck but commercial tapes sound dull, your azimuth is almost certainly off. Heads drift from factory alignment over years of use, transport wear, and even being moved around. We have seen decks drift by 0.5 degrees or more after 20 years of regular use, which is more than enough to kill the top octave.
Tools You Need to Set Azimuth
You need three things to set azimuth properly: a test tape with a known high-frequency tone, a way to monitor both stereo channels, and a small screwdriver for the adjustment screw. The test tape is the most important piece, because it gives you a reference signal that was recorded at perfect 90 degrees.
For the test tape, a 10kHz or 15kHz azimuth reference tape is standard. MRL (Magnetic Reference Laboratory) makes the professional-grade tapes used by service technicians, and they are the gold standard. If you do not want to invest in an MRL tape, you can find budget azimuth test tapes on the used market for much less.
For monitoring, you need either a stereo amplifier with VU meters or level display, a two-channel oscilloscope showing both channels, or a computer running audio capture software that shows phase correlation or per-channel levels. The oscilloscope gives the most precise result, but software-based metering works fine for most home users.
For the screwdriver, you need a small Phillips or flathead that fits the azimuth adjustment screw on your specific deck. Most cassette decks use a single screw on the back of the head assembly, but the size varies. We recommend getting a precision screwdriver set rather than risking damage with the wrong tool.
How to Set Azimuth on a Cassette Deck: Step-by-Step Procedure
Setting azimuth correctly takes about 10 to 15 minutes with practice. Here is the procedure we use on every deck that comes through our workshop. Follow these steps in order and do not skip the verification at the end.
Step 1: Clean the head and capstan. Before adjusting anything, clean the playback head, pinch roller, and capstan with isopropyl alcohol and a cotton swab. Dirty heads cause the same dull-sound symptoms as azimuth misalignment, and you do not want to chase the wrong problem.
Step 2: Demagnetize the head. Use a cassette head demagnetizer before doing any critical adjustment. Residual magnetism in the head will skew your readings and could damage tapes if left in place.
Step 3: Connect your monitoring setup. Route the deck’s line output to your oscilloscope, audio interface, or amplifier. Make sure you can see or hear both left and right channels independently.
Step 4: Play the azimuth test tape. Insert your 10kHz or 15kHz test cassette and play the azimuth reference section. Let the tape run for a few seconds to stabilize.
Step 5: Observe the baseline signal. Look at both channels on your scope or meter. Note the current output level of each channel. If the channels are unequal, azimuth is off.
Step 6: Locate the azimuth adjustment screw. The azimuth screw is usually on the back of the head assembly, accessed through a hole in the deck’s faceplate or under a small plug. The gotape.eu visual diagram is helpful for finding it on unfamiliar decks.
Step 7: Make small adjustments. Turn the azimuth screw a tiny amount in one direction. Watch both channels. You want both channels to peak together at maximum output level.
Step 8: Peak both channels simultaneously. The correct azimuth position is where both channels reach their highest output at the same time. If one channel peaks first, you are not at the optimal point yet.
Step 9: Watch for false peaks. This is the most important step. With a 10kHz test tone, you can hit a false peak where one full wavelength of misalignment happens to produce a temporary output maximum. To detect this, switch to a higher frequency test tone if available, or use the rocking method described in the next section.
Step 10: Verify with a known recording. After peaking, play a commercial cassette you know well and confirm the treble sounds correct. Cymbals should sparkle and vocals should be clear and present.
Auto-Reverse vs Non-Auto-Reverse Deck Adjustment
Auto-reverse decks have a unique azimuth challenge that single-head decks do not. Most auto-reverse decks use a single head that flips direction, but some use separate heads for each direction, and the alignment of both heads must match. If only one direction is adjusted, tapes played in the other direction will sound dull.
For single-head auto-reverse decks with one azimuth screw, you only need to adjust once. The same head reads the tape in both directions, so one setting covers both. Examples include many Technics, Pioneer, and Akai models from the late 1980s and 1990s.
For dual-head auto-reverse decks, there is often a separate azimuth screw for each direction, sometimes labeled “FWD” and “REV” or hidden behind separate access plugs. You will need to adjust both, and you should verify the setting in both playback directions using your test tape. Forum members consistently report this as one of the most overlooked adjustments.
If your deck does not have an obvious azimuth screw at all, it may use a non-adjustable head assembly. Some budget decks and many car cassette players fall into this category. In those cases, azimuth correction is not a DIY job, and the deck may not be worth professional calibration.
Common Mistakes to Avoid When Setting Azimuth
The most common mistake is adjusting the wrong screw. Many decks have multiple screws near the head assembly for height, tilt, and azimuth. Adjusting the wrong one can make things worse or cause additional alignment problems. We recommend marking each accessible screw with tape before starting so you know exactly what you touched.
Another common mistake is chasing the false peak at 10kHz. Because 10kHz has a wavelength of about 33mm on standard cassette tape, you can hit a position one full wavelength off that still produces a temporary maximum. The “rocking method” from Richard Hess’s notes helps here. Slowly turn the screw back and forth and listen for the deepest null between the peaks, not the peak itself.
Do not use metal tape as a test reference unless your deck is specifically aligned for metal. Type II and Type IV tapes have different bias requirements, and using them as azimuth references can give misleading results on a deck calibrated for Type I ferric tape.
Finally, do not force a screw that will not turn. If the azimuth adjustment screw is seized, stop and seek professional help. Forcing it can strip the screw or crack the head mounting assembly, both of which are expensive repairs.
When to Seek Professional Azimuth Calibration
Seek professional service if your deck is a high-end unit worth preserving, if the azimuth screw is inaccessible or seized, or if you have tried adjustment and the sound is still wrong. Some decks also need their head replaced or relapped before azimuth adjustment makes sense, and that requires specialized equipment.
A professional calibration typically runs between $80 and $200 depending on your location and the deck’s complexity. For a Nakamichi Dragon or other premium deck, this is well worth the cost. For a basic home deck, the calculus depends on how much the tapes mean to you and whether you plan to digitize many of them.
Frequently Asked Questions
How to adjust azimuth on cassette deck?
Play an azimuth test tape (10kHz or 15kHz) on your deck, connect both stereo channels to a scope or level meter, then turn the azimuth screw until both channels peak at maximum output simultaneously. Use small adjustments and watch for false peaks.
What is tape head azimuth?
Tape head azimuth is the angle of the playback head gap relative to the direction of tape travel. The correct azimuth is exactly 90 degrees (perpendicular), which ensures both stereo channels are read at the same instant and high frequencies reproduce accurately.
How do I make my cassette deck sound better?
Start by cleaning the head and capstan with isopropyl alcohol. Then demagnetize the head, check your tape type matches the deck’s bias setting, and adjust the azimuth using a test tape. These four steps fix most dull-sound complaints.
Can I adjust cassette azimuth without an oscilloscope?
Yes. You can use a stereo amplifier with VU meters, computer audio software showing per-channel levels, or even a stereo recording made while you sweep the azimuth screw and listen for the brightest, clearest position. The scope is more precise but not required.
Final Thoughts
Setting azimuth on a cassette deck to restore high frequencies is one of the most rewarding DIY audio tasks you can do. The improvement from a properly aligned head is dramatic and immediate. Cymbals come alive, vocals become present, and the whole soundstage opens up.
If you are just starting, get a good test tape, take your time, and do not skip the verification step. Most home decks respond well to careful adjustment, and you will hear the difference on the very first commercial tape you play afterward.