
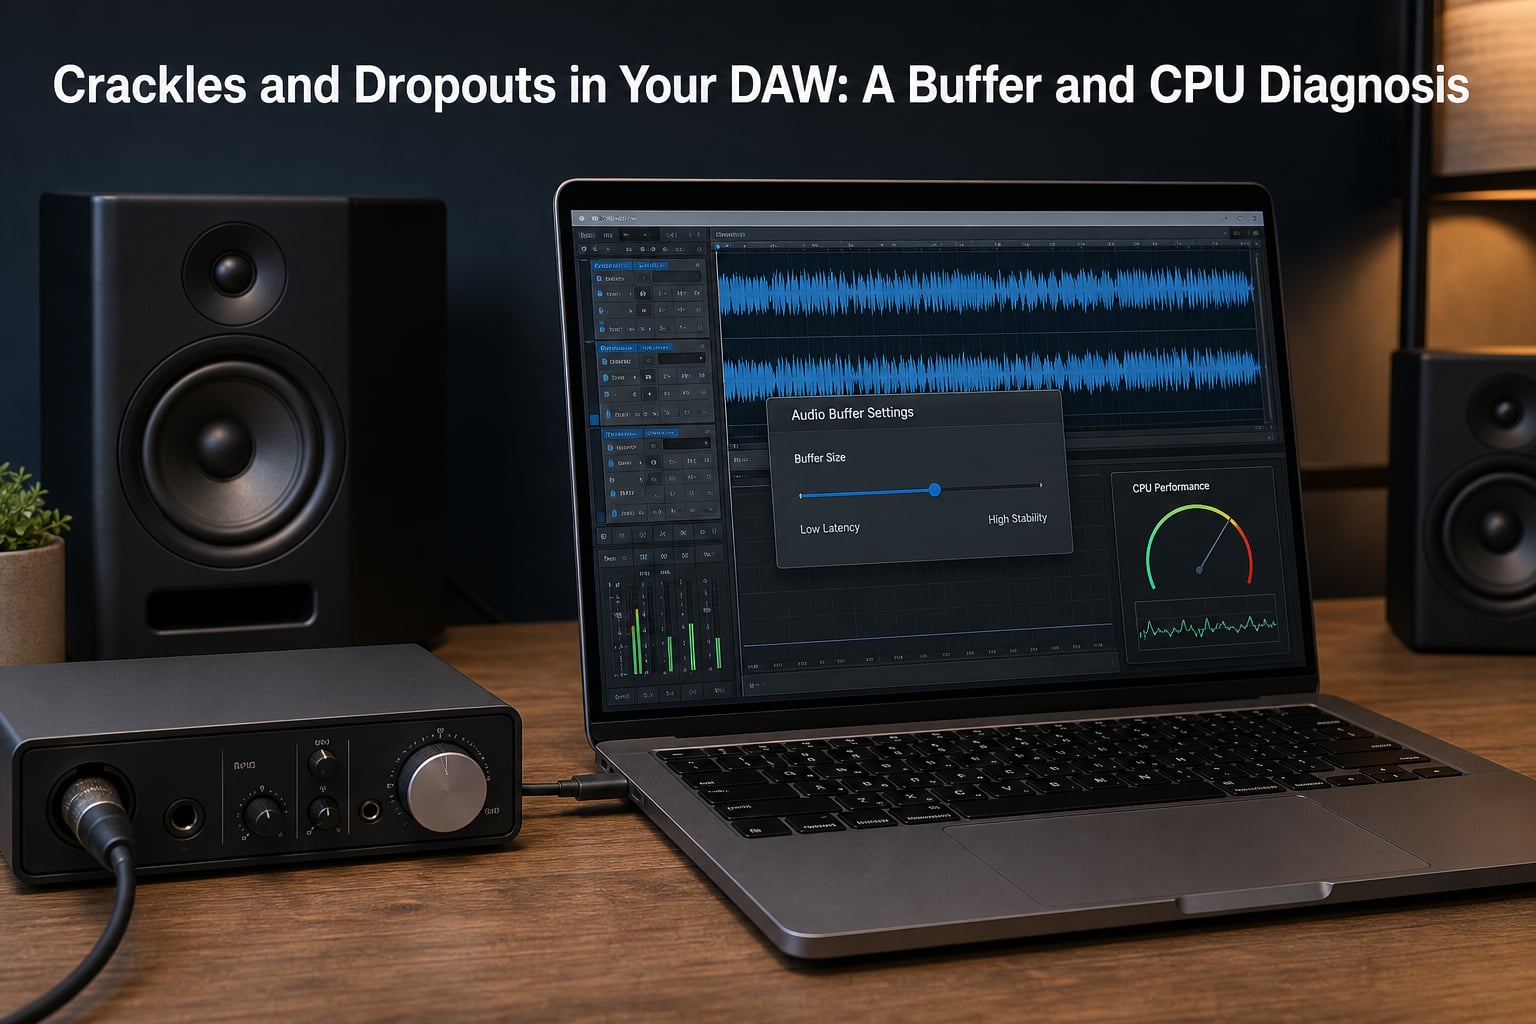
You hit play, lean in to check your mix, and there it is. That telltale static, those random pops, the audio cutting out for a split second right before the drop. DAW crackles and dropouts are the most frustrating problem in music production because they kill your creative flow and make every mixing decision unreliable.
I have spent years tracking down audio glitches across Ableton Live, Pro Tools, Logic Pro, FL Studio, and Cubase on both Windows and macOS builds. The good news is that almost every dropout has a traceable cause, and the diagnostic process is the same regardless of which DAW you use.
This guide breaks down why crackles happen, how buffer size and CPU load interact, and walks you through a systematic troubleshooting process you can follow right now. We will cover everything from basic buffer adjustments to advanced DPC latency analysis so you can get back to making music with clean, uninterrupted audio.
Table of Contents
Why DAW Crackles and Dropouts Happen?
Every audio crackle or dropout in a DAW comes down to one thing: a timing problem. Digital audio requires real-time processing, which means your CPU must finish processing a chunk of audio data before the next chunk arrives at the output. If the processing takes even a fraction of a millisecond too long, the audio engine runs out of data to play, and you hear a pop, click, or gap of silence.
Think of it like a conveyor belt. Audio data arrives in small batches called buffers, and your CPU has to process each batch before the speaker needs it. When the CPU falls behind, the belt has nothing to deliver, and silence or noise fills the gap. The crackle you hear is literally the audio engine stalling and restarting.
This is why DAW crackles and dropouts can happen even when your overall CPU usage looks low. A single plugin on a single CPU core can spike for a few milliseconds, miss its deadline, and cause a dropout while the rest of your system sits nearly idle. Understanding this timing mechanism is the foundation for every fix in this guide.
Understanding Buffer Size and Latency
Buffer size is the number of audio samples your DAW collects before sending them to the audio interface for playback. It is always a power of two, such as 64, 128, 256, 512, or 1024 samples. A smaller buffer means lower latency but less time for your CPU to process each batch. A larger buffer gives the CPU more headroom but introduces noticeable delay between when you play a note and when you hear it.
At a sample rate of 44.1 kHz, a 128-sample buffer gives you roughly 2.9 milliseconds of latency. At 96 kHz, that same 128-sample buffer drops to about 1.3 milliseconds. The buffer size stays the same in terms of sample count, but higher sample rates process those samples faster, reducing the time window. This is why increasing your sample rate can actually make crackles worse at a given buffer size, since the CPU has less time per buffer.
Buffer Size vs Latency Tradeoff at 44.1 kHz
Here is a quick reference I use constantly when diagnosing buffer-related issues:
64 samples: ~1.5 ms latency. Best for tracking and recording live instruments. High CPU demand, most likely to cause crackles on heavy projects.
128 samples: ~2.9 ms latency. The sweet spot for tracking with virtual instruments. Still demanding but manageable on most modern systems.
256 samples: ~5.8 ms latency. Good for light mixing work. Balances responsiveness with CPU headroom.
512 samples: ~11.6 ms latency. Ideal for mixing with many plugins. Most projects run smoothly here.
1024 samples: ~23.2 ms latency. Maximum headroom for heavy mixing and mastering. Too much latency for live tracking or playing virtual instruments in real time.
My rule of thumb is to track at 128 and mix at 512. When I hear crackles during a tracking session, I bump up to 256 first. During mixing, I start at 512 and only go higher if the project demands it. If you are still getting dropouts at 1024, the problem is almost certainly not your buffer size, and you need to look elsewhere.
CPU Load and Real-Time Processing
Your DAW’s CPU meter is useful, but it can be deeply misleading. Most CPU meters show overall usage across all cores, while real-time audio processing happens on individual cores. A project running at 30 percent total CPU can still produce dropouts if a single core is maxed out by a demanding plugin chain.
This per-core bottleneck is why many users on audio production forums report crackles despite seemingly low CPU usage. A heavy convolution reverb, an oversampled saturator, or a CPU-intensive synthesizer can pin one core to 100 percent while the other cores sit idle. The DAW reports low overall usage, but the audio engine still misses its deadline on that one overloaded core.
Thermal throttling adds another layer. When your CPU heats up during a long session, the system automatically reduces clock speeds to protect the hardware. This dynamic frequency change can cause audio dropouts even when your project ran fine for the first 30 minutes. I have seen this most often on laptops and compact builds with insufficient cooling. If your crackles get worse the longer you work, thermal throttling is a prime suspect.
To check for thermal issues on Windows, open Task Manager and watch the CPU clock speed under the Performance tab. On macOS, use a free tool like Macs Fan Control or Intel Power Gadget to monitor frequencies. If you see the clock speed dropping significantly under load, your CPU is throttling and you need to address cooling, not your DAW settings.
Plugin-Induced Crackles
Plugins are the most common source of crackles in established projects. Some plugins are simply CPU-hungry by design, while others have hidden costs that do not show up in the overall CPU meter. Understanding which plugins are responsible and managing their impact is a skill every producer needs.
Oversampling is a major hidden CPU cost. Many saturation, EQ, and compressor plugins offer 2x, 4x, or even 8x oversampling modes. These modes process the audio at multiples of your project sample rate to reduce aliasing, but they multiply the CPU load proportionally. A plugin running at 4x oversampling on a 96 kHz project is processing audio at 384 kHz internally. If you have crackles, check your oversampling settings first.
Lookahead limiters and dynamics processors with lookahead features also cause CPU spikes. They buffer a small amount of audio ahead of time to make processing decisions, which adds to the real-time processing load. During tracking, switch these plugins off or use simpler alternatives. During mixing, only enable lookahead processing once you are committed to your settings.
Heavy virtual instruments, especially orchestral sample libraries and physically modeled synths, can overwhelm your system through a combination of CPU and disk streaming demands. If a crackle appears every time a particular instrument plays, that plugin is likely the culprit.
How to Identify Problematic Plugins Systematically?
I use a binary elimination method. Mute all tracks and unmute them one at a time, playing a short section each time. When the crackle appears, note which track caused it. Then bypass plugins on that track one by one until the crackle disappears. The plugin you just bypassed is your offender.
Once you find it, you have several options. Freeze or bounce that track to audio, reduce its oversampling, use a lighter alternative during the session, or move it to a separate instance that processes offline. Freezing commits a track to audio with its plugins rendered, which removes the real-time processing cost entirely. Almost every major DAW supports track freezing in some form.
Audio Interface and Driver Issues
Your audio interface is the bridge between your computer and your speakers, and its driver determines how efficiently audio data flows across that bridge. Driver problems are one of the most common yet overlooked causes of crackles and dropouts, and they can persist even with high buffer sizes and low CPU loads.
On Windows, always use an ASIO driver for your audio interface. ASIO bypasses the Windows audio mixer and communicates directly with the hardware, giving you the lowest latency and most stable performance. If your interface does not have a dedicated ASIO driver, use ASIO4ALL as a fallback, but be aware it is a wrapper around the generic driver and will not perform as well as a native ASIO driver. Never use the default Windows audio drivers like DirectSound or MME for DAW work, as they add significant latency and are prone to dropouts.
On macOS, Core Audio handles audio at the system level and is generally excellent. You rarely need third-party drivers on Mac, but you should still make sure your interface firmware is current. Driver conflicts on macOS are less common but can occur after major OS updates, so check the manufacturer’s compatibility page before upgrading.
Outdated drivers are a frequent culprit. I have seen cases where a Focusrite Scarlett interface crackled constantly on a fresh Windows install, only to run perfectly after downloading the latest Focusrate Control driver. Check your interface manufacturer’s website for driver updates every few months, especially after OS updates.
Sample rate mismatches between your DAW, interface, and operating system can also cause crackles. If your DAW is set to 48 kHz but your interface control panel is set to 44.1 kHz, the system has to resample audio on the fly, which can introduce artifacts. Make sure all three are set to the same sample rate.
USB controller sharing is another hidden issue. If your audio interface shares a USB bus with a hard drive, webcam, or other bandwidth-hungry device, data transfers can interrupt audio streaming. Plug your interface directly into a dedicated USB port, ideally a USB 2.0 port for USB 2.0 devices, and avoid USB hubs for audio interfaces whenever possible.
Physical connections matter too. A loose USB cable, a damaged XLR cable, or a faulty adapter can cause crackles that sound exactly like software-related dropouts. Before diving into settings, try swapping cables and testing with a different interface if you have one available. This quick hardware check saves hours of unnecessary software troubleshooting.
Step-by-Step Troubleshooting Guide
When crackles appear, it is tempting to start changing random settings. Do not do that. Instead, follow this systematic approach to isolate the root cause quickly. Each step targets a specific category of problem, and you should test your audio after every change to see if the issue is resolved.
Step 1: Increase your buffer size. Go to your DAW’s audio preferences and increase the buffer size to the next power of two. If crackles disappear, you were simply asking too much of your CPU. Find the lowest buffer size that produces clean audio for your current project.
Step 2: Update your audio interface driver. Download the latest driver from your interface manufacturer’s website. Uninstall the old driver completely before installing the new one. Restart your computer and test.
Step 3: Check sample rate consistency. Verify that your DAW, interface control panel, and operating system audio settings all use the same sample rate. Mismatches force real-time resampling, which can cause artifacts.
Step 4: Run a plugin audit. Use the binary elimination method described in the Plugin-Induced Crackles section. Bypass all plugins, then re-enable them one at a time to identify any that cause crackles. Freeze or replace problematic plugins.
Step 5: Check for system interruptions. Temporarily disable Wi-Fi, Bluetooth, antivirus software, cloud sync services, and any non-essential background applications. If the crackles stop, one of those services was stealing CPU time from your audio engine.
Step 6: Test your physical connections. Try different USB ports, swap cables, and test your interface on another computer if possible. This rules out hardware failures and USB controller conflicts.
Step 7: Run a DPC latency check (Windows). Download LatencyMon and let it run for a few minutes. If it reports drivers exceeding the real-time threshold, those drivers are causing system interruptions. Update or replace the offending drivers.
Step 8: Check for thermal throttling. Monitor your CPU clock speeds during playback. If speeds drop under load, improve your system cooling or reduce your project’s CPU demand.
Step 9: Freeze tracks you are not actively editing. Commit instrument tracks and heavy plugin chains to audio to remove their real-time processing load. This is the single most effective way to reduce CPU demand without changing your mix.
Step 10: Test on a clean project. Create a new, empty project and load a single simple virtual instrument. If crackles persist, the problem is system-level, not project-specific. If the new project plays cleanly, your original project has a plugin or routing issue.
DPC Latency Deep Dive
DPC latency stands for Deferred Procedure Call latency, and it is one of the most underdiagnosed causes of audio dropouts on Windows. DPCs are a normal part of how Windows handles hardware interrupts, but when a driver takes too long to process its DPC, it blocks the audio thread and causes dropouts.
Here is how it works. When a hardware device needs attention, it sends an interrupt to the CPU. The CPU pauses what it is doing, acknowledges the interrupt, and schedules a deferred procedure call to handle the full request later. This DPC is supposed to execute quickly, but poorly written drivers can hold the CPU for hundreds of microseconds, which is an eternity in real-time audio processing.
Common DPC offenders include network adapters (especially Wi-Fi cards), GPU drivers, and USB controller drivers. These drivers can spike DPC latency when they perform background tasks like scanning for networks or rendering the display. The audio engine gets blocked during these spikes, and you hear a dropout even though your DAW and CPU usage look normal.
The tool I recommend for diagnosing DPC latency is LatencyMon, which is free for personal use. Run it while your DAW is playing and let it monitor for several minutes. LatencyMon will show you which specific drivers are causing the highest DPC execution times and whether they exceed the threshold for real-time audio.
If LatencyMon flags a driver, the fix depends on the driver. Network adapters can be disabled while working on audio. GPU drivers can sometimes be rolled back to a more stable version. USB controller drivers may need updating from the motherboard manufacturer. In some cases, you may need to adjust driver settings or disable power-saving features that cause the driver to spike during state transitions.
DPC latency issues are the reason some users report crackles on brand-new, high-end PCs built specifically for audio production. A powerful CPU does not help if a driver is blocking the audio thread. If you have exhausted every other fix and still hear crackles, DPC latency should be your next investigation, and it is a Windows-specific issue that macOS users do not typically encounter due to Core Audio’s architecture.
System-Level Interruptions
Beyond DPC latency, many everyday system processes can interrupt your audio engine. These interruptions are not bugs, they are normal system behavior, but they become audible problems when your audio buffer is already under pressure. Identifying and minimizing these interruptions can make the difference between clean and crackling audio.
Wi-Fi adapters are frequent offenders. When a Wi-Fi card scans for networks or transfers data, it generates interrupts that can momentarily block the audio thread. If you are working on a project that stresses your CPU, even normal Wi-Fi activity can tip the system over the edge. Disabling Wi-Fi during mixing sessions is a simple fix that eliminates this variable entirely.
Bluetooth is another common source of interruptions. Bluetooth audio devices and peripherals maintain constant wireless connections that generate regular interrupts. Disable Bluetooth if you are not actively using it during your session.
Antivirus software can cause sudden CPU spikes during background scans. Schedule scans for times when you are not working on audio, or add your DAW and project folders to the antivirus exclusion list. Cloud sync services like Dropbox, Google Drive, and OneDrive can also spike disk and CPU usage during file synchronization.
On macOS, Spotlight indexing and Time Machine backups are known causes of audio dropouts. Spotlight indexes your drives in the background after major file changes or OS updates, and this process can hammer disk and CPU resources for extended periods. You can add your audio drives to Spotlight’s privacy list to prevent indexing. Time Machine should be paused during critical sessions.
Windows Update can download and install updates in the background, consuming bandwidth and disk resources. Set your active hours in Windows Update settings so updates do not run during your production time. Also disable automatic restart prompts that can interrupt a session.
Storage and Disk Performance
For projects that rely on sample libraries, disk performance is just as important as CPU power. When your DAW streams samples from disk in real time, a slow drive or a contended disk path can cause dropouts that sound identical to CPU-related crackles. Understanding your storage hierarchy helps you identify whether disk or CPU is the bottleneck.
Traditional spinning hard drives (HDDs) are the slowest option and are not recommended for streaming sample libraries. Their mechanical seek times create unpredictable latency that can cause dropouts during heavy sample playback. If you are still using an HDD for audio work, upgrading to an SSD is the single most impactful change you can make.
Solid-state drives (SATA SSDs) are dramatically faster and reliable for most audio workloads. NVMe SSDs are faster still and are ideal for large orchestral sample libraries that stream hundreds of voices simultaneously. For most producers, a SATA SSD is sufficient, but if you work with Kontakt libraries at high voice counts, NVMe storage will eliminate disk-related dropouts.
Your DAW’s disk overload indicator is the key diagnostic tool here. In Ableton Live, a small “D” indicator appears in the top right corner when disk usage spikes. In Pro Tools, the disk activity meter shows read and write levels. If the disk meter maxes out during crackles, storage is your bottleneck, not your CPU.
RAM also plays a role. When your system runs low on RAM, it swaps data to disk, which creates massive latency spikes. If you work with large sample libraries, 16 GB of RAM is the minimum I recommend, with 32 GB being ideal for orchestral work. Check your RAM usage during sessions, and if you see swapping occurring, either close other applications or upgrade your RAM.
One often overlooked factor is where your project files live. If your DAW project, sample libraries, and operating system all share the same drive, disk contention can cause dropouts. Moving your sample libraries to a separate SSD reduces competition for disk access and improves streaming performance.
Cross-DAW Troubleshooting Methodology
While the underlying causes of crackles are the same across all DAWs, the specific settings and tools differ. Here is how to apply the diagnostic process in each major DAW, so you can find the right controls regardless of which software you use.
Ableton Live
In Ableton Live, buffer size is set in Preferences under the Audio tab. Click “Hardware Setup” to open your interface’s control panel, where you adjust the buffer size. Ableton’s CPU meter in the top right corner shows overall usage, but you can also check per-track load by hovering over tracks. The “D” indicator shows disk overload, and the “CPU” indicator lights red when the audio engine is overloaded. Use the Freeze Track command (right-click a track) to commit heavy plugin chains to audio.
Pro Tools
In Pro Tools, buffer size is set in Setup > Playback Engine. The host processor meter shows CPU load, and the disk activity meter shows drive usage. Pro Tools is particularly sensitive to DPC latency on Windows, so run LatencyMon if you experience persistent dropouts. AAE error codes, such as 6085 or 6116, indicate specific dropout types that point to CPU or disk overload. Pro Tools also has a Disk Allocation dialog where you can assign tracks to different drives for better streaming performance.
Logic Pro
In Logic Pro, buffer size is set in Preferences > Audio > Devices. Logic’s CPU meter shows per-core usage, which is more informative than overall usage. The “Processing Threads” setting lets you allocate CPU cores to the audio engine. Logic’s Freeze function is available on every track type and is accessed via Track Header components. On macOS, Logic benefits from Core Audio’s stability, so driver issues are rare, but you should still check for sample rate mismatches and background process interference.
FL Studio
In FL Studio, buffer size is set in Options > Audio Settings. FL Studio’s CPU meter in the top bar shows overall usage, and the smart disable feature on the mixer can reduce CPU load by turning off plugins that are not producing sound during playback. FL Studio also offers a “Smart Disable” option that automatically bypasses plugins that are not receiving input, which can significantly reduce CPU load on complex projects.
Cubase
In Cubase, buffer size is set in Studio > Studio Setup > VST Audio System. Cubase’s Performance Meter shows both CPU and disk load with per-core breakdowns. The ASIO Guard feature pre-buffers audio channels to reduce the real-time processing load, and I recommend enabling it for mixing. Cubase also has a comprehensive Freeze function available on both instrument and audio tracks.
Universal Technique: Bounce in Place
Regardless of your DAW, the most effective CPU management technique is bouncing tracks to audio. This means rendering a virtual instrument or a heavy plugin chain to an audio file, then disabling the original plugins. The audio file plays back with nearly zero CPU cost. Every major DAW supports this in some form, whether it is called Bounce in Place, Commit, Render, or Freeze. Make this a regular part of your workflow, especially as projects grow.
Platform-Specific Optimizations
Beyond DAW settings, your operating system has a significant impact on audio stability. Both Windows and macOS have features designed for general users that can interfere with real-time audio. Here are the specific optimizations I recommend for each platform.
Windows Optimizations
Windows power management is the first thing to address. The default Balanced power plan aggressively scales CPU frequencies, and these transitions can cause audio dropouts. Switch to the High Performance power plan to lock your CPU at its base clock speed or higher. If High Performance is not available, create a custom plan based on High Performance.
USB power management should be disabled. In Device Manager, find your USB Root Hubs and uncheck “Allow the computer to turn off this device to save power” under the Power Management tab. This prevents Windows from putting USB controllers to sleep, which can cause dropouts when the interface is re-enumerated.
Exclusive mode allows your DAW to take full control of the audio device. Right-click the speaker icon, select Sounds > Playback, find your interface, click Properties > Advanced, and check “Allow applications to take exclusive control of this device.” This prevents other applications from interrupting your audio stream.
Background apps and startup programs should be minimized. Open Task Manager > Startup and disable any non-essential programs. Disable Game Mode and Game Bar features, as they can interfere with audio priority. Also consider disabling Windows visual effects under System Properties > Advanced > Performance, setting it to “Adjust for best performance.”
Fast Startup, a Windows feature that saves system state to speed up boot times, can cause driver conflicts with audio interfaces. Disable it in Control Panel > Power Options > Choose what the power buttons do > Change settings that are currently unavailable, then uncheck “Turn on fast startup.”
macOS Optimizations
macOS is generally more stable for audio out of the box thanks to Core Audio, but there are still optimizations worth making. The Energy Saver preference pane should be set to prevent system sleep during sessions, and “Put hard disks to sleep when possible” should be disabled for external audio drives.
App Nap is a macOS feature that slows down applications running in the background. While your DAW should not be napping during active use, other applications might wake up and spike CPU usage. You can disable App Nap for specific applications by right-clicking the app in Finder, selecting Get Info, and checking “Prevent App Nap.”
Memory compression in macOS can cause performance issues with large sample libraries. When the system compresses RAM to free space, the decompression process creates latency spikes. The solution is to ensure you have enough physical RAM for your workload so compression is not triggered. Activity Monitor’s Memory tab shows whether compression is occurring.
Spotlight indexing should be managed on audio drives. Add your audio sample drives to System Settings > Siri & Spotlight > Privacy to prevent Spotlight from indexing them, which eliminates a major source of background disk and CPU activity.
On Apple Silicon Macs, the audio performance is excellent, but you should still avoid running heavy applications alongside your DAW. The unified memory architecture means RAM is shared between CPU and GPU, and intensive graphics work can reduce available memory for audio processing.
When to Upgrade Hardware
If you have followed every software fix in this guide and still experience persistent crackles and dropouts, it may be time to consider hardware upgrades. But before spending money, make sure you have genuinely exhausted the software side, because no amount of hardware power will fix a badly configured system.
The first upgrade I recommend is RAM. If you have less than 16 GB, upgrading to 32 GB will eliminate swapping issues and give you headroom for large sample libraries. This is the cheapest and most impactful upgrade for most users.
For CPU-bound projects, single-core performance matters more than core count for audio. Real-time audio processing is inherently serial on each track, so a CPU with fewer but faster cores will outperform one with many slower cores for DAW work. Look at single-core benchmark scores when choosing a CPU for audio production.
If you are streaming samples from an HDD, moving to an NVMe SSD will eliminate disk-related dropouts. Even upgrading from a SATA SSD to NVMe can help with very large orchestral templates that stream hundreds of voices.
A quality audio interface with a well-written native ASIO driver will outperform budget interfaces with generic drivers. If you are using the built-in audio output or a very cheap interface, upgrading to a dedicated audio interface from a reputable manufacturer can resolve persistent driver-related issues.
Conclusion
DAW crackles and dropouts are frustrating, but they are never random. Every glitch has a cause, whether it is a buffer size that is too low, a plugin that is pinning a CPU core, a driver that is blocking the audio thread, or a system process that is stealing processing time. The key is to diagnose systematically rather than changing settings blindly.
Start with buffer size, check your drivers, audit your plugins, investigate system interruptions, and use DPC latency tools when nothing else works. The step-by-step guide in this article gives you a repeatable process for isolating any dropout cause. Apply it the next time you hear crackles, and you will find the problem faster than you ever have before. Clean, uninterrupted audio is achievable on almost any system when you understand how the pieces fit together.
Frequently Asked Questions
How to fix audio dropouts?
Increase your DAW’s buffer size first, then update your audio interface driver, verify sample rate consistency across your DAW and interface, and audit plugins for CPU spikes. If dropouts persist, disable background processes like Wi-Fi and antivirus, check for DPC latency on Windows using LatencyMon, and freeze heavy tracks to reduce real-time CPU demand.
Can you fix audio connections that crackle?
Yes. Swap cables, try different USB ports, avoid USB hubs, and test your interface on another computer to rule out hardware faults. Update your interface driver and firmware, ensure you are using ASIO drivers on Windows, and check that physical connectors are clean and secure.
How do I fix my audio crackling?
Raise your buffer size to 256 or 512 samples for mixing, use a native ASIO driver on Windows, disable oversampling on heavy plugins, freeze tracks you are not editing, and close background applications. If crackles continue, run a DPC latency check and update any flagged drivers.
Can high CPU usage cause audio issues?
Yes. When a single CPU core hits 100 percent, even briefly, the audio engine misses its processing deadline and produces a pop or dropout. This can happen even when overall CPU usage looks low because real-time audio processing runs on individual cores, not the entire CPU.
Why does my DAW crackle even with low CPU usage?
The overall CPU meter does not show per-core usage. A single demanding plugin can max out one core while the others sit idle, causing dropouts despite low total usage. Other causes include DPC latency from driver interrupts, thermal throttling reducing clock speeds, USB controller conflicts, and system background processes stealing processing time.