
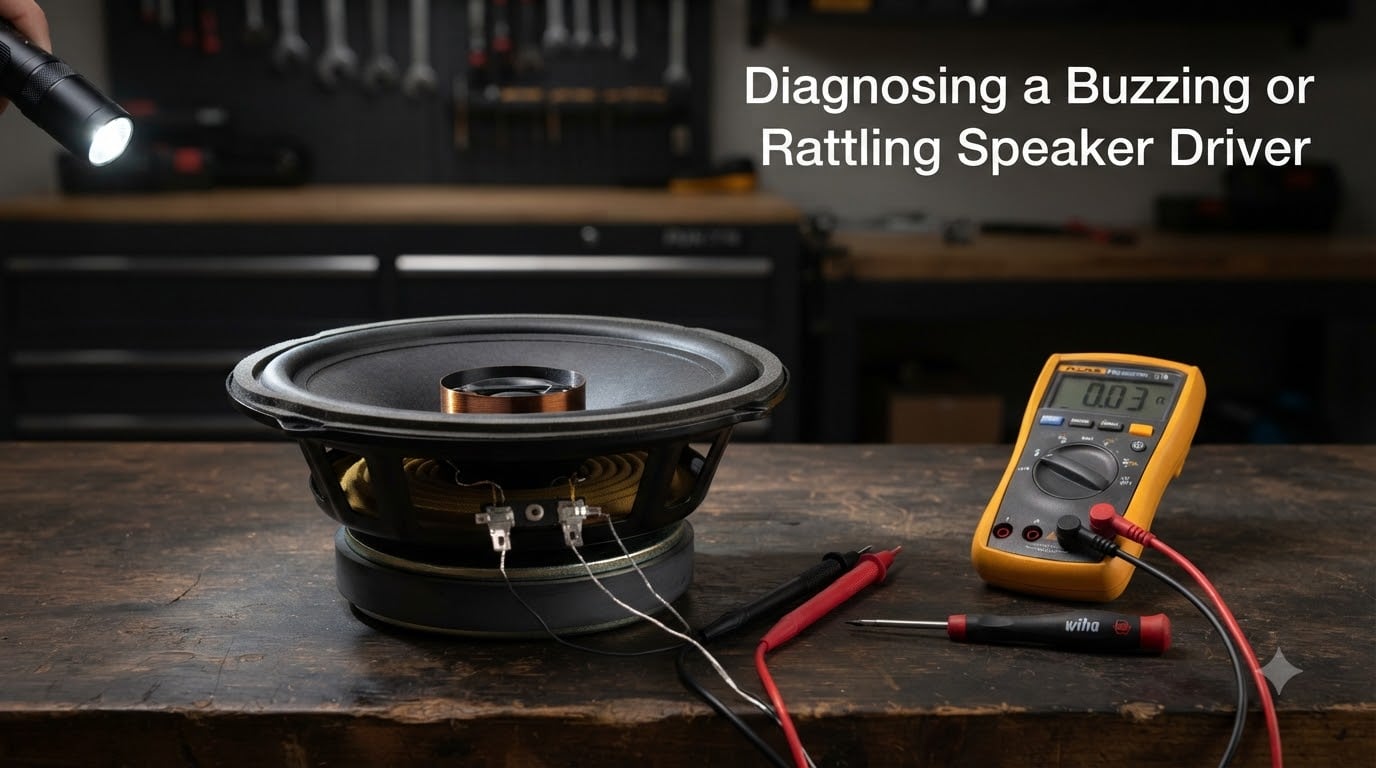
There is nothing more frustrating than sitting down for a listening session and hearing a harsh buzz or rattle ruin your favorite track. I have spent years troubleshooting audio systems, from budget car setups to home studio monitors, and that unwanted noise almost always traces back to one culprit: the speaker driver itself.
This guide walks you through diagnosing a buzzing or rattling speaker driver step by step. You will learn how to identify the root cause, distinguish between a blown speaker and a fixable rattle, and apply the right solution without buying parts you do not need.
Whether you are dealing with car audio rattling at high volume or a home stereo that buzzes on certain bass notes, the diagnostic process below will help you pinpoint the problem in under an hour.
Table of Contents
Understanding Speaker Driver Buzzing and Rattling
A buzzing or rattling speaker driver produces unwanted mechanical noise alongside the audio signal. This noise happens when something inside or around the driver vibrates at a frequency that interferes with clean sound reproduction.
To understand the problem, you need to know a few key speaker components. The voice coil is a cylinder of wire that sits inside the magnet gap and moves when electrical current flows through it. The cone (or diaphragm) attaches to the voice coil and pushes air to create sound. The surround is the flexible ring connecting the cone edge to the basket. The spider is a second flexible support that centers the voice coil inside the magnet gap.
When all these parts are aligned and undamaged, the driver moves cleanly through its excursion range. When any component is loose, torn, or misaligned, you hear it as buzzing, rattling, or distortion. The key to diagnosing the issue is figuring out which component is the source.
Not all unwanted noise means your speaker is done for. Many rattling issues come from loose mounting hardware, surrounding panels, or signal problems rather than actual driver damage. That is why a systematic diagnostic approach matters before you spend money on replacements.
Common Causes of a Buzzing or Rattling Speaker Driver
Speaker driver issues fall into three broad categories: mechanical damage inside the driver, external mounting and resonance problems, and signal-related distortion. Here is what to look for in each category.
Mechanical Damage Inside the Driver
Voice coil rub is one of the most common causes of buzzing. When the voice coil overheats from excessive power or prolonged clipping, the former can warp slightly. This causes the coil to scrape against the inside of the magnet gap as it moves, producing a harsh scraping or buzzing sound. You will typically hear it at all volume levels, and it gets worse with cone excursion.
Surround deterioration happens when the flexible surround material dries out, cracks, or separates from the cone or basket. Foam surrounds degrade over time, especially in humid environments. A torn surround allows the cone to wobble off-axis, which creates buzzing during bass-heavy passages.
Spider damage is less common but equally problematic. If the spider tears or loosens from its mounting, the voice coil loses its centering support. This leads to the same off-axis cone movement as a torn surround.
Cone damage includes tears, punctures, or delamination. Even a small crack in a paper cone can create a rattle at specific frequencies where the damaged edge vibrates against itself.
External Mounting and Resonance Problems
Loose mounting hardware is the most overlooked cause of speaker rattle. Screws that have vibrated loose over time allow the entire driver to move against its mounting surface. This creates a metallic rattling sound that is easy to mistake for internal damage.
Cabinet or door panel resonance produces rattling that sounds like it comes from the speaker but actually comes from nearby surfaces. In car audio, door panels, trim pieces, and license plate frames are frequent offenders. In home setups, cabinet walls and port tubes can resonate at certain bass frequencies.
Grille vibration happens when metal or plastic grilles contact the cone at high excursion. This is particularly common with car speakers that have been pushed deeper into factory mounting locations.
Signal and Power Issues
Signal clipping occurs when an amplifier is pushed beyond its clean output capacity. The waveform flattens at the peaks, creating harsh harmonic distortion that sounds like buzzing. Clipping can destroy a voice coil over time because it essentially feeds the speaker DC current in bursts.
Underpowering is a counterintuitive cause. When an amplifier cannot deliver enough clean power, users tend to turn the volume up until the amp clips. This clipped signal is what damages speakers, not the low power itself.
Overpowering with an amplifier that far exceeds the speaker’s RMS rating pushes the cone past its excursion limits. This causes mechanical bottoming, which sounds like a sharp pop or crack followed by rattling.
Incorrect EQ settings can also trigger rattling. Boosting bass frequencies beyond what the driver can handle forces excessive cone excursion, even at moderate volume levels.
Step-by-Step Diagnostic Process
Follow these diagnostic steps in order. Each one narrows down the source of the problem so you can identify the fix without guessing.
Step 1: Visual Inspection
Remove the grille and examine the driver with a flashlight. Look for tears in the surround, cracks in the cone, loose dust cap edges, and any separation between the surround and basket. Check that all mounting screws are tight and that no debris is sitting on the cone.
Inspect the spider by looking through the spokes of the basket if your driver has an open frame. Tears or sagging in the spider material indicate the voice coil is no longer properly centered.
Step 2: The Swap Test
Swap the speaker wires between your left and right speakers. If the buzzing moves to the opposite speaker, the problem is in your wiring, amplifier, or source signal, not the driver itself. If the buzzing stays with the same physical speaker, you have confirmed the issue is in the driver or its mounting.
This is the single most useful test for isolating speaker problems from system problems. I use it on every diagnostic job before touching the driver.
Step 3: The Shake Test
Gently press the cone inward and release it a few times. Then hold the driver and shake it lightly along the axis of cone movement. If you hear a scratching or grinding sound, the voice coil is rubbing inside the magnet gap. This confirms internal damage that requires repair or replacement.
A healthy driver moves smoothly and silently through its full range. Any mechanical scraping sound during this test means the coil and magnet gap are no longer properly aligned.
Step 4: The Cone Pressure Test
Play the audio that triggers the buzzing at a moderate volume. While the speaker is making noise, gently press on different areas of the cone edge and surround with your fingertips. If the buzzing stops or changes when you apply pressure to a specific spot, you have found the location of a loose component or tear.
This test is especially useful for locating small surround separations that are invisible to the eye but create audible buzzing during playback.
Step 5: Volume and Frequency Sweep Test
Play a frequency sweep from 20 Hz to 200 Hz at moderate volume. Use a test tone app on your phone or a sine sweep video. Listen carefully for the frequency range where buzzing starts and stops.
If the buzzing only appears at specific frequencies, the likely cause is resonance in the mounting location or a loose component that vibrates at that frequency. If the buzzing is present at all frequencies and gets worse as volume increases, the issue is more likely voice coil damage or clipping.
Test at multiple volume levels. A rattle that appears only at high volume often indicates mechanical bottoming from overpowering. A buzz that is present even at low volume points to voice coil rub or physical damage.
Step 6: Isolate External Resonance
If you suspect the rattle is coming from something other than the speaker, press firmly on surrounding panels, trim pieces, and the speaker mounting surface while the noise is occurring. If pressing on a panel stops the rattle, you have found a resonance issue that requires sound deadening or mechanical tightening, not speaker repair.
Signal Clipping vs Mechanical Rattle: How to Tell the Difference
One of the most common diagnostic mistakes is confusing clipping distortion with mechanical rattle. The two sound similar but have completely different causes and fixes.
Signal clipping produces a harsh, edgy buzzing that is consistent across frequencies. It typically starts when you reach a specific volume threshold and gets worse as you push harder. The sound comes from the amplifier running out of clean headroom, not from physical parts vibrating. To test for clipping, reduce the volume and see if the buzzing disappears at a lower level. If it does, your gain structure or amplifier power is likely the problem.
Mechanical rattle comes from physical components vibrating or rubbing. It often appears at specific frequencies rather than across the board. Pressing on the cone or surrounding panels can change or stop the noise. Mechanical rattle does not go away simply by reducing volume, though it may quiet down because less cone excursion means less physical movement.
The quickest way to tell them apart: swap in a different amplifier or receiver if possible. If the buzzing disappears with a different amp, you were hearing clipping. If it persists across amplifiers, the problem is mechanical.
How to Tell a Blown Speaker from a Rattling One
The number one question people ask is whether a rattling speaker is blown. The answer is: not necessarily. A blown speaker has suffered permanent internal damage, while many rattling issues are caused by external factors that are fully repairable.
Here are the key symptom differences to look for:
Signs of a blown speaker: No sound at all from the driver, very quiet or muffled output compared to other speakers, a scraping sound when you manually push the cone, visible burn marks or smell near the voice coil, and distortion at all volume levels including very low ones.
Signs of a repairable rattle: Buzzing only at specific frequencies or volume levels, rattling that changes when you press on surrounding panels, noise that disappears at lower volumes, and a cone that moves smoothly and silently when tested by hand.
If the cone moves freely without scraping and the speaker produces clean sound at moderate volume, the driver is not blown. Your issue is likely resonance, loose hardware, or signal-related. If the cone scrapes or the voice coil smells burnt, the driver is damaged and needs reconing or replacement.
Fixes and Solutions for Common Issues
Once you have diagnosed the source of the buzzing, here are the appropriate fixes for each common problem.
For loose mounting hardware: Remove the driver, clean the mounting surface, and reinstall with fresh screws. Use lock washers or thread-locking compound to prevent screws from vibrating loose again. Make sure the mounting gasket creates a proper seal.
For panel and cabinet resonance: Apply sound deadening material to the mounting surface and surrounding panels. In car doors, this means treating the inner and outer door skins. In home speaker cabinets, add internal bracing or damping material to reduce wall flex.
For voice coil rub and internal damage: A driver with confirmed voice coil damage needs either a recone kit or full replacement. Reconing replaces all moving parts and is cost-effective for expensive drivers. For budget speakers, replacement is usually more practical.
For surround deterioration: Foam surrounds can be replaced with a refoam kit if the cone and voice coil are still intact. This is a common repair for vintage speakers. Follow the kit instructions carefully to keep the voice coil centered during glue-up.
For signal clipping: Reset your gain structure. Start with the head unit volume at about 75 percent, then slowly increase the amplifier gain until you hear distortion, and back off slightly. Match your amplifier’s RMS output to your speaker’s power handling rating. If your amp is underpowered for your speakers, upgrade to a properly matched amplifier.
For EQ-related rattling: Reduce bass boost settings. Cut frequencies below the driver’s rated response range using a crossover or high-pass filter. If you want more bass than your current drivers can deliver, the solution is a subwoofer, not more EQ boost.
Preventing Future Speaker Driver Issues
Most speaker damage is preventable with proper setup and maintenance. Follow this checklist to keep your drivers healthy:
Match amplifier RMS power to speaker power handling ratings. A good rule is to choose an amplifier rated at 75 to 150 percent of the speaker’s continuous RMS rating. This gives you clean headroom without risking overpowering.
Set gains correctly using a digital multimeter or oscilloscope, not by ear. Proper gain setting prevents clipping, which is the most common cause of voice coil damage.
Use crossovers to keep frequencies outside each driver’s designed range from reaching it. High-pass filters protect small drivers from damaging low frequencies, while low-pass filters keep bass out of tweeters.
Inspect mounting hardware every few months, especially in car audio where vibration is constant. Tighten any loose screws before they cause damage.
Avoid pushing the system to maximum volume for extended periods. Even well-matched systems can experience thermal buildup in the voice coil during sustained high-output sessions.
Frequently Asked Questions
How to tell if a speaker driver is blown?
A blown speaker typically shows one or more of these signs: no sound output, very quiet or muffled sound compared to other speakers, a scraping noise when you gently push the cone by hand, visible damage to the voice coil, or distortion present at all volume levels. If the cone moves freely and silently when pressed and the speaker sounds clean at moderate volume, it is not blown.
Why does my speaker rattle at certain frequencies?
Frequency-specific rattling is usually caused by resonance in the mounting surface, nearby panels vibrating at that frequency, or a loose component inside the driver that only moves at certain excursion levels. Test by pressing on surrounding panels during playback. If the rattle stops, the issue is external resonance, not driver damage.
Is a speaker blown if it rattles?
No, rattling does not automatically mean a speaker is blown. Most rattling is caused by loose mounting hardware, panel resonance, or signal clipping, all of which are repairable without replacing the driver. A blown speaker produces no sound, muffled output, or scraping when the cone is pressed by hand. Run the diagnostic steps in this guide to confirm before replacing anything.
Why is my speaker making a weird buzzing noise?
Speaker buzzing comes from either mechanical or signal sources. Mechanical causes include voice coil rub, torn surrounds, loose components, and panel resonance. Signal causes include amplifier clipping and incorrect gain settings. Use the swap test described in this guide to determine whether the buzz is in the speaker or the signal chain.
Can I fix a rattling speaker myself?
Many rattling speaker issues are fixable at home. Loose hardware, panel resonance, and EQ-related problems require only basic tools and sound deadening material. Surround replacement and reconing require more skill but are doable with patience and the right kit. Voice coil damage on budget speakers usually means replacement is more cost-effective than repair.
What is the difference between clipping and mechanical rattle?
Clipping is signal distortion that occurs when an amplifier runs out of clean power. It produces harsh buzzing that starts at a specific volume threshold and affects all frequencies. Mechanical rattle comes from physical parts vibrating or rubbing and often appears at specific frequencies. Clipping disappears when you reduce volume or swap amplifiers, while mechanical rattle persists across different sources.
Conclusion
Diagnosing a buzzing or rattling speaker driver comes down to a systematic process of elimination. Start with the swap test to isolate the speaker from the signal chain, then use visual inspection, the shake test, and frequency sweeps to narrow down the exact cause. Most issues turn out to be loose hardware, panel resonance, or signal clipping, all of which are fixable without replacing the driver.
The most important takeaway: do not assume your speaker is blown just because it rattles. Run through the diagnostic steps above before spending money on replacements. In my experience, roughly two out of three rattling speakers can be fixed with tightening, sound deadening, or gain adjustments. Take the time to diagnose properly, and you may save yourself an unnecessary purchase.