
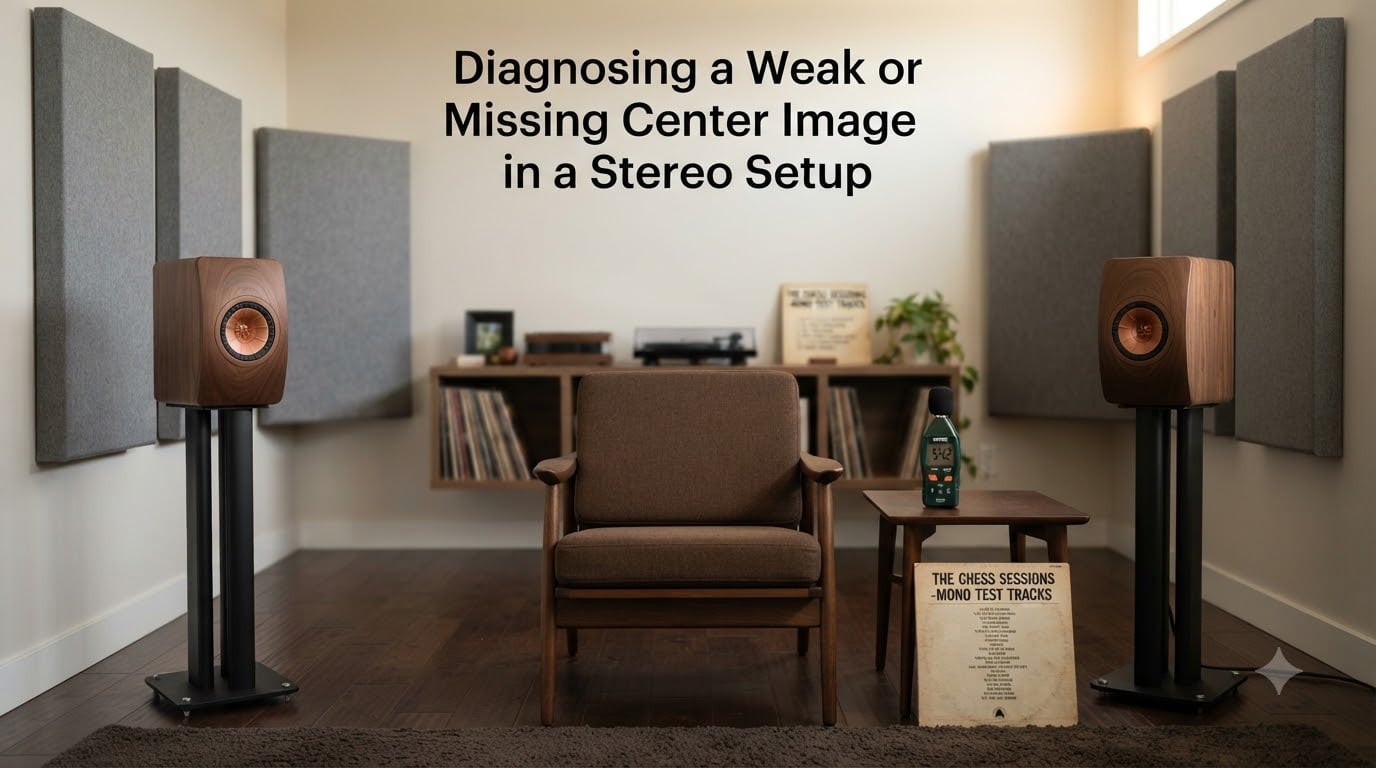
If your vocals sound like they’re drifting toward the left speaker, or your favorite mix sounds hollow in the middle, you’re dealing with a weak or missing center image. I run into this complaint weekly on audio forums, and the truth is that the phantom center is one of the most fragile things a two-channel stereo system produces. Get one detail wrong and the whole illusion collapses.
This guide is a complete diagnostic roadmap. I’ll walk you through five hands-on checks, show you how to tell when a balance knob is just hiding a deeper problem, and explain the room acoustics variables that most forums forget to mention. By the end you’ll know whether the issue is your wiring, your placement, your room, or your gear, and you’ll have a concrete next step for each.
Table of Contents
What Is a Center Image and Why Does It Matter?
A center image in a stereo setup is the sound that appears to come from a spot directly between your two speakers, even though no speaker physically sits there. It’s created when identical left and right channel signals reach your ears at the same level and at the same time. Your brain fuses those two sound sources into a single phantom source located at the midpoint between the speakers.
This phantom center is what makes a lead vocal sit solidly between the drums and the bass guitar. Without it, the same vocal wanders toward one speaker or sounds like it’s coming from two places at once. A solid center image is the difference between a soundstage that feels like a real acoustic space and one that feels broken in half.
The center image matters because music is mixed with the assumption that the listener sits in the sweet spot. When the phantom center locks in, you hear what the producer heard. When it doesn’t, you lose instrument placement, vocal weight, and the whole three-dimensional illusion that makes stereo worth having.
Quick Diagnostic Checklist for a Weak or Missing Center Image
Before you spend an afternoon moving speakers, run through this 60-second checklist. Each item targets the most common cause of a weak or missing center image in a stereo setup.
Are both speakers wired with the same polarity (positive to positive, negative to negative)?
Are the left and right levels matched within 1 dB at the listening seat?
Are the speakers and your head forming an equilateral triangle?
Is the listening position roughly equidistant from both speakers?
Is the room symmetric around the listening axis, or are there big furniture differences left vs right?
If any answer is no, that’s almost certainly where your center image problem lives. The rest of this article shows you how to test and fix each item in order, starting with the cheapest and most likely culprit: phase.
Check 1: Verify Speaker Phase and Wiring
Wiring your speakers out of phase is the single most common cause of a missing center image. When one speaker is wired backwards relative to the other, the two drivers move in opposite directions. Instead of pushing air together at the listening position, they cancel each other out, especially in the midrange where vocals live.
Here’s the test I run every time I suspect phase. Sit exactly in the sweet spot and play a mono recording with strong midrange content, like a solo vocal or a single-mic acoustic guitar track. Then, with the music playing, reverse the wires on one speaker at the amplifier end (just swap positive and negative).
If the center image gets stronger and the bass gets fuller, the original wiring was out of phase.
If the center image gets weaker and the bass thins out, the original wiring was correct. Put the wires back.
I’ve seen forum users chase room treatments and new amplifiers for months, only to discover that a single reversed wire at the binding post was the entire problem. Always confirm phase before doing anything else.
Check 2: Level Matching Between Left and Right Channels
If your left speaker is louder than your right by even half a decibel, the phantom center will pull toward the louder side. Level mismatches happen more often than people think, especially when speakers sit at different distances from walls, when amplifier channels have slightly different gain, or when a passive volume control is in the chain.
The fix is straightforward. Grab an SPL meter (a $30 phone app works for this) and play pink noise through each speaker individually. Measure the level at the listening position from about 1 foot in front of each tweeter, then again from the seat. Both speakers should read within 1 dB of each other at the seat.
If they don’t, you have three options. Move the louder speaker slightly farther from your seat, adjust its output level if your amplifier or active speakers have trim controls, or use the balance control. The balance control is fine for a quick test, but as I’ll cover later, leaning on it long-term usually means there’s a deeper imbalance you haven’t found yet.
Check 3: Speaker Placement and the Equilateral Triangle Rule
Speaker placement is where most weak center image problems actually live. The equilateral triangle rule is the foundation: the distance between your two speakers should equal the distance from each speaker to your listening position. If your speakers are 7 feet apart, your seat should sit 7 feet from each one.
Two additional placement rules solve most remaining issues. The 38% rule says your speakers should sit about 38% of the room’s width away from the side walls. This puts them far enough from the walls to avoid early reflections that blur the center image. The 83% rule, sometimes called the room divider rule, places the listening seat about 83% of the room’s length away from the wall behind the speakers. This avoids the strongest room mode nulls and peaks at the seat.
Toe-in is the other critical variable. Start with both speakers pointed straight ahead at the room, no toe-in. Sit in the sweet spot and have a friend rotate each speaker in small increments toward you until the center image locks in solidly. The exact toe-in angle depends on your speakers and room, but for most bookshelf and floorstanding designs, somewhere between 5 and 15 degrees works. Too much toe-in tends to make the image smaller and more focused; too little makes it wide and diffuse.
Check 4: Listening Position and the Sweet Spot
The sweet spot is a real thing. It is the single point in the room where both speakers arrive at your ears at the same level and at the same time. Anywhere else, the imaging degrades. If your couch sits off to one side, or if you’re standing while playing music, your center image will not lock.
Test this by sitting dead center between the speakers and playing a mono track. Then slide 6 inches to the left and listen. The image should pull toward the right speaker. Slide back to center and 6 inches to the right; the image should pull left. If you can’t reproduce this, your room or placement has a bigger problem, and you need to address it before expecting phantom center stability.
For a two-person household, consider angling the speakers so the sweet spot is between two seats rather than at one. This widens the usable area without losing the center image for either listener.
Check 5: Room Acoustics and Symmetry
Room acoustics is the variable most people underestimate when diagnosing a weak center image. Reflections from nearby walls, especially the side walls, smear the phantom center and make it sound diffuse. Asymmetry makes it worse: if your left speaker has a bookcase two feet away and your right speaker has open space, the reflections will be different on each side, and the image will drift.
Walk around your speakers and look for symmetry. Both side walls should have similar treatment at similar distances. A heavy curtain on one side and bare drywall on the other will pull the image toward the softer side. If your room is inherently asymmetric (and most are), add absorption to the more reflective side until the symmetry returns acoustically.
First reflections are the priority. Sit in the sweet spot and have a friend slide a mirror along the side wall. Wherever you can see the speaker’s tweeter in the mirror from your seat is the first reflection point. Place a 2 to 4 inch absorption panel there on each side. This single change often transforms a diffuse center image into a focused one without touching the speakers.
Advanced Diagnostics: Time Alignment and Lobing
If you’ve completed the five basic checks and the center image is still weak, you’re likely looking at a time alignment or lobing issue. Time alignment means the sound from both speakers arrives at your ears at the same instant. Even a few milliseconds of delay between channels causes the center image to smear or pull.
Two speaker setups most often hit time alignment problems. First, when one speaker sits closer to the seat than the other. If your right speaker is 7 feet away and your left speaker is 7 feet 6 inches away, the closer speaker wins. Equalize the distances or use digital room correction to add a delay to the closer channel.
Second, certain speaker designs called MTM (midwoofer-tweeter-midwoofer) layouts have inherent vertical lobing that affects horizontal imaging. These designs can produce a hollow or phasey center image depending on listening height. If your speakers use an MTM driver arrangement and you sit above or below the tweeter axis, try raising or lowering your seat by a few inches to see if the center locks in.
For a deeper diagnosis, free tools like REW (Room EQ Wizard) let you measure the actual response from each speaker at your seat. The measurement will show you exactly where comb filtering, nulls, and timing differences are sabotaging your center image.
When Balance Control Is a Workaround vs a Real Fix
The balance control tells you something important, and ignoring it costs you a real fix. If you set the balance to the 1:30 position just to center the image, that’s a signal that something fundamental is off. The image shouldn’t require that much compensation.
Think of the balance control as a diagnostic tool first. If centering the image requires moving the balance, go back through the five checks and find the actual cause: a phase issue, a level mismatch, an asymmetric room, or an off-axis listening position. The balance control is a valid workaround for permanent room limitations, like a window on one side that you can’t treat. But if you can find and fix the root cause, you’ll get a stronger image than the balance control ever produces on its own.
Frequently Asked Questions
How do I fix weak stereo imaging?
Start by confirming speaker phase with a mono recording, then level-match both channels with an SPL meter. Most weak stereo imaging problems come from one of those two issues and can be fixed in minutes without moving speakers or buying gear.
Why is my center image not focused?
A diffuse center image usually means the midrange frequencies from your left and right speakers are not arriving at your ears at the same level and time. Common causes include out-of-phase wiring, mismatched channel levels, asymmetric room acoustics, or sitting outside the sweet spot.
What causes a weak center image in a stereo setup?
The most common causes are reversed speaker polarity, level mismatch between channels, speakers placed too far apart, asymmetric room reflections, and listening position outside the equilateral triangle. Start with phase, then level matching, then placement.
Why does my stereo image pull to one side?
If the image pulls to the left, the left speaker is louder, closer, or has stronger early reflections than the right. Use an SPL meter to confirm level matching, then check whether your left side wall has more reflective surfaces than the right.
What is the equilateral triangle rule for speakers?
The equilateral triangle rule says the distance between your two speakers should equal the distance from each speaker to your listening position. This geometry places your head at the apex of an equilateral triangle and produces the most stable phantom center.
Is a center channel speaker necessary?
A center channel speaker is not necessary in a two-channel stereo setup if your speakers and room can produce a stable phantom center. Many listeners prefer the phantom center because it avoids the lobing and placement issues that physical center channels introduce.
Final Thoughts
Diagnosing a weak or missing center image in a stereo setup comes down to a sequence of checks: phase, levels, placement, seat position, and room symmetry. Run them in that order, and you’ll solve 90% of cases without buying anything new. The remaining 10% usually need a measurement tool, a small room treatment, or, in stubborn cases, a digital room correction system. Work through the basics first, and the answer almost always appears.