
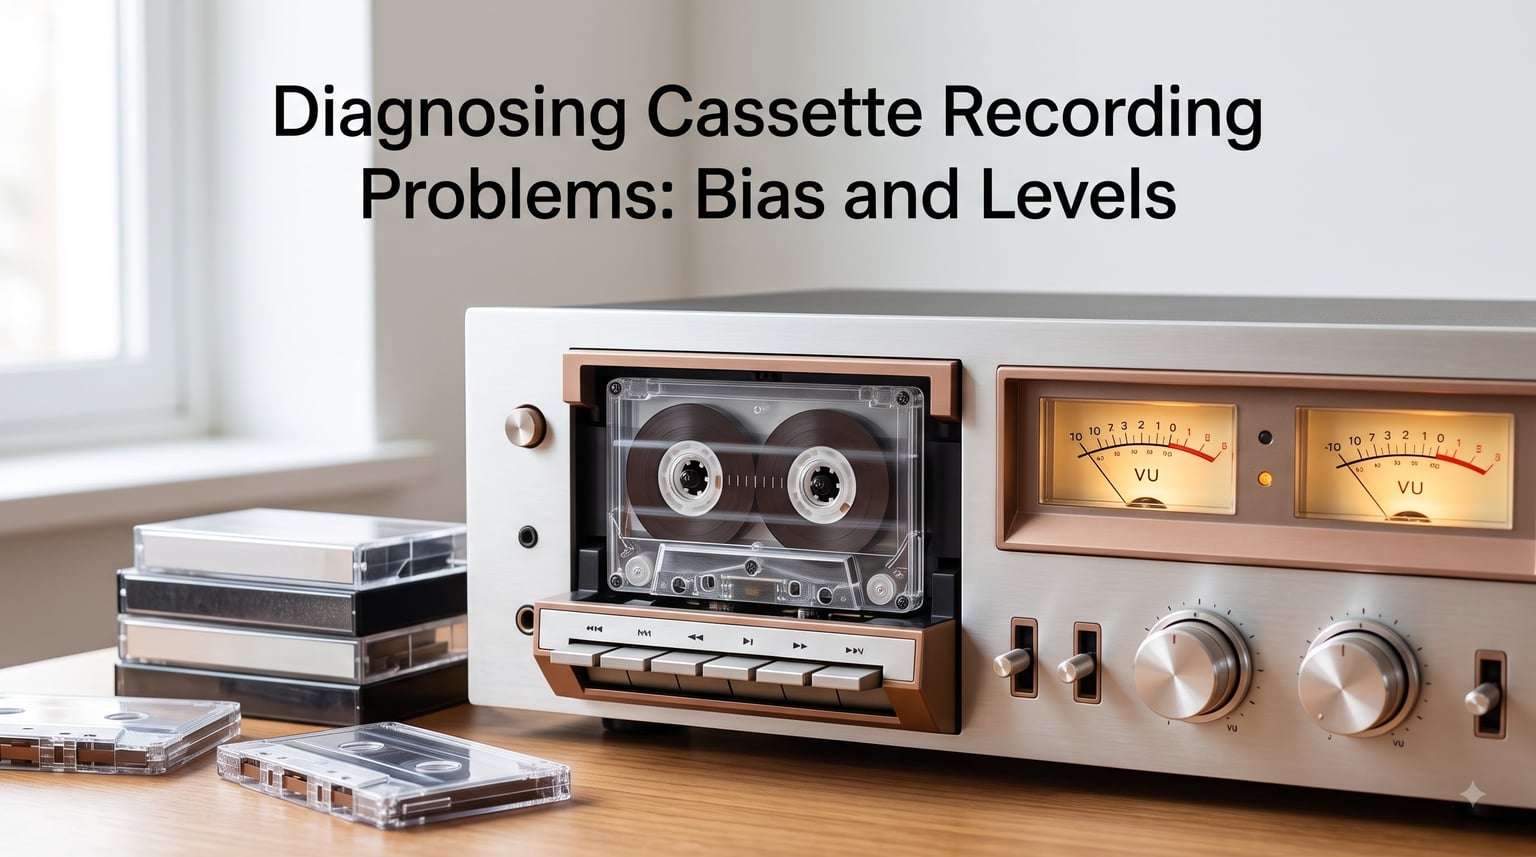
Nothing is more frustrating than pressing play on a freshly recorded cassette and hearing something that sounds nothing like your source. The recording is dull, or too bright, or distorted, or quiet, and you have no idea why. In nearly every case, the culprit comes down to two things: bias and levels.
I have spent years recording to cassette on decks ranging from budget Sony models to three-head Nakamichi machines, and the same problems keep appearing on forum threads at Tapeheads, AudioKarma, and r/cassetteculture. Diagnosing cassette recording problems comes down to understanding how bias and recording levels interact with the magnetic tape, then methodically narrowing down the cause.
This guide walks through what tape bias actually does, how recording levels affect your sound, and how to diagnose the most common cassette recording problems step by step, including methods that need no professional test equipment. By the end, you will have a clear symptom-to-cause map and a troubleshooting procedure you can run on any deck.
Table of Contents
What Is Tape Bias?
Tape bias is a high-frequency signal (typically between 40 and 150 kHz) that is added to the audio signal during recording to reduce distortion and linearize the magnetic transfer function of the tape. Without bias, magnetic tape distorts badly because the magnetic particles do not respond linearly to weak audio signals.
The easiest way to picture this is the iron filings analogy. If you have ever sprinkled iron filings on paper over a magnet, you know the filings clump and stick rather than forming clean lines. If you shake the paper, the filings settle into neat magnetic field patterns. Bias does the shaking. It vibrates the magnetic particles on the tape so they orient cleanly to the audio signal instead of clumping at random.
There are two types of bias in practice. AC bias uses a high-frequency alternating current from a bias oscillator, and it is what every quality cassette deck uses. DC bias applies a steady direct current instead, and it was used in some cheap portable recorders. AC bias produces far lower noise and better linearity, which is why it became the standard.
When people talk about normal bias versus high bias on cassette tapes, they are referring to the bias setting the deck expects for a given tape formulation, not the bias signal itself. Normal bias corresponds to Type I ferric tape, while high bias covers Type II chrome and Type IV metal tapes, which need more bias current.
How Bias Affects Recording Quality?
Bias current controls the tradeoff between distortion and frequency response. Too little bias (underbias) leaves distortion high but treble response strong. Too much bias (overbias) reduces distortion but rolls off the high frequencies. Finding the right point is the entire art of cassette deck calibration.
An underbiased tape sounds bright, sometimes to the point of harsh sibilance. Forum users consistently describe underbiased recordings as “trebly,” “scratchy,” or “piercing.” The highs are exaggerated because the bias has not sufficiently linearized the tape, so the magnetic transfer function emphasizes high frequencies while distorting.
An overbiased tape sounds dull, muffled, or like the treble has “fallen off a cliff.” The excess bias current erases some of the high-frequency content as it is being recorded. You gain low distortion, but you lose the sparkle and air in the recording.
The peak bias point is the bias level where high-frequency output is at its maximum. Most calibration procedures find this peak first, then apply a small amount of additional overbias (typically 1 to 2 dB) to balance distortion against frequency response. This compromise is what gives a well-calibrated deck its clean, flat sound.
Understanding Recording Levels and VU Meters
Recording level is the strength of the audio signal you send to the record head. Set it too low and your recording is buried in tape hiss. Set it too high and the tape saturates, producing audible distortion, especially on transient peaks like drum hits and vocal consonants.
The VU meter on your deck is the primary tool for setting recording level. On a properly calibrated deck, 0 VU corresponds to a reference fluxivity, usually 250 nWb/m for consumer cassettes. You aim for the loudest parts of your music to peak around 0 VU, with occasional bumps to about +3 VU on transients.
Digital recordings have massive headroom compared to analog tape. If you are transferring a digital source to cassette, you may need to attenuate the signal so peaks land near 0 VU instead of slamming the meters into the red. Consistently pinning the meters causes saturation distortion that no amount of bias adjustment will fix.
LED peak meters and mechanical VU meters behave differently. Mechanical VU meters average the signal and respond slowly, while LED bar meters show peaks more accurately. Know which type your deck uses, because the same recording level reads differently on each.
Type I, Type II, and Type IV Tape Considerations
Different tape formulations need different amounts of bias current and equalization. Using the wrong tape type setting on your deck produces exactly the kind of recording problems this guide helps you diagnose.
Type I tapes are ferric (gamma iron oxide) formulations. They need the least bias current and use 120 microsecond playback equalization. They are the most forgiving tape type and a good starting point for beginners learning calibration.
Type II tapes are chrome or pseudo-chrome formulations. They need more bias current than Type I and use 70 microsecond playback equalization, which reduces tape hiss. Type II tapes generally offer lower noise and smoother high-frequency response than Type I, but they are less forgiving of incorrect bias settings.
Type IV metal tapes need the most bias current of all. They offer the best dynamic range and high-frequency response but require a deck specifically designed to deliver enough bias current for the metal formulation. Recording metal tape on a deck without a Metal setting produces poor results.
Always match the tape type selector on your deck to the tape you are using. If your deck auto-senses tape type via the cassette shell slots, make sure those slots are clean so the deck detects the formulation correctly.
Common Recording Problems and Their Causes
Most cassette recording problems fall into a handful of recognizable symptoms. Here is a symptom-to-cause map you can use to jump straight to the likely issue.
Recording Sounds Dull or Muffled
A dull, lifeless recording almost always means too much bias. The overbias is erasing high-frequency content during recording. Try reducing the bias current slightly and re-recording a test tone at 8 to 10 kHz to confirm the treble returns. If your deck has no manual bias control, check that you have the correct tape type selected, because selecting Type II for a Type I tape overbiases it.
A dirty record head also causes dull recordings. Clean the heads, pinch roller, and capstan with isopropyl alcohol and a cotton swab before assuming a bias problem.
Recording Sounds Too Bright or Harsh
An overly bright, sibilant, or piercing recording indicates underbias. The tape is not getting enough bias current, so distortion rises and treble is exaggerated. Increase the bias current and re-test. If the deck has no bias knob, you may be using a tape formulation that needs more bias than your deck can deliver for the selected type.
Recording Is Distorted Even at Moderate Levels
Distortion at normal recording levels points to either insufficient bias or excessive recording level. First, confirm your peaks are not exceeding 0 VU by more than 3 dB. If levels are correct, increase bias slightly. Persistent distortion despite correct levels and bias may indicate worn heads or a failing record head.
Recording Is Too Quiet
A quiet recording has two common causes: recording level set too low, or a tape formulation mismatch causing low sensitivity. Check that your peaks reach 0 VU. If they do but the playback is still quiet, the tape may need a different type setting. Some older chrome tapes from the 1970s have lost sensitivity over time and simply will not perform to spec regardless of calibration.
Excessive Tape Hiss
Loud tape hiss usually means the recording level is too low, forcing you to turn up the playback gain and amplify the noise floor. It can also mean you are using a Type I tape where a Type II would give you lower noise through the 70 microsecond EQ. Dolby noise reduction helps, but only if bias and levels are correct, because Dolby tracking depends on a flat frequency response.
Recording Sounds Different Side A vs Side B
Inconsistent results between sides of the same tape often point to azimuth misalignment or uneven head wear. The record head gap may not be perfectly perpendicular to the tape path, so one side records differently than the other. This requires mechanical alignment, not bias adjustment.
How to Diagnose Cassette Recording Problems Step by Step?
Use this step-by-step procedure to narrow down any recording problem methodically. Run through it in order, because earlier steps rule out simple causes that mask deeper issues.
Step 1: Clean and Demagnetize the Tape Path
Before touching any settings, clean the record head, playback head, erase head, pinch roller, and capstan with isopropyl alcohol. A dirty head is the single most common cause of dull, quiet, or noisy recordings. After cleaning, demagnetize the heads with a tape head demagnetizer. Magnetized heads add noise and can erase high frequencies from your tape.
Step 2: Verify the Tape Type Setting
Confirm the tape type selector on your deck matches the cassette you are using. If the deck auto-senses tape type, inspect the cutout slots on the back of the cassette shell and make sure they are not damaged or filled with debris. A wrong tape type setting applies incorrect bias and EQ, producing exactly the symptoms described above.
Step 3: Set the Recording Level Correctly
Play your source material and adjust the recording level so the loudest peaks hit 0 VU on the meters. If your deck has LED peak meters, aim for 0 dB on the peak scale. Do not let the meters pin into the red. Recording too hot causes saturation distortion that mimics a bias problem.
Step 4: Record a Test Tone and Compare
If your deck is a three-head model with simultaneous monitoring, record a 1 kHz tone at 0 VU and compare the input to the output in real time. Switch between Source and Tape on the monitor selector. If the tone sounds different on Tape than on Source, your bias or level is off. For a two-head deck, record the tone, rewind, and play it back to compare.
Step 5: Adjust Bias Using a High-Frequency Tone
Record a tone between 8 and 10 kHz at roughly -10 to -5 VU while slowly adjusting the bias control. Watch the VU meter on playback. As you increase bias, the high-frequency output first rises to a peak, then falls. That peak is the point of maximum high-frequency sensitivity. From the peak, increase bias slightly (about 1 dB of high-frequency output drop) to reach the optimum overbias point.
Step 6: Test With Real Music
After adjusting bias, record a piece of music you know well and listen critically. Compare it to the source. If the treble sounds natural, the distortion is low, and the overall balance matches the source, your calibration is close. If something still sounds wrong, return to Step 1 and check for mechanical issues like head wear or azimuth misalignment.
Step 7: Check Dolby Tracking
If you record with Dolby B or C noise reduction, decode the recording with Dolby engaged on playback. If the recording sounds harsh or unnatural with Dolby on but fine with Dolby off, your bias or frequency response is off. Dolby noise reduction assumes a flat frequency response, so any bias error is amplified by the Dolby encode-decode mismatch.
Calibrating Bias Without Professional Equipment
You do not need an MRL reference tape or an oscilloscope to get reasonably good bias settings. Several DIY methods get you close enough for excellent results on consumer decks.
The simplest approach uses Audacity, the free audio editor. Generate a 1 kHz sine wave tone and an 8 to 10 kHz tone using Audacity’s tone generator. Record each to tape at -5 VU, then play them back into Audacity through your computer’s line input and compare the recorded levels. Adjust bias until the high-frequency tone plays back at roughly the same level as the 1 kHz reference, with a slight rolloff of 1 to 2 dB indicating correct overbias.
A smartphone function generator app works too. Several cassette enthusiasts on forums recommend the Keuwlsoft function generator app for Android. Connect your phone’s headphone output to the deck’s line input, play the test tones, and follow the same procedure as with Audacity.
For decks with no manual bias control at all, your only option is to select the correct tape type and trust the factory calibration. In that case, focus on recording level, head cleaning, and using fresh, name-brand tape from the same batch so the formulation stays consistent.
Three-Head vs Two-Head Deck Procedures
Three-head decks have separate record and playback heads, which lets you monitor the recording in real time as it happens. This makes bias calibration dramatically easier, because you can adjust the bias control and immediately hear the effect on the playback. Most high-end decks from Nakamichi, Technics, and Sony use the three-head design.
Two-head decks share one head for both recording and playback. You cannot monitor the recording in real time, so calibration requires recording a test tone, rewinding, playing it back, noting the result, and repeating. This trial-and-error process takes longer but produces the same result with patience.
The workaround for two-head decks is to mark the bias control position with a piece of tape before you start. Make small adjustments, no more than an eighth of a turn at a time, and keep notes on the results for each tape formulation you use. Once you find the sweet spot for a given tape brand, mark it so you can return to it quickly.
Dolby NR and HX-Pro Interaction With Bias
Dolby noise reduction relies on a flat frequency response to work correctly. The Dolby encoder boosts high frequencies during recording, and the decoder cuts them back during playback. If your bias is off and the frequency response is not flat, the Dolby decode produces an unnatural sound, often described as “breathy” or “pumping.”
This is why you should always calibrate bias before recording with Dolby. A deck that is properly biased for the tape will track Dolby correctly. An improperly biased deck will make Dolby sound worse, not better, which leads many people to incorrectly blame the Dolby system.
HX-Pro (Headroom Extension) is a different technology found on better decks. It reduces the bias current automatically when the audio signal contains strong high-frequency content, which prevents the program material from acting as additional bias and erasing high frequencies. HX-Pro effectively increases headroom on tapes with bright material like cymbals and strings. If your deck has HX-Pro, leave it engaged, because it complements correct bias rather than replacing it.
Frequently Asked Questions
What is audio tape bias?
Tape bias is a high-frequency signal, typically between 40 and 150 kHz, added to the audio signal during recording to reduce distortion and linearize the magnetic transfer function of the tape. Without bias, magnetic tape distorts badly on quiet passages. AC bias is used in all quality cassette decks.
What does normal bias mean for cassette tapes?
Normal bias refers to the lower bias current setting used for Type I ferric cassette tapes. High bias refers to the higher current needed for Type II chrome and Type IV metal tapes. The terms describe the tape formulation the deck expects, not the bias signal itself.
What are the common problems with cassette tapes?
The most common cassette recording problems are dull or muffled sound from overbias, harsh or overly bright sound from underbias, distortion from excessive recording levels, quiet recordings from low levels or tape mismatch, and excessive hiss from low recording levels. Dirty heads and wrong tape type settings cause many of these issues.
How do you know if you are recording your cassettes backwards?
If the recording has no high frequencies, sounds muffled, and the audio feels off, you may have the tape flipped to the wrong side during recording. Another sign is that playback works normally on pre-recorded tapes but sounds wrong on your own recordings. Always confirm the tape side indicator faces up and the record head contacts the correct side.
How do I know if my bias is correct?
A correctly biased recording has natural treble, low distortion, and matches the tonal balance of the source. Record a piece of familiar music and compare it to the source. If the highs sound natural and not harsh or muffled, the bias is close. For precision, record 1 kHz and 8 to 10 kHz test tones and adjust bias until the high tone plays back about 1 to 2 dB below the reference.
Conclusion
Diagnosing cassette recording problems comes down to understanding how bias and levels shape what gets written to the tape. A dull recording means too much bias, a bright recording means too little, and distortion usually means your levels are too hot. Clean the heads, set the correct tape type, dial in the recording level, then adjust bias to the peak-and-overbias point.
Run the step-by-step procedure in this guide whenever a recording sounds wrong, and you will catch the cause in minutes rather than guessing. The beauty of cassette is that the variables are knowable, and once you understand them, every recording gets better.