
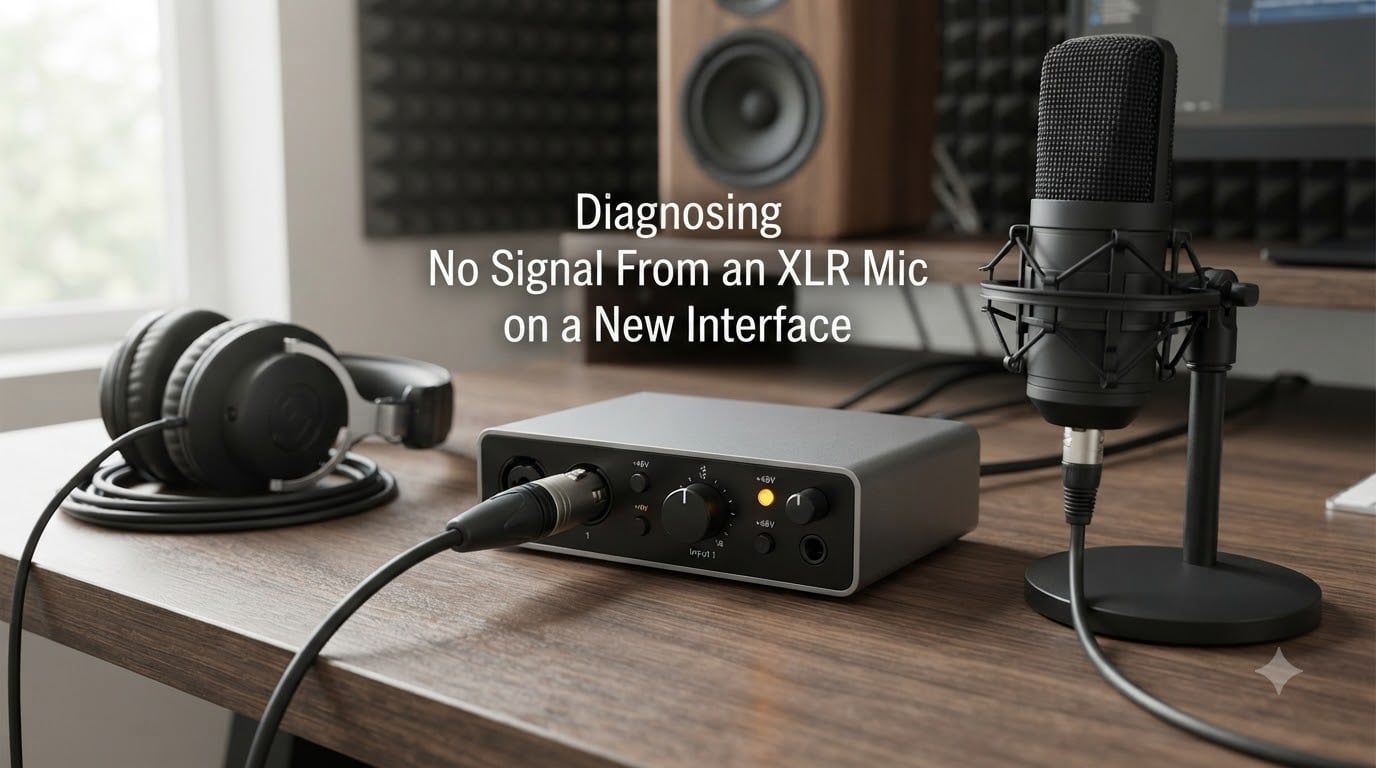
Setting up a new audio interface should feel exciting, not frustrating. But when you plug in your XLR microphone, fire up your DAW, and get nothing but silence, that excitement turns to confusion fast. I have been there, and so have thousands of home studio owners who hit this exact wall.
The good news is that an XLR microphone no signal problem almost always comes down to one of six common causes. You do not need to be an audio engineer to track it down. This guide walks you through a systematic diagnostic process that takes about 15 minutes and covers everything from phantom power to driver conflicts on both Windows and Mac.
By the end, you will know exactly where the signal is dropping in your chain and how to fix it. Let us work through this step by step.
Table of Contents
Understanding Your Signal Chain
Before diving into fixes, you need to understand the path your audio travels. Every link in this chain must work for sound to reach your computer.
The signal chain looks like this: microphone produces audio at mic level, travels through the XLR cable, enters the audio interface where a preamp boosts it, and then gets converted to digital data that your DAW records. Mic level is extremely quiet, around 1 to 2 millivolts. Your interface’s preamp boosts that to a usable line level before conversion.
If any single point in this chain fails, you get silence. The trick is isolating which point is the problem. That is exactly what the steps below help you do.
One more thing worth knowing: balanced XLR connections use three pins. Pin 1 is ground, Pin 2 is the positive (hot) signal, and Pin 3 is the negative (cold) signal. This balanced design rejects noise, but it also means all three pins must connect properly for the signal to pass through cleanly.
How to Diagnose No Signal From an XLR Mic on a New Interface?
I recommend going through these steps in order. The most common culprit is step one, and the least common is step six. Work through them one at a time and stop when you find the issue.
Step 1: Check Phantom Power (48V)
If you are using a condenser microphone, it needs external power to operate. That power comes from the 48V phantom power button on your audio interface. Without it, the mic produces absolutely no signal. This is the single most common reason for a dead microphone, and it accounts for more troubleshooting threads on Reddit and audio forums than any other issue.
Look for a button labeled “48V,” “Phantom,” or “+48V” on your interface. Press it and watch for an LED indicator that confirms phantom power is active. On a Focusrite Scarlett Solo, the button is on the front panel near the input knob. On a Rode AI-1, it is clearly marked on the front face.
Give the mic about 10 seconds after enabling phantom power. Condenser microphones need a brief moment to charge up internally before they start producing signal. If you see signal appear after that short delay, phantom power was your answer.
Important safety warning: Never apply phantom power to a ribbon microphone. It can permanently destroy the ribbon element. If you are using a ribbon mic and have no signal, phantom power is not the fix. Dynamic microphones are generally unaffected by phantom power, but there is no reason to enable it for dynamics either.
Step 2: Verify Your XLR Cable Connections
A faulty XLR cable is the second most common cause of no signal. Cables can look perfectly fine on the outside while having broken internal connections. I have seen brand new cables fail right out of the package.
First, push both ends of the XLR cable firmly until you feel them click into place. A partially inserted cable is a surprisingly frequent problem, especially on new interfaces where the jacks can feel stiff. Give each connector a gentle tug to confirm it is locked.
If everything is seated properly and you still have no signal, swap in a different XLR cable. This is the fastest way to rule out a bad cable. Use a cable you know works, even if that means borrowing one temporarily. If signal returns with the replacement cable, you found your problem.
For a more thorough test, you can check your XLR cable with a multimeter. Set the multimeter to continuity mode (the setting that beeps when the probes touch). Touch one probe to Pin 1 on the male end and Pin 1 on the female end. You should hear a beep. Repeat for Pin 2 and Pin 3. If any pin does not beep, the cable has a broken connection and needs replacing. This test takes about two minutes and tells you definitively whether the cable is good.
Step 3: Confirm Correct Input Selection in Your DAW
Your audio interface might be receiving signal perfectly, but if your DAW is listening to the wrong input, you will hear nothing. This trips up beginners constantly because the setup is not always intuitive.
Create a new mono audio track in your DAW and check the input selector. It should point to Input 1 if your mic is plugged into Input 1 on the interface. A common mistake is having the DAW set to Input 2 or to a stereo pair when only one mic is connected. On a Scarlett Solo, there is only one XLR input, so select Input 1.
In Logic Pro, go to the track header and click the input button to verify. In Ableton Live, check the “Audio From” dropdown on the audio track. In Reaper, right-click the record arm button and select the correct input. The exact menu differs by DAW, but the principle is the same everywhere.
Also check whether direct monitoring is enabled on your interface. Most interfaces have a direct monitoring knob or button that lets you hear the input signal without going through the computer. If you hear yourself in your headphones through direct monitoring but see no signal in the DAW, the problem is in software, not hardware. This tells you the mic, cable, and interface preamp are all working fine.
Step 4: Check Gain Settings and Signal Flow
If your gain knob is turned all the way down, the preamp produces almost no output. Even a working microphone will appear dead in your DAW. Turn the gain knob up to about the 12 o’clock position and speak or sing into the mic normally.
Watch the gain LEDs or meter on your interface while you make sound. You should see green lights flicker. If the meter responds, your hardware is working and the issue is downstream in software. If the meter stays completely dark, the problem is earlier in the chain.
Dynamic microphones like the Shure SM7B need a lot of gain, often 60 dB or more. Many entry-level interfaces cannot provide that much clean gain, which means the signal comes through extremely quiet rather than completely silent. If your dynamic mic is barely registering, this is likely the issue. An inline preamp like a Cloudlifter or Triton Audio FetHead adds 20 to 25 dB of clean gain before the signal even reaches your interface, solving the problem for low-sensitivity dynamics.
Also check for a pad button on your interface or microphone. A pad reduces the input signal by 10 to 20 dB. If the pad is engaged, it can make an already quiet signal disappear entirely. Make sure any pad is disengaged during initial troubleshooting.
Step 5: Test With a Different Microphone or Interface
If you have worked through steps one through four and still have no signal, you need to isolate whether the microphone or the interface is the problem. This requires a swap test.
Plug a different microphone into the same interface input using the same cable. If the second mic works, your original microphone likely has an internal failure. If the second mic also produces no signal, the interface input is probably faulty.
You can also test your original microphone on a different interface if you have access to one. If it works there, your interface is the culprit. If it does not work on either interface, the microphone itself has failed.
Forum users on Gearspace and Reddit frequently report this exact scenario. One user described having no signal from any microphone on a brand new interface, even with gain maxed out and phantom power enabled. The interface turned out to have a defective preamp section that required warranty replacement.
Step 6: Update Drivers and Software
Driver and software issues can block signal from reaching your DAW even when all hardware is functioning correctly. This is especially common after Windows or macOS system updates that can break compatibility with interface drivers.
On Windows, go to your interface manufacturer’s website and download the latest driver for your specific model. Focusrite, for example, publishes drivers on their support page that are more current than what ships on the device. Install the driver, restart your computer, and check if signal appears. Also confirm your interface is selected as the default audio input device in Windows Sound Settings.
On Mac, most interfaces are class-compliant and do not need dedicated drivers. But check for firmware updates on the manufacturer’s website, as these can fix connectivity bugs. Go to Audio MIDI Setup and confirm your interface appears in the list of devices. If it does not appear, try a different USB cable and a different USB port. USB cable quality matters more than people expect for audio interfaces.
Finally, check that your DAW is using the correct audio driver. In your DAW preferences, the audio device should be set to your interface, not to the built-in microphone or speakers. On Windows, select ASIO if your interface supports it for lowest latency and best compatibility.
Dynamic vs Condenser vs Ribbon: Power Requirements
Understanding your microphone type is essential for troubleshooting. Each type has different power requirements, and applying the wrong settings will prevent signal from reaching your DAW.
Condenser microphones require 48V phantom power from your interface. Without it, the internal circuitry has no power and produces zero signal. If you have a condenser mic with no signal, phantom power is your first check every time. Examples include the Audio-Technica AT2020, Rode NT1, and most large-diaphragm studio microphones.
Dynamic microphones do not need phantom power. They generate their own signal through electromagnetic induction. However, many dynamics have low sensitivity and require significant preamp gain. The Shure SM7B, SM58, and Rode PodMic fall into this category. If your dynamic mic is extremely quiet rather than completely silent, the issue is gain, not power.
Ribbon microphones are the most fragile of the three. Most ribbon mics should never receive phantom power, as the 48V can permanently damage or destroy the thin ribbon element. If you are using a ribbon mic and have no signal, check the gain and cable connections instead. A few modern ribbon mics are designed to tolerate phantom power, but always verify the manufacturer’s specifications before enabling it.
When It Is Time for Professional Repair?
If you have worked through all six steps and still have no signal with multiple microphones and multiple cables, you likely have a hardware failure. At this point, DIY troubleshooting has done its job.
Check whether your interface or microphone is still under warranty. Most manufacturers offer one to two years of coverage, and Focusrite, Rode, and other major brands have straightforward warranty claim processes. Contact their support team with a description of the steps you have already tried.
If the equipment is out of warranty, look for an authorized repair center for your brand. Audio interface repairs typically cost between $50 and $150 depending on the issue, which is often worth it for a quality interface. Microphone repairs vary widely based on the type and extent of damage.
Quick Reference Troubleshooting Checklist
Work through this condensed checklist whenever you get no signal from an XLR mic on a new interface:
Enable 48V phantom power if using a condenser microphone
Push both XLR connectors in until they click
Swap in a known working XLR cable
Select the correct input in your DAW (Input 1 for a single mic)
Turn the gain knob to 12 o’clock or higher
Check that direct monitoring works to isolate hardware vs software
Disable any pad buttons on the interface or microphone
Add an inline preamp if using a low-sensitivity dynamic mic
Update interface drivers and firmware
Try a different USB cable and port for the interface
Test a different microphone to isolate the faulty component
Never apply phantom power to a ribbon microphone
Frequently Asked Questions
Why is my XLR mic not working?
The most common reason an XLR microphone produces no signal is that phantom power (48V) is not enabled on the audio interface. Condenser microphones require phantom power to operate. Other frequent causes include a faulty XLR cable, incorrect input selection in your DAW, the gain knob turned all the way down, or outdated interface drivers.
How do I test an XLR port with a multimeter?
Set your multimeter to continuity mode. Touch one probe to Pin 1 on the male XLR end and the other probe to Pin 1 on the female end. The multimeter should beep, confirming continuity. Repeat for Pin 2 and Pin 3. If any pin does not produce a beep, the cable has a broken internal connection and needs replacement.
Why is my mic not getting detected?
Your microphone may not be detected because your DAW is set to the wrong input, your interface drivers are outdated, or the USB cable connecting your interface to the computer is faulty. Check that the correct input is selected in your DAW, update your interface drivers, and try a different USB cable and port.
Why isn’t my Focusrite picking up my mic?
If your Focusrite interface is not picking up your microphone, first enable the 48V phantom power button for condenser mics. Then verify the XLR cable is fully seated and functional. Check that the gain knob is turned up and that no pad is engaged. Finally, confirm the correct input is selected in your DAW and that Focusrite Control or Focusrite drivers are up to date.
Can phantom power damage a mic?
Yes, phantom power can permanently damage ribbon microphones by destroying the thin ribbon element. Never apply 48V phantom power to a ribbon mic unless the manufacturer specifically states it is safe. Condenser microphones require phantom power to operate. Dynamic microphones are generally unaffected by phantom power but do not need it.
Why is my dynamic mic so quiet?
Dynamic microphones like the Shure SM7B have low sensitivity and require 60 dB or more of gain, which many entry-level interfaces cannot provide cleanly. The solution is to add an inline preamp such as a Cloudlifter or Triton Audio FetHead, which adds 20 to 25 dB of clean gain before the signal reaches your interface.
Conclusion
Diagnosing no signal from an XLR mic on a new interface comes down to working through the signal chain methodically. Start with phantom power for condenser mics, check your cable connections, verify your DAW input selection, and confirm your gain settings are adequate for your microphone type.
The vast majority of XLR microphone no signal problems resolve within the first three steps. Phantom power, cable issues, and DAW input selection account for nearly all cases that beginners encounter. The remaining steps cover less common but still important causes like driver conflicts, gain deficits with low-sensitivity dynamics, and hardware failures.
If you have exhausted every step and still have silence, your equipment likely needs professional attention. Check your warranty status and contact the manufacturer with a list of what you have already tested. Armed with that information, their support team can help you far more efficiently.
Do not let that initial silence discourage you. Once you get signal flowing, you are ready to start recording. Take it one step at a time, and you will be up and running before you know it.