
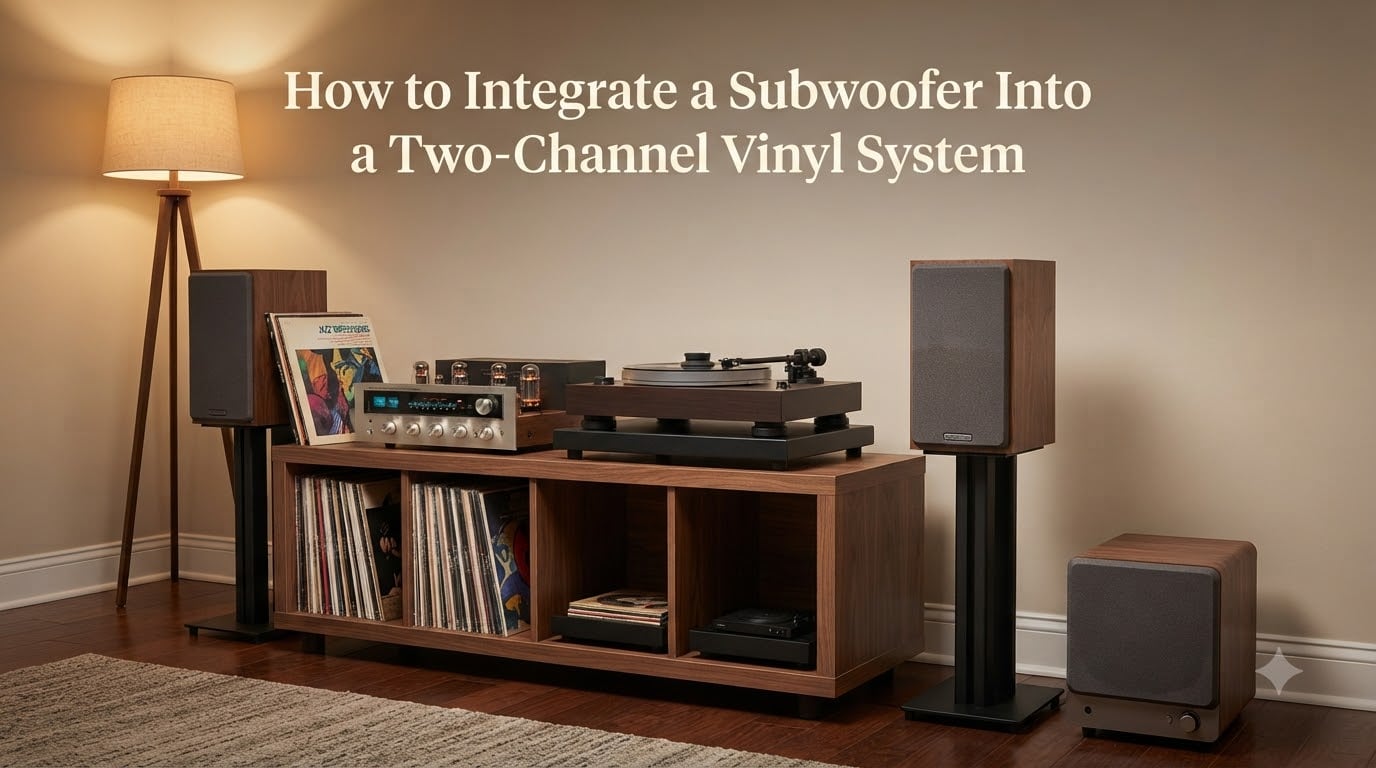
Integrating a subwoofer into a two-channel vinyl system is one of the best upgrades a serious listener can make. Vinyl records carry deep, textured bass that small bookshelf speakers simply cannot reproduce, and a properly integrated sub brings that low-end back without disturbing the pure two-channel experience we love. In this guide I will walk you through the three proven connection methods, crossover settings, phase alignment, placement tricks, and the vinyl-specific issues that most generic guides ignore. By the end you will know exactly which connection suits your gear, how to set the crossover for music, and how to keep your turntable free from subwoofer vibration.
Table of Contents
Why Add a Subwoofer to a Two-Channel Vinyl System?
A subwoofer adds the deep bass foundation that turntables and vinyl pressing plants actually deliver. Most records from the late 1960s onwards were mastered with full-range monitoring, so the grooves contain frequencies well below what a typical bookshelf or even many floorstanding speakers can reproduce cleanly.
Adding a well-integrated sub does not pollute the two-channel philosophy; it completes it. With bass duties handed off, your main speakers stop straining on the lowest octaves, distortion drops, midrange clarity improves, and stereo imaging actually opens up. That is something our team has confirmed repeatedly when reviewing phono stages and integrated amps.
Vinyl listeners often resist subwoofers because they worry about boom, overhang, or loss of musicality. Those concerns come from poor integration, not from the subwoofer itself. When crossover, phase, and level are dialled in correctly the sub disappears into the system, and you simply hear more of the record.
Benefits specific to vinyl playback
Recovers sub-40Hz content on jazz, classical, hip-hop, and electronic pressings
Lowers distortion in your main speakers by relieving them of bass duty
Improves midrange transparency and vocal presence
Lets you hear the RIAA curve’s bottom end the way it was meant to be heard
Understanding Your Subwoofer’s Connection Options
Every powered subwoofer offers at least one of these inputs: line-level RCA, speaker-level (high-level) terminals, or both. The connection you choose is dictated by what your amplifier or preamp provides. Knowing the difference matters because each method changes the signal path your vinyl audio travels.
Line-level connections carry the music signal at low voltage through RCA cables, either from a dedicated subwoofer output, a stereo pre-out, or a processor loop. Speaker-level connections take the already-amplified signal from your amp’s speaker terminals and feed it into the sub, which then taps off the bass and re-routes the rest back to your main speakers.
Each method has tradeoffs. Line-level usually gives you cleaner integration but requires a sub-out or pre-out on your amp. Speaker-level works with any amplifier, vintage or modern, and avoids potential ground loops. The third option, a dedicated outboard crossover or miniDSP, gives you the highest level of control but adds cost and complexity.
| Connection Type | Signal Level | Best For |
|---|---|---|
| Sub-out / Pre-out (RCA) | Line-level | Modern receivers, integrated amps with pre-out |
| Speaker-level | High-level | Vintage amps, no sub-out, cleanest ground |
| miniDSP / outboard crossover | Line-level | Advanced users, custom slopes, dual subs |
How to Integrate a Subwoofer Into a Two-Channel Vinyl System: Step-by-Step Guide
This is the core of the process. Follow the method that matches your amplifier, and you will have a clean, musical integration by the end of the afternoon.
Method 1: Line-level connection via sub-out or pre-out
Power off your amplifier and subwoofer before making any connections.
Locate the “Sub Out,” “Pre-Out,” or “LFE” RCA jack on the back of your amp or preamp.
Run a single RCA cable (or a Y-splitter if your sub accepts stereo input) from that output to the subwoofer’s “LFE In” or “Left/Mono Input.”
Set the subwoofer’s crossover to “Bypass” or “LFE” if it has a switch, leaving filtering to the amp or the sub’s built-in dial.
Power everything back on, set the sub’s gain to roughly 25 percent, and play a familiar record to confirm signal.
If your integrated amp does not have a sub-out but does have pre-out/main-in jumpers, you can split the signal there. Many audiophiles use a simple RCA Y-cable from the pre-out to send a parallel feed to the sub without disturbing the signal to the main amp.
Method 2: Speaker-level (high-level) connection
Identify your amplifier’s left and right speaker terminals.
Run a length of speaker wire from the left speaker terminal to the sub’s “High-Level In” left binding post. Repeat for the right channel.
Some subwoofers (notably REL designs) also include a ground wire lead. Attach it to the amp’s chassis ground or the sub’s ground terminal to reduce hum.
Leave your main speaker wires connected as usual; the sub sits in parallel on the same terminals.
Power on, set the sub crossover somewhere between 50Hz and 80Hz, and start with the gain low.
This is the method REL has championed for years, and it remains popular in audiophile forums because the amp’s output stage drives both the speakers and the sub directly, avoiding any extra circuitry on the music signal.
Method 3: Using a miniDSP or dedicated crossover
Connect RCA cables from your preamp outputs to the miniDSP inputs.
Run another pair from the miniDSP outputs to both your power amp and your subwoofer.
Using the miniDSP plugin software (2×4 HD or similar), set a high-pass filter on the channels feeding your main speakers, typically at 80Hz with a 24dB/octave Linkwitz-Riley slope.
Set the low-pass filter on the channel feeding the sub to match, usually the same 80Hz and same slope.
Save the configuration to the unit’s memory and upload to your computer for fine-tuning.
The miniDSP route is overkill for simple setups, but for dual subs, room-correction, or parametric EQ it is unmatched. Our team has found it particularly useful in treating nasty room modes around 40-60Hz that single-sub setups struggle with.
Setting the Crossover Frequency for Vinyl Playback
The crossover frequency is where your sub takes over from your main speakers. Pick the wrong value and the bass sounds either thin or bloated. Pick the right one and everything locks together as one full-range system.
Start at 80Hz if your main speakers are small bookshelf or standmount designs. That is the standard recommendation from THX and most audiophile publications, and it works for the vast majority of two-channel setups.
If your speakers are larger floorstanders with a published bass extension of 35Hz or lower, try a lower crossover around 60Hz. This gives the towers more room to play with their strengths before handing off to the sub. Match the slope as well: a 24dB/octave Linkwitz-Riley crossover on both the high-pass and low-pass sides gives the cleanest summation at the crossover point.
Whenever possible, engage a high-pass filter on your main speakers. This rolls off the very deepest frequencies from your speakers, reduces excursion, and lets the sub handle everything below the crossover cleanly. Many amps and preamps now include a high-pass filter for exactly this purpose.
Crossover starting points by speaker type
Small bookshelf (4 inch woofer or smaller): 100-120Hz
Medium bookshelf (5-6 inch woofer): 80-100Hz
Large bookshelf or small floorstander: 70-80Hz
Large floorstander with bass extension below 35Hz: 50-70Hz
Phase Adjustment and Subwoofer Placement
Phase adjustment is what tells the sub whether its driver moves inward or outward at the same instant your main speakers move. If the phase is wrong, bass frequencies cancel out at the listening position, leaving you with anaemic low-end even when the volume is high.
Most subwoofers include a 0/180 degree phase switch, and some include a continuously variable phase dial. A simple test: sit in your listening chair, play a test tone or a bass-heavy record passage at moderate volume, and have a helper flip the phase switch while you listen. Whichever setting sounds louder and fuller at the chair is the correct phase for that position.
Placement matters just as much as phase. The classic “subwoofer crawl” technique involves putting the sub in your listening chair, playing bass-heavy music, then crawling around the room at floor level to find where the bass sounds smoothest. Mark that spot, and that is where your sub should go.
Keep the sub at least a few feet from the main speakers when possible. Closet placement in corners boosts output dramatically but also excites room modes, so expect to trade some refinement for efficiency.
Vinyl-Specific Considerations: Turntable Isolation and Phono Stage Integration
Vinyl playback adds two complications that home-theater owners never worry about: turntable vibration and phono-stage ground loops. Both deserve attention before you finalize any subwoofer installation.
Subwoofers move a lot of air at low frequencies, and that energy travels through the floor into whatever stands on it, including your turntable plinth. The result is acoustic feedback: a low rumble that modulates the stylus and reaches your speakers a fraction of a second after the music. It can sound like a record being played underwater.
The fix is mechanical isolation. Place the turntable on a dedicated wall-mounted shelf if possible, decoupling it from the floor entirely. If a wall shelf is not practical, use a heavy isolation platform with sorbothane or rubber feet under the turntable. Many vinyl enthusiasts on Audiogon and AudioAsylum report that even modest isolation platforms, costing well under a few hundred dollars, completely eliminate subwoofer feedback issues.
Phono preamp integration
Where the phono preamp sits in the signal chain affects hum susceptibility. If your integrated amp has a built-in phono stage, your signal path is amp input to RIAA equalization to pre-out to sub, which is the cleanest layout.
If you use an outboard phono preamp, place it as close to the turntable as possible and run a longer interconnect to the amp. Ground the phono preamp to the same chassis ground as your amplifier, not to the subwoofer. Grounding the phono stage to the sub is a frequent source of the dreaded 60Hz hum.
Troubleshooting Common Subwoofer and Vinyl Integration Issues
Even with careful setup, problems can appear. Here are the most common issues and the fixes that have worked for our team and for forum members across the audiophile community.
Hum or buzz through the speakers: Check ground connections. Disconnect the sub’s ground wire, then reconnect to the amp’s chassis rather than the sub’s chassis. Use shielded RCA cables for line-level runs longer than 3 meters.
Bloated, one-note bass: Lower the gain on the sub by 1-2dB, then drop the crossover by 5Hz. If it persists, try moving the sub 6-12 inches in any direction.
Weak or absent bass: Confirm the amp’s sub-out is enabled in the menu. Verify the sub is receiving signal by unplugging the RCA and listening for the auto-on click.
Auto-on standby not engaging: Increase the sub’s input sensitivity, or set it to “On” rather than “Auto” if your listening sessions are short.
Turntable feedback rumble: Add isolation feet under the turntable, or move the sub to a different wall until the rumble disappears.
Dual Subwoofer Configuration for Larger Rooms
For rooms larger than 30 square meters or listening positions far from any wall, a single sub often produces uneven bass. Two subs, placed asymmetrically (for example, one in the front-left corner and one in the rear-right), smooth out room modes and give a more even response across multiple seats.
Run a cable from the “Master” sub’s high-level output to the “Slave” sub’s input, or use the second sub’s LFE input driven by a Y-cable from the amp’s sub-out. Set both subs to the same crossover and phase settings. The internal filters on the master sub control both units when chained.
While duals are overkill for many vinyl systems, they shine when the listening room is large, when multiple seats need even bass, or when chasing the deepest cinema-scale rumble on electronic and pipe organ records.
Frequently Asked Questions
Can you connect a subwoofer to a 2-channel receiver?
Yes. Most 2-channel receivers and integrated amplifiers either include a dedicated sub-out, a pre-out, or speaker terminals you can use for a high-level connection. Any of these lets you add a powered subwoofer without changing the rest of your system.
How do I add a sub to a 2-channel amp?
Use an RCA cable from the amp’s sub-out or pre-out to the sub’s LFE input. If your amp has no sub-out, run speaker wire from the amp’s speaker terminals to the sub’s high-level input. Set the crossover around 80Hz, match the level, and adjust phase by ear at the listening position.
Does a subwoofer work with vinyl records?
Yes. A well-integrated subwoofer recovers the deepest bass frequencies that small speakers cannot reproduce from vinyl, which adds scale and authority without colouring the midrange. The key is proper crossover, phase, and level matching, plus turntable isolation to prevent acoustic feedback.
Is a 2-channel amp good for subs?
A dedicated 2-channel amp is well suited to driving a subwoofer through its speaker-level inputs because the amplifier’s clean output stage passes the signal directly. For line-level subs, you need either a sub-out on the amp or a preamp stage with pre-outs, which most modern integrated amps provide.
Final Thoughts on Subwoofer Integration With Vinyl
Learning how to integrate a subwoofer into a two-channel vinyl system is one of those rare upgrades that gets more out of the gear you already own. The records, the amp, and the speakers stay exactly the same; you simply hear more of what was always there in the grooves.
Start with the connection method that fits your amplifier, set the crossover around 80Hz as your baseline, dial in phase by ear, and isolate the turntable from floor-borne vibration. Once everything clicks, you will find yourself rediscovering albums that you thought you knew by heart. That is the moment subwoofer integration stops being a technical project and starts being a better way to listen to vinyl.