
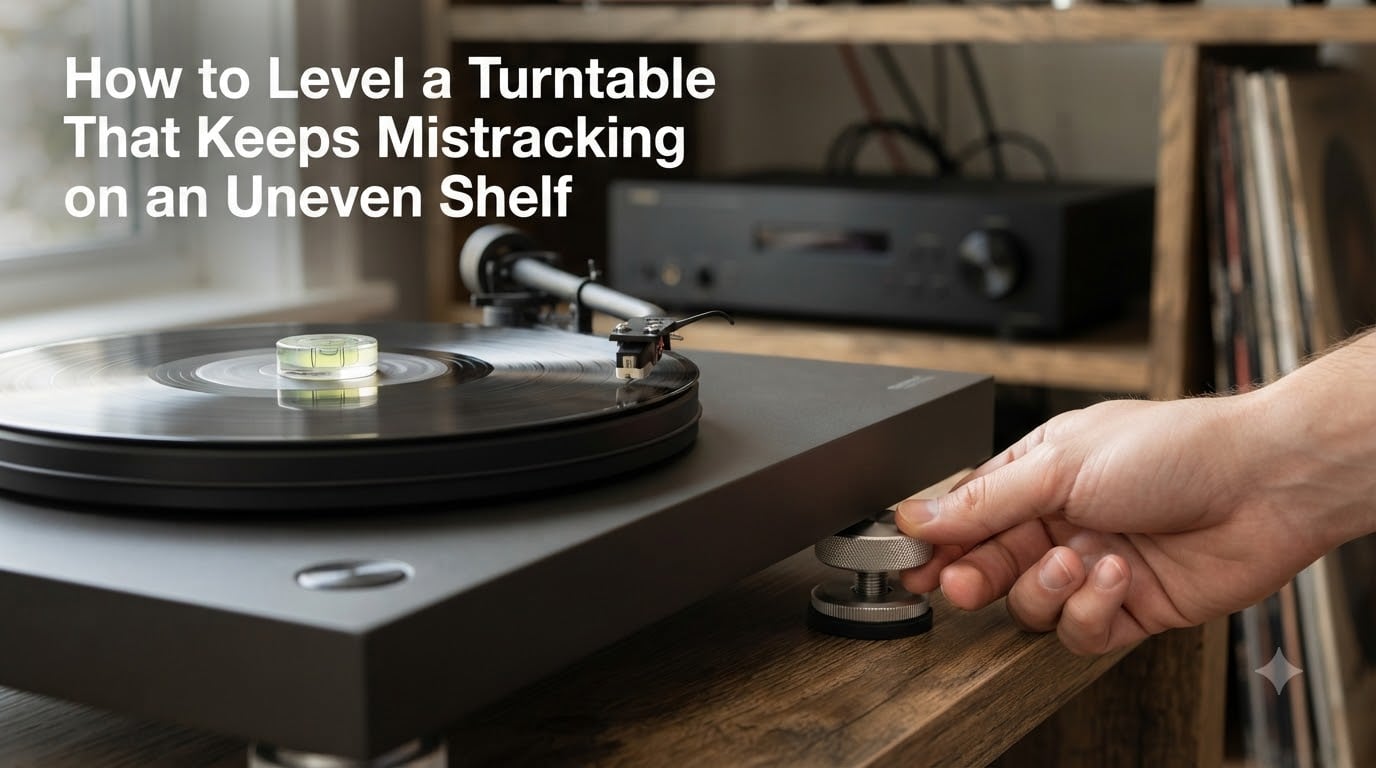
If your turntable keeps mistracking, skipping, or sending the needle flying toward the center of the record, the shelf underneath it is almost certainly to blame. I have spent years leveling decks on wonky bookshelves, sagging mid-century credenzas, and rented apartments with floors that slope enough to roll marbles uphill. The good news: learning how to level a turntable takes about ten minutes with the right tool, and it fixes most mistracking problems without any new gear.
In this guide I will walk you through the exact process I use to diagnose and fix unlevel turntables, including solutions for fixed feet, vibration isolation, and the rare cases where wall mounting is the only real answer. By the end you will know whether your mistracking is a level problem, a vibration problem, or a tracking force problem, and exactly how to address each one.
Table of Contents
Why Turntable Level Matters?
An unlevel turntable causes the stylus to apply uneven pressure across the groove walls, which is the direct mechanical cause of mistracking and skipping. When the platter sits at even a slight angle, one channel of the cartridge bears more weight than the other. The tonearm drifts downhill. The anti-skate setting, calibrated for a level deck, suddenly pushes the needle the wrong direction. I have measured skipping that vanishes completely once a deck is properly leveled, even when tracking force was already spot-on.
Long term, an unlevel deck wears your records faster on one side, which means your favorite pressings degrade unevenly and stylus life drops noticeably. Many vintage record collectors I know have burned through $80 cartridges because they never checked level on the cabinet the deck sat on. Leveling is not optional if you care about your vinyl.
Signs Your Turntable Is Not Level
Mistracking is the obvious symptom, but there are a few quieter clues worth knowing. The most common sign is consistent skipping in the same spot on multiple records, especially when you walk past the shelf or close a door nearby. If the needle drifts toward the label or the outer edge during playback, gravity is winning the argument your anti-skate cannot. Distortion that gets worse as the groove moves toward the center, where tracking angle is already shallow, almost always points to tilt.
Another tell is asymmetric stylus wear. Pull out your magnifying loupe and look at the cantilever and stylus tip. If the wear pattern looks uneven, the deck was probably level at one end and not the other. This is a useful diagnostic step before you touch any controls.
Tools You Need to Level a Turntable
The only specialized tool you really need is a bullseye level, which is a small circular bubble level that sits flat on the platter. Most decent ones cost under $10 and ship flat in a drawer. A short spirit level works as a backup, though it is less convenient on a spinning platter. A smartphone level app is fine in a pinch and free, though reading the bubble through your phone screen while crouched behind a cabinet gets old fast.
Beyond the level itself, you will likely need shim material if your turntable has fixed feet. The most common options are folded cardboard (cheap, easy to trim), wood shims from a hardware store, coins for tiny adjustments, and Sorbothane or sorbothane-like rubber pads for combined leveling and vibration damping. I keep all four on hand because different turntables need different fixes.
How to Level a Turntable: Step-by-Step Process
Here is the exact sequence I follow every time, and the same sequence I have walked dozens of friends through over the years. It works on any turntable, regardless of brand or whether the feet are adjustable.
Step 1: Remove the mat and platter cover. You want a clean, flat surface to place your bullseye level. The mat will throw off the bubble slightly and the dust cover can flex when you press on the deck.
Step 2: Place the bullseye level on the bare platter spindle. Center it as close to the spindle as you can. This measures the actual rotating surface, not the plinth edge, which is what matters for tracking.
Step 3: Read the bubble on the front-to-back axis first. Note which way the bubble drifts. If it pulls toward you, the front of the deck is lower than the back.
Step 4: Rotate the level 90 degrees and read the left-to-right axis. Again, note the direction. Most household shelves sag toward the middle or front, so this is where you usually find the bigger error.
Step 5: Adjust feet (if adjustable). Turn the foot clockwise to raise that corner, counterclockwise to lower it. Make small adjustments, then re-check both axes. Repeat until the bubble sits dead center on both axes.
Step 6: Shim fixed feet. If your deck has no adjustable feet, slide shim material under the low foot. Cardboard folded to thickness works well for most situations. Trim it so it is not visible and does not contact the next foot over.
Step 7: Re-check and lock. Once level, double-check both axes one more time. If your deck has lock rings on the feet, tighten them so the adjustment does not drift later.
Step 8: Test with a record. Drop the needle on a record you know skips, then walk past the shelf, close a door, and see what happens. If it plays clean, you are done.
How to Level a Turntable Without Adjustable Feet?
Most vintage decks, budget belt-drives, and a surprising number of mid-range modern tables ship with fixed feet. This is where most people get stuck, so let me break down your options. Folded cardboard is the classic budget solution and works surprisingly well, especially under a foot that needs less than 3mm of lift. Trim it flush so it does not look like a science project.
Wood shims from a hardware store are sturdier and last longer. They come in tapered packs so you can dial in exactly the thickness you need. Coins are great for micro-adjustments under 2mm. A U.S. quarter adds about 1.75mm, a U.S. penny about 1.5mm. Stack combinations to fine-tune.
For a cleaner long-term fix, Sorbothane pads (or generic sorbothane-like vibration isolators) do double duty. They damp vibration from footfalls and can be stacked to correct level. The community on r/vinyl and r/turntables strongly recommends these for apartment dwellers with upstairs neighbors or thin floors. Expect to pay $20 to $40 for a set of four, which is cheaper than replacing a cartridge you wore out from skipping.
Vibration Isolation: Beyond Just Leveling
Sometimes the deck is perfectly level and still skips every time you walk by. That is a vibration problem, not a level problem, and leveling alone will not solve it. The most common culprits are speakers on the same surface as the turntable, subwoofers pumping bass through the floor, and footsteps transmitted through the shelf itself.
Speakers on the same shelf as the turntable are the single biggest cause of feedback skipping I see. Move them to a separate stand or wall-mount them. Even a few inches of separation helps. If you cannot move the speakers, decouple them with isolation pads and decouple the turntable with a different set of pads so vibrations do not pass between them.
Walking vibrations are tricky because the source is your own floor. The fix is heavy mass and decoupling. A solid wood or dense composite shelf helps. A wall-mounted shelf helps more, because the wall is structurally stiffer than most furniture. Sorbothane pads under the feet help because they absorb impact energy instead of passing it to the deck.
How to Check Level While the Platter Is Spinning
A level platter at rest is not always level while spinning, especially on belt-drive decks with a slightly bent motor pulley or older direct-drive models with worn bearings. To check, place the bullseye level on the platter, start playback at 33 1/3 RPM, and watch the bubble. If it drifts in a circle as the platter rotates, you have a wobble. A small wobble under 0.5mm is usually fine. Anything visible without magnification deserves a closer look at the bearing and motor pulley.
This is also how you tell the difference between a level problem and a bearing problem. A level deck with a wobbling platter will still mistrack; a level platter on a tilted deck will mistrack differently. If the bubble stays put while spinning, your problem is purely geometric, and the leveling steps above will fix it.
When to Consider Wall Mounting
If you have tried leveling, shimming, vibration pads, and speaker separation, and your deck still mistracks when you walk by, the shelf itself is probably the problem. Particleboard bookshelves, especially the budget ones from big-box stores, flex and resonate under foot traffic in ways that no amount of turntable isolation can fully fix. This is where wall mounting becomes the right answer.
A proper turntable wall shelf bolts into studs and gives the deck a rigid, vibration-isolated platform independent of your floor. Most quality wall shelves include their own dampening layer and are designed to hold the weight of a turntable plus isolation platform. Prices run from about $80 for a basic steel shelf to $300 or more for premium wood and steel combinations.
The trade-off is installation effort and the loss of mobility. You cannot easily rearrange the room once the shelf is mounted, and renters will need to patch anchor holes when they move out. For serious listeners in challenging acoustic environments, though, wall mounting is the single biggest upgrade I can recommend.
Frequently Asked Questions
Does a turntable have to be perfectly level?
Yes, a turntable has to be level for accurate tracking. Small deviations under 0.5 degrees are usually tolerable, but anything more causes uneven groove wear, channel imbalance, and mistracking. Use a bullseye level on the platter and adjust until the bubble is centered on both axes.
How to ensure turntable is level?
Place a bullseye level on the bare platter near the spindle. Check front-to-back and left-to-right. Adjust the feet (or add shims under fixed feet) until the bubble is centered on both axes. Re-check both directions after every adjustment.
How to fix a wonky turntable?
Start by leveling the platter with a bullseye level, adjusting feet or shimming low corners. If it still skips, isolate it from vibration with Sorbothane pads, separate it from speakers, and consider a wall-mounted shelf if the floor carries footstep vibrations.
How do I prevent my turntable from shaking when I walk by?
Decouple the deck from the floor with Sorbothane or sorbothane-like isolation pads. Move speakers to a separate stand. If vibration persists, mount the turntable shelf directly to wall studs so it is independent of floor movement.
How much should a turntable wobble?
A small platter wobble under 0.5mm is normal and harmless. Larger wobble usually points to a bearing issue, motor pulley problem, or a bent platter. Check by placing a bullseye level on the platter while spinning and watching whether the bubble drifts in a circle.
What happens if the turntable is not level?
An unlevel turntable causes the stylus to apply uneven pressure across the groove walls, leading to mistracking, channel imbalance, accelerated record wear on one side, and reduced stylus life. Anti-skate and tracking force settings calibrated for a level deck will also behave incorrectly.
Level Your Turntable and the Mistracking Stops
Most mistracking problems on uneven shelves come down to one thing: the deck is not level. A ten-minute session with a bullseye level and a few folded pieces of cardboard fixes the majority of skipping complaints I see. If vibration is the culprit, Sorbothane pads and speaker separation solve most of the rest. For stubborn cases, a wall-mounted shelf is the long-term answer that finally quiets things down.
Start by leveling your turntable with the steps above, then test with a record you know has been skipping. If the problem goes away, you are done. If it does not, work down the list: vibration isolation, then wall mounting. Either way, your records will thank you.