
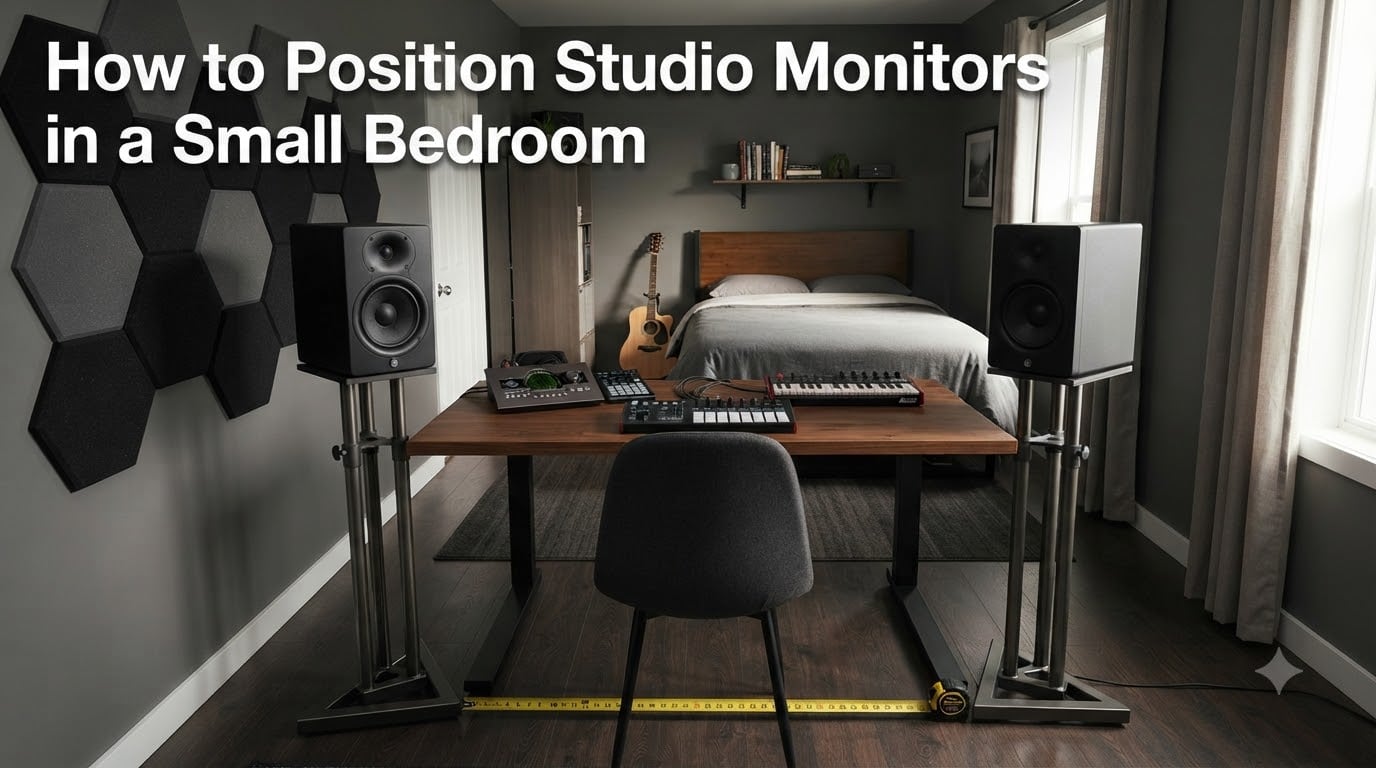
Bad mixes rarely come from bad monitors. They come from bad placement. If your studio monitors are sitting against a wall or buried behind a laptop screen, you are not hearing the truth about your tracks.
I have spent years mixing in bedrooms, spare rooms, and converted closets. The same problems always show up: boomy bass on one note, a stereo image that collapses when you turn your head, and mixes that fall apart on car speakers. Learning how to position studio monitors in a small bedroom changed all of that. This guide walks through the placement principles that actually work in tight spaces so you can trust what you hear.
Whether you are setting up your first pair of nearfield monitors or relocating an existing rig after moving to a smaller room, the rules below give you a starting point you can tune by ear.
Table of Contents
Why Studio Monitor Placement Matters in a Small Bedroom?
In a treated commercial studio, the room is designed to stay out of the way. In a small bedroom, the room is the loudest instrument in the mix. Walls, ceiling, bed frame, closet doors, and even the mattress all reflect or absorb sound before it reaches your ears.
Small rooms reinforce low frequencies in a phenomenon called the boundary effect. Every nearby surface adds bass emphasis, and in a 10×12 foot room those surfaces are close together. A single monitor against a back wall can pick up 6 dB or more of low-end boost. Move it a foot away and the boost changes. This is why the same mix sounds completely different depending on where your head is in the room.
Proper studio monitor placement minimizes these problems. It does not eliminate them — only acoustic treatment can do that — but it does give you a flat enough response to make confident mixing decisions. The goal is to hear the speakers more than the room.
The Equilateral Triangle Rule Explained
The equilateral triangle rule is the foundation of nearfield monitoring. Place your two monitors and your head at the three points of an equilateral triangle, with equal distances between each pair of points. In practice that means the distance between the two speakers equals the distance from each speaker to your ears.
For a small bedroom, this triangle typically measures between 1 and 1.5 meters on each side. Anything smaller and you lose stereo width. Anything larger and you start hearing the room more than the speakers.
Here is the quick way to set it up. Sit in your normal mixing position. Have a friend measure from your nose to the tweeter of the left monitor. Note that distance. Then measure from tweeter to tweeter. Adjust the monitors until both numbers match. The triangle should point at your ears, not at your chest or forehead.
This geometry gives you even sound from both speakers and a stable stereo image. It also keeps the speakers in the nearfield — the zone where direct sound dominates reflected sound — which is exactly what you want in a small room.
Distance from Walls and Boundaries
Walls are the biggest variable in small room acoustics. Every boundary near a monitor affects bass response, and small bedrooms have boundaries everywhere you look.
The general rule is to keep monitors at least 0.5 meters (about 20 inches) from the nearest wall. If you can push that to 1 meter or more, even better. Each distance from the wall produces a different bass profile. Too close and you get a boost. Too far and you get a cancellation dip. The sweet spot is usually somewhere in the middle.
Avoid placing monitors in corners at all costs. Two walls meeting behind a speaker create a bass trap effect that amplifies low frequencies dramatically. Many bedroom producers blame their monitors for a muddy low end when the real culprit is a desk shoved into a corner.
The 83% rule, popularized by acoustician Floyd Toole, offers a more precise method. Place each monitor at 83% of the distance from the listening position to the wall behind it. This reduces the interference between the direct sound and the reflection, smoothing out the bass response at your mixing position.
Height and Angle: Tweeter Alignment
Tweeters are directional. The highest frequencies form a narrow beam, and if that beam does not hit your ears, you lose detail in the mix.
Aim the tweeters at ear level when you are seated in your mixing position. This usually means the monitors sit between 47 and 55 inches from the floor, depending on your height and chair. If your monitors sit on a low desk, your ear is above the acoustic axis and the highs will sound muted.
Angle both monitors inward toward your listening position. A roughly 30 degree toe-in on each side creates the equilateral triangle shape and focuses the stereo image at your head. Point them too straight and the image widens but loses focus. Point them too far inward and the sweet spot shrinks to the size of a coin.
If your monitors are above ear level — say, on tall stands behind a desk — angle them slightly downward so the acoustic axis still hits your ears. The goal is always the same: the tweeter points at your ear canal.
How to Position Studio Monitors in a Small Bedroom Step by Step?
Here is the practical walkthrough. I use this exact process every time I relocate a studio into a tight bedroom space.
Step 1: Choose which wall your desk faces. In a small room, face the shorter wall so the speakers fire down the longest axis of the room. This gives low frequencies more space to develop before hitting the wall behind you, reducing standing wave buildup at your listening position.
Step 2: Set your listening position at roughly 38% of the room length. This is the 38% rule from acoustician Wes Lachot. Measure the distance from the front wall (behind the speakers) to the back wall. Place your ears at 38% of that distance from the front wall. In a 12-foot-deep room, that puts your head about 4 feet 7 inches from the front wall. This position naturally avoids the worst bass peaks and nulls.
Step 3: Build your equilateral triangle. Measure 1 to 1.5 meters between the two monitors and match that distance from each monitor to your ears. Keep the two distances equal.
Step 4: Move monitors away from corners. Pull each one at least 0.5 meters from the nearest side wall. If your desk forces a corner placement, angle the desk slightly off-axis so the monitors are not symmetrically equidistant from both walls.
Step 5: Align tweeters to ear height and toe them in. Aim each tweeter at the opposite ear. The acoustic axes should cross just behind your head.
Step 6: Test with a reference track. Play a song you know well. Move your head left, right, up, and down by a few inches. If the bass or stereo image shifts dramatically, recheck your distances.
Small Bedroom Specific Challenges and Solutions
Bedrooms introduce acoustic problems that dedicated studios never face. The bed is the biggest one. A mattress absorbs mid and high frequencies but does nothing for low frequencies, creating an unbalanced response. If your bed sits to one side of the monitors, the room is acoustically asymmetric and your stereo image will lean to one side.
The fix is simple but not always convenient: try to center the monitors between the two side walls of the room. If your bed forces an asymmetrical layout, add absorption on the opposite wall to balance the reflections. A bookshelf full of books, a heavy curtain, or even a couch can break up reflections on the empty side.
Another common issue is a large window directly behind the monitors. Glass reflects mid and high frequencies right back at you, creating comb filtering that hollows out the sound. Hanging a heavy curtain over the window during mixing sessions tames this reflection.
Furniture placement matters too. Wardrobes and dressers act as low-frequency resonators if they sit too close to the monitors. Keep your monitors away from hollow cabinets and door frames whenever possible.
Finding the mirror reflection points helps target acoustic treatment. Sit in your mixing position and have someone hold a small mirror flat against each side wall. Slide it forward and backward until you can see the nearest monitor tweeter reflected in the mirror. That is your first reflection point, and that is where a panel of absorption or diffusion makes the biggest difference.
Using Isolation Pads and Desktop Stands
Decoupling is the process of mechanically separating the monitor from whatever surface it sits on. Without it, vibrations travel through the desk into the floor and back, adding low-frequency mud to everything you hear.
Isolation pads are the cheapest fix. A dense foam pad under each monitor absorbs vibrations before they reach the desk. They also let you angle the monitors up or down a few degrees if your desk height is off.
Desktop stands go a step further. They raise monitors to the correct tweeter height without needing floor stands, which is critical in bedrooms with no floor space. Look for stands designed for nearfield monitors — they typically support 5 to 8 inch speakers and offer adjustable height.
Floor stands are ideal if you have the space. They bypass the desk entirely, eliminating desk resonance. In a tight bedroom, low-profile monitor stands that sit behind the desk often work better than floor stands in front.
If floor space is genuinely zero, wall mounting is viable. Use sturdy brackets rated for the weight of your monitors, and angle them slightly downward toward your ears. Wall mounting also removes the desk from the acoustic equation, which often tightens up the low end.
Common Mistakes and How to Avoid Them
Mistake 1: Monitors too close together. If the speakers are only a foot apart, your stereo image collapses into mono. Maintain at least 1 meter of separation.
Mistake 2: Desk pushed into a corner. The corner doubles bass reinforcement from two walls. Pull the desk out at least 20 inches from the back wall and keep the monitors away from side wall corners.
Mistake 3: Tweeters below ear level. This is the most common desktop mistake. Your ear should sit at tweeter height, not above it. Use stands or isolation pads with angled shims.
Mistake 4: One monitor against a wall, the other in open space. Asymmetrical wall distance gives each speaker a different bass response, skewing the stereo balance. Always match the distances on both sides.
Mistake 5: Skipping the reference check. Once everything is placed, play a song you have heard on dozens of systems. If it sounds wrong, trust the reference track over your measurements and adjust.
Frequently Asked Questions
What is the 38% rule for studio monitors?
The 38% rule, developed by acoustician Wes Lachot, places your listening position at 38% of the room length measured from the front wall behind the speakers. In a 12-foot-deep room, that puts your ears about 4 feet 7 inches from the front wall. This position naturally avoids the worst low-frequency peaks and nulls in a rectangular room.
What is the sweet spot for studio monitors?
The sweet spot is the listening position where the stereo image is widest and the frequency response is flattest. With an equilateral triangle setup, the sweet spot sits at the apex of the triangle with each tweeter aimed at the opposite ear. Moving your head a few inches outside this zone causes noticeable shifts in bass and imaging.
What is the 83% rule for speaker placement?
The 83% rule, popularized by Floyd Toole, suggests placing each monitor at 83% of the distance from your listening position to the wall behind the speakers. This ratio reduces interference between the direct sound from the monitor and the reflection off the rear wall, smoothing out the bass response at the listening position.
How far off the wall should studio monitors be?
Keep monitors at least 0.5 meters (about 20 inches) from the nearest wall. A full meter or more is better if you have the space. Corners are the worst placement because two walls reinforce low frequencies dramatically. Each distance produces a different bass profile, so test a few positions with a reference track.
Should monitors face the short or long wall in a small bedroom?
Face the shorter wall so the speakers fire down the longest axis of the room. This gives low frequencies more distance to develop before hitting the back wall, which reduces standing wave buildup at your listening position. Firing across the short axis compresses the bass response and causes more pronounced peaks and dips.
Can I mount studio monitors on the wall in a small room?
Yes. Wall mounting is a viable solution when floor or desk space is limited. Use sturdy brackets rated for the weight of your monitors and angle them slightly downward so the tweeters still point at your ears. Wall mounting also removes desk resonance from the acoustic equation, which can tighten up the low end.
Conclusion
Knowing how to position studio monitors in a small bedroom comes down to a handful of measurable principles. Build an equilateral triangle, keep the monitors away from corners, aim the tweeters at your ears, and sit at 38% of the room length. These four steps eliminate most of the low-end mud and stereo image problems that plague bedroom mixes.
None of this requires expensive gear. A tape measure, a reference track, and 30 minutes of tweaking will get you closer to a trustworthy monitoring environment than any plugin or room correction software. The placement rules cost nothing to apply.
Start with the geometry, test by ear, and only then consider acoustic treatment for the remaining problems. Once your monitors sit in the right spot, you will hear details in your mixes that were always there — just hidden behind the room.