
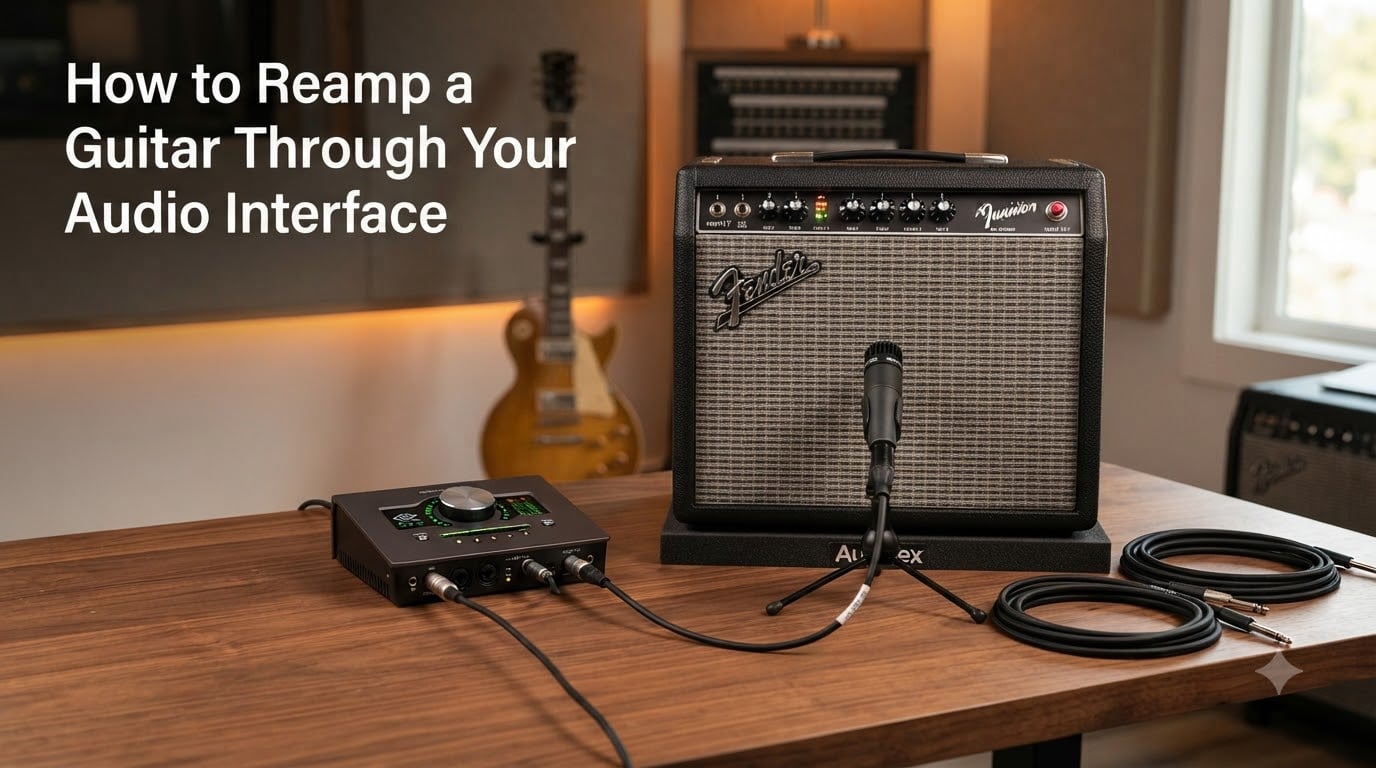
Imagine recording a perfect guitar take at 2 AM, then deciding the next morning that a different amp would sound better. Instead of re-recording the entire performance, you can simply play the same signal back through any amp you want. That is the power of reamping, and in this guide, I will walk you through exactly how to reamp a guitar through your audio interface.
I have spent years reamping guitars in home and project studios, dealing with everything from budget interfaces to professional setups. Along the way, I have hit every common roadblock: feedback loops, level mismatches, buzzing noises, and the dreaded “do I actually need a reamp box?” question.
This guide covers the entire reamping process from start to finish. You will learn what reamping is, why it matters, what equipment you need, how to set it up in your DAW, and how to troubleshoot problems when things go wrong. I will also show you how to reamp without a dedicated reamp box, which is something most guides skip entirely.
Whether you are using a Focusrite Scarlett Solo, a 2i2, or a larger interface with multiple outputs, the steps here will work for your setup.
Table of Contents
What Is Reamping?
Reamping is the technique of playing back a previously recorded dry guitar signal through a real guitar amplifier to capture a new amped tone while keeping the original performance intact. Instead of committing to a tone during recording, you capture a clean direct signal first, then send it through an amp later.
Think of it as separating the performance from the tone. Your fingers, your timing, and your dynamics stay locked in. Only the sound of the amplifier changes.
The dry signal you record is often called a DI signal, short for “direct injection.” This is a clean, unprocessed recording of your guitar with no amp simulation, no effects, and no coloration. It is the raw output of your guitar pickups captured directly.
Once you have that clean DI track, you can send it back out of your audio interface, through a reamp box, into any guitar amp, mic the amp, and record the result. You can try a Fender one day, a Marshall the next, and a pedal chain the day after that, all from the same single performance.
Why Reamp a Guitar? Benefits and Use Cases
The purpose of reamping is creative flexibility. Once your performance is captured as a clean DI track, you are free to experiment with tones without ever picking up the guitar again.
Here are the situations where reamping changes the game for producers and guitarists:
Late-night recording. You cannot crank a 100-watt tube amp at midnight in an apartment. With reamping, you record the dry performance quietly through your interface, then send it through a cranked amp during daytime hours.
Tone experimentation without re-recording. Forum users on r/audioengineering and Gearspace consistently highlight this as the biggest benefit. You capture one solid take, then try ten different amp and pedal combinations afterward.
Multiple amp tones from a single take. Layer a Fender clean tone with a Marshall crunch, all from the same performance. This thickens your guitar sound without timing drift between takes.
Producer collaboration. Send your DI tracks to another producer or studio. They can reamp through their own gear without needing you to re-perform the part.
Undo and redo tone choices. If the band decides the guitar tone does not work in the mix two weeks later, you simply reamp again. No re-recording needed.
Real-world experience from forums confirms that reamping takes patience to set up, but the results are deeply satisfying. One Gearspace user noted that reamping gives you an “undo button for guitar tone” that simply does not exist any other way.
Equipment Needed to Reamp a Guitar Through Your Audio Interface
You do not need a massive gear collection to start reamping. Here is the complete equipment checklist:
1. An audio interface with at least one spare output. This is the core of your reamp signal chain. Interfaces like the Focusrite Scarlett 2i2, Audient iD4, MOTU M2, SSL 2, and PreSonus AudioBox all work. You need an output to send the dry signal back out of your computer.
2. A reamp box. This small device converts the balanced line-level signal from your interface into an unbalanced instrument-level signal that a guitar amp expects. Popular options include the Radial ProRMP, Radial Reamp JCR, and Palmer DI. I will cover whether this is strictly necessary later.
3. Cables. You need a balanced TRS cable (or XLR) to go from your interface output to the reamp box, and a standard TS guitar cable to go from the reamp box to your amplifier.
4. A guitar amplifier. Any amp works: tube, solid state, combo, or head plus cab.
5. A microphone and mic cable. To capture the amp sound. An SM57 is the classic choice, but any dynamic or condenser mic works.
6. Your DAW. Ableton Live, Logic Pro, Pro Tools, Reaper, Studio One, Cubase, or any DAW that lets you assign track outputs to specific interface outputs.
Understanding Impedance: Line Level vs Instrument Level
This is the single most confusing part of reamping for beginners, so I am going to explain it in plain language. If you understand impedance, everything else about reamping clicks into place.
Impedance is a measure of resistance to electrical signal flow, measured in ohms. Every piece of audio gear has an input impedance and an output impedance. When those do not match, the signal suffers.
Your audio interface outputs at line level. This is a strong, balanced signal designed to drive studio monitors, mixing desks, and other pro audio equipment. Line-level outputs typically sit around 1 volt and have a low output impedance.
Your guitar amplifier expects an instrument-level signal. This is a weaker, unbalanced signal similar to what a guitar pickup produces. Guitar amp inputs have a high impedance, usually around 1 megaohm (1 million ohms).
Here is the problem: if you take a line-level output from your interface and plug it directly into a guitar amp, you have an impedance mismatch. The signal is too hot, the impedance is wrong, and the result is a harsh, thin, buzzy sound that does not respond the way a real guitar would.
A reamp box solves this. It steps the line-level signal down to instrument level and presents the correct high impedance to the amp. The amp “sees” what looks like a real guitar pickup, and it responds naturally.
Balanced vs unbalanced signals also matter here. Interface outputs are typically balanced (three-conductor TRS or XLR), while guitar amps use unbalanced two-conductor TS inputs. The reamp box handles this conversion too.
Reamp Box vs DI Box: What’s the Difference?
This question comes up constantly on forums, and the confusion is understandable. Both boxes look similar and both deal with signal conversion. But they do opposite things.
A DI box (direct injection box) converts an instrument-level signal into a line-level signal. You use it when recording: guitar goes into the DI box, and the DI box sends a balanced line-level signal to your interface. This is how you capture that clean DI track.
A reamp box converts a line-level signal back into an instrument-level signal. You use it when reamping: interface output goes into the reamp box, and the reamp box sends an instrument-level signal to your guitar amp.
They are mirror images of each other. DI boxes go from guitar to interface. Reamp boxes go from interface to guitar amp.
Can I use a DI box to reamp? This is a common question with a nuanced answer. Some DI boxes have a passive transformer that works in reverse, meaning you can plug an interface output into the DI box’s output jack and take an instrument-level signal from the input. It is not ideal because the impedance matching is wrong, and the tone may suffer. But in a pinch, a passive DI box used backwards can produce a usable reamping signal.
If you want the best results, use a purpose-built reamp box. The Radial ProRMP costs very little and does the job properly with correct impedance matching, a ground lift switch, and level control.
How to Reamp a Guitar Through Your Audio Interface (Step by Step)?
Here is the complete step-by-step reamping process. Follow these six steps in order, and you will have a properly reamped guitar track.
Step 1: Record a clean DI track. Plug your guitar into a DI box or directly into your interface’s instrument input. Record a clean, dry performance with no amp simulation or effects on the track. This is your source signal. Name the track “DI Guitar” or “Dry Guitar” so you can find it later. Make sure the recording level peaks around -12 dB to -6 dB. You want a strong signal with plenty of headroom.
Step 2: Connect your interface output to the reamp box. Take a balanced TRS cable from a spare line output on the back of your audio interface and plug it into the input of your reamp box. If your interface only has TRS outputs, use a TRS cable. If it has XLR outputs, use an XLR cable. The reamp box accepts either.
Step 3: Connect the reamp box to your amplifier. Run a standard TS guitar cable from the reamp box output to the input of your guitar amp. Set the reamp box’s level control to minimum before powering anything on.
Step 4: Set up DAW output routing. In your DAW, assign the output of your DI track to the specific interface output you connected in Step 2. Not your main stereo output, but the individual hardware output feeding the reamp box. In Ableton Live, use the Track Output Router. In Logic Pro, set the track output to the specific output pair. In Pro Tools, change the track output in the I/O section.
Step 5: Adjust gain staging. Press play on your DI track and slowly raise the reamp box level control while listening to your amp. Set your amp’s controls as you normally would for a guitar. The goal is to feed the amp a signal that reacts and responds like a real guitar would. If the amp distorts too early, lower the reamp box level. If the signal is too weak, raise it.
Step 6: Mic the amp and record. Place a microphone in front of your amp, run the mic back to a free input on your interface, and create a new audio track in your DAW to record it. Arm the track, press record, and let your DI track play through the amp in real time. The result is a freshly recorded amped guitar tone from your original performance.
That is the full process. Once you have it set up, you can swap amps, try different pedals between the reamp box and the amp, move the microphone, and re-record as many variations as you want.
How to Reamp Without a Reamp Box (DIY Methods)?
Not everyone wants to buy a reamp box, especially when starting out. The good news is that you can reamp without one using a few DIY methods. The results will not be as clean, but they are absolutely usable.
Method 1: Use your interface headphone output. This is the most popular workaround, especially for users of the Focusrite Scarlett Solo and 2i2, which have limited outputs. Take a TRS-to-dual-TS breakout cable or a simple TS cable from your headphone output to the amp. In your DAW, pan your DI track hard to one side and assign it to the headphone output. The headphone output is slightly lower impedance than a line output, which means it is closer to what an amp expects. Use the headphone volume knob to control the level feeding the amp.
Method 2: Use a passive DI box in reverse. As mentioned earlier, plug your interface output into the XLR output of a passive DI box and take a signal from the 1/4-inch input. This uses the transformer backwards to step down the level. The impedance match is not perfect, but it works for casual reamping.
Method 3: Use an attenuator or pad cable. A simple inline pad (typically -20 dB or -40 dB) can reduce your line-level output enough to approximate instrument level. This does not solve the impedance mismatch, so the tone will not be identical to a real guitar feeding the amp, but it prevents the amp from being overloaded.
Method 4: Plug directly from interface output to amp. This is the crudest method. Connect a TS cable from your interface line output directly to the amp input and use the interface output level to reduce the signal. The impedance mismatch will produce a thinner, harsher tone. Some guitarists actually like this for specific distorted sounds, but it is not recommended for clean tones.
A word of warning for users of 2-output interfaces like the Scarlett Solo: if you use your main outputs for reamping, you will need to disconnect your studio monitors during the process. This is a real inconvenience, which is why the headphone output method is so popular for these interfaces.
DAW Setup and Configuration for Reamping
Getting the DAW side right is just as important as the physical cable connections. Here is how to configure your software for clean reamping.
Create two tracks in your DAW. The first is your source track, which contains the pre-recorded DI signal. The second is your record track, which is a new audio track set to record from the microphone input on your interface where the amp mic is connected.
On the source track, set the output to the specific hardware output on your interface that feeds the reamp box. Do not leave it on the main stereo bus, or the DI signal will play through your monitors at the same time it plays through the amp.
Turn off direct monitoring on the record track if you want to avoid hearing the raw mic signal mixed with the delayed DAW playback signal. Most interfaces have a direct monitoring knob or switch. For reamping, you generally want to monitor only through the DAW to hear exactly what is being recorded.
Latency compensation matters here. When you send a signal out of your DAW, through a reamp box, through an amp, through a mic, and back into your DAW, there is a small timing delay. The newly recorded amped track may be slightly behind the original DI track. Most modern DAWs handle this automatically with automatic delay compensation, but if you notice timing issues, you may need to manually nudge the reamped track earlier by a few samples.
A simple way to check latency is the “ping method” described by Audient: record a sharp transient (like a pick scrape or click) through the full reamp chain, then zoom in and compare the timing of the original DI track to the reamped recording.
Troubleshooting Common Reamping Problems
Reamping introduces a lot of variables, and things can go wrong. Here are the most common problems and how to fix them. No competitor guide covers these issues, which is why I made sure to include them.
Problem: Feedback loop or loud howling sound. This happens when your source track is playing through your main monitor outputs while also feeding the amp. The amp sound gets picked up by the mic, recorded, and played back through the monitors, creating a loop. Fix: set your source DI track output to the specific hardware output feeding the reamp box, not the main stereo bus. Mute or disconnect monitors during reamping if needed.
Problem: No sound from the amp. Check that your interface output is actually assigned in the DAW. Verify the reamp box level is turned up. Confirm the amp is on and the cable from the reamp box is plugged into the correct input, not a passive effects loop return.
Problem: Weak or quiet signal. Your DI track may have been recorded too quietly. Ideally, the DI signal should peak between -12 dB and -6 dB. If it is lower, raise the output level in your DAW or increase the reamp box level control.
Problem: Buzzing or humming noise. This is almost always a ground loop. Engage the ground lift switch on your reamp box if it has one. If not, try a ground lift adapter on the amp’s power cable, or ensure all equipment shares the same power circuit. Using balanced cables between the interface and reamp box also reduces noise.
Problem: Latency timing drift. The reamped track sounds slightly behind the beat. Enable automatic delay compensation in your DAW. If that does not fix it, manually nudge the reamped audio region earlier by the detected offset.
Problem: Harsh or thin tone compared to plugging the guitar in directly. This usually means the impedance mismatch is not being properly handled. A proper reamp box fixes this. If you are reamping without a box, the tone will inherently be different from a direct guitar-to-amp connection. Some users on forums report this as expected and even desirable for certain sounds, but for accurate amp tone reproduction, a reamp box makes a noticeable difference.
Problem: Tone changes when reamping compared to the original recording. Yes, reamping can subtly change the tone. The signal path is longer, and the impedance conversion is not perfect even with a good reamp box. The differences are usually minor with quality gear but more pronounced with DIY methods. This is normal and not a sign that something is broken.
Frequently Asked Questions
How to reamp with an audio interface?
To reamp with an audio interface, record a clean DI track of your guitar, then route that track out of a spare interface output into a reamp box, and from the reamp box into your guitar amp. Mic the amp and record the result onto a new track in your DAW.
Can you plug a guitar straight into an audio interface?
Yes, you can plug a guitar directly into an audio interface using the instrument-level input (often labeled INST or marked with a guitar icon). This lets you record a clean DI signal, which is exactly what you need as the source for reamping later.
Is a reamp box really necessary?
A reamp box is strongly recommended because it converts the balanced line-level output of your interface into the unbalanced instrument-level signal a guitar amp expects, solving the impedance mismatch that causes thin and harsh tone. You can reamp without one using DIY methods, but the tone quality will suffer.
Does reamping change the tone?
Reamping can subtly alter the tone compared to plugging a guitar directly into an amp because the signal passes through additional conversion stages. With a quality reamp box the differences are minimal, but with DIY methods the tone may sound thinner or harsher due to imperfect impedance matching.
Can I use a DI box to reamp?
A passive DI box can be used in reverse to approximate reamping by plugging the interface output into the DI box output and taking a signal from the input. This works in a pinch, but the impedance matching is not ideal and a purpose-built reamp box will always produce better results.
What is the purpose of reamping?
The purpose of reamping is to separate the guitar performance from the amplifier tone so you can experiment with different amps, pedals, and microphone placements after the recording is done, without needing the guitarist to re-perform the part.
Conclusion
Learning how to reamp a guitar through your audio interface opens up a world of creative freedom in your recordings. You capture the performance once, then explore endless tone possibilities afterward.
The key points to remember: always record a clean DI track first, use a reamp box for the best impedance matching, route your DAW outputs carefully to avoid feedback loops, and take time with gain staging so your amp responds naturally.
If you do not have a reamp box yet, start with the headphone output method and upgrade later. The important thing is to start experimenting. Once you experience the flexibility of reamping, you will wonder how you ever recorded guitars without it.