
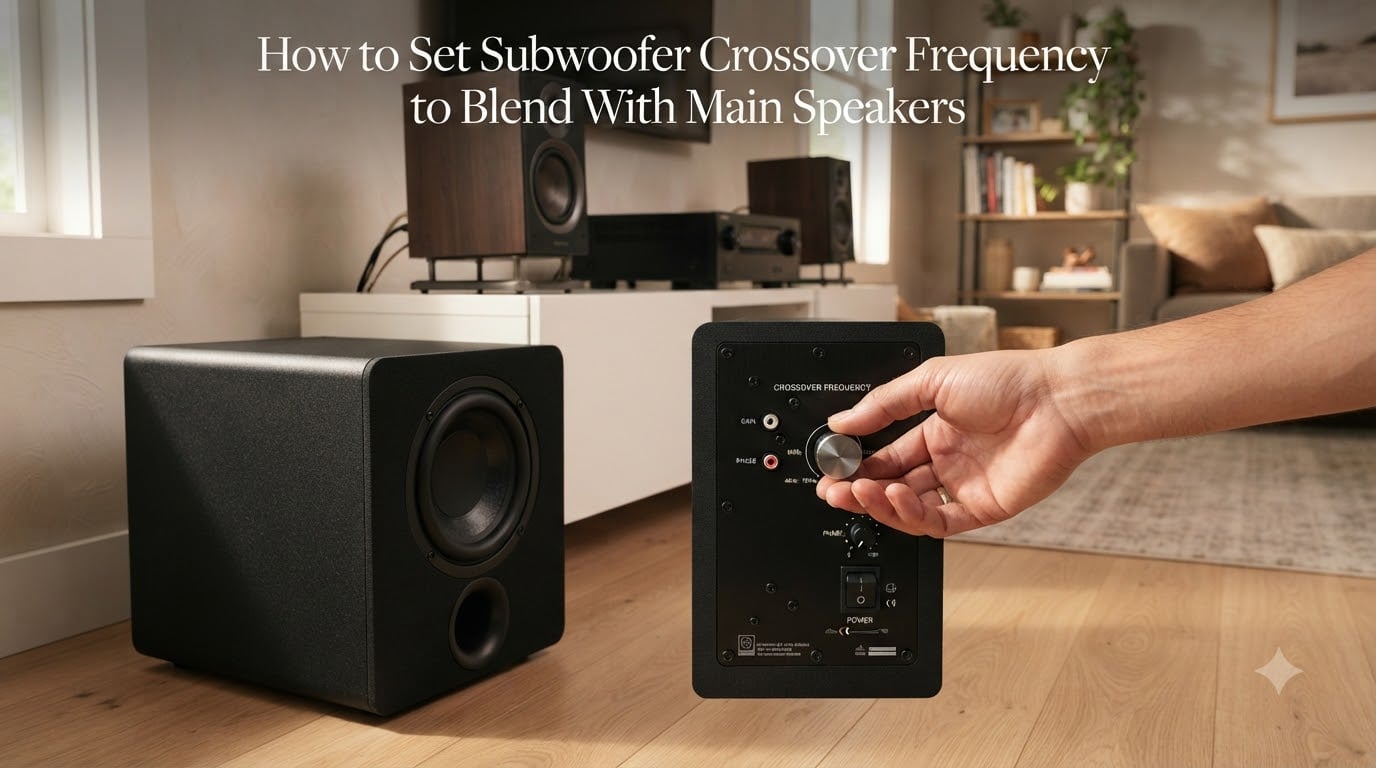
Setting your subwoofer crossover frequency correctly is the single biggest factor in getting tight, punchy bass that disappears into your main speakers. Get it wrong and you get either boomy, overlapping bass or a thin gap where the low end should be. I have spent years tuning systems ranging from budget bookshelf setups to full home theaters, and the process boils down to a handful of steps anyone can follow.
This guide walks you through exactly how to set subwoofer crossover frequency to blend with main speakers, from finding your speaker’s low limit to fine-tuning by ear. You will learn the THX standard starting point, speaker-specific recommendations, and how to avoid the common mistakes that ruin bass integration.
Whether you run bookshelf speakers, floorstanding towers, or tiny satellites, the principles here apply. By the end, your subwoofer will sound like an extension of your main speakers, not a separate box thumping in the corner.
Table of Contents
What Is Subwoofer Crossover Frequency?
The subwoofer crossover frequency is the point where bass frequencies are split between your subwoofer and your main speakers. Below this frequency, the subwoofer handles the sound. Above it, the main speakers take over.
Technically, the crossover acts as a low pass filter on the subwoofer side and a high pass filter on the speaker side. The subwoofer gradually rolls off the frequencies above the crossover point so they do not overlap with what the main speakers are already producing. Most crossovers use a slope of 12 or 24 decibels per octave, meaning the volume drops smoothly rather than cutting off abruptly.
Think of it as a handoff. The crossover tells your system where the subwoofer should stop and the main speakers should start. When that handoff happens at the right frequency, the transition is invisible. When it happens at the wrong frequency, you get either a muddy bump or a hollow gap in the bass response.
Why 80Hz Is the Standard Starting Point?
The 80Hz crossover frequency became the industry standard thanks to THX certification, which was developed for movie theaters in the 1980s and later adapted for home theater. THX found that 80Hz is low enough to keep bass from being localized, meaning your ears cannot tell where the sound is coming from. The subwoofer disappears acoustically.
Eighty hertz also sits right at the bottom end of what most bookshelf and center channel speakers can reproduce cleanly. It gives the subwoofer a comfortable range to work in while keeping the main speakers from straining on deep bass they were not designed to handle.
I always recommend starting at 80Hz regardless of your system. From there, you can adjust up or down based on your specific speakers and room. If you have small satellite speakers, you will likely raise it. If you have large floorstanding towers, you might lower it. But 80Hz is the baseline that works for the widest range of setups.
How to Find Your Speaker’s Low Frequency Limit?
Before setting a crossover, you need to know how low your main speakers can actually go. This is called the low frequency limit, and it determines where your crossover should sit. The general rule is to set the crossover about 10Hz above your speaker’s lowest usable frequency.
Check your speaker’s spec sheet for the frequency response range. A speaker rated at 50Hz to 20kHz can realistically reproduce bass down to about 50Hz. But specs can be optimistic. Look for the F3 point, which is the frequency where the speaker’s output drops by 3 decibels. That is the true low frequency limit. Add 10Hz to that number and you have your starting crossover point.
If you cannot find the F3 specification, use the stated frequency response range as a guide. A speaker claiming 55Hz at the low end should get a crossover around 65Hz. This 10Hz buffer matters because it gives the crossover slope room to transition smoothly without leaving a gap.
Crossover Frequency Guidelines by Speaker Size
Different speaker sizes need different crossover settings. Here is what our team recommends based on real-world testing across dozens of speaker configurations.
Satellite speakers (3 to 4 inch woofers): These small speakers typically bottom out between 100Hz and 120Hz. Set your crossover to 120Hz. Going lower leaves a gap because the speakers simply cannot produce bass below their limit.
Bookshelf speakers (5 to 6.5 inch woofers): Most bookshelf speakers reach down to about 50Hz to 60Hz. A crossover between 60Hz and 80Hz works well here. Start at 80Hz and adjust down if your speakers have solid low-end extension.
Floorstanding speakers (8 inch or larger woofers): These towers can often reach 35Hz to 45Hz on their own. You might set the crossover as low as 40Hz to 60Hz. Some people with capable floorstanding speakers choose to run them as full range and use the subwoofer only for the deepest octave.
Center channel speakers: Match the crossover to what the center channel can handle. Most center channels are similar to bookshelf speakers, so 80Hz is a safe default.
Remember that these are starting points. Your room, your listening position, and your personal preference all play a role in the final setting. Use these guidelines as a launch pad, then fine-tune by ear.
Step-by-Step: How to Set Subwoofer Crossover Frequency?
Here is the exact process I follow every time I set up a subwoofer. It takes about 30 minutes and requires no special equipment beyond your ears and some familiar music.
Step 1: Find your speaker’s low frequency limit. Check the spec sheet or use the speaker size guidelines above. Write down the number that represents the lowest frequency your main speakers can reproduce cleanly.
Step 2: Set the crossover 10Hz above that limit. If your speakers go down to 60Hz, set the crossover to 70Hz. If you are unsure or have average bookshelf speakers, just set it to 80Hz and move on. You can always adjust later.
Step 3: Set the subwoofer gain or volume. Start with the gain knob at the 12 o’clock position, which is roughly the midpoint. On your receiver, set the subwoofer channel level to 0dB. This gives you a neutral starting point to work from.
Step 4: Set the phase to 0 degrees. The phase switch on your subwoofer should start at 0. You will test both positions later, but 0 is the correct default for most setups where the subwoofer sits near the main speakers.
Step 5: Play a familiar track with consistent bass. Pick a song or movie scene you know well. Something with a steady bass line works better than a movie explosion because you can hear the tonal balance more clearly. Listen for whether the bass sounds full, thin, or bloated.
Step 6: Fine-tune the crossover and gain. If the bass sounds muddy or boomy, your crossover might be too high, creating overlap with the main speakers. Lower it by 5Hz and listen again. If the bass sounds thin or disconnected, the crossover might be too low. Raise it by 5Hz. Make small adjustments and give your ears time between changes.
The goal is a seamless transition where you cannot tell where the subwoofer ends and the main speakers begin. When the crossover is set correctly, the bass simply sounds like it is coming from your main speakers, not from a box on the floor.
Understanding Gain and Crossover Relationship
One thing that trips up a lot of people is the relationship between gain and crossover. These two controls interact with each other, and adjusting one affects the other.
Gain controls how loud the subwoofer is. The crossover controls which frequencies the subwoofer plays. But here is the key insight: when you raise the crossover frequency, the subwoofer starts playing a wider range of frequencies. More frequencies mean more perceived volume. So raising the crossover effectively increases bass output without touching the gain knob.
Forum users on AVSForum and Audioholics consistently report this inverse relationship. If you raise your crossover from 60Hz to 80Hz, you may need to lower the gain slightly to keep the overall balance right. The opposite is also true. Lower the crossover and you might need to bump the gain up a touch.
The practical takeaway is to always adjust one control at a time. Set your crossover first, then dial in the gain to match. If you change the crossover later, revisit the gain to make sure the balance still sounds right. This methodical approach prevents the frustrating cycle of chasing your tail with knob adjustments.
Phase Adjustment Basics for a Seamless Blend
Phase alignment is the other half of getting your subwoofer to blend with main speakers. Even with a perfect crossover setting, poor phase alignment can cause cancellation at the crossover frequency, leaving a hole in the bass response.
The phase control on most subwoofers is a simple switch with two positions: 0 degrees and 180 degrees. In plain terms, this switch determines whether the subwoofer’s cone moves in the same direction as the main speakers’ cones or in the opposite direction. When the cones move together, the bass reinforces. When they move opposite, the bass cancels out.
Here is how to set phase correctly. Play a track with bass content near your crossover frequency, something in the 60Hz to 100Hz range. Listen to the bass level with the phase set to 0. Then flip it to 180 and listen again. Whichever position gives you more bass and a fuller sound is the correct setting.
Some subwoofers offer a variable phase control instead of a two-position switch, letting you dial in any angle from 0 to 180 degrees. If you have this option, sweep slowly through the range while listening to that test tone. Stop where the bass sounds fullest and tightest. This usually takes a few minutes but makes a noticeable difference in how well the subwoofer integrates with your main speakers.
Fine-Tuning for a Perfect Blend
Once you have your crossover, gain, and phase set, it is time to fine-tune. This is where the system goes from sounding good to sounding right.
Use multiple test tracks spanning different genres. Bass heavy electronic music will reveal boominess. Acoustic bass or jazz will reveal if the subwoofer is too slow or overpowering. A movie scene with deep effects will show whether the sub reaches low enough. Each genre stresses a different part of the frequency range.
If you hear boominess at the crossover point, there are a few likely causes. The crossover might be set too high, creating overlap with the main speakers. The subwoofer might be placed in a room corner, which amplifies certain frequencies. Or the gain might simply be too high. Address these in order: lower the crossover slightly, reposition the sub, then reduce gain.
If the bass sounds thin or disconnected, try the opposite. Raise the crossover by 5Hz, increase gain slightly, or check that your main speakers are not set to full range in the receiver when they should be crossed over. On Reddit’s audiophile forums, one of the most common fixes for thin bass is simply making sure the receiver’s bass management is active and speakers are set to Small rather than Large.
For music versus movies, you might prefer slightly different settings. Music often sounds best with a crossover around 60Hz to 80Hz because musical bass lines are more articulate in that range. Movies benefit from 80Hz because the subwoofer handles more of the effects channel range. Some receivers let you save different presets for music and movie modes.
Common Crossover Mistakes to Avoid
After helping many people troubleshoot their systems, the same mistakes come up repeatedly. Here are the ones that cause the most problems.
Setting the crossover too high. This is the number one mistake. When the crossover sits well above what the main speakers can handle, both the subwoofer and speakers are trying to reproduce the same frequencies. The result is double bass, which sounds bloated and boomy. The fix is simple: match the crossover to the speaker’s actual low frequency capability.
Setting the crossover too low. The opposite problem. If your bookshelf speakers only reach 60Hz but you set the crossover at 40Hz, there is a 20Hz gap where neither the speakers nor the subwoofer are covering the frequencies adequately. Bass sounds thin and unsatisfying.
Ignoring phase alignment. Many people set crossover and gain but never touch the phase switch. This can leave the subwoofer fighting the main speakers at the crossover frequency, creating a dip in response. Always test both phase positions.
Trusting auto-calibration without question. Systems like Audyssey and YPAO are helpful, but they are not perfect. They measure from specific microphone positions and may not reflect how the system sounds from your actual listening seat. Run auto-calibration, then verify by ear and override settings that do not sound right.
Running speakers as Large when they should be Small. In receiver settings, setting speakers to Large means they receive a full range signal. Most bookshelf and satellite speakers cannot handle full range. Set them to Small with a crossover, and let the subwoofer do the heavy lifting on bass.
Auto-Calibration vs Manual Setup
Modern receivers come with auto-calibration systems like Audyssey, YPAO (Yamaha), Dirac Live, and others. These systems use a microphone to measure your room and automatically set crossover frequencies, speaker levels, and equalization. They are convenient, but understanding their limitations helps you get better results.
Auto-calibration excels at setting channel levels and distances. It can detect that your subwoofer is 12 feet away and compensate for the timing. It can also identify room mode problems and apply equalization to smooth out peaks in the bass response. For these tasks, auto-calibration often does a better job than manual setup because it measures what is actually happening in your room.
Where auto-calibration can fall short is in crossover selection. Some systems set speakers to Large when they would sound better crossed over. Others pick crossover points that are technically correct but do not account for your listening preferences. After running auto-calibration, check what crossover it chose. If it set your small bookshelf speakers to Large or chose a crossover below your speaker’s rated low frequency, override it manually.
The best approach is to use both. Run auto-calibration first to handle the heavy lifting of room correction and channel levels. Then manually verify and adjust the crossover and phase settings using the listening test described earlier. This hybrid approach gives you the precision of measurement with the musicality of human judgment.
Room Acoustics and Crossover Perception
Your room plays a massive role in how the crossover sounds. Bass frequencies are long wavelengths that bounce off walls, ceilings, and floors. These reflections create standing waves, also called room modes, which can boost or cancel certain bass frequencies depending on where you sit.
This means the same crossover setting can sound completely different in two rooms, or even in two different seats in the same room. If you find that bass is overwhelming in one chair but barely audible in another, room modes are the likely culprit.
Subwoofer placement is the most effective tool for dealing with room acoustics. The corner placement that gives you the most bass output also excites the most room modes. Moving the subwoofer away from the corner, or using the subwoofer crawl technique, can dramatically smooth out the bass response before you even touch the crossover.
Bass traps and acoustic treatment help further, especially in the 50Hz to 150Hz range where crossover interactions happen. While treatment is not a substitute for proper crossover setting, it makes the crossover transition easier to hear and adjust because the room is not adding its own coloration to the bass.
Frequently Asked Questions
What to set sub crossover frequency?
Start at 80Hz for most speakers. If you have small satellite speakers, set it to 100-120Hz. For large floorstanding speakers, you can go as low as 40-60Hz. The rule of thumb is to set the crossover about 10Hz above your main speakers’ lowest frequency rating.
How to blend a subwoofer with speakers?
Set the crossover frequency to match your speaker’s low frequency limit plus 10Hz. Set the subwoofer gain to a neutral starting point. Adjust the phase switch to whichever position gives fuller bass. Then fine-tune by ear using familiar music, making small 5Hz adjustments until the subwoofer disappears into the main speakers.
What is the standard crossover settings between subs and mains?
The THX standard is 80Hz, and this is the most widely recommended crossover point for home theater and music systems. It works well for bookshelf speakers, center channels, and most floorstanding speakers. For satellite speakers, 100-120Hz is standard.
Is higher or lower crossover frequency better?
Neither is inherently better. The correct crossover depends entirely on your main speakers. Set it too high and you get double bass overlap. Set it too low and you get a gap in the frequency response. The best setting is the one that matches your speaker’s low frequency capability, typically 10Hz above the rated low end.
Why is 80 Hz the best crossover?
80Hz is the THX certification standard because it is low enough that bass becomes non-directional, meaning you cannot locate where the sound comes from. It also sits near the bottom of what most bookshelf and center speakers can reproduce cleanly, making it a universal starting point that works for the widest range of systems.
How do I know if my crossover is set correctly?
Your crossover is set correctly when you cannot tell the subwoofer is running. The bass should sound like it is coming from your main speakers, not from a separate box. If bass is boomy and muddy, the crossover is likely too high. If bass is thin and weak, it may be too low. Run a listening test with familiar music to confirm.
Conclusion
Knowing how to set subwoofer crossover frequency to blend with main speakers comes down to a simple process: find your speaker’s low frequency limit, set the crossover about 10Hz above it, dial in the gain and phase, then fine-tune by ear. Start at 80Hz as your baseline, adjust based on your speaker size, and trust what your ears tell you over any spec sheet or auto-calibration system.
The reward for getting this right is a system where the bass simply sounds natural. The subwoofer vanishes and the music or movie just sounds full, balanced, and right. Take the time to go through the steps, and you will hear the difference immediately.