
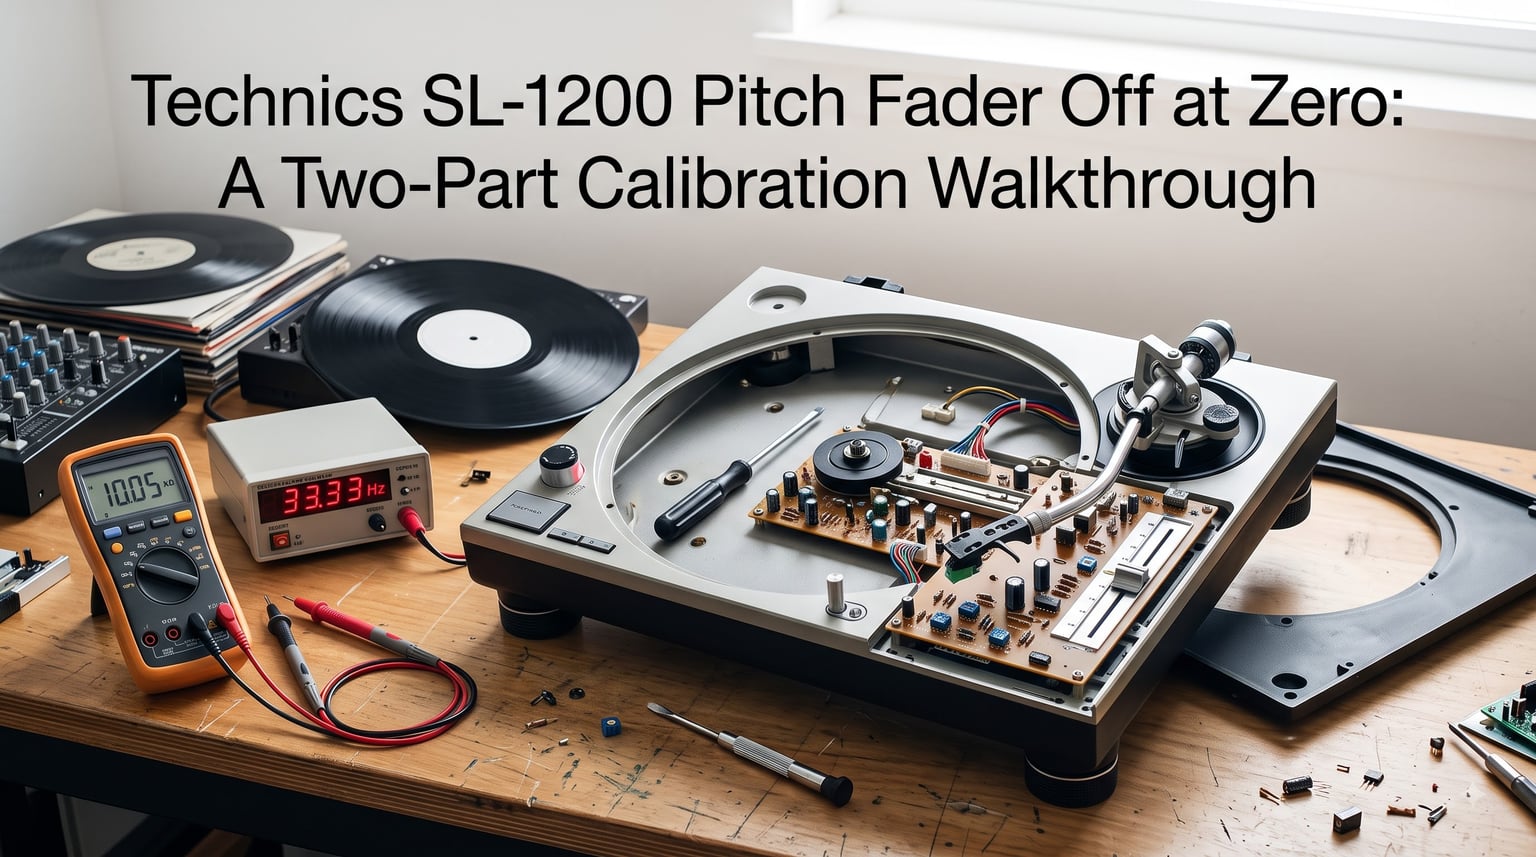
If your Technics SL-1200 pitch fader is off at zero, you are dealing with one of the most common issues on these legendary turntables. The pitch control drifts, the zero point feels unreliable, and beatmatching becomes a frustrating guessing game. I have been through this calibration process on multiple SL-1200 and SL-1210 decks over the years, and the good news is that you can fix it yourself with the right approach.
This walkthrough covers the full Technics SL-1200 pitch fader calibration procedure in two parts. Part 1 gets you inside the turntable to the pitch control board. Part 2 walks you through adjusting the two variable resistors, VR301 and VR302, to the correct frequency values. I will also explain why your pitch behaves erratically near zero, what dual zero points mean, and why perfect calibration is sometimes out of reach.
Whether you are spinning vinyl at home or performing live, an accurate pitch fader is the foundation of solid beatmatching. A deck that drifts even a fraction of a percent will make blends fall apart over a long mix. Let us get your turntable dialed in.
Table of Contents
What Is Pitch Fader Calibration and Why Does It Matter?
Pitch fader calibration is the process of adjusting the internal variable resistors on your Technics SL-1200 so the pitch control reads accurately across its entire range. Two trim pots on the pitch control PCB, labeled VR301 and VR302, control the full pitch range and the zero point respectively. When these drift out of spec, your pitch percentage no longer matches what the fader position suggests.
For DJs, this matters more than almost anything else. If your zero point is off by even a small amount, the deck runs slightly fast or slow even when the fader sits centered. You compensate manually during a mix, then the next track throws you off because it was beatmatched against a deck running at the wrong tempo. Over a long set, those small errors compound into trainwrecks.
Calibration brings the pitch fader back to factory-spec behavior. The quartz lock engages at true zero, the plus and minus 8 percent range maps correctly, and the fader feels predictable. This is turntable maintenance that directly impacts your performance.
Understanding the Dead Zone and Dual Zero Points
The dead zone is a small region around the quartz lock detent where the pitch behaves erratically. As the fader passes through zero, the quartz lock circuit engages and disengages, creating a brief zone where pitch output is unpredictable. This is not a defect. Every MK2 Technics SL-1200 has it by design, and the community consensus across forums like DJTechTools and VinylEngine confirms it is normal behavior.
Dual zero points happen when the pitch reads zero in two slightly different fader positions rather than one clean center point. You move the fader up and find a zero, then move it down and find another. This makes finding true center frustrating and is a direct result of the dead zone interacting with the quartz lock detent mechanism.
Some DJs remove the detent entirely to get a smoother fader feel. This eliminates the click feedback at center but removes the dead zone interaction. It is a personal preference, not a requirement. The calibration procedure in this walkthrough works whether or not you keep the detent in place.
Understanding these phenomena before you start calibrating saves you from chasing a phantom problem. You are not trying to eliminate the dead zone. You are trying to set VR301 and VR302 so that everything outside the dead zone is accurate.
Tools Required for Technics SL-1200 Pitch Fader Calibration
Gather your tools before opening the turntable. You will need a frequency counter capable of reading in the 260 to 285 kHz range. A multimeter with frequency measurement capability works, but a dedicated frequency counter is more reliable for this specific task.
You will also need a small Phillips head screwdriver for removing the turntable base screws and the pitch fader assembly cover. A precision flathead or ceramic-tipped screwdriver is needed for turning the VR301 and VR302 trim pots without shorting adjacent components.
Here is the complete checklist:
Frequency counter (260 to 285 kHz range)
Multimeter for continuity and resistance checks
Small Phillips screwdriver
Precision flathead or ceramic screwdriver for trim pots
Technics SL-1200 service manual for your specific model
Anti-static wrist strap recommended but not mandatory
Clean workspace with good lighting
Do not attempt calibration with a multimeter alone if it cannot read frequency accurately in the kHz range. Guessing at the trim pot positions without measurement leads to worse results than leaving them alone.
Part 1: Accessing the Pitch Control Board
This section covers the physical disassembly needed to reach VR301 and VR302 on the pitch control PCB. Take your time and keep track of every screw.
Step 1: Remove the platter by lifting it straight up. Set it aside on a soft surface to avoid scratching.
Step 2: Remove the rubber base mat to expose the screws holding the bottom plate. There are typically four large screws on the bottom of the turntable.
Step 3: Flip the turntable over carefully, supporting it on a padded surface. Remove the four base screws and lift off the bottom plate.
Step 4: Locate the pitch control PCB. It is connected to the pitch fader assembly and sits along the side of the turntable internal chassis. You should see the two trim pots labeled VR301 and VR302 on the board.
Step 5: If the PCB is difficult to access, you may need to partially remove the pitch fader assembly by unscrewing its mounting screws. Do not disconnect any ribbon cables unless absolutely necessary. You want enough access to place your frequency counter probe on the correct test points.
Step 6: Identify the frequency output test point on the PCB. Refer to your service manual for the exact location, as it varies between MK2 and MK5 models. Connect your frequency counter probe to this point and ground to the appropriate chassis ground.
With the frequency counter reading the pitch control output, you are ready to begin the actual calibration. Leave the turntable powered on but keep your hands clear of the power supply section.
Part 2: Calibrating VR301 for the Plus 8 Percent Setting
VR301 controls the overall pitch range. You calibrate it at the plus 8 percent position so the full pitch span is correct.
Step 1: With the turntable powered on and the frequency counter connected, move the pitch fader to the full plus 8 percent position. Push it all the way to the top of its travel.
Step 2: Read the frequency value on your counter. It should be close to 283.046 kHz but likely reads somewhere different if your calibration has drifted.
Step 3: Using your precision screwdriver, slowly turn VR301 while watching the frequency counter. Adjust in tiny increments. The frequency will change gradually as you turn the trim pot.
Step 4: Stop turning when the frequency counter reads exactly 283.046 kHz. This is the factory specification for the plus 8 percent pitch position.
Step 5: Move the fader away from plus 8 percent and back again to confirm the reading holds at 283.046 kHz. If it drifts on re-reading, repeat the adjustment. The trim pot should hold its position once set.
VR301 is now calibrated. Do not touch it again during the VR302 adjustment. The two trim pots interact, but VR301 sets the range and VR302 sets the zero, so calibrating in this order matters.
Part 3: Calibrating VR302 for the Zero Point
VR302 sets the zero point frequency. This is the adjustment that fixes a pitch fader that is off at zero.
Step 1: Move the pitch fader to the center zero position. Let the quartz lock detent click into place.
Step 2: Read the frequency on your counter. The target is 262.08 kHz for the zero position. If your pitch has been off at zero, this reading is likely incorrect.
Step 3: Slowly turn VR302 with your precision screwdriver while monitoring the frequency counter. Adjust until the reading is exactly 262.08 kHz.
Step 4: Move the fader up and down through zero several times. Each time you return to the detent, check that the frequency reads 262.08 kHz. If there is drift, you may be hitting the edge of the dead zone. Try to set VR302 at the most consistent reading you get when the detent clicks.
Step 5: As a final check, move the fader to plus 8 percent and confirm VR301 still reads 283.046 kHz. If the VR302 adjustment shifted the range slightly, repeat Part 2 and Part 3 in sequence until both values hold simultaneously.
This back and forth between VR301 and VR302 is normal. The two resistors have a small interaction, and getting both frequencies locked in may take two or three passes.
Testing and Verifying Your Calibration
After calibration, test before reassembling the turntable. The easiest method uses the strobe dots printed on the platter edge. With the pitch fader at zero and the quartz lock engaged, the row of dots for your region should appear stationary under the strobe light. If they drift forward or backward, your zero is still slightly off.
For a more precise test, connect your turntable to a DVS system like Serato or Traktor. Play a track with the pitch fader at zero. The software tempo readout should show exactly zero percent with no drift. Move the fader to known positions like plus 4 percent and minus 4 percent and verify the software matches.
Finally, do a real-world beatmatch test. Mix two tracks you know well and hold the blend for 60 seconds or longer. If the tracks stay locked without manual correction, your calibration is solid. If drift appears after a minute, return to VR302 and fine-tune.
Only reassemble the turntable once you are confident in the test results. Repeating the disassembly to fix a calibration you thought was finished is a frustration worth avoiding.
Why Perfect Calibration May Not Be Possible?
Here is the truth that forum threads and YouTube comments often gloss over. Perfect calibration on a Technics SL-1200 pitch fader is sometimes not achievable. The original service manual specifies calibrating to specific values at plus 33.3 percent and plus 6.4 percent check points on older models, but component tolerances mean you cannot always hit every spec point simultaneously.
The pitch control itself has aged. Carbon tracks inside the fader wear down over decades of use. The original MK2 pitch controls used 20K OHM faders, while later replacements and the MK5 use 22K OHM components. Technicians at 1200s.com recommend a value of 2.875 OHMs rather than the 2.70 OHMs listed in older manuals because modern replacement pitch controls behave slightly differently.
The realistic goal is getting close. If your fader reads accurately everywhere except a tiny window within the dead zone, you have a properly calibrated turntable. Chasing absolute perfection across every position will frustrate you and risks making things worse by constantly adjusting trim pots that are already set well.
MK2 vs MK5 Calibration Differences
The calibration procedure is essentially the same across MK2 and MK5 Technics turntables, but there are hardware differences worth knowing. The MK2 uses the original 20K OHM pitch control fader, while the MK5 upgraded to a 22K OHM component. This means the trim pot positions and behavior differ slightly between models.
The MK5 also features a pitch reset button that fully bypasses the quartz lock detent. When pressed, the fader snaps to true zero regardless of physical position. This makes the dead zone less of an issue on MK5 decks because you have a hardware override. MK2 owners do not have this option.
If you are calibrating a MK5, the VR301 and VR302 frequencies are the same 283.046 kHz and 262.08 kHz targets. The procedure does not change. Just be aware that the pitch reset button provides a verification tool the MK2 lacks. Press it after calibration to confirm the deck locks to true zero.
Common Mistakes to Avoid During Calibration
Based on forum discussions and my own experience, these are the errors that cause the most frustration:
Replacing the pitch fader unnecessarily. Many DJs assume an erratic zero point means the fader is broken and order a replacement. In most cases, the fader is fine and simply needs calibration. The dead zone is normal, not a sign of failure. Only replace the fader if the carbon track is physically worn to the point of crackling or dead spots across the range.
Calibrating without a frequency counter. Eyeballing the trim pots by ear or by watching the strobe dots gets you close but not accurate enough for reliable beatmatching. A frequency counter is non-negotiable for proper calibration.
Over-tightening trim pots. VR301 and VR302 are delicate variable resistors. Turning them past their stops damages the carbon track. Make small adjustments and never force the screwdriver.
Skipping the verification step. Always test after calibration before reassembling. Reassembling and discovering the calibration is off means starting over from scratch.
When to Seek Professional Help?
If you have followed this walkthrough and your pitch is still significantly off, or if you encounter physical damage like a cracked PCB, broken ribbon cable, or a fader that crackles across the entire range, it is time to find a technician. Professional turntable repair specialists have calibrated hundreds of SL-1200 decks and can diagnose issues that go beyond simple trim pot adjustment.
Also consider professional help if your deck has visible corrosion on the pitch control PCB, if the frequency counter readings are unstable and jump erratically, or if the fader feels physically gritty or sticks. These indicate hardware problems that calibration alone will not solve.
Frequently Asked Questions
Can I calibrate my Technics SL-1200 pitch fader myself?
Yes, you can calibrate the pitch fader yourself using a frequency counter and a precision screwdriver. The process involves adjusting VR301 to 283.046 kHz at the plus 8 percent position and VR302 to 262.08 kHz at the zero position. Follow a detailed walkthrough and take your time with each step.
Why is my Technics pitch fader erratic at zero?
The erratic behavior near zero is caused by the dead zone around the quartz lock detent. As the fader passes through zero, the quartz lock circuit engages and disengages, creating a brief zone of unpredictable pitch output. This is normal SL-1200 behavior, not a defect.
What causes dual zero points on a Technics 1200?
Dual zero points occur when the pitch reads zero in two slightly different fader positions. This happens because the dead zone interacts with the quartz lock detent mechanism, creating a small overlap where the pitch output reads as zero at more than one physical position.
Why can’t I get perfect calibration on my Technics 1200?
Perfect calibration is sometimes impossible due to component tolerances, aging carbon tracks in the pitch fader, and differences between original 20K OHM and replacement 22K OHM components. The realistic goal is getting close to spec with accurate readings everywhere except the small dead zone window.
What is the effective mass of the Technics SL-1200 tonearm?
The effective mass of the Technics SL-1200 tonearm is approximately 12 grams. This is a medium mass tonearm that works well with a wide range of cartridges, though it pairs best with cartridges in the moderate compliance range for optimal resonance frequency.
Why was the Technics 1200 discontinued?
The original Technics SL-1200 series was discontinued in 2010 after over 30 years of production. Panasonic cited declining sales in the DJ market due to the rise of digital DJ systems and CDJs. The line was revived in 2016 with the SL-1200G and later the more affordable SL-1200MK7.
Conclusion
The Technics SL-1200 pitch fader calibration procedure comes down to two adjustments. Set VR301 to 283.046 kHz at the plus 8 percent position to lock in the pitch range, then set VR302 to 262.08 kHz at zero to center the fader. Iterating between the two until both hold simultaneously gives you the most accurate result your hardware can deliver.
Remember that the dead zone is normal, dual zero points are a known phenomenon, and chasing absolute perfection is less productive than getting a reliable calibration everywhere outside that small window. If the procedure feels beyond your comfort level, or if you discover hardware damage during disassembly, a professional technician can finish the job. With calibration dialed in, your SL-1200 will hold tempo reliably through every mix.