
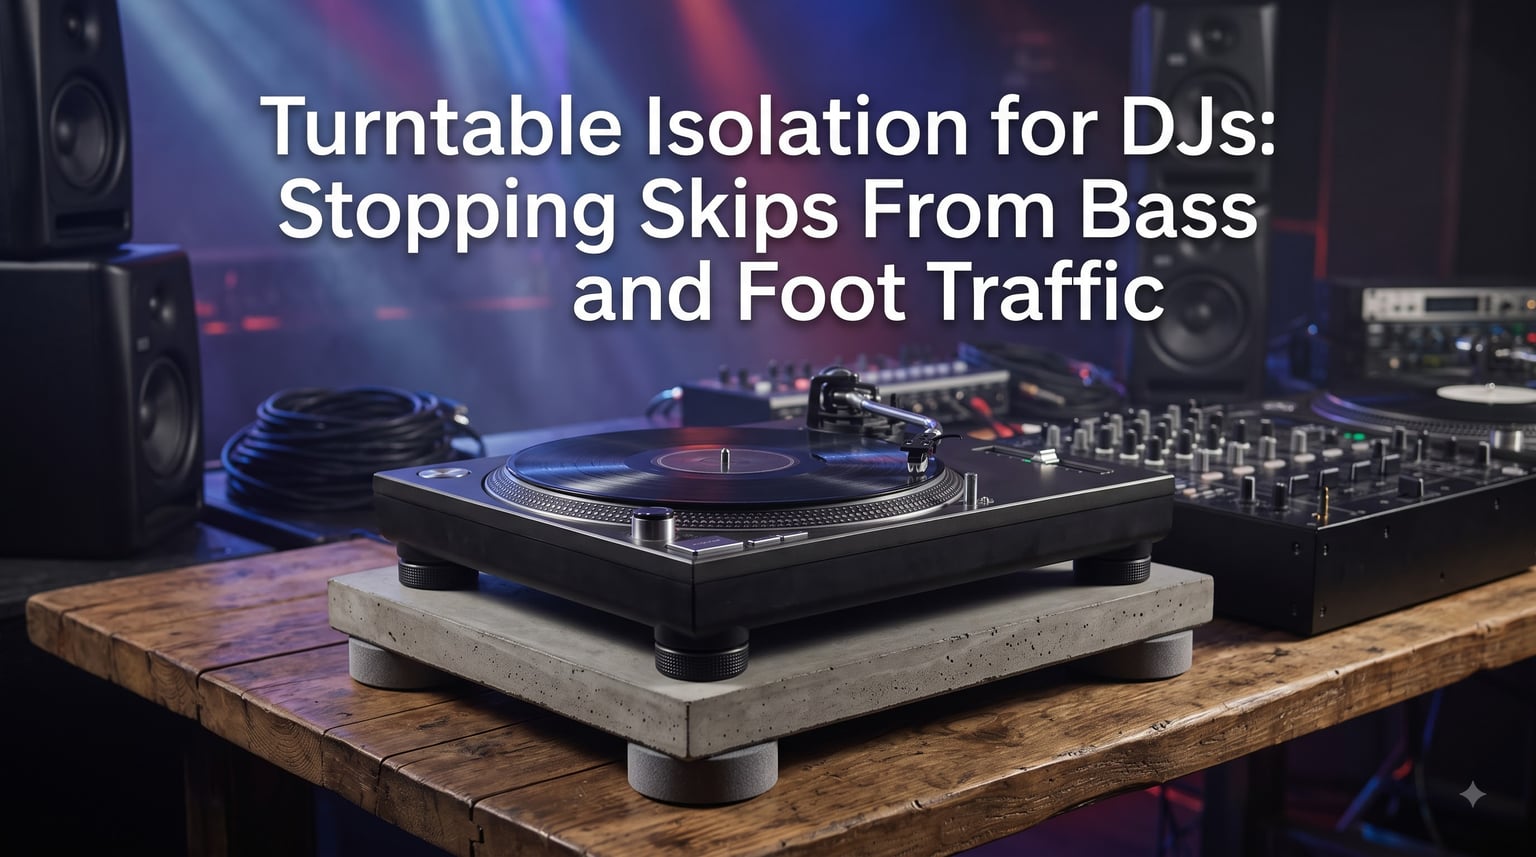
I’ve lost count of how many times I’ve watched a needle jump out of the groove mid-set. That sickening click, the room goes quiet, and the dancefloor notices. If you’ve ever dealt with your turntable skipping when bass hits or someone walks past, you already know this is the single most frustrating technical problem DJs face. After years of playing clubs, house parties, and festival stages, I’ve tested pretty much every fix out there. This guide on turntable isolation for DJs covers the physics, the DIY methods that actually work, and the commercial solutions worth your money.
Inside, you’ll learn exactly why bass and foot traffic make your records skip, how to diagnose which source is causing your specific problem, and a step-by-step process to stop the dancing needle for good in 2026 and beyond.
Table of Contents
Understanding Turntable Vibration: Why Your Needle Skips?
Turntable isolation is the process of preventing external vibrations from reaching your turntable, which can cause needle skipping, audio distortion, and record damage. Your turntable stylus is sitting in a microscopic groove, tracking forces measured in grams. Any vibration that exceeds the stylus’s ability to stay in that groove will literally bounce it out.
There are two main vibration sources that affect DJs playing live:
Structural vibration — physical movement transmitted through the floor, table, or stand. Foot traffic, subwoofer energy coupling into the floor, and people bumping DJ booths all fall here.
Acoustic vibration — sound waves traveling through the air that physically shake the turntable chassis and tonearm. Bass-heavy music from monitors and subwoofers is the biggest culprit.
Most DJs assume one is the problem. In reality, both are happening at the same time at a typical venue. A 100+ dB sound system pumps low-frequency energy into the floor, and a packed dancefloor of 200+ people stomps in time. Your turntable sits in the middle absorbing both, and the stylus is the weakest link. One forum regular on r/DJs put it best: “Table bounce is less an issue than bass feedback through the feet of the decks. Memory foam will prevent both.”
The key insight is that vibration isolation and vibration damping are different. Isolation physically decouples the turntable from the vibrating surface using springs or compliant feet. Damping absorbs vibration energy using heavy or viscoelastic materials like mass-loaded vinyl or foam. The best solutions use both.
Bass Feedback: The Enemy Hidden in Your Monitors
Bass feedback happens when low-frequency sound waves from your monitors, subwoofers, or the main PA couple into the turntable through the floor or through the air. Frequencies between 40 Hz and 120 Hz are particularly dangerous because they match the resonant frequency of most turntable plinths and stands.
I learned this the hard way at a 300-capacity club where the subs were stacked directly under the DJ booth. Every kick drum hit at 120 BPM would lift the stylus clear off the record. The monitor volume was fine, but the energy was traveling up through the legs of the booth, into the table, and straight into the tonearm.
Three things make bass feedback worse:
Subwoofers on the same platform as the turntable — the bass radiates directly through the structure.
Lightweight folding tables — they have almost no mass and resonate sympathetically with the music.
Wooden or hollow stages — these act like soundboards, amplifying the problem instead of dampening it.
The fix is to add mass and decoupling between the bass source and the turntable. Heavy concrete slabs, dense rubber matting, and Sorbothane feet all attack this problem by absorbing low-frequency energy before it reaches the stylus. Skipping this step is the single biggest mistake I see club DJs make.
Foot Traffic Vibration: When the Floor Becomes a Drum
Foot traffic vibration is a different problem with the same result. A wooden dancefloor under 200 people is essentially a giant drum skin. Each footstep injects mechanical energy into the floor, and that energy travels directly to anything bolted or resting on it. Your turntable receives thousands of these micro-impacts every minute.
Common scenarios where foot traffic ruins your set:
Springy wooden floors — every step visibly flexes the boards, and the turntable bounces with them.
Raised stages on metal frames — the whole platform resonates with crowd movement.
Booths near doorways — every entrance sends a low-frequency thump through the floor.
Outdoor events on decking — even small movements translate into noticeable skip risk.
One Discogs user nailed the problem: “Put an isolation mat on a stand on a dancefloor and it will still jump. The problem is the floor is moving.” Isolation feet alone won’t fix this if the table itself is bouncing. You need to either decouple the turntable from the moving table, or stop the table from moving in the first place.
Concrete slabs work because their mass resists the impulse of each footstep. Wall-mounted shelves work because they bypass the floor entirely. Sprung platforms can work, but only if properly damped, otherwise they resonate at their own frequency and make things worse.
Diagnosing Your Specific Vibration Problem
Before you spend money on isolation, figure out what’s actually causing your skip. The diagnosis takes five minutes and saves you from buying the wrong solution.
Step 1: Test for structural vibration. Place the turntable on its current surface. Have someone walk heavily past the booth or have a friend jump next to the table. Watch the stylus. If it skips, you have structural vibration.
Step 2: Test for acoustic vibration. With the music off, place the stylus on a record. Play a bass-heavy track from the monitors at gig volume. If the stylus bounces in time with the kick drum, you have acoustic feedback.
Step 3: Identify the dominant source. Strictly walk-test failures mean you need mass and decoupling. Strictly bass-test failures mean you need damping and isolation feet. Most venues show both, which means you need a layered solution.
Step 4: Check the surface itself. Place a glass of water on the table during a live set. If the surface ripples visibly, the table is too light or too resonant and needs replacing or weighting.
Step 5: Map the booth. Move the turntable to different positions on the same table. Sometimes one corner is worse than another because of how the table is supported. Identifying the quietest spot can save you hours of frustration.
Once you know what’s killing your needle, you can pick the right tool from the sections below.
DIY Isolation Solutions Tested by DJs
I’ve tried most of these, and many forum regulars swear by them. Here’s what actually works, ranked by effectiveness for the typical DJ setup.
Memory Foam Under the Turntable Feet
The cheapest fix that works for most DJs. Cut four squares of dense memory foam (2 inches thick, medium density) and place each turntable foot on its own square. The foam absorbs high-frequency footfall and partially decouples the deck from bass traveling through the table.
Cost: under $10. Effectiveness: 6 out of 10 for moderate club environments. Doesn’t work for severe bass feedback or springy floors.
Concrete Slab Plus Tennis Balls
The most-linked DIY solution in DJ forums for a reason. Place four tennis balls under a small concrete paving slab (roughly 18×18 inches, 2 inches thick). Set the turntable on top of the slab. The tennis balls act as compliant springs, the slab adds mass. This combination decouples from structural vibration and adds enough mass to resist acoustic feedback.
Cost: $25 to $40. Effectiveness: 8 out of 10 for club environments. Heavier than the fly-in option, so save it for permanent booths or home practice setups.
IKEA Butcher Block Cutting Board
An underrated option. The thick oak or birch boards sold as kitchen countertops weigh 15 to 20 pounds and have natural damping properties. Place one under each turntable directly on the table or on tennis balls. The mass and wood grain handle both vibration sources reasonably well.
Cost: $30 to $50. Effectiveness: 7 out of 10. Looks like a normal piece of furniture, so it’s friendly for house parties and wedding gigs.
Wall-Mounted Shelf
The nuclear option for home setups and permanent installations. A solid wall shelf bypasses the floor entirely, so no foot traffic, no bass coupling through the floor. The ceiling joists and wall studs become the only vibration sources, and those are usually stable. Heavy-duty shelving brackets rated for 80+ pounds are a must.
Cost: $50 to $150. Effectiveness: 9 out of 10 for foot traffic, 7 out of 10 for low-frequency feedback. Not portable, but unbeatable for a home practice space.
Commercial Isolation: When DIY Is Not Enough
Commercial solutions make sense if you DJ regularly, transport gear to different venues, or simply want a clean setup that works without testing every option yourself. The category breaks down into three tiers.
Isolation Feet and Sorbothane Pucks
Rubber and Sorbothane feet replace your turntable’s stock feet. They’re tuned to break the mechanical coupling between the deck and the surface. Sorbothane is a viscoelastic polymer that absorbs a wide range of frequencies, which is why it shows up in mission-critical vibration-damping applications ranging from aircraft to recording studio monitors. For most DJ setups, a set of compliant isolation feet handles 80% of normal club vibration.
Isolation Platforms
Full platforms sit under the turntable and combine mass, damping, and sometimes internal suspension. They cost more but deliver better results across both bass and foot traffic. Worth the investment for working DJs who play multiple venues per week.
Custom DJ Booth Builds
For permanent installations in clubs or studios, isolating the entire booth is the gold standard. This means a heavy solid base, isolated from the floor with compliant mounts, and the turntables mounted on a slab independent of the booth walls. Bar managers will appreciate the silence from your setup, and the sound system will appreciate not having to compensate for rattling furniture.
Testing Your Isolation Setup: The Coin Test and More
Once you’ve installed your isolation, you need a way to verify it works. Forget theory, these are field tests DJs use to check isolation effectiveness.
The coin test — place a coin on its edge on the platter while the record spins. Any vibration will make it wobble or fall. Use it before and after your isolation setup to see the difference.
The water glass test — a glass of water on the table next to the turntable will show rippling from vibration that would otherwise be invisible.
The stylus test — your own ears remain the best test. Play a track you know intimately and listen for rumble, distortion, or sudden pitch changes that indicate the stylus is bouncing.
The crowd simulator — have friends jump around the booth for 30 seconds. If the stylus stays put during a live set, your isolation handles the real thing.
Run these tests before every gig. What worked at home may fail in a new venue, and finding out mid-set is not the right time.
Common Mistakes DJs Make With Vibration Isolation
I’ve made every one of these, and I’ve watched other DJs make them too. Avoid these pitfalls and you’ll save yourself a lot of frustration.
Springs without damping. A bare spring platform without proper damping will resonate at its own frequency and turn micro-impacts into sustained oscillation. The turntable might skip more than before. Always pair springs with foam or rubber dampers.
Soft foam everywhere. Memory foam is great for foot traffic but loses effectiveness against sub-bass. If your monitor is cranking out 35 Hz at 110 dB, light foam just compresses and transmits. You need either mass on top of the foam or specialized low-frequency damping material.
Ignoring the table. Putting $400 of isolation feet under a $30 folding table is waste. A resonance-heavy table will ruin any good isolation setup. Either replace the table with a solid one or put a heavy slab on top of it.
Buying once, never testing. Your venue changes every weekend. Concrete floors behave differently from sprung wooden ones. Bass-heavy dub events amplify problems that don’t show up at a wedding gig. Test every setup, every time.
Ignoring cable management. A stiff tonearm cable can transmit vibration into the tonearm assembly. Use the tonearm cable as intended and avoid tugging it. Small detail, real impact.
Frequently Asked Questions
What is the ideal turntable setup to avoid skipping?
A setup that combines mass for bass feedback resistance and compliance for foot traffic decoupling. Most working DJs use a heavy wooden or butcher-block table topped with either isolation feet or a memory foam layer under each turntable. The heavier and more solid the table, the less bass feedback you will experience.
Do turntable isolation feet work?
Yes, isolation feet work well for moderate vibration. They reduce coupling between the turntable and the surface, which helps in home setups and small venues. For loud clubs with powerful subwoofers, isolation feet alone usually are not enough, and you will need a heavier platform or concrete slab as well.
How do I stop the turntable from skipping?
First, diagnose whether the cause is foot traffic or bass feedback using the steps in this guide. Then isolate your turntable with mass (concrete slab or butcher block) and compliance (memory foam, tennis balls, or rubber feet). Test your setup with the coin or water glass method before going live.
Why does my tonearm keep skipping?
The most common cause is vibration reaching the stylus and bouncing it out of the groove. Bass feedback from monitors and floor movement from foot traffic are the usual suspects. A misaligned cartridge or worn stylus can also cause skipping, so check those before investing in isolation gear.
How to stop turntable vibration?
Use a layered approach. Add mass to the table (concrete slab or thick wood), use compliant feet or foam under the turntable to decouple it from the surface, and place the setup on a stable, non-resonant surface. For home setups, a wall-mounted shelf is the most effective vibration solution.
Is a turntable isolation base worth it?
For DJs who play out regularly, yes. A good isolation base reduces skip risk, protects your records from stylus bounce, and improves sound quality by reducing rumble. Casual users with sub-$500 setups often find DIY solutions good enough, but working DJs benefit from a commercial platform.
Final Thoughts: Stop the Skip for Good
Turntable isolation for DJs comes down to one question: are you absorbing the vibration, or decoupling the deck from it? Mass handles bass feedback. Compliance handles foot traffic. The best setups use both, in a layered approach that does not depend on a single solution. Start with the diagnosis steps, pick the cheapest DIY method that fits your venue, and only upgrade to commercial gear if your events demand it. Test every setup before going live, and your records will thank you for years to come in 2026 and beyond.