
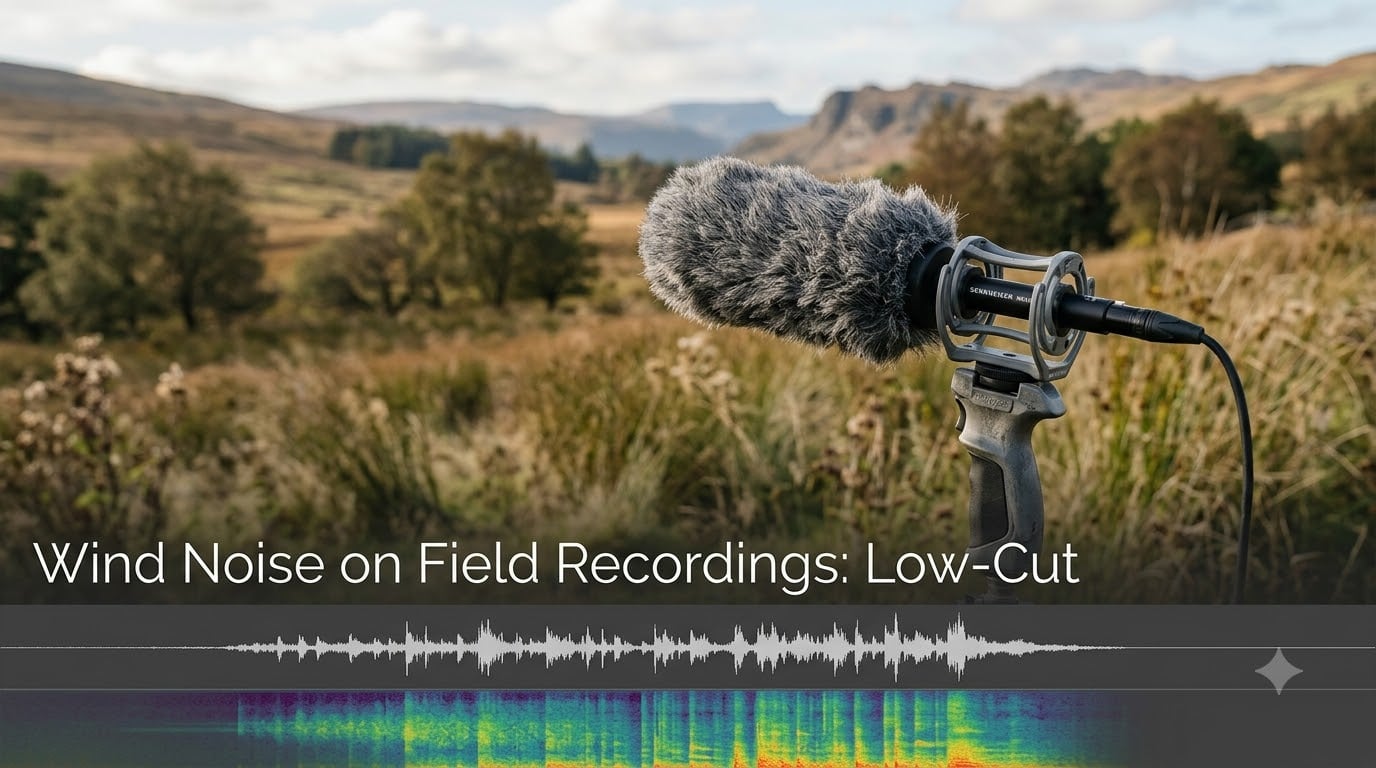
I’ve been recording nature audio for over a decade, and nothing ruins a take faster than wind noise. You hike out before dawn, set up your recorder in the perfect spot, and return home to find your recording buried under a relentless low-frequency rumble.
This guide breaks down exactly how wind noise ruins field recordings, why a low-cut filter is your best friend, and how to combine physical protection with smart filtering. By the end, you’ll know how to capture clean audio even when the wind refuses to cooperate.
Table of Contents
What Causes Wind Noise in Field Recordings?
Wind noise happens when moving air pushes against the microphone diaphragm, creating vibrations that get recorded as audio. These vibrations sit in the low-frequency range, typically below 250Hz, which is the same range where we don’t expect much wanted sound during outdoor recording.
When wind hits an unprotected mic, the diaphragm flexes wildly. The result is a low-frequency rumble that masks everything from bird calls to distant traffic. According to Rode’s audio-for-film guide, this “low-end frequency” energy is acoustical energy the mic wasn’t designed to handle, which is why it distorts the signal so badly.
Understanding this physics matters because it tells us where to attack the problem. The noise lives in a predictable frequency band, and that’s exactly what low-cut filters target.
The 20Hz to 250Hz Problem Zone
Most wind energy concentrates between 20Hz and 250Hz, with the worst offenders usually sitting around 40Hz to 120Hz. This overlaps slightly with male voice fundamentals and the lowest bird calls, which is why we can’t just slap on an aggressive filter without thinking.
I learned this the hard way recording tawny owls in coastal Scotland. I set my high-pass at 200Hz, confident the owls would sing above it. They did, but I also lost the atmospheric low-end that made the recording feel alive. The fix was dropping the filter to 80Hz and adding better physical wind protection.
Low-Cut Filter Settings for Field Recordings
A low-cut filter (also called a high-pass filter) attenuates frequencies below a set threshold while letting higher frequencies pass through unchanged. For wind noise on field recordings, this is your single most effective processing tool.
The trick is choosing the right frequency. Cut too low and wind rumble still leaks through. Cut too high and you lose wanted low-frequency content.
Recommended Frequency Settings by Scenario
Based on forum discussions and my own experience, here are starting points I trust:
80Hz: Default for most field recordings. Preserves atmospheric depth while removing rumble. Good for bird song, ambient nature, and general outdoor capture.
100Hz: Step up when wind is moderate (5-15 mph). Common starting point suggested on the r/fieldrecording subreddit.
120Hz: Use for blustery conditions or when recording voice in wind. Safest balance for documentary work.
150Hz to 200Hz: Emergency settings for strong wind or when only distant sources matter. Aggressive but necessary sometimes.
These numbers assume a gentle 12dB per octave slope. Steeper slopes (18dB or 24dB per octave) let you set the frequency lower while still killing the rumble, because they roll off faster just below the cutoff.
How to Apply Low-Cut Filters During Recording?
Most field recorders (Zoom, Tascam, Sound Devices) and mixer-recorders have built-in HPF switches. Engage the low-cut before you hit record, not after. Applying it in real time prevents wind-distorted signal from clipping your preamps.
Wildlife Acoustics recommends enabling the HPF on Song Meter recorders as one of three core wind-prevention steps. Their reasoning is simple: a clean signal at capture beats trying to rescue a ruined file later.
Slope Settings: 12dB vs 24dB per Octave
The slope determines how aggressively frequencies below the cutoff drop off. A 12dB per octave slope is gentle and musical. A 24dB per octave slope is steeper and more surgical.
For wind, I default to 24dB per octave when the option exists. It lets me set the cutoff lower (say, 60Hz instead of 120Hz) while still removing rumble effectively. The steep roll-off catches the worst wind energy before it bleeds into my wanted audio.
Physical Wind Protection Options
No amount of EQ fixes truly terrible wind noise. Prevention at the source beats any post-production rescue. Here’s the layered approach I use, ranked from lightest to heaviest protection.
Foam Windscreens
Every mic ships with a foam windshield. These work for breath and light indoor air movement. For outdoor field recording, they’re nearly useless above 5 mph wind. I keep them on as a baseline layer but never rely on them alone.
Deadcats and Windjammers
A deadcat (or deadkitten, deadwombat for larger mics) is a furry cover that diffuses wind before it hits the diaphragm. The fibers break up airflow into tiny eddies that no longer push the diaphragm coherently.
In moderate wind, a deadcat combined with a foam windscreen underneath eliminates most problems. This is the workhorse combo for wildlife recordists. Rode’s field guide confirms that “deadcat windshield combined with smart mic positioning” handles most real-world scenarios.
Blimps and Zeppelins
A blimp (sometimes called a zeppelin) is a rigid cage with a furry outer shell that fully encloses the microphone. Blimps add bulk and weight but provide the strongest wind protection available.
I reach for my blimp when recording in coastal areas, mountaintops, or anywhere sustained wind exceeds 15 mph. Yes, it’s heavy. Yes, it changes how I carry my kit. But the alternative is unusable audio.
Layered Approach
The Hollyland creator hub recommends a layered strategy: foam windscreen first, deadcat on top, then blimp if conditions demand it. Each layer adds protection but also affects high-frequency transparency. Choose the lightest setup that gets clean audio, and add layers only when wind forces it.
Microphone Placement in Windy Conditions
Where you put your mic matters as much as what’s covering it. Smart placement can drop your wind problems by half before any filter engages.
Use Your Body as a Windbreak
Stand between the wind source and the microphone. Your body blocks airflow without significantly affecting the sound you want to record. I’ve used this trick countless times for handheld recordings in light wind.
Take Cover Behind Natural Features
A tree trunk, rock outcrop, or berm blocks wind without muffling your subject. Position yourself downwind of the feature, with the mic on the leeward side. I’ve recorded stunning bird song in 20 mph winds by hiding behind a fallen log.
Angle the Mic to Deflect Wind
Pointing the mic directly into wind maximizes turbulence on the diaphragm. Angling it 45 degrees off-axis lets wind slide past. This works best with omnidirectional mics; directional mics need to stay aimed at the subject.
Lower Your Gain
Wildlife Acoustics lists gain reduction as a last-resort tactic. Lower gain means wind peaks won’t clip your recorder. Distorted wind is worse than quiet wind, so dropping 6 to 10dB of gain can save a take when protection and filtering aren’t enough.
Mic Type Comparison: Omni vs Directional Wind Sensitivity
Omnidirectional microphones are noticeably less sensitive to wind than directional microphones. The reason is mechanical: directional mics use ports and chambers to create their pattern, and wind hitting those ports creates pressure differentials that the diaphragm picks up. Omnidirectional mics have a single, sealed entry point, which makes them inherently quieter in wind.
For pure field recording where the subject is close, an omni with a modest deadcat often beats a shotgun with full blimp protection. I keep a Sennheiser MKH 8020 in my kit specifically for windy wildlife sessions. Shotguns get used when I need reach or rejection, not when wind is raging.
The tradeoff is noise floor and reach. Omnis pick up more ambient noise and can’t isolate distant sources. But for ambient nature recordings, that’s usually what you want anyway.
Spectrogram Analysis: Identifying Wind Noise Visually
A spectrogram shows frequency over time, with brightness indicating amplitude. Wind noise shows up as a thick, bright band across the low frequencies, often with vertical streaks when gusts hit.
Learning to read wind in a spectrogram helps in two ways. First, you can identify wind contamination in existing recordings and target only those sections with EQ. Second, you can adjust your live monitoring to see when wind is creeping in before you lose a whole session.
Tools like Raven Lite (free from Cornell Lab of Ornithology) and Audacity’s spectrogram view make this accessible to beginners. Load a clip, switch to spectrogram mode, and look for that bright low-frequency smear.
Post-Production Wind Noise Removal Techniques
When prevention and filtering still leave wind in your recording, post-production can rescue usable audio. The key is targeted, gentle processing.
EQ After the Fact
If you recorded without a low-cut filter, apply one in your DAW. Start at 100Hz with a 24dB per octave slope and sweep upward until the rumble disappears. Listen for wanted low-frequency content disappearing too, then back off.
Spectral Denoise
Tools like iZotope RX, Acon Digital DeNoise, and the free Audacity noise reduction can isolate wind rumble. Select a section of pure wind noise, capture its frequency profile as a noise print, then apply reduction across the whole file.
Be conservative. Aggressive denoise introduces metallic artifacts and can destroy wanted texture. I aim for 6 to 12 dB of reduction maximum.
32-bit Float Recording
If your recorder supports 32-bit float (like the Zoom F6 or Sound Devices MixPre-6 II), enable it. 32-bit float captures such extreme dynamic range that wind-distorted peaks don’t clip. You can recover audio that would be unrecoverable from 24-bit files.
Forum users consistently recommend 32-bit float for any unpredictable outdoor session. It’s saved several of my recordings from coastal storms.
Extreme Wind Conditions: Emergency Tactics
Sometimes the wind wins. When gusts exceed 25 mph and no amount of protection helps, accept the conditions and adapt.
Move to a sheltered location. Record the same subject from a different angle or time. Use the wind as your subject instead of fighting it. Field recordists capture stunning wind-as-instrument recordings this way.
DIY solutions help in a pinch. A ziplock bag with holes poked in it, stretched over the mic, makes a passable deadcat. A sock over a foam windscreen adds wind diffusion. These aren’t elegant, but they work in survival situations.
Frequently Asked Questions
How to get rid of wind noise when recording?
Use a layered approach: add a foam windscreen, then a deadcat or windjammer, then a blimp if conditions demand it. Enable a low-cut filter at 80-120Hz on your recorder before you hit record. Position your body or a natural feature between the wind and your microphone. Lower your gain if wind peaks are still clipping.
Can a low pass filter improve sound quality?
A low-pass filter removes high-frequency content above a set threshold. It does not remove wind noise, which is low-frequency. For wind noise, you need a high-pass filter (also called low-cut filter), which removes frequencies below a threshold while letting highs pass through. This is the correct tool for cleaning rumble from outdoor recordings.
Which type of microphone is least sensitive to wind noise?
Omnidirectional microphones are the least sensitive to wind because they have a single sealed entry point to the diaphragm. Directional microphones (shotguns, cardioids) use multiple ports to create their pickup pattern, and wind hitting those ports creates pressure differentials that register as noise. For windy field recording, choose an omni whenever reach and isolation are not critical.
How to stop wind noise on outdoor camera?
Mount a foam windscreen over your camera’s built-in microphone as a baseline. Add a deadcat-style furry cover for moderate wind. Engage any built-in low-cut or wind reduction filter in your camera’s audio menu. Position yourself so your body blocks wind from reaching the mic. For serious productions, use an external recorder with a proper blimp and shotgun setup.
Can you EQ out wind noise?
Yes, you can reduce wind noise with EQ, but only if the wind energy sits in a different frequency range than your wanted audio. A low-cut (high-pass) filter at 80-120Hz with a 24dB per octave slope removes most wind rumble while preserving birdsong and voice. For severe cases, combine EQ with spectral denoise tools like iZotope RX, but use gentle settings to avoid metallic artifacts.
Final Thoughts on Wind Noise and Low-Cut Filtering
Wind noise on field recordings is a problem you’ll face every time you record outdoors. The solution is layered: physical protection at the source, a low-cut filter engaged in your recorder, smart mic placement, and gentle post-production cleanup when needed.
Start with an 80Hz high-pass filter and a deadcat on your windscreen. Add layers only when conditions demand it. Your future self, sitting at a DAW with clean audio, will thank you for taking the time to prevent wind noise instead of trying to remove it after the fact.