
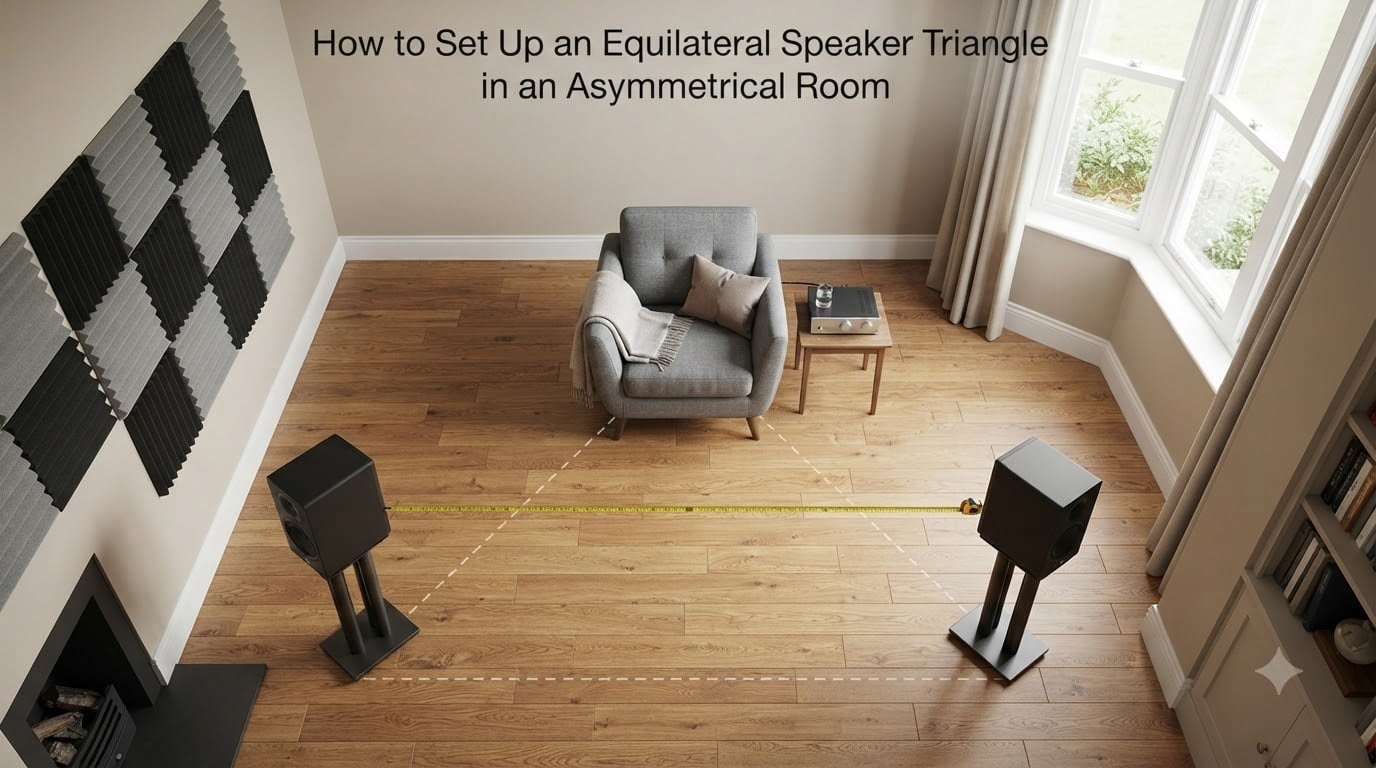
If your living room is a rectangle, congratulations, the standard equilateral speaker triangle advice works almost out of the box. If your room has a bay window, a chimney breast, or an open archway into the kitchen, you already know the textbook diagrams do not apply.
I have spent the last decade mixing music and reviewing speakers in rooms that refuse to be symmetrical. In this guide, I will walk you through what an equilateral speaker triangle actually is, why every audio engineer keeps recommending it, and how to set one up even when your walls are not. By the end, you will have a clear method, the formulas worth memorizing, and real-world fixes for the awkward spaces most guides ignore.
Table of Contents
What Is an Equilateral Speaker Triangle?
An equilateral speaker triangle is a speaker placement where the distance between your left speaker and right speaker equals the distance from each speaker to your listening position, forming a triangle with three equal sides. This geometry is the foundation of accurate stereo imaging because it ensures sound from both speakers arrives at your ears at the same time.
When the two speakers and your head form a perfect equilateral triangle, the stereo image locks into focus. Vocals appear as a clearly defined phantom center between the speakers. Drums, guitars, and effects each find their place across the soundstage rather than smearing together.
The geometry works because of timing. Your brain compares the tiny differences in when a sound reaches your left ear versus your right ear to figure out where it came from. Equal side lengths mean equal arrival times, so the brain trusts the signal and the imaging stays sharp. Break the symmetry and your brain starts guessing.
Why Symmetry Matters for Stereo Imaging
Symmetrical speaker placement ensures that acoustic reflections from the left wall mirror those from the right wall, which is essential for accurate stereo imaging. When reflections match, your brain treats the room as transparent and hears only the recording. When they do not match, the brain notices and the soundstage collapses.
Most people assume a wider room automatically sounds better. I used to think the same. Then I measured frequency response at the listening seat in three different rooms and watched a perfectly rectangular room beat a wider but irregular one every time.
Here is the trick. Your speakers do not just fire forward. They also bounce sound off the side walls, the floor, the ceiling, and the rear wall. The first reflections from the left wall arrive at your left ear a fraction of a millisecond after the direct sound. If the right wall is the same distance from the right speaker, the right ear gets the same effect. Your brain cancels the room out and you hear only the recording. Asymmetrical placement breaks this cancellation and the room starts coloring what you hear.
How to Set Up an Equilateral Speaker Triangle: Step by Step
Setting up an equilateral speaker triangle takes about 30 minutes with a tape measure and a piece of string. Here is the exact process I use every time I set up a new room.
Step 1: Measure your room and choose a speaker distance
Stand in your room and decide on the side length of your triangle. Common distances range from 4 to 10 feet, depending on room size and speaker type. Smaller near field monitors work best at 4 to 6 feet. Floor standing speakers usually want 7 to 10 feet.
Write the chosen distance down. Let us say you pick 6 feet. That is your target for all three sides of the triangle.
Step 2: Position the speakers at equal distance from each other
Measure 6 feet between the two speaker positions. Mark each spot on the floor with a piece of tape. Keep both speakers the same distance from the front wall (the wall behind them). This is where the equilateral geometry starts.
Step 3: Set the listening position to complete the triangle
From each speaker mark, measure 6 feet. The point where the two measurements intersect is your listening seat. Place your chair, sofa, or desk exactly there. Do not eyeball it.
Step 4: Verify all three sides are equal
Measure speaker A to speaker B. Measure speaker A to listening position. Measure speaker B to listening position. All three numbers should be within an inch of each other. A difference of more than 10 percent will start to hurt the imaging.
Step 5: Adjust toe-in angle
Angle each speaker inward so the tweeters point directly at your ears when you sit in the listening seat. Start with 15 to 30 degrees of toe-in and adjust by ear over the next few sessions.
Pro tip: tie a piece of string between the two speaker positions. When you sit at the apex, the string should be directly behind your head. If you cannot see the string without turning, the triangle is off.
Wall Distance Guidelines and Formulas
The 38% rule for speaker placement states that you should place your speakers at 38 percent of the room’s wall length away from the nearest wall to reduce bass build-up. This places the speaker and your listening seat at room mode nulls, which evens out the bass response.
The 1/3 rule is a simpler version of the same idea. Place your speakers one third of the way into the room from the front wall, and put your listening seat one third of the way from the rear wall. Both formulas target the same goal: avoid placing speakers or your seat exactly halfway between two parallel walls.
Why does halfway matter so much? The halfway point is where the room mode for that wall distance is at its loudest. Bass builds up, certain notes boom, and other notes disappear. Moving away from the halfway point smooths the bass response dramatically.
For a 15 foot wide room, 38 percent works out to about 5.7 feet from each side wall. For a 20 foot deep room, 1/3 of the depth is about 6.7 feet from the front or rear wall. Use whichever number puts your triangle inside an acceptable range.
Toe-In Adjustment: Fine-Tuning Your Imaging
Toe-in is the angle at which your speakers point inward toward the listening position, and it is the single most powerful tuning tool you have after placement. Aim the speakers straight ahead and the soundstage tends to feel wide but diffuse. Aim them directly at your ears and the center image tightens, sometimes at the cost of width.
The trick is finding the angle that works for your room and your speakers. Start with the speakers pointing straight ahead, then gradually rotate each one inward by a few degrees at a time. Listen to a vocal track you know well after each change. Stop when the voice feels solidly anchored between the speakers but the rest of the soundstage still has room to breathe.
Toe-in becomes especially useful in asymmetrical rooms. If one speaker is closer to a side wall than the other, a slightly more aggressive toe-in on the closer speaker can rebalance the reflected energy reaching your ear.
How to Adapt the Triangle for an Asymmetrical Room
This is where most guides stop helping and real life takes over. Maybe one side of your room opens into a hallway. Maybe a fireplace forces the left speaker deeper into a corner. Maybe a bay window rules out a flat front wall entirely. Here is how to set up the equilateral speaker triangle when the room does not want to cooperate.
When You Cannot Achieve Equal Wall Distances
Prioritize the equilateral geometry over wall distance symmetry. If you can keep all three sides equal but the two speakers end up at slightly different distances from their nearest side walls, that is usually better than chasing wall symmetry and breaking the triangle.
Why? Because the equilateral triangle directly affects timing and imaging. Wall distance asymmetry mainly affects the early reflections. Your brain is more sensitive to timing errors than to small differences in reflection level, so the triangle wins.
L-Shaped and Irregular Room Solutions
If your room is L-shaped, place the listening position so that it sits in the wider part of the room and the speakers fire down the long axis. This gives you the longest wall behind the speakers, which is easier to treat acoustically than a short wall.
For bay windows, treat the window as part of the front wall and place the speakers symmetrically on either side of the bay. Add heavy curtains you can close during critical listening. The curtains absorb the reflections that would otherwise smear the imaging.
For open archways into other rooms, accept that you will lose some bass in the open direction. Place your subwoofer in the corner furthest from the opening to maximize low-frequency output where the room is enclosed.
Using Acoustic Treatment to Compensate
Acoustic panels are the great equalizer for asymmetrical rooms. Place a 2 inch thick absorption panel at the first reflection point on the closer side wall to bring its reflected energy down to match the further side wall. The first reflection point is where you can see your speaker from your listening seat if you put a mirror on the wall.
Diffusers on the rear wall scatter reflections instead of absorbing them. This keeps the room lively while taming slap echo. In an asymmetrical room, diffusers on the more reflective side help match the decay time on both sides.
I tested this in a 12 by 14 foot room with a chimney breast on the left wall. After adding two panels at the left first reflection point, the stereo image went from leaning hard left to feeling properly centered. The fix cost me about 80 dollars and an afternoon.
Subwoofer Placement in Asymmetrical Rooms
Subwoofers do not follow stereo imaging rules. They pull double duty: reproducing low frequencies and smoothing room modes. In an asymmetrical room, place the subwoofer at the listening position, then walk around the room while a bass-heavy track plays. The spot where the bass sounds smoothest and loudest is where the sub belongs.
If you can stretch to two subwoofers, place one near each front corner of the room. This configuration evens out room modes far better than a single sub and works in almost any room shape.
Height Positioning and Tweeter Alignment
Your speakers should be positioned so the tweeters sit at ear level when you are in the listening seat. This puts the high frequencies on axis with your ears, where they sound most accurate.
If your speakers sit on stands, get adjustable stands and set them so the tweeter matches your seated ear height. If your speakers are on a desk, get isolation pads that angle them up toward your ears. Foam wedges are cheap and effective for near field setups.
Vertical placement matters less than horizontal placement for imaging, but it affects tonal balance more than most people realize. Tweeters firing above your ears sound thinner. Tweeters firing below your ears sound dull. Aim for ear level and stop worrying.
Common Mistakes to Avoid
The most common mistake is pushing speakers flat against the front wall to save space. This boosts bass unnaturally and smears the imaging. Pull them out at least 8 to 12 inches, more if your speakers have rear bass ports.
The second most common mistake is skipping the toe-in adjustment entirely. Speakers pointing straight ahead rarely give you the best imaging in a real room. Spend an afternoon dialing it in.
The third mistake is treating the equilateral triangle as a suggestion rather than a target. A 10 percent deviation in any side of the triangle is audible. More than that and the soundstage starts falling apart. Measure, do not guess.
Finally, do not let aesthetics override acoustics forever. If you absolutely cannot place the speakers correctly, consider a second pair of smaller speakers that fit where the speakers need to go. Many audiophiles run two systems for exactly this reason.
Frequently Asked Questions
What is the equilateral triangle speaker placement?
The equilateral triangle speaker placement is a setup where the left speaker, right speaker, and listening position form a triangle with three equal sides. Equal side lengths ensure sound from both speakers arrives at your ears at the same time, producing accurate stereo imaging and a stable phantom center between the speakers.
What is the 38% rule for speaker placement?
The 38% rule for speaker placement says you should place your speakers at 38 percent of the room’s length away from the front wall, and your listening seat at 38 percent from the rear wall. This places both speakers and your seat at acoustic nulls between parallel walls, which evens out bass response and reduces boom.
What is the 1/3 rule for speaker placement?
The 1/3 rule for speaker placement says you should place your speakers one third of the way into the room from the front wall, and your listening seat one third of the way from the rear wall. It is a simpler version of the 38% rule and targets the same goal: avoiding placement at the halfway point between parallel walls, where room modes build up.
What is the 83% rule for speakers?
The 83% rule is a less common variant of the 38% and 1/3 rules. It places the speakers at 83 percent of the room width from each side wall, which targets different room mode nulls. It is rarely used on its own but can be combined with the 38% rule for more even bass response in some rooms.
Does the speaker triangle have to be perfectly equilateral?
The speaker triangle does not have to be perfectly equilateral to sound good. A deviation of up to about 10 percent in any side is generally inaudible. Beyond that, the imaging starts to suffer, with the phantom center drifting toward the closer speaker. Aim for exact equilateral, but do not panic over an inch or two.
How do I set up speakers when I cannot achieve an equilateral triangle?
If you cannot achieve an equilateral triangle, prioritize keeping all three sides equal over making the speakers equidistant from the side walls. Then use toe-in to fine-tune the imaging. Acoustic panels at first reflection points can compensate for wall distance asymmetry. In L-shaped rooms, place the listening seat in the wider part of the room and fire the speakers down the long axis.
Conclusion
An equilateral speaker triangle is the single biggest upgrade you can make to a stereo system without spending a dollar. Equal side lengths lock in stereo imaging, and the geometry stays the same whether your room is a perfect rectangle or an awkward shape you inherited from the previous owner.
In an asymmetrical room, prioritize the equilateral geometry, use toe-in to fine-tune, and bring in acoustic treatment where the walls refuse to match. Measure with a tape, listen with your ears, and stop chasing perfection at the expense of progress. Your speakers, and your favorite albums, will thank you.