
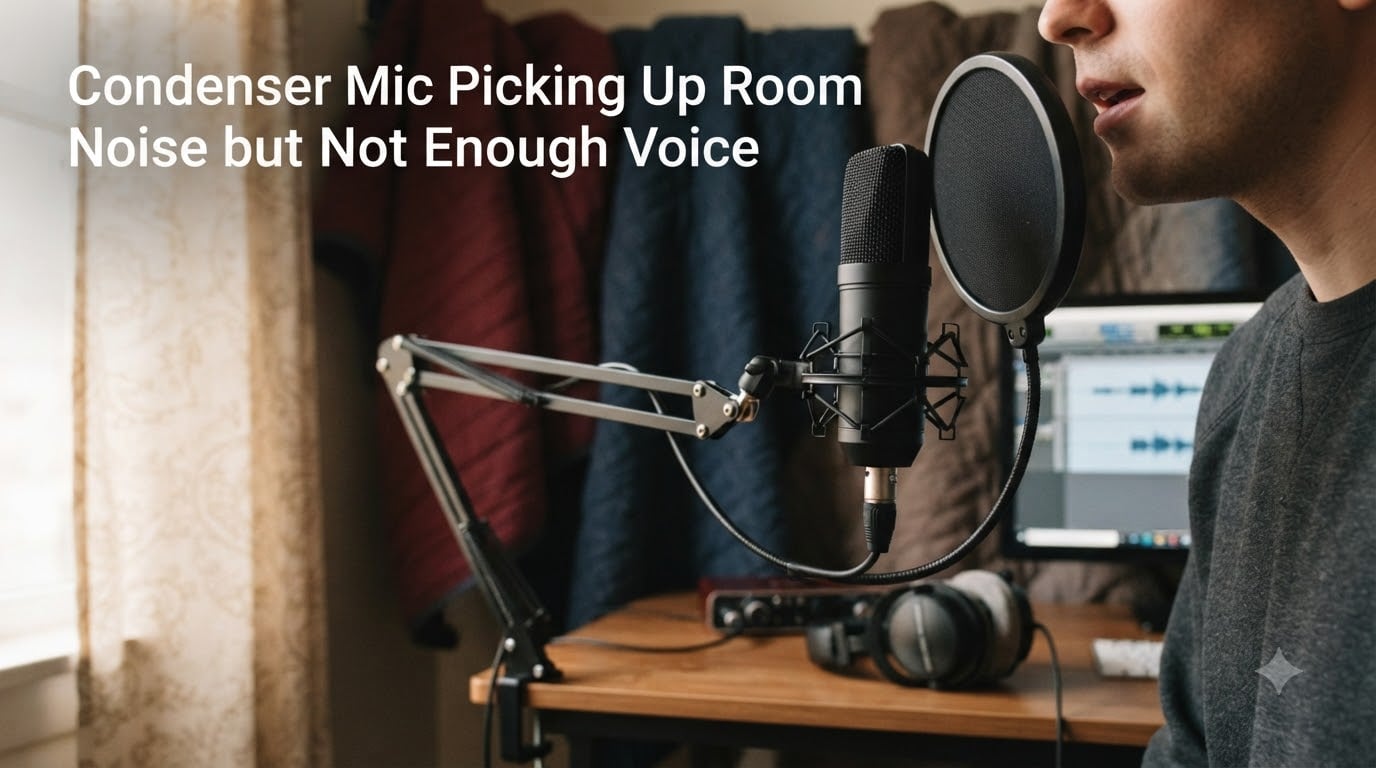
If your condenser mic is picking up room noise but not enough voice, you are dealing with one of the most common frustrations in home recording. The mic catches every keyboard click, AC hum, and passing car while your actual voice sounds thin and distant. I have helped dozens of podcasters and streamers work through this exact problem, and in almost every case the fix is simpler than expected.
This guide covers the condenser mic picking up room noise but not enough voice problem from every angle. We will look at why condenser microphones behave this way, how proximity changes everything, what gain settings actually do, and when you should consider switching microphones or treating your room. By the end, you will have a step-by-step checklist you can run through today.
The good news is that you probably do not need new gear. Most people fix this issue with technique and settings rather than equipment. Let us walk through each piece.
Table of Contents
Why a Condenser Mic Picks Up Room Noise but Not Your Voice?
The short answer is sensitivity combined with distance. Condenser microphones use a thin, electrically charged diaphragm that moves with even tiny changes in air pressure. That design makes them excellent at capturing detail, but it also means they hear almost everything in the room.
Your brain filters sound continuously. When you sit in a room, your ears pick up the same air conditioner hum and traffic noise the mic does, but your brain pushes those sounds into the background. A microphone has no brain. It converts every sound wave that reaches its capsule into an electrical signal at equal strength.
So when you sit two feet away from a condenser microphone, your voice arrives at the capsule at roughly the same level as the keyboard clicks and fan noise a few feet further back. The mic is not selectively ignoring your voice. It is treating every sound source equally based purely on how loud that source is at the diaphragm.
Here is the key insight: the closer you are to the microphone, the louder your voice is relative to everything else in the room. This ratio between your voice and background noise is what matters. Doubling your distance from the mic does not halve your voice level; it drops it by about 6 dB, and the room noise barely changes. That math is why distance is your biggest enemy with a condenser mic.
Forum users on Reddit repeatedly describe the same frustration. Someone buys a condenser mic expecting studio-quality vocals, sets it on a desk stand two feet away, and ends up with recordings full of keyboard clatter and room echo. The mic is working exactly as designed. The problem is that the design assumes you will be close to it in a quiet, treated space.
How Condenser Microphone Sensitivity Creates the Problem?
Condenser microphone sensitivity is measured in millivolts per pascal or in negative decibels. A typical large-diaphragm condenser mic has a sensitivity rating around 25 to 35 mV/Pa. For comparison, a dynamic mic like the Shure SM7B sits closer to 1 to 6 mV/Pa. That is a massive difference in how much signal the capsule generates from the same sound pressure.
Higher sensitivity means the condenser captures quieter sounds that a dynamic mic would ignore. This is great in a treated vocal booth where the only sound is your voice. In a typical bedroom or office, it means the mic is faithfully recording every reflection, hum, and rustle.
The cardioid polar pattern most condenser mics use is designed to reject sound from the rear. And it does, partially. A cardioid capsule picks up sound from the front and sides at near-full strength while attenuating rear sounds by 15 to 25 dB depending on frequency. But most room noise does not come from directly behind the mic. It bounces off walls, ceilings, and desks, arriving from the sides and front at angles the cardioid pattern still captures.
Frequency response also plays a role. Condenser mics typically have an extended high-frequency response that captures the sharp transients of keyboard clicks and mouse taps with painful clarity. Low-frequency room rumble from traffic and HVAC systems also passes through. The result is a recording with a wide spectrum of noise your voice has to compete against.
None of this means condenser microphones are bad. They are the right tool for detailed vocal work in controlled spaces. The problem is a mismatch between what the mic is designed to do and the environment you are using it in.
The Proximity Fix: Getting Closer to Your Microphone
If you take only one thing from this guide, let it be this: get closer to your microphone. The single most effective fix for a condenser mic picking up room noise but not enough voice is reducing the distance between your mouth and the capsule.
Sound follows the inverse square law. When you halve your distance to the mic, your voice level increases by about 6 dB. The room noise stays essentially the same because those sources are already several feet from the capsule and your small position change barely affects them. So by moving from 12 inches to 6 inches, you have given your voice a 6 dB advantage over background noise without touching a single setting.
Most experienced condenser mic users recommend positioning your mouth 2 to 6 inches from the grille. At 4 inches, your voice dominates the signal. The room noise does not disappear, but the ratio shifts dramatically in your favor.
This is also where the proximity effect helps you. Bass frequencies increase as you get closer to a directional microphone. Your voice gains warmth and body, making it sound fuller and more present. Background noise does not benefit from the proximity effect because those sources are too far away.
The 3:1 Rule for Microphone Placement
The 3:1 rule is a guideline from professional audio engineering that helps with both gain and noise. The rule states that when using a microphone, the distance between the sound source and the mic should be no more than one-third of the distance between the mic and any other sound source or reflective surface.
In practical terms, if your mouth is 6 inches from the microphone, the mic should be at least 18 inches from the nearest wall, desk reflection point, or competing sound source. This prevents reflections and secondary sounds from arriving at the capsule with enough strength to cause problems.
For a single-mic setup, the 3:1 rule mostly reminds you to keep away from walls and hard surfaces. If your desk is right against a bare wall, the sound bounces back into the rear and sides of the capsule. Moving your setup even a foot from the wall can reduce audible reflections.
The 3:1 rule also explains why a desk-mounted condenser pointed at a wall-adjacent monitor sounds bad. The monitor, the wall, and the desk surface are all within three times your mouth distance. They reflect your voice back into the mic with delay, creating that hollow, echoey quality.
Use a boom arm to position the mic at mouth height with the back of the capsule pointing into open room space rather than at a wall. This simple change alone solves a surprising number of noise complaints.
Setting Your Gain and Input Levels the Right Way
Gain confusion is the second biggest cause of the room noise problem after distance. Many beginners think turning up the gain will make their voice louder relative to background noise. It will not. Gain amplifies the entire signal equally, including the room noise already present in the recording.
If your voice is quiet and the room noise is loud at the source, adding gain makes both louder. You end up with the same ratio but more noise overall, often introducing hiss from the preamp itself as you push it toward maximum.
The correct approach is to fix the ratio first using proximity, then set gain so your voice hits a healthy level without clipping. Here is a concrete target to aim for.
Target Input Levels
Speak into your mic at your normal recording volume. Your peak level in your recording software should sit between -12 dB and -6 dB on the meter. For most interfaces and USB mics, this means setting the gain knob somewhere between 40 and 70 percent, not maxed out.
If you are hitting -12 dB peaks with the gain at 50 percent, leave it alone. If you cannot hit -18 dB even with the gain wide open, your distance or technique is the problem, not the gain setting.
Avoid the temptation to crank gain to compensate for being too far from the mic. Every dB of extra gain brings more room noise and more preamp hiss into your recording. The fix is moving closer, not turning up.
Turn Off Unneeded Processing
If your USB condenser mic or audio interface has built-in compression, reverb, or noise reduction toggles, turn them off while recording. These effects are often tuned for close-mic scenarios and can make a distant source sound worse. Record dry and add processing in post-production where you have control.
Check your software input settings too. Some operating systems apply automatic gain control, which raises the gain during quiet moments and pumps room noise into the recording. Disable AGC in your system sound settings and let your recording software manage levels instead.
Room Treatment Basics for an Untreated Home Studio
Even with perfect mic technique, your room matters. A condenser mic in a bare, hard-surfaced room will always pick up reflections. The good news is that effective room treatment does not require a full studio build.
The goal of room treatment is not silence. It is reducing the strength of reflections that bounce back into the microphone. Hard flat surfaces like bare walls, glass windows, and empty desks are the main offenders.
Quick and Cheap Fixes
Hang heavy blankets or moving pads behind and to the sides of your recording position. This absorbs mid and high-frequency reflections that muddy your recording. You can use a couple of microphone stands with a broom handle or PVC frame to create a temporary vocal booth effect.
If you have a closet full of clothes nearby, consider recording with the closet open behind you. Clothing is excellent at absorbing reflections, and many voiceover artists record in walk-in closets for exactly this reason.
Close curtains over windows. Glass reflects sound almost as efficiently as a concrete wall. Heavy curtains absorb a meaningful amount of mid and high-frequency energy.
Put a rug under your desk if you have hard flooring. A bare floor creates strong reflections that bounce up into the bottom of the microphone. Even a thick rug with a pad underneath helps noticeably.
Better Acoustic Panels
If you want a more permanent solution, acoustic foam panels and fiberglass bass traps make a measurable difference. Aim for treating the wall directly behind your recording position and the first reflection points to the sides. You do not need full wall coverage to hear improvement.
Budget around two to four acoustic panels for a noticeable upgrade over blankets. Position them at ear or mouth height at the points where sound from your mouth would first hit a wall. A simple mirror trick helps: have someone hold a mirror against the wall and move it until you can see the microphone from your recording position. That is a first reflection point.
A pop filter and shock mount also help by reducing plosive bursts and handling noise. Neither reduces room noise directly, but they prevent specific sounds from forcing you to lower gain or apply processing that would otherwise raise the noise floor.
Should You Switch From a Condenser to a Dynamic Mic?
Sometimes the honest answer is yes. If you record in a noisy apartment with thin walls, traffic outside, or housemates, a condenser microphone may be the wrong tool regardless of technique.
Dynamic microphones have lower sensitivity by design. Their capsules require more sound pressure to generate signal, which means they pick up less room noise from sources that are not close to the grille. A dynamic mic like the Shure SM7B, Rode PodMic, or Audio-Technica ATR2100x will reject more ambient sound simply because of how the capsule works.
The trade-off is that dynamic mics require more gain to reach proper recording levels. Many need a preamp with significant clean gain or an inline booster like a Cloudlifter or FetHead. This adds cost, but the result is a recording with much better voice-to-noise ratio in untreated spaces.
Forum users consistently report this pattern. Someone struggles with a condenser for months, switches to a dynamic mic, and immediately gets cleaner recordings. The dynamic mic is not magically better. It is just better matched to a noisy environment.
If you cannot treat your room and proximity alone does not solve the problem, a dynamic mic is a smart investment. If your room is reasonably quiet and you are willing to get close to the mic, a condenser will still give you more detail and clarity for vocal work.
Software Solutions: Noise Reduction, Gates, and EQ
Software will not fix a bad recording at the source, but it can salvage an otherwise usable take and clean up the last bit of room noise after you have improved your technique.
Noise Gates
A noise gate mutes or reduces the signal when you are not speaking. Set the threshold slightly below your softest speaking level so the gate opens when you talk and closes during pauses. This eliminates room noise during gaps in speech.
Be careful with aggressive gate settings. A threshold set too high will clip the start and end of your words, making speech sound choppy and unnatural. Start with a threshold about 5 to 10 dB below your quietest speech and a gentle 50 to 100 millisecond release time.
EQ for Clarity
A simple EQ pass can help your voice cut through residual room noise. Apply a high-pass filter at 80 to 100 Hz to remove low-frequency rumble from traffic and HVAC. A gentle boost of 2 to 3 dB between 2 and 5 kHz adds presence and intelligibility to vocals.
Avoid heavy EQ as a substitute for proper recording. Aggressive EQ makes voice sound processed and unnatural, and it does nothing to address noise in the same frequency range as your speech.
Noise Reduction Tools
Dedicated noise reduction plugins like iZotope RX, Audacity’s Noise Reduction, and Adobe Podcast’s free Enhance Speech tool can dramatically reduce steady background noise. The workflow is typically to capture a few seconds of room tone with no speech, let the tool build a noise profile, and then apply reduction across the track.
Use noise reduction lightly. Setting it too aggressively creates artifacts that sound robotic and watery. Aim for reducing noise by 6 to 12 dB rather than eliminating it completely. A small reduction preserves voice quality while making the noise much less noticeable.
For podcast and streaming workflows, real-time noise reduction tools like NVIDIA Broadcast or Krisp use AI to suppress background noise live. These work well for calls and streams but can introduce latency and occasional voice artifacts, so test before relying on them for published content.
Step-by-Step Troubleshooting Checklist
Here is the actionable checklist I run through with anyone dealing with a condenser mic picking up room noise but not enough voice. Work through these in order, testing your recording after each step.
Step 1. Move your mouth to within 4 inches of the microphone grille. Use a pop filter to control plosives at this distance.
Step 2. Adjust gain so your speaking peaks hit between -12 dB and -6 dB on your software meter. Do not max out the gain knob.
Step 3. Disable automatic gain control in your operating system and any software processing on the input.
Step 4. Reposition your setup so the back of the cardioid mic points toward the noisiest part of the room, usually a window or shared wall.
Step 5. Move your desk or boom arm away from bare walls. Aim for at least 18 inches between the mic and any wall behind you.
Step 6. Hang heavy blankets behind and beside your recording position. Add a rug if your floor is bare.
Step 7. Close windows and doors. Turn off fans, AC, and noisy computer equipment if possible during takes.
Step 8. Record a few seconds of room tone with no speech. Use this for noise reduction profiling in post-production.
Step 9. Apply a high-pass filter at 80 to 100 Hz and a gentle presence boost at 3 kHz in your editing software.
Step 10. If room noise is still dominating after all the above, seriously consider switching to a dynamic microphone for your environment.
Most people find that steps 1 and 2 alone fix 70 percent of the problem. The remaining steps address reflections, persistent noise sources, and post-production cleanup.
Frequently Asked Questions
Why does my condenser mic pick up background noise but not my voice?
Your condenser mic picks up background noise because of its high sensitivity combined with too much distance between your mouth and the capsule. Sound follows the inverse square law, so every time you halve your distance to the mic, your voice gets about 6 dB louder relative to the room noise. Move to within 4 inches of the grille and the ratio shifts dramatically in your favor.
Why is my microphone barely picking up my voice?
If your voice is quiet even with gain turned up, the most likely causes are being too far from the microphone, having automatic gain control reducing your input, or using a dynamic mic that needs more preamp gain than your interface provides. Get closer to the mic first, then set gain so peaks hit between -12 dB and -6 dB on your meter.
What is the 3:1 rule for mics?
The 3:1 rule states that the distance between your sound source (your mouth) and the microphone should be no more than one-third of the distance between the microphone and any other sound source or reflective surface. If your mouth is 6 inches from the mic, the nearest wall should be at least 18 inches away. This reduces reflections and competing sounds from reaching the capsule at problem levels.
Why is my condenser microphone picking up noise?
Condenser microphones use a highly sensitive charged diaphragm designed to capture detailed sound. They typically have sensitivity ratings of 25 to 35 mV/Pa compared to 1 to 6 mV/Pa for dynamic mics. This means they faithfully capture ambient sounds like keyboard clicks, fans, and traffic that a dynamic mic would ignore, especially in untreated rooms.
How do I get my microphone to pick up my voice better?
Get closer to the microphone, ideally within 2 to 6 inches. Set your gain so speaking peaks hit -12 dB to -6 dB. Disable automatic gain control in your system settings. Position the back of a cardioid mic toward your noisiest wall. Add absorption behind you with blankets or acoustic panels. These steps together will dramatically improve your voice-to-noise ratio.
Conclusion
Dealing with a condenser mic picking up room noise but not enough voice is frustrating but solvable. The fix almost always starts with proximity, followed by proper gain settings, smart positioning, and some form of room treatment. Software cleanup handles whatever remains.
If you work through the troubleshooting checklist in this guide and still cannot get a clean recording, consider whether your environment calls for a dynamic microphone instead. The right tool for the job always beats forcing the wrong one to work.