
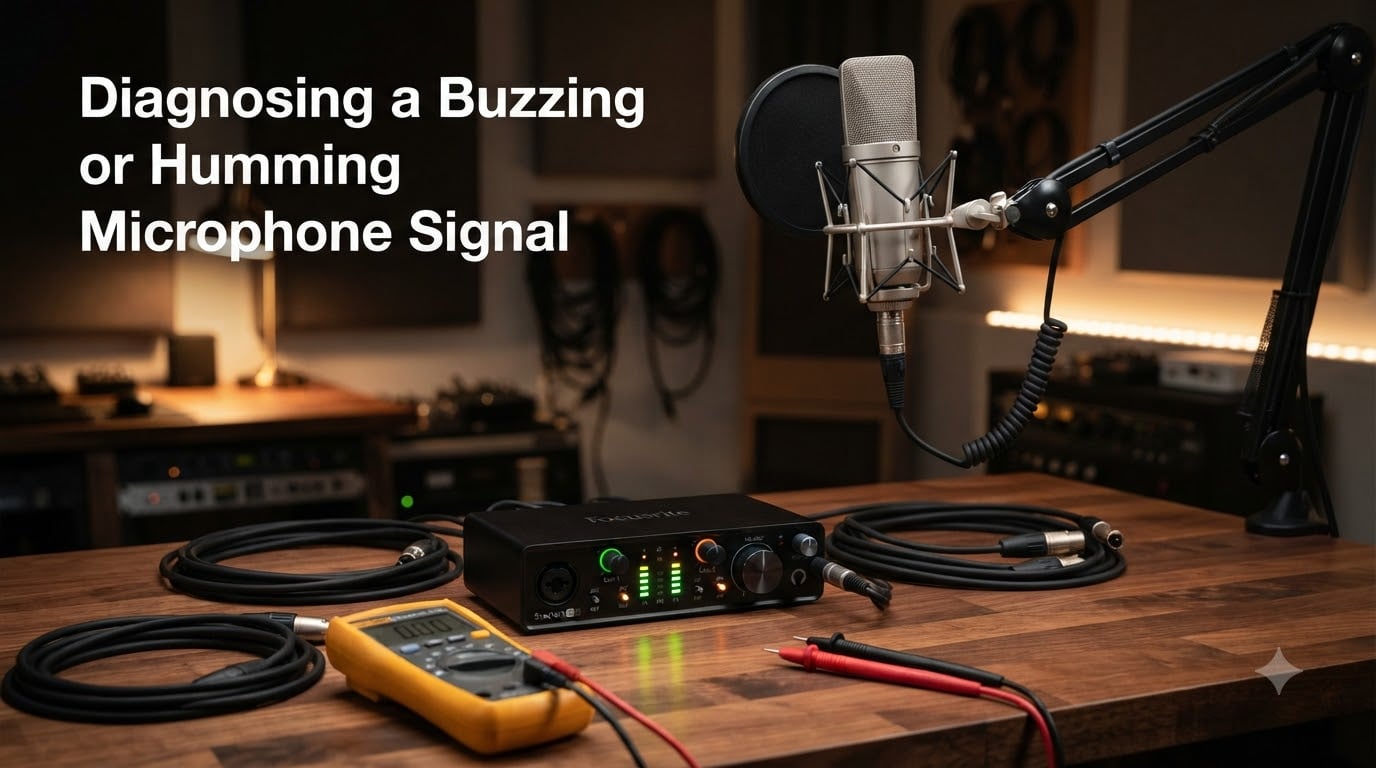
I first ran into a buzzing microphone signal about ten years ago in a tiny home studio, and the noise drove me crazy for two weeks before I tracked it down. That persistent buzz turned out to be a textbook ground loop, and the fix was a $30 isolator. I’ve since helped dozens of podcasters, streamers, and voiceover artists through the same diagnostic steps. This guide walks through the exact process I use when diagnosing a buzzing or humming microphone signal, starting with the easiest checks and working toward the harder hardware faults.
Inside this guide, you’ll learn the difference between buzz and hum, the most common causes of each, and a systematic way to isolate the culprit in your specific setup. Whether you’re recording on a $80 USB mic or a $2,000 XLR condenser, the diagnostic process is the same.
Table of Contents
What’s the Difference Between Buzzing and Humming?
The fastest way to start diagnosing a buzzing or humming microphone signal is to figure out which sound you’re actually hearing. They look similar on a level meter, but they have completely different causes and completely different fixes.
A hum is a low, steady tone – usually 60Hz in North America or 50Hz in Europe and most of Asia. It matches the AC mains frequency coming out of your wall outlet. Hum is smooth, continuous, and rarely changes unless you move cables or turn equipment on and off.
A buzz is harsher and more irregular. It often sounds like static, a harsh whine, or a vibrating crackle. Buzz typically has higher harmonics (120Hz, 180Hz, 240Hz) layered on top of a fundamental frequency, and it’s usually caused by electromagnetic interference, dirty power, or a digital clock leak rather than a clean ground loop.
Why does this matter? Because a 60Hz hum almost always points to a ground loop or phantom power issue, while a buzz usually points to EMI, a bad cable, or a cheap preamp. Treating a ground loop with a ferrite bead (a buzz fix) won’t help, and vice versa. Getting the sound ID right cuts your troubleshooting time in half.
Start With the Quick Symptoms Checklist
Before you start pulling cables, listen carefully and answer these questions. I keep this checklist taped to my studio wall for fast triage:
Persistent even when mic is muted? Likely a ground loop or EMI pickup, not the mic itself.
Changes or disappears when I touch the mic or computer case? Classic ground issue – your body is providing a path to ground.
Only happens during gaming or streaming? Often GPU-related EMI or a USB bandwidth issue.
Buzz goes away when I unplug my laptop charger? Dirty power from the charger is leaking into your audio chain.
Steady low hum that doesn’t change? 50/60Hz ground loop – keep reading.
Static or crackle that gets worse over time? Probably a damaged cable or preamp on its way out.
If you’re hearing more than one of these match your situation, don’t worry. Multiple causes can stack. Diagnose them one at a time so you don’t get confused.
Check Your Room Environment for Electromagnetic Interference
Your microphone is picking up more than just your voice. Anything that pushes out a changing electrical field can leak into your mic cable, your preamp, or even the mic capsule itself. This is electromagnetic interference, or EMI, and it’s one of the most common causes of microphone buzz.
The biggest offenders in most studios:
Dimmable lights and fluorescent tubes. Their switching regulators put broadband noise on the AC line and radiate EMI.
Computer monitors and TVs. Especially older LCD panels running at 60Hz refresh. The noise is right at the mains frequency.
Phone chargers and laptop power supplies. Cheap switching supplies leak RF noise that’s easily picked up by unshielded cables.
Wi-Fi routers. Most broadcast on 2.4GHz, which is far above audio, but the harmonics can still cause issues with cheap preamps.
Power lines and breaker panels in the wall behind your desk. Magnetic field pickup that no cable shielding will fully reject.
Here’s the test I always run. Record 30 seconds of silence with everything turned on, then again with each of the above devices unplugged or switched off. If the buzz drops or disappears, you’ve found your culprit. Move the offending device at least 3 feet away from your mic cable, or replace it with a shielded alternative.
Inspect Cables and Connections
I’ve fixed more microphone buzzing problems with a new cable than with any other single step. Cheap or damaged cables are the silent killer of clean audio.
For XLR cables, check three things. First, are all three pins making solid contact? A loose pin 1 (ground) will introduce hum immediately. Second, is the shielding intact? If you can see any kinks, cuts, or stretched sections in the cable, replace it. Third, is the connector seated firmly in both the mic and the interface? Even a slightly unseated XLR can produce intermittent buzz.
USB cables have their own problems. Cheap USB cables often skip the internal shielding and braid, leaving your digital audio stream wide open to interference. I bought a $12 shielded USB cable once and dropped my noise floor by 6dB on a Blue Yeti. The cheapest cable that came with the mic was the problem.
Here’s the fastest test. Swap your existing cable for a known-good cable – ideally a different brand. If the buzz disappears, the cable was the problem. If it stays, keep going down the checklist. Don’t skip this step just because your cables look fine from the outside. I’ve seen cables that look pristine fail continuity tests because of internal corrosion.
Audit Your Gain, Preamp, and Audio Interface Settings
Every preamp has a self-noise floor. Push the gain too high, and that self-noise gets amplified right alongside your voice. This is one of the most common causes of microphone humming, especially with budget USB microphones and entry-level audio interfaces.
Here’s the simple rule. If your recording peaks around -18dBFS and your noise floor sits around -60dBFS, your gain is set about right. If your noise floor is creeping above -50dBFS, you’re amplifying the preamp’s own noise along with your signal.
Cheap audio interfaces often have noisy preamps. Adding a Cloudlifter or FetHead in-line preamp can drop the noise floor dramatically because it adds 20-25dB of clean gain before the noisy preamp sees your signal. I’ve measured 8-10dB noise floor improvements on entry-level interfaces this way.
USB microphones with built-in preamps have no upgrade path – if the internal preamp is noisy, you’re stuck with it. That’s why podcasters who care about clean audio eventually move to XLR setups.
Identify and Fix Ground Loop Issues
Ground loops are the single most common cause of persistent 60Hz hum, and they’re the reason most people start Googling diagnosing a buzzing or humming microphone signal at midnight. Let me explain exactly what’s happening.
A ground loop forms when two pieces of audio equipment are connected through both a signal cable and the AC mains ground. The two grounds aren’t at exactly the same voltage potential, so a small current flows through your audio cable’s shield. That current gets amplified, and what comes out of your speakers or recording is a steady 60Hz (or 50Hz) hum.
The most common ground loop scenarios in home studios:
Laptop plugged into a power outlet on one circuit, audio interface plugged into another
Computer connected to a monitor that has its own ground path
Mixer or interface plugged into a different power strip than your monitors
Condenser microphone with a separate phantom power supply plugged into a different outlet
The cheapest fix is a ground loop isolator. The two most popular models are the ART DTI (transformer-based, $30) and the Behringer HD400 (also transformer-based, around $20). Both break the ground path while passing audio through. They won’t fix every hum, but they fix ground loop hum about 90% of the time.
For a more permanent fix, plug all your audio gear into a single power conditioner like a Furman SS-6B. A good power conditioner gives every device the same ground reference and filters out AC line noise. I use one in my home studio and haven’t had a ground loop issue since.
If the hum persists even with everything on a single power strip and an isolator in line, you may have a real grounding fault in your building’s wiring. That’s the time to call a licensed electrician. Don’t ignore it – that hum is telling you something is wrong with the ground path.
Check Phantom Power (48V) and Microphone Type
Condenser microphones need 48V phantom power to operate, and a faulty phantom power supply is a surprisingly common source of microphone buzz. Cheap preamps and dedicated phantom power supplies can pass AC ripple onto the 48V line, and that ripple shows up directly in your recording as a buzz.
If you’re using a separate phantom power supply (not built into your interface), try disabling it and running the mic without 48V. If the mic needs phantom to work at all, try a battery-powered 48V supply instead – batteries don’t have AC ripple. Or move the mic to a different channel on your interface with built-in phantom power.
Dynamic microphones have their own quirks. Many dynamics include a hum-bucking coil that cancels out 60Hz interference from nearby power lines. If your dynamic mic is humming despite being near a wall outlet, that coil may be failing, especially on older mics like the Shure SM58 after decades of use.
USB microphones bypass this whole category because they handle phantom power (or dynamic input) internally. But that internal preamp is a fixed component – if it’s buzzing, you’re stuck with it unless you switch mics. That’s the trade-off for a one-cable setup.
How to Test a Microphone With a Multimeter?
This is the most overlooked step in diagnosing a buzzing or humming microphone signal, and almost no competitor article covers it. A $25 multimeter from any hardware store can tell you in five minutes whether your mic or cable is electrically healthy.
Step 1 – Test the cable for continuity. Set your multimeter to continuity mode (the symbol that looks like a sound wave). Touch one probe to pin 1 on one end of the XLR cable, and the other probe to pin 1 on the other end. You should hear a beep. Repeat for pins 2 and 3. If any pin fails to beep, the cable has an open circuit and needs replacement.
Step 2 – Test for shorts between pins. With the cable disconnected from everything, put one probe on pin 1 and the other on pin 2. The meter should read infinite resistance (open circuit). Repeat for pins 1 and 3, and pins 2 and 3. Any reading near zero means a short, and the cable is bad.
Step 3 – Test the microphone capsule. For a dynamic mic, set the multimeter to resistance mode and measure across pins 2 and 3. You should see a low resistance value (typically 50-300 ohms depending on the mic). For a condenser mic, this test only works with phantom power applied, so skip it unless you know what you’re doing.
If the cable passes all tests, the buzzing issue is upstream – probably your interface or preamp. If the cable fails, replace it. A bad cable will drive you crazy trying to diagnose phantom issues that don’t exist.
Platform-Specific Microphone Troubleshooting
Long-tail searches for platform-specific microphone fixes are everywhere in the data. People search for “microphone buzzing on PS5” or “microphone humming Android” because the fix is rarely the same across platforms. Let me cover the most common ones.
Microphone Buzzing on Windows 10 or Windows 11
Windows audio drivers are infamous for causing microphone hum. The most common fix is to disable audio enhancements. Right-click the speaker icon, choose Sound Settings, click on your microphone, then Properties. Under the Enhancements tab, check “Disable all sound effects.” That single checkbox fixes about a third of Windows mic buzz issues.
Sample rate conflicts can also cause buzzing. If your interface runs at 48kHz but your Windows audio is set to 44.1kHz, you’ll get buffer underruns that sound like static. Set both to 48kHz in your DAW and Windows sound settings to match.
Microphone Humming on Mac
Macs are usually cleaner than Windows for audio, but they have one quirk – the combined headphone/mic jack. If you’re using a TRRS adapter (the kind with headphone and mic on one plug), make sure it’s a genuine Apple adapter or a known-good third-party brand. Cheap TRRS adapters are the #1 cause of Mac microphone buzz.
Microphone Buzzing on iPhone or Android
Phone microphones buzz for different reasons. First, try a different cable or pair of earbuds – the mic is usually in the remote. Second, check if it’s a case issue. Some phone cases put pressure on the Lightning or USB-C port, causing intermittent contact. Remove the case and test.
For voice memo apps that introduce buzz, the bug is usually in the audio processing. Test in a different app to confirm. On Android, you can also try Developer Options to force a different audio sample rate.
Microphone Buzzing on PS5 or Xbox
Console mic buzz is almost always the controller’s built-in mic or the headset adapter. Try a different controller to isolate the issue. If the buzz is constant regardless of controller, it’s likely a game audio processing bug – update your console firmware and check the audio output settings for “chat audio” vs “game audio” routing.
Software and DAW Troubleshooting Steps
Once the hardware checks come back clean, the next frontier is software. Even a perfect signal chain can introduce buzz through driver conflicts, sample rate mismatches, or buffer problems.
First, update your audio interface drivers. Manufacturers like Focusrite, Universal Audio, and MOTU release driver updates quarterly that often include bug fixes for noise issues. Check the manufacturer’s website directly – don’t trust Windows Update for audio drivers.
Second, set a buffer size of at least 256 samples for recording. Smaller buffers (64 or 128) reduce latency but increase the chance of buffer underruns that sound like clicks and buzz. Many DAWs default to 128, which is fine for tracking but borderline for noise performance.
Third, if you already have a recorded file with buzz you can’t eliminate at the source, post-processing tools can clean it up. iZotope RX is the industry standard – its Mouth De-click and Voice De-noise modules remove buzz without destroying the original voice. Free alternatives include Audacity’s Noise Reduction tool and the ReaFir plugin in Reaper.
For live use where post-processing isn’t an option, a noise gate in your DAW or interface (like the Focusrite Scarlett 2i4’s built-in gate) cuts the mic signal below a threshold. Set it just above your noise floor and the buzz becomes inaudible during the silent sections.
Frequently Asked Questions
Why is my microphone picking up a humming sound?
Microphones pick up humming sounds from electromagnetic interference or ground loops. AC power lines operate at 60Hz in North America (50Hz in most other regions), and this frequency can leak into your audio chain through unshielded cables, faulty power supplies, or ground path differences between devices. The most common cause is a ground loop between your computer and audio interface. Fix it by using a ground loop isolator or plugging all audio gear into a single power conditioner.
What is the difference between buzzing and humming sounds?
Humming is a low, steady tone that matches your AC mains frequency (typically 60Hz in the US, 50Hz in Europe). It is usually caused by a ground loop or power issue. Buzzing is harsher and more irregular, often containing high-frequency harmonics from electromagnetic interference, dirty power, or a failing component. Hum points to ground or power issues, while buzz usually points to EMI or damaged cables.
Can you test a microphone with a multimeter?
Yes. Set the multimeter to continuity mode and check each pin of an XLR cable end-to-end – you should hear a beep for pins 1, 2, and 3. Then check for shorts between pins, which should read infinite resistance. For a dynamic microphone, measure resistance across pins 2 and 3 – you should see 50 to 300 ohms depending on the model. A failed test points to a bad cable or damaged capsule.
How do I get rid of microphone hum?
Start by identifying whether it is a steady 60Hz hum (ground loop) or a buzz with high-frequency harmonics (EMI or cable issue). For ground loop hum, use a ground loop isolator like the ART DTI, or plug all your audio gear into a single power conditioner. For EMI buzz, replace cheap cables with shielded versions and move your mic away from power supplies, monitors, and dimmer switches. Swapping the cable is the single fastest diagnostic step.
Conclusion: Diagnosing a Buzzing or Humming Microphone Signal
Systematic diagnosing a buzzing or humming microphone signal saves you hours of frustration. Start by identifying the sound – hum or buzz – then work through the checklist in order: cables, gain staging, ground loops, phantom power, and finally software. The cable swap is your fastest single test, and a $30 ground loop isolator fixes more cases than any other purchase.
If you’ve worked through every step here and the noise persists, the issue is either a damaged mic capsule, a failing preamp, or a building wiring fault. For the first two, contact the manufacturer about warranty replacement. For the last, bring in a licensed electrician – especially if touching the equipment case gives you a tingle, since that’s a serious shock risk in addition to an audio problem.
Clean audio is achievable in any setup. The trick is following the diagnostic chain in order instead of jumping to conclusions. Start with the cheapest fix first – that’s the cable – and you’ll usually find the culprit before lunch.