
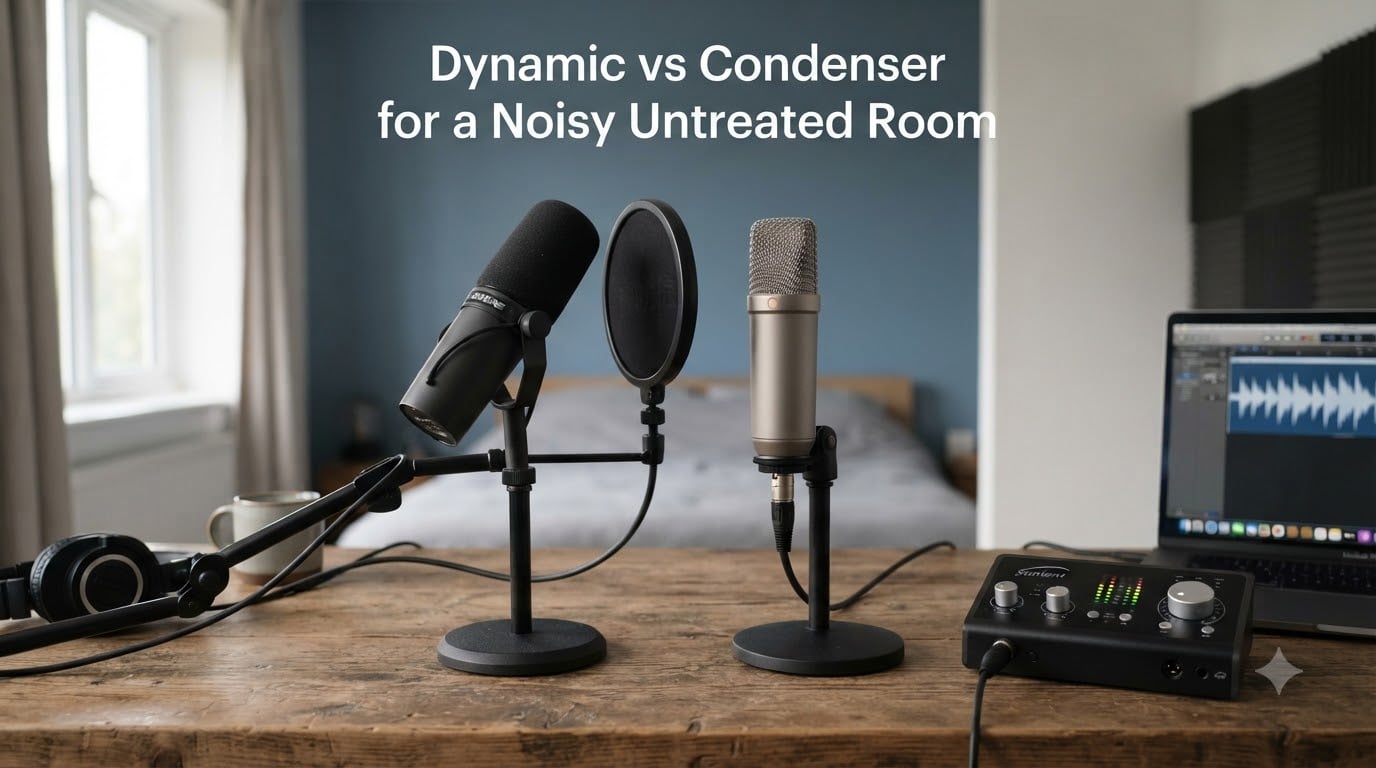
Recording in a noisy, untreated room is one of the most frustrating problems home studio owners face. Every forum thread tells you the same thing: get a dynamic microphone, it rejects room sound better. That advice is partially true but mostly misleading, and in 2026 it is still the most common myth in home recording.
Our team has spent years recording vocals, podcasts, and instruments in bedrooms, closets, and rented apartments. The truth we keep coming back to is simple: the real difference between a dynamic and a condenser microphone in an untreated space comes down to sensitivity, not some magical noise-rejecting property.
This guide breaks down the dynamic vs condenser microphone debate for noisy untreated room scenarios, explains why the popular advice is incomplete, and gives you positioning and treatment tips that work whether you already own either mic type. By the end, you will know exactly which microphone to use and how to get cleaner recordings in your less-than-perfect space.
Table of Contents
Why Your Microphone Choice Matters in an Untreated Room?
Every microphone ever made picks up everything its capsule can hear. The question is how loudly it translates that input into signal. In an untreated room, you have three problems fighting your recording: background noise from HVAC units, traffic, and neighbors; reflections bouncing off bare walls, glass, and floors; and comb filtering caused by sound arriving at the capsule from multiple paths.
Choosing the wrong microphone makes all three worse. A highly sensitive microphone captures reflections and ambient noise with the same clarity it captures your voice. A less sensitive microphone still hears the room, but the unwanted noise sits lower in the signal relative to your voice.
Here is the catch most guides gloss over: that difference is a matter of degree, not a binary. A dynamic microphone is not a magical noise gate. It simply has lower sensitivity, which means the room noise ends up quieter on the recording. Close positioning matters far more than capsule type. We will prove this with specifics below.
How Dynamic and Condenser Microphones Actually Work?
Understanding the transducer principle behind each microphone type explains why sensitivity differs so dramatically. Both convert sound pressure into an electrical signal, but the physics are completely different.
Dynamic Microphones: The Moving Coil Principle
A dynamic microphone works like a speaker in reverse. Sound pressure moves a diaphragm attached to a coil of wire suspended in a magnetic field. As the coil moves, it generates a small electrical current that becomes your audio signal.
Because the diaphragm and coil assembly has physical mass, it responds more slowly to sound. This gives dynamic mics a heavier, less detailed transient response. The mass also makes them less sensitive, which is the key property for noisy room recording.
Dynamic mics need no external power. They generate their own signal electromagnetically. This simplifies your setup and removes phantom power as a potential point of failure or added noise floor.
Condenser Microphones: The Charged Capacitor Principle
A condenser microphone uses a charged capacitor system. One plate is a fixed backplate, the other is a thin, lightweight diaphragm. As sound pressure moves the diaphragm, the distance between the plates changes, which changes the capacitance and produces an audio signal.
That thin diaphragm is extremely light, so it responds to the smallest pressure changes. This is what gives condensers their detailed transient response and high sensitivity. It is also why they capture every reflection and background sound with equal clarity.
Condensers require phantom power, typically 48V supplied through the XLR cable by your audio interface. Without that power, the capsule has no charge and produces no signal. Phantom power does not add noise by itself, but a poorly designed interface can raise the noise floor slightly.
Sensitivity: The Real Reason One Mic Picks Up More Room Noise
Sensitivity is the single specification that explains almost everything about microphone behavior in an untreated room. Yet it is the spec most home recordists never look at.
Condenser microphones typically rate between 25 to 35 mV/Pa. Dynamic microphones sit far lower, often between 1.5 and 6 mV/Pa. That is roughly a 15 to 20 dB difference in raw output for the same sound pressure level hitting the capsule.
In practical terms, a condenser outputs a signal 15 to 20 dB louder than a dynamic for the same sound. You then turn down your preamp gain to match. But that same 15 to 20 dB applies to the room noise too, so the ratio between your voice and the room stays roughly the same when you record at a normal distance.
Here is where the dynamic advantage actually appears. Because the dynamic outputs so little signal, you must crank your preamp gain to capture a quiet vocal. At that close working distance, your voice dominates the signal-to-noise ratio. The room noise, which is quieter than your voice at close range, gets amplified but still sits below your vocal level.
A condenser used at the same distance outputs so much signal that you lower the gain, but the room reflections are equally loud relative to your voice. The capsule hears everything in the room with the same clarity it hears your vocals.
This is why forum users say dynamics feel like they reject room noise. They do not reject anything. They simply have lower sensitivity, which combined with close positioning produces a cleaner signal-to-noise ratio in noisy spaces.
Dynamic vs Condenser Technical Specifications Compared
Side-by-side specifications make the difference clear. Here are the numbers that matter for untreated room recording.
Sensitivity: Condensers run 25 to 35 mV/Pa. Dynamics run 1.5 to 6 mV/Pa. That gap is the source of the perceived noise rejection.
Max SPL handling: Dynamics routinely handle 140 dB SPL or higher. Condensers top out around 130 to 140 dB SPL with pad engaged. For loud sources near the capsule, dynamics handle abuse better.
Power requirements: Condensers need 48V phantom power. Dynamics generate their own signal. If your interface lacks phantom power, only dynamics work.
Frequency response: Condensers typically extend to 20 kHz with extended high-frequency detail. Dynamics roll off earlier, often around 15 to 16 kHz, giving them a warmer, less airy sound that masks some room reflections.
Transient response: Condensers capture fast transients accurately. Dynamics smear transients slightly due to diaphragm mass. This detail difference affects perceived room noise too.
Polar patterns: Both types commonly use cardioid patterns, which reject sound from the rear. Pattern shape matters more for noise control than capsule type does.
Self-noise: Condensers list self-noise specs around 5 to 20 dB-A. Dynamics generate self-noise from their transformer and coil, usually expressed differently but typically higher in equivalent input noise terms.
The Myth of Dynamic Microphones Rejecting Room Sound Better
This is the section every forum thread gets wrong. The popular advice is that dynamic microphones inherently reject room sound, while condensers invite it. That is a misunderstanding of how polar patterns and sensitivity interact.
Lewitt Audio, a manufacturer with no incentive to favor one type over the other, makes the point plainly. A dynamic microphone is not better at isolating your voice in an untreated room. The main difference is sensitivity, and that is the only reason a dynamic often sounds cleaner in a noisy space.
Here is the proof. Point any cardioid microphone, dynamic or condenser, at a hard wall and record your voice from across the room. Both will pick up roughly the same amount of reflection relative to your voice. The polar pattern controls off-axis rejection, not the transducer principle.
The dynamic advantage only appears because users tend to position dynamics closer. You put your mouth one to two inches from a Shure SM7B because that is how it was designed to be used. You sit eight to twelve inches from a condenser because the sensitivity gives you enough signal at that distance. That distance difference, not the capsule type, is what reduces room noise in the dynamic recording.
Use a condenser at the same one to two inch distance with the gain turned down, and you get the same noise rejection as the dynamic. You also capture more vocal detail because the capsule is more accurate. The room is not the problem. The working distance is.
This is why close mic positioning is the single most important technique for untreated room recording. Move any cardioid microphone close to your source, and the inverse square law does the rest. Your voice doubles in level every time you halve the distance, but the room noise stays constant.
When to Choose a Dynamic Microphone in an Untreated Room?
Despite the myth explanation, dynamics remain the right choice for many untreated room situations. Here is when we recommend reaching for one.
Podcasting and voiceover with no room treatment: Spoken word sits in the midrange where dynamics excel. The proximity effect at close distance adds warmth to thin voices. The lower sensitivity means you can record at a normal speaking distance and the room sits well below your voice.
Loud vocal styles: Rock, metal, and aggressive rap vocals benefit from dynamic compression characteristics. The capsule handles high SPL without distortion. You can scream into a dynamic at one inch and capture a clean signal.
Live streaming and gaming: Mechanical keyboard clicks, fan noise, and teammate chatter all sit in the noise floor of a well-placed dynamic. Streamers worldwide use the SM7B and RE20 for exactly this reason.
When you cannot commit to close positioning: If your recording style requires moving around, a dynamic forgives more distance variation than a condenser without picking up dramatic amounts of room.
Budget situations without phantom power: A simple USB audio interface or a portable recorder without phantom power limits you to dynamics. Entry-level dynamics like the SM58 still sound great for vocals.
When to Choose a Condenser Microphone Despite Room Problems?
Condensers are not off the table for untreated rooms. In fact, with proper positioning, they often capture better results than dynamics in several scenarios.
Acoustic guitar and detailed instruments: The transient accuracy of a condenser captures string attack and body resonance that a dynamic misses entirely. Position the capsule 6 to 8 inches from the 12th fret, angle it slightly, and the room sits comfortably in the background.
Soft and detailed vocals: Folk, jazz, classical, and intimate vocal styles benefit from condenser detail. A dynamic can sound muffled on these sources. Move the condenser close, use the gain wisely, and you capture nuance without excessive room spill.
Voiceover work in a partially treated space: If you have even basic treatment like a reflection filter or acoustic panels behind the mic, a condenser captures broadcast quality. The treatment handles the room, leaving the condenser to do what it does best.
When you want a more natural sound: Dynamics color the sound with their mass and frequency response. Condensers sound more transparent. If you want to capture exactly what is in the room, a condenser does that better.
Wide frequency sources: Cymbals, high harmonics, breath detail, and air in vocals all live above 15 kHz. Dynamics roll off in this range. Condensers extend cleanly to 20 kHz and beyond.
Microphone Positioning Tips to Cut Room Noise
Positioning is more powerful than microphone choice for untreated room recording. These are the techniques we use daily to get clean recordings in less-than-perfect spaces.
Get close, then get closer: The inverse square law is your friend. Halving the distance from source to capsule increases your voice by 6 dB while the room stays the same. Two inches beats twelve inches every single time.
Point the dead side at the noise: Cardioid patterns reject sound from the rear. If your HVAC unit sits behind you, point the rear of the microphone at it. If traffic comes from a window to your left, angle the dead side that direction.
Use the off-axis null: Every cardioid pattern has a null point, usually 180 degrees behind the capsule, where rejection is maximum. Identify where your loudest noise source lives and rotate the null toward it.
Avoid corners and parallel walls: Corners collect bass buildup and reflections. Set up facing the longest wall in your room, not the shortest. Keep the microphone away from corners by at least three feet.
Hang something soft behind you: The wall behind your head reflects sound back into the front of the microphone. Hang a heavy blanket, curtain, or acoustic panel there. This single move reduces reflections more than any other.
Use a pop filter as a distance marker: A pop filter set two to three inches from the capsule gives you a consistent working distance. Touch the filter with your lips each time you record to lock in that close position.
Record at the quietest time of day: If your HVAC cycles every 20 minutes, record between cycles. If traffic peaks at rush hour, record in the early morning. Timing is a free noise reduction tool.
Lower the gain and get closer: Most beginners set gain by ear at a comfortable distance. Instead, get close and lower the gain. Your signal-to-noise ratio improves dramatically.
Budget DIY Room Treatment That Actually Works
You do not need professional acoustic treatment to make a condenser usable in a noisy space. These budget solutions move the needle measurably.
The closet vocal booth: Hang your clothes densely, set up inside the closet doorway facing out, and record. The clothes absorb reflections. Your back is protected by the closet. This is a classic home studio trick that works.
The blanket fort: Drape a heavy moving blanket over a mic stand behind your microphone. Hang another to your left and right. You have just built a vocal booth for under 40 dollars.
The mattress wall: If your bedroom has a mattress against one wall, set up so the microphone faces the mattress. The soft surface absorbs reflections from your voice.
Strategic rug placement: Hard floors reflect high frequencies upward into the capsule. Lay the thickest rug you own between you and any hard surface. A thick rug reduces floor bounce noticeably.
Window treatment: Windows are reflective and let in traffic noise. Heavy blackout curtains absorb sound and block noise. Close them fully during recording sessions.
Reflection filter: A semicircular reflection filter mounted behind the microphone absorbs reflections from the wall behind you. They are not perfect, but they help when full treatment is not an option.
Common Mistakes When Recording in Untreated Spaces
A few habits undermine otherwise good recordings. Avoid these and your noisy room recordings improve immediately.
Recording too far from the microphone: The single biggest mistake. Twelve inches of distance is too much for an untreated room. Get to two to four inches for vocals.
Using omnidirectional patterns: Omni patterns capture sound equally from all directions. If your condenser has a pattern switch, set it to cardioid for untreated rooms.
Setting gain by looking at peaks: Setting gain so peaks hit negative six dB at a comfortable distance guarantees the room sits loud in the recording. Set gain at your final working distance with the room noise audible.
Ignoring the noise floor: Before recording, hit record and stay silent for 10 seconds. Listen back. That is your noise floor. If it is louder than a soft whisper, your positioning or room needs work.
Assuming the microphone will fix the room: No microphone fixes an untreated room. Positioning, treatment, and timing fix rooms. The microphone captures whatever is there.
Frequently Asked Questions
Are condenser mics good for untreated rooms?
Condenser mics can work in untreated rooms when positioned close to the source. Their high sensitivity captures detail but also amplifies room reflections and background noise. With close mic positioning, a reflection filter, and basic treatment like blankets or rugs, a condenser produces excellent results even in a noisy space.
When to use condenser vs dynamic mic?
Choose a condenser for acoustic instruments, detailed vocals, and situations where you can position close or treat the room. Choose a dynamic for podcasting, streaming, loud vocals, untreated rooms where close positioning is difficult, and setups without phantom power. The transducer type matters less than working distance and polar pattern.
What is the best mic for an untreated room?
For most untreated room situations, a dynamic microphone used at close distance gives the cleanest results with minimal setup. Cardioid dynamics like the Shure SM7B, Electro-Voice RE20, or even a budget SM58 capture vocals with low room spill. Condensers work if you commit to close positioning and basic DIY treatment.
What are the disadvantages of using a dynamic mic?
Dynamic mics have lower sensitivity, requiring more preamp gain which can raise noise floor. Their transient response is slower, smearing fast attacks. The high-frequency response rolls off earlier than condensers, missing air and detail. They also exhibit proximity effect that can muddy vocals at very close distances.
Final Verdict: Dynamic or Condenser for Your Noisy Untreated Room
For a dynamic vs condenser microphone choice in a noisy untreated room, here is the simple rule we follow. If you record spoken word, podcast, stream, or loud vocals and want minimal setup, choose a dynamic and use it close. If you record acoustic instruments, detailed vocals, or can position close with basic treatment, a condenser rewards the effort with superior detail.
Remember the core principle. Neither microphone type rejects room sound by magic. Sensitivity difference is the real factor, and working distance is the real fix. Get close, point the dead side at your noise source, hang something soft behind you, and either microphone type delivers clean recordings in your noisy untreated room.
Start with what you already own. Master positioning first. The microphone upgrade can wait until your technique has extracted everything possible from your current setup.