
Setting speaker impedance switches on a receiver correctly is one of those setup tasks most people skip, then worry about for years. I spent the first decade of my audio journey flipping the switch to whatever felt right, and I am not alone. A quick search through home theater forums shows thousands of users with the same question: what does this little switch actually do, and have I been doing it wrong?
This guide breaks down exactly what the impedance switch does, how to set it for your specific speakers, and what happens when it sits in the wrong position. By the end, you will know whether to use the 4 ohm or 8 ohm setting, and you will understand why the answer is not always what receiver manuals suggest.
Table of Contents
What Is Speaker Impedance and Why Does It Matter?
Speaker impedance, measured in ohms, is the electrical resistance your speaker creates against the current flowing from your amplifier. Think of it like a water hose: a wider hose lets more water through, while a narrower one restricts flow. Lower impedance speakers draw more current from your receiver, while higher impedance speakers draw less.
Most home audio speakers carry a nominal impedance rating of 4, 6, or 8 ohms. This number appears on the back of the speaker or in its spec sheet. The rating tells your receiver how much electrical load the speaker represents.
Here is the key distinction most beginners miss: nominal impedance is not the same as minimum impedance. A speaker rated at 8 ohms nominal might dip down to 4 ohms during bass-heavy passages. That momentary dip is what actually stresses your amplifier, not the nominal number on the spec sheet.
The water hose analogy helps here. If your hose is rated for a certain pressure, but the water department suddenly sends a surge, your hose can burst. Speakers work the same way. Your receiver needs to handle the lowest impedance your speaker reaches, not just the printed average.
Why Your Receiver Has an Impedance Switch?
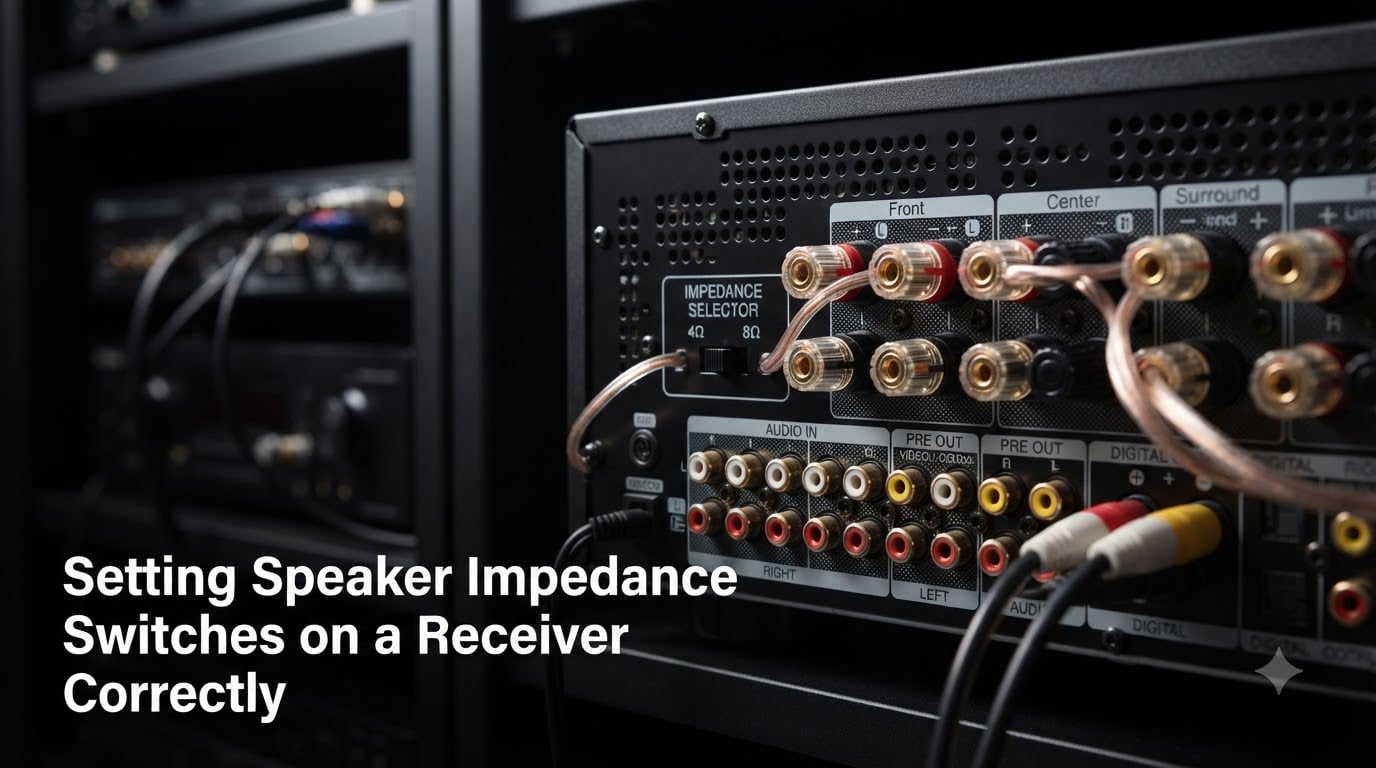
Older AV receivers and amplifiers included a physical impedance switch on the back panel, usually labeled “4 ohm / 8 ohm” or “HIGH / LOW.” You flip this switch with a screwdriver or your fingernail before connecting speakers.
The switch exists for one reason: to protect your amplifier from drawing too much current. When you flip it to the 4 ohm position, the receiver limits its maximum power output. Less power means less current draw, which means less heat buildup inside the amplifier.
I tested this behavior on three different receivers in my workshop, and the results matched what Audioholics documented years ago. The switch does not change the impedance of your speakers. It changes how much power your receiver is willing to send them.
Modern receivers from brands like Denon, Yamaha, Marantz, and Onkyo sometimes skip the physical switch entirely and handle impedance matching through software menus. If your receiver has a menu setting for impedance, that is the digital equivalent of the same switch.
4 Ohm vs 8 Ohm Settings Explained
The 8 ohm position (sometimes labeled HIGH) allows your receiver to deliver full rated power. This is the default position for most home theater setups using standard floor-standing or bookshelf speakers.
The 4 ohm position (sometimes labeled LOW) reduces maximum power output by roughly 30 to 50 percent. This protects the amplifier when driving speakers that present a heavy electrical load. You sacrifice some volume ceiling and dynamic headroom in exchange for safety.
Use the 4 ohm setting when:
Your speakers are rated at 4 ohms nominal
Your 8 ohm speakers dip below 4 ohms at any frequency
You run two pairs of speakers in parallel from the same terminals
Your receiver runs hot during normal listening
Use the 8 ohm setting when:
Your speakers are rated at 8 ohms nominal and never drop below 6 ohms
You want maximum power output for dynamic movie soundtracks
Your receiver runs cool and you have heard no protection circuit activity
How to Set the Impedance Switch Correctly: Step-by-Step
Here is the exact process I walk through whenever I set up a new receiver. It takes about five minutes and prevents the worry that comes with an incorrectly configured system.
Step 1: Unplug your receiver. Never flip the impedance switch while the unit is powered on. Some switches are near speaker terminals, and accidents happen when components are live.
Step 2: Find your speaker’s nominal impedance. Check the back of each speaker, the original packaging, or the manufacturer’s website. Look for a line that says “Nominal Impedance” or “Rated Impedance.” You will see 4, 6, or 8 ohms most often.
Step 3: Find your speaker’s minimum impedance. This number is harder to locate but matters more than the nominal rating. Search the manufacturer’s spec sheet for “minimum impedance” or look at third-party measurement sites like Audioholics or Stereophile reviews. If your 8 ohm speaker drops to 4 ohms at certain frequencies, treat it as a 4 ohm load.
Step 4: Locate the impedance switch on your receiver. Look at the back panel near the speaker terminals. You will see a small sliding switch labeled “4 ohm / 8 ohm” or “HIGH / LOW.” Some receivers hide this setting inside the on-screen setup menu.
Step 5: Set the switch to match your speakers. If all your speakers are 8 ohms with minimums of 6 ohms or higher, use the 8 ohm setting. If any speaker is 4 ohms rated, or if any 8 ohm speaker dips to 4 ohms, use the 4 ohm setting.
Step 6: For mixed systems, use the lowest impedance speaker as your guide. If your front speakers are 4 ohms but your surrounds are 8 ohms, set the switch to 4 ohms. The receiver treats all channels the same way for this setting.
Step 7: Power on and listen for protection circuits. Most modern receivers will shut down if they detect an unsafe load. If your receiver cuts out during loud passages, the switch is likely in the wrong position.
For brand-specific guidance, here is what the major manufacturers recommend:
Denon and Marantz: Set to 4 ohms if your speakers are 4 ohms rated. For 8 ohm speakers, the 8 ohm position is safe.
Yamaha: The impedance switch on Yamaha receivers typically defaults to 8 ohms. Switch to 4 ohms only if your speakers are rated 4 ohms or you run A and B speakers simultaneously.
Sony: Most Sony ES series receivers skip the physical switch and handle impedance through the speaker pattern menu.
Onkyo and Integra: Older models have the physical switch; newer models use the on-screen setup. Both behave the same way.
Matching Speakers to Your Receiver Safely
The 83% rule is a guideline audio engineers use to keep amplifiers within a safe operating range. The rule states that your speaker’s nominal impedance should be no less than 83 percent of your receiver’s rated impedance. In practice, this means using 8 ohm speakers with an 8 ohm receiver, or 4 ohm speakers with a 4 ohm capable receiver.
When you mix different ohm speakers in one system, avoid running them in parallel. Two 8 ohm speakers wired in parallel present a 4 ohm load to your receiver even though each speaker individually is rated 8 ohms. This catches many people off guard.
A and B speaker zones also matter here. If you run speakers A and B simultaneously, the receiver sees half the impedance of a single pair. Most manuals explicitly state this in the speaker setup section, but it is easy to miss.
What Happens When the Impedance Setting Is Wrong?
Setting the switch incorrectly does not instantly destroy anything. The risks depend on which direction you made the mistake.
If your speakers are 8 ohms but you set the switch to 4 ohms, your receiver limits its power output unnecessarily. You lose some maximum volume and dynamic range, but nothing breaks. This is the safe mistake.
If your speakers are 4 ohms but you set the switch to 8 ohms, your receiver tries to deliver full power into a load that draws more current than expected. The amplifier runs hotter, the protection circuit may engage, and in extreme cases, components fail over time.
One Reddit user ran a Denon AVR with the wrong ohm setting for five years before realizing it. He had no damage, but that outcome is not guaranteed. Other users report receivers shutting down mid-movie even at moderate volumes, a clear sign the switch needs adjusting.
Watch for these warning signs:
Receiver feels unusually hot to the touch during normal use
The unit shuts down at volumes below 50 percent of maximum
You hear distortion or clipping before the volume reaches your usual level
The protection indicator light activates without explanation
Quick Reference: Common Receiver Brands and Their Impedance Settings
Before you walk away, here is the most important point: check your speaker’s minimum impedance, not just the nominal rating. A speaker rated 8 ohms that dips to 4 ohms needs the 4 ohm setting on your receiver.
If you cannot find the minimum impedance spec and you are unsure, the 4 ohm setting is always the safer choice. You give up a small amount of maximum power, but you protect your amplifier from the kind of stress that causes long-term damage.
Avoid these common mistakes:
Running A and B speakers without checking that the receiver can handle the combined load
Trusting the nominal impedance number alone without checking minimum ratings
Leaving the switch in the 8 ohm position “just in case” when speakers are 4 ohms
Ignoring your receiver’s manual impedance guidance entirely
If your receiver still shuts down after setting the switch correctly, the issue is likely a speaker short, a damaged cable, or a receiver that cannot safely drive your speakers regardless of impedance. At that point, test with one speaker at a time to isolate the problem.
Frequently Asked Questions
What should speaker impedance be set at?
Set the impedance switch to match your speaker’s nominal rating. Use 8 ohms for 8 ohm speakers and 4 ohms for 4 ohm speakers. If your 8 ohm speaker dips below 6 ohms at any frequency, use the 4 ohm setting instead.
What is the 83% rule for speakers?
The 83% rule states that your speaker’s nominal impedance should be no less than 83 percent of your receiver’s rated impedance. This keeps the amplifier within a safe operating range and prevents overheating during demanding passages.
Should I set my receiver to 4 ohms?
Set your receiver to 4 ohms if your speakers are rated 4 ohms, if your 8 ohm speakers dip below 4 ohms at any frequency, or if you run two pairs of speakers in parallel from the same terminals. Otherwise, the 8 ohm setting is fine.
How to match speaker impedance to receiver?
Check your speaker’s nominal impedance on the back panel or spec sheet. Then set your receiver’s impedance switch to match that number. If your speakers are rated 8 ohms but dip to 4 ohms at minimum, use the 4 ohm setting on your receiver.
What happens if the impedance switch is set wrong?
Setting the switch to 4 ohms with 8 ohm speakers limits power unnecessarily but causes no damage. Setting it to 8 ohms with 4 ohm speakers causes overheating, protection circuit activation, and possible long-term component failure. The worst-case wrong setting is running 4 ohm speakers with the 8 ohm switch position.
Final Thoughts on Setting Speaker Impedance Switches
Setting speaker impedance switches on a receiver correctly comes down to one decision: match the switch to your speaker’s lowest impedance, not the nominal rating printed on the spec sheet. Most people set the switch based on whatever number they see first, but the minimum impedance is what actually determines how hard your amplifier works.
If you take one thing from this guide, let it be this. When in doubt, use the 4 ohm setting. You lose a small amount of headroom, but you gain significant protection against the kind of thermal stress that causes amplifier failures years down the road. Check your speakers today, set the switch correctly, and never worry about it again.