
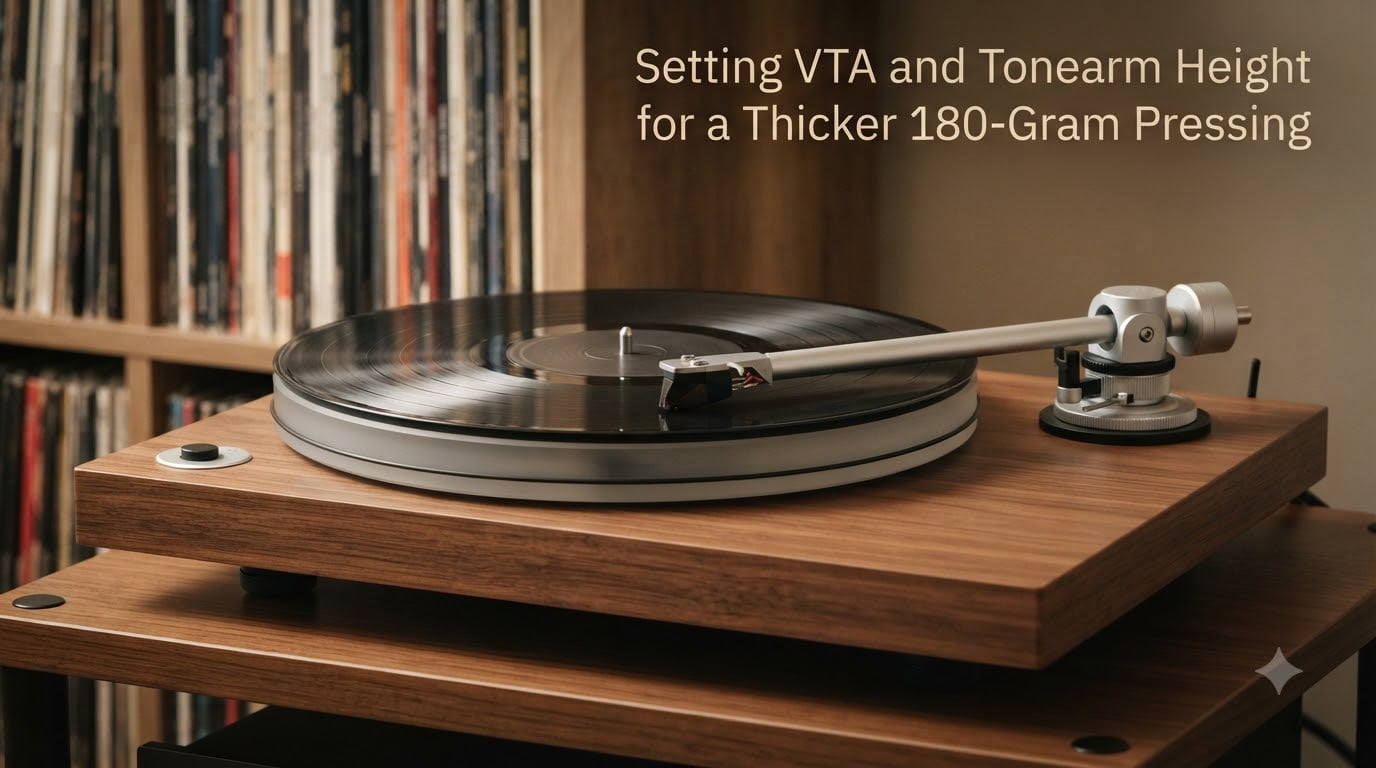
If you have ever swapped a standard pressing for a thick 180-gram audiophile LP and noticed the sound shift, the culprit is often your vertical tracking angle. Setting VTA and tonearm height for a thicker 180-gram pressing is one of those subtle turntable adjustments that separates a good-sounding system from a great one. The extra thickness of these records lifts the disc surface higher, which changes the angle your stylus meets the groove.
I have spent years experimenting with VTA adjustments across dozens of turntables and cartridges. Some differences are immediately obvious, while others are so subtle you might question whether you heard anything at all. This guide walks you through everything from basic VTA theory to a practical step-by-step process tailored specifically for 180-gram vinyl.
You will learn what VTA actually is, why 180-gram pressings throw it off, how to check whether your tonearm needs adjustment, and a reliable listening test methodology. I will also cover what to do when your turntable lacks a VTA adjustment feature, because a surprising number of entry-level models fall into that category.
Table of Contents
What Is VTA (Vertical Tracking Angle)?
VTA, or Vertical Tracking Angle, is the angle at which your cartridge’s stylus meets the record groove relative to the disc surface. It is determined by the height of your tonearm at the pivot point. When the tonearm sits parallel to the record surface, the stylus tracks the groove at the angle the cartridge manufacturer designed it for.
Think of it this way: the stylus is a tiny chisel carved to match the groove geometry. If that chisel tilts too far forward or backward, it no longer traces the groove walls accurately. The result is compromised sound quality that can range from slightly off to noticeably wrong.
VTA is closely related to SRA, or Stylus Rake Angle. While VTA describes the vertical angle of the entire tonearm and cartridge assembly, SRA refers specifically to the angle of the stylus tip itself as it contacts the groove. For most practical purposes, adjusting your tonearm height addresses both. A properly set VTA typically puts the SRA in the right neighborhood, assuming your cartridge is mounted correctly.
The key thing to understand is that VTA changes whenever the distance between the tonearm pivot and the record surface changes. This is exactly why 180-gram pressings become relevant. A thicker record raises the surface, and that shifts the angle even if your tonearm has not moved.
Why 180-Gram Pressings Require Different VTA
A standard vinyl record weighs roughly 120 to 140 grams. A 180-gram pressing is noticeably thicker, and that extra thickness raises the record surface closer to the tonearm. Even though we are talking about a difference of only a fraction of a millimeter in practical terms, it is enough to alter the stylus-groove relationship.
When a 180-gram record sits on your platter, the surface sits higher than it would with a standard pressing. This means your tonearm, if it was perfectly level on a standard record, now tilts slightly upward at the cartridge end. The stylus rake angle shifts, and the cartridge no longer tracks the groove at its designed angle.
Here is the honest reality that many forum threads on r/vinyl and AVS Forum confirm: the actual angular difference between playing a 120g and a 180g record is quite small. Most experienced users report that the change in VTA is minimal and often within the range where most cartridges still perform well. Some listeners cannot hear any difference at all.
However, that does not mean the difference is imaginary. High-end cartridges with fine line, micro-ridge, or Shibata styli are far more sensitive to VTA changes than conical or elliptical styli. If you are running a cartridge with a specialized stylus profile, the angle shift from a thick pressing can produce audible changes in tonal balance, detail retrieval, and soundstage depth.
The practical takeaway is this: if your turntable has a VTA adjustment and you play a lot of 180-gram pressings, it is worth dialing in. If your turntable lacks VTA adjustment, the small angle change from record thickness is unlikely to ruin your listening experience. Set your VTA for a medium-thickness record and enjoy the music.
How to Check If Your Tonearm Needs Adjustment
The simplest way to check your VTA is visual. Put a 180-gram record on the platter, cue the tonearm so the stylus rests in the groove, and lower yourself to eye level with the tonearm. Look at the arm from the side, directly along its length.
What you want to see is the tonearm tube sitting roughly parallel to the record surface. If the cartridge end of the arm is noticeably lower than the pivot end, your VTA is too low. If the cartridge end rides higher than the pivot, your VTA is too high. A slight deviation is normal and usually harmless.
Your ears will also tell you when something is off. A VTA that is too high tends to produce a sound that is bright, thin, or harsh in the upper frequencies. Sibilance on vocals becomes more pronounced, and cymbals can sound edgy. A VTA that is too low does the opposite: the sound gets dark, muddy, and congested, with bass that loses definition and highs that sound rolled off.
Physical symptoms can also point to VTA problems. If your stylus skips or jumps specifically on thick pressings but tracks fine on standard records, the angle change may be enough to cause mistracking. This is more common with cartridges that have limited vertical compliance or with worn styli.
Step-by-Step VTA Adjustment Process
Setting VTA and tonearm height for a thicker 180-gram pressing follows a logical sequence. Rush through it and you will end up chasing your tail. Take it one step at a time and the results will be far more reliable.
Step 1: Set tracking force and anti-skate first. Before touching VTA, make sure your tracking force is set to the cartridge manufacturer’s recommended range. VTA adjustments change slightly under different tracking forces, so establishing this first gives you a stable baseline. Set your anti-skate to match the tracking force as well.
Step 2: Play the 180-gram record you want to optimize for. Put the record on the platter and let it play. Get down to eye level and check whether the tonearm is parallel to the record surface. This visual check tells you the starting point for your adjustment.
Step 3: Locate your VTA adjustment mechanism. Different turntables handle this differently. Some tonearms have a small set screw or Allen bolt at the base of the tonearm pillar. Others use a knurled knob or a threaded collar that raises and lowers the entire arm assembly. Pro-Ject and Rega tonearms use a ring at the pivot base. VPI tonearms often have a tall threaded column. If you cannot find it, check your turntable’s manual, because not all models offer VTA adjustment.
Step 4: Make a small adjustment and listen. Loosen the locking mechanism slightly and raise or lower the tonearm by a tiny amount. We are talking about fractions of a millimeter here. If your tonearm has a threaded adjuster, a quarter turn is plenty for one increment. After each change, tighten the lock and listen to a familiar passage of music.
Step 5: Use the listening test to find the sweet spot. Start with the arm level, then try raising it slightly. Listen for changes in high-frequency clarity and bass tightness. Then try lowering it slightly and compare. The correct VTA is where the sound is most balanced: highs are smooth but detailed, bass is full but controlled, and the midrange sounds natural. I cover the specific listening methodology in the next section.
Step 6: Lock it in and leave it alone. Once you find the setting that sounds best, tighten the locking mechanism firmly but gently. Overtightening can damage threads or warp the tonearm base. Mark the position with a fine pencil line on the pillar so you can return to it if you ever need to readjust.
A note on safety: never adjust VTA while the stylus is in the groove. Always lift the tonearm with the cueing lever, make your adjustment, then lower it back down. Forcing the adjustment mechanism can damage the tonearm bearing assembly, which is an expensive repair.
Listening Test Methodology: Tuning VTA by Ear
Listening tests are the most reliable way to fine-tune VTA, and they require no special equipment beyond your ears and a well-recorded record. The goal is to find the VTA setting where your system sounds most natural and balanced across the frequency range.
Choose a record you know intimately. Ideally, pick something with clear high-frequency content like cymbals or strings, solid bass, and natural vocals. An acoustic jazz record, a well-recorded rock album, or a Mobile Fidelity pressing all work well. Avoid heavily compressed modern releases because they mask the subtle differences VTA adjustments reveal.
Listen for what happens when VTA is too high. The arm tilts up at the cartridge end, which makes the stylus rake angle steeper. The sound typically becomes brighter and more aggressive. Highs get sharp or even harsh. Sibilance on vocals increases. The soundstage can shrink, and instruments lose their sense of body and warmth. If everything sounds thin and fatiguing, lower the tonearm slightly.
Now listen for VTA that is too low. The arm tilts down at the cartridge end, which flattens the rake angle. The sound becomes darker and warmer, sometimes to a fault. Bass gets loose and boomy. Highs lose their sparkle and air. The midrange can sound thick or congested, as if someone threw a blanket over your speakers. If the sound is dull and lifeless, raise the tonearm slightly.
The sweet spot is where brightness and warmth are balanced. Highs have detail and air without sounding harsh. Bass is tight and controlled. Vocals sound natural with realistic presence. The soundstage opens up, and you can pick out individual instruments with ease. This is the point where your cartridge is tracking the groove exactly as designed.
One important reminder: make one adjustment at a time. Change the VTA, listen to the entire test passage, then decide. Making multiple changes before listening makes it impossible to know which adjustment produced which result. Patience here pays off.
Troubleshooting Common VTA Issues
Sometimes you adjust VTA and the sound still is not right. Before you drive yourself crazy with micro-adjustments, consider whether the problem is actually something else entirely.
If your cartridge sounds distorted regardless of VTA setting, check your tracking force first. A cartridge that is under-tracked will distort on loud passages no matter what the VTA is. This is the most common cause of persistent distortion, and it has nothing to do with tonearm height.
If one channel sounds louder than the other, your azimuth may be off rather than your VTA. Azimuth controls the left-right tilt of the cartridge, and it affects channel balance and separation. Adjusting VTA will not fix an azimuth problem, and vice versa. Check azimuth by looking at the cartridge head-on while the stylus is in the groove. The cartridge body should be perfectly vertical relative to the record surface.
If your tonearm skips on 180-gram records but tracks standard pressings fine, the issue might be your anti-skate setting rather than VTA. Anti-skate compensates for the inward force the groove exerts on the stylus. Too much anti-skate can cause skipping on the outer grooves of thick records. Try reducing it slightly and see if the problem resolves.
For turntables without VTA adjustment, which includes many budget models from Audio-Technica, Sony, and similar brands, you have limited options. Some enthusiasts use thin shims between the cartridge body and the headshell to change the angle, but I would not recommend this unless you understand the risks. The better approach is to set your VTA for a medium-thickness record using the standard setup, accept that 180-gram pressings will have a slightly different angle, and focus on enjoying the music. The sonic difference is small enough that most listeners will not notice.
A dirty stylus can also mimic VTA problems. Before adjusting anything, clean your stylus with a proper brush or gel cleaner. A buildup of vinyl debris on the tip changes how it contacts the groove, producing distortion and brightness that no amount of VTA adjustment will fix.
Common Mistakes to Avoid When Setting VTA
The biggest mistake people make is adjusting VTA before setting tracking force. VTA and tracking force interact with each other. If you change tracking force after setting VTA, your angle shifts. Always establish tracking force first, then fine-tune VTA.
Another common error is making large adjustments instead of micro-changes. VTA adjustments are measured in fractions of a millimeter. A quarter turn of an adjuster can be the difference between bright and perfect. Cranking the adjuster several turns will send you past the sweet spot and into confusing territory where the sound gets worse in both directions.
Obsessing over VTA for every individual record is a trap. Some audiophiles adjust VTA for every single pressing they play. Unless you have a high-end cartridge with a line-contact stylus and a turntable with a precision VTA tower, this is overkill. A practical approach is to set VTA for standard pressings, then make one adjustment for 180-gram records if you play them frequently. Two settings cover the vast majority of your collection.
Forgetting to lock the adjustment after finding the sweet spot is surprisingly common. The vibration from playback can slowly shift an unlocked VTA collar or set screw. Always tighten the locking mechanism after adjusting, and check it periodically if you move your turntable.
Finally, do not adjust VTA on a brand-new cartridge. Cartridges need a break-in period of roughly 20 to 50 hours before they settle into their final sound signature. During break-in, the suspension softens and the cantilever settles, both of which affect VTA. Wait until the cartridge is broken in before fine-tuning the angle.
Frequently Asked Questions
How do I adjust the VTA of my tonearm?
Locate the VTA adjustment mechanism at the base of your tonearm pillar, loosen the locking screw or collar, and raise or lower the tonearm in small increments. Lower the arm for dark or muddy sound, raise it for bright or thin sound. Make one small change at a time and listen after each adjustment. Once the sound is balanced, lock the mechanism firmly.
Does 180 gram vinyl sound better?
Not necessarily. The 180-gram weight indicates a thicker, more rigid pressing that can reduce warpage and resonance, but sound quality depends primarily on the mastering, plating, and pressing quality. A well-mastered standard-weight record can sound better than a poorly mastered 180-gram pressing. The weight alone does not guarantee superior audio.
How high should my tonearm be?
Your tonearm should sit roughly parallel to the record surface when the stylus is in the groove. Check by lowering yourself to eye level with the arm and looking along its length. The cartridge end and the pivot end should be at approximately the same height relative to the record.
What is so special about 180 gram vinyl?
180-gram vinyl is thicker and more rigid than standard 120-140 gram pressings, which can reduce warping and minimize resonance during playback. Audiophile labels often use 180-gram weight as a quality indicator, though the mastering and pressing process matter more than the weight itself.
Is 180g vinyl better than 140g?
The thickness difference between 180g and 140g vinyl is small and has minimal impact on sound quality on its own. The advantage of 180g pressings comes from the fact that audiophile labels typically invest more in mastering and quality control for these releases. A 140g pressing from a quality label can sound just as good.
Should I adjust VTA for every record?
No. For most listeners, setting VTA for a medium-thickness record covers the majority of a collection. If you frequently play 180-gram audiophile pressings, a second setting optimized for thick records is practical. Adjusting VTA for every individual record is only worthwhile with high-end cartridges using specialized stylus profiles.
Conclusion
Setting VTA and tonearm height for a thicker 180-gram pressing comes down to understanding that record thickness changes the stylus-groove relationship, checking your tonearm level visually, making small incremental adjustments, and trusting your ears through careful listening tests. The process is straightforward once you commit to patience.
The reality, backed by countless forum discussions and personal experience, is that the VTA difference between standard and 180-gram records is small. If your turntable offers VTA adjustment and you want to extract every bit of performance from your audiophile pressings, dialing it in for thick records is worth the effort. If your turntable does not have VTA adjustment, set things up properly for a standard record and do not lose sleep over it. The most important thing is to enjoy the music.