
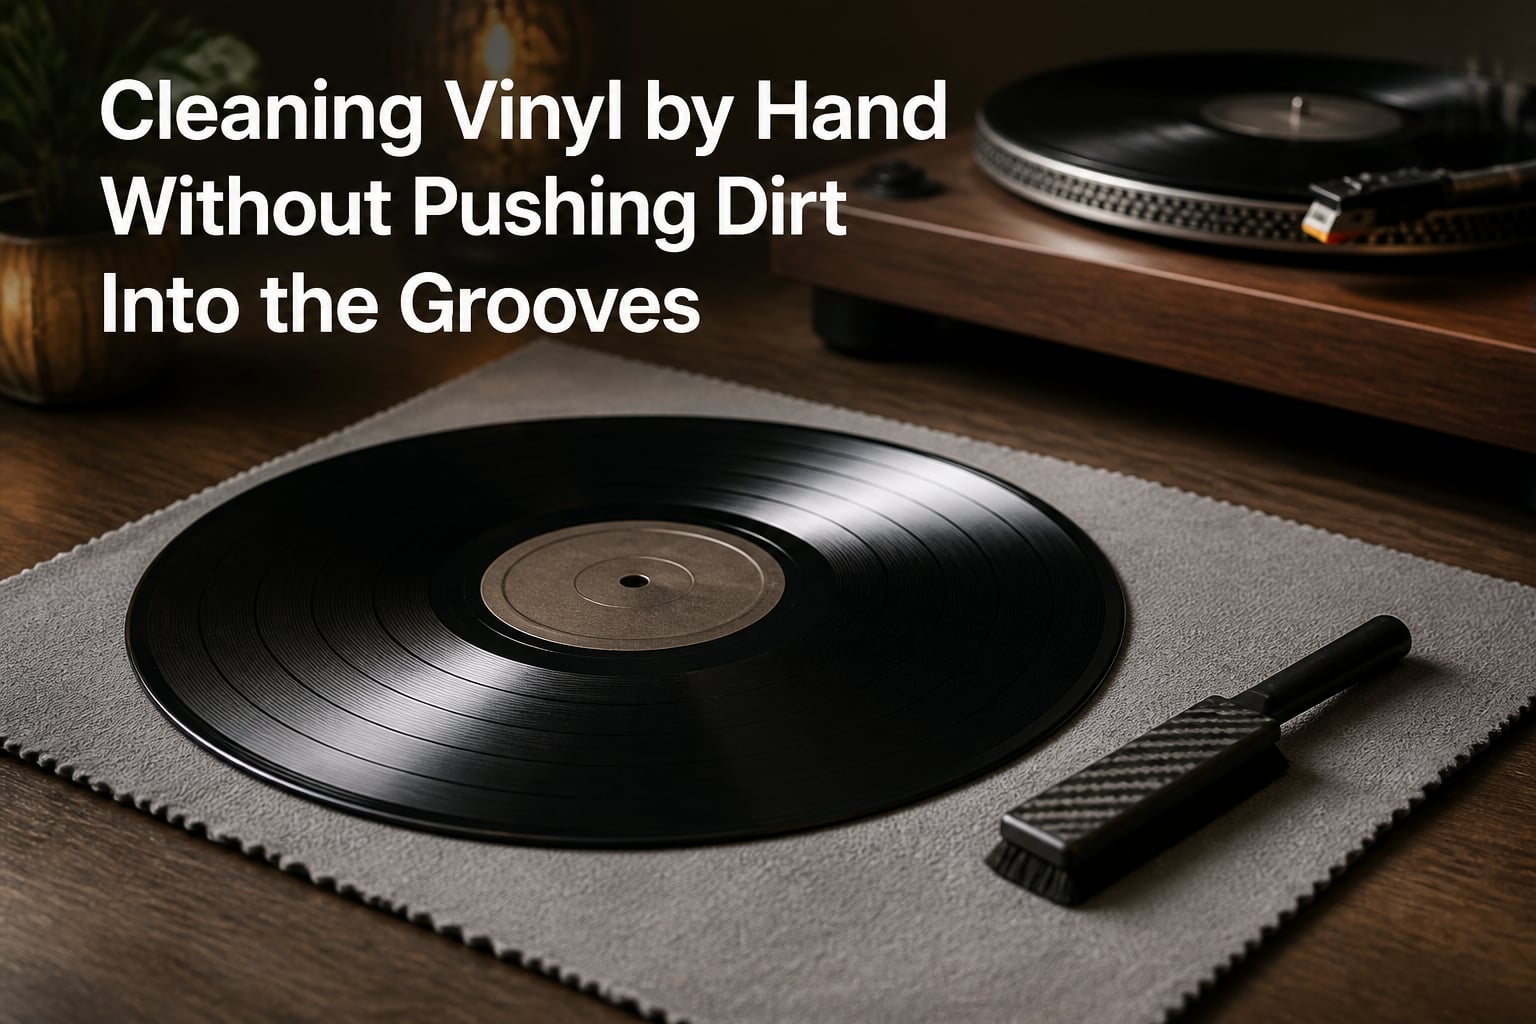
I learned this lesson the expensive way. After my first attempt at cleaning vinyl by hand, I pulled out a record and heard more pops than before I started. The culprit was not the cleaning fluid or the cloth. It was my motion. I wiped back and forth across the grooves like I was dusting a coffee table, and every stroke pushed debris deeper into the groove walls where the stylus could not escape it.
That mistake taught me what vinyl collectors with decades of experience already knew. Cleaning vinyl records by hand is not about elbow grease. It is about direction, pressure, and chemistry. Done wrong, you can ruin a record’s sound. Done right, you can restore one. In this guide, I will walk you through the exact technique I use on my own collection to lift dirt out of the grooves without grinding it in.
Table of Contents
Why Cleaning Vinyl by Hand Requires Special Care?
A vinyl record is not a flat surface. It is a spiral of microscopic grooves carved into a disc of PVC, and each groove carries the full waveform of the music. The walls of those grooves are thinner than a human hair, and they are coated with a release agent and protective layer added during manufacturing to keep the record from sticking to the stamper.
That protective coating is the first thing most household cleaners destroy. Pure alcohol, glass cleaners, and most multi-purpose sprays will cut through that coating in seconds. Once it is gone, the bare vinyl underneath is exposed to oxidation, and every particle of dust that touches the grooves becomes permanent noise.
The second issue is mechanical. The grooves run in a circle from the outer edge to the label. Anything that crosses them at an angle digs into the walls rather than following the channel. That is why gentle wiping can feel productive while actually damaging the audio information encoded on the disc.
The Problem: How Improper Cleaning Pushes Dirt Into Grooves
Static electricity is the hidden force behind most failed cleaning attempts. Every time you rub a cloth across dry vinyl, you charge the surface and the cloth with opposite static charges. Dust particles then leap from the cloth to the record, and they settle into the grooves where the charge is strongest.
If you wipe in straight lines, you are essentially sweeping that charged dust pile ahead of the cloth. Most of it ends up pushed into the next groove over, where it wedges itself into the walls. The stylus then hits that debris on every rotation and you hear it as crackle or skip.
The fix is to always work with the groove direction. Concentric circles, following the path the stylus takes, lift particles out of the channel and carry them to the edge where you can sweep them away. This single change in motion is what separates proper hand cleaning from record-damaging scrubbing.
Essential Tools for Hand Cleaning (No Equipment Needed)
You do not need a vacuum-powered cleaning machine or a multi-hundred-dollar ultrasonic bath to maintain your collection. I have been cleaning my records with a small kit that costs less than a new LP, and the results match what I get from expensive gear.
The first tool is a proper microfiber cloth. Not the kind you use on eyeglasses or kitchen counters. You want a high-pile, lint-free microfiber specifically labeled for records or camera sensors. The fibers are dense enough to reach into grooves without shedding. One 12 by 12 inch cloth is enough for a session of ten to fifteen records.
The second tool is a carbon fiber anti-static brush. The conductive carbon fibers discharge static on contact and pull dust up out of the grooves in a single pass. If you buy only one piece of cleaning gear, make it this brush. Hold it lightly, let the weight of the brush do the work, and never press down hard.
For wet cleaning, you need a dedicated record cleaning solution or a homemade mix of distilled water with one drop of dish soap per cup. Tap water contains minerals that leave residue inside the grooves. Distilled water does not. The dish soap breaks the surface tension so the water can flow into the grooves instead of beading up on top.
Step-by-Step Hand Cleaning Technique Using Concentric Motions
Here is the exact sequence I follow when I clean a record by hand. I have used this on more than 200 records in my collection, including some thrift store finds that sounded unplayable when I bought them.
Place the record on a clean, flat, non-slip surface. A soft mousepad works well. The record should not spin freely.
Hold the carbon fiber brush at a 90-degree angle to the record surface. Make one slow pass from the outer edge toward the label, following the grooves.
Lift the brush straight up off the record. Do not drag it back across the surface. Each pass should be one-way only.
Repeat the brush pass three to four times, rotating the record a quarter turn between passes to reach every section.
For deeper cleaning, lightly mist the microfiber cloth with distilled water. The cloth should be damp, never wet.
Place your fingers on the label only and rotate the record with your other hand in a slow circle. The cloth should stay still while the record spins underneath it.
Apply zero downward pressure. The weight of your fingertips on the cloth is enough.
After two full rotations, flip the record and repeat on the other side.
Set the record upright on a clean surface and let it air dry for at least five minutes before sliding it back into its sleeve.
The key motion in step six is the one most people get wrong. Your hand stays still, the record moves under it, and the cloth travels along the groove direction at all times. This lifts debris out instead of dragging it sideways into the next groove.
When to Rinse vs. When to Just Brush Your Records
Dry brushing handles 80 percent of routine cleaning. If your record sounds clean after a brush pass, you are done. There is no need to introduce moisture every time you play a record.
Rinsing becomes necessary when the brush alone does not remove surface noise. Signs that you need wet cleaning include visible fingerprints, a hazy film across the playing surface, or persistent crackle that does not respond to brushing.
Used records from thrift stores or estate sales almost always need both. Start with a dry brush pass to remove loose dust, then follow with the distilled water rinse. New records straight from the factory usually only need a brush pass to remove any release agent residue sitting on top.
What NOT to Use on Vinyl Records
This is the section I wish someone had handed me on day one. Some of the most common household products cause permanent, irreversible damage to vinyl records.
Isopropyl alcohol will cut through the protective coating in seconds. It feels effective because the record looks clean immediately after. The damage shows up months later as oxidation and increased surface noise. The Vinyl Factory and several record archivists have documented this exact pattern.
Windex and glass cleaners contain ammonia, which dries out the vinyl and leaves a cloudy residue inside the grooves. The blue color does not lift dirt better than distilled water. Skip it entirely.
WD-40 is sometimes recommended online for cleaning records. Do not use it. WD-40 leaves an oily film that attracts more dust than you removed, and it can cause the stylus to skate across the record instead of tracking the grooves properly.
Clorox wipes and disinfecting wipes contain solvents that strip the protective coating and leave chemical residue. The convenience is not worth the permanent damage to your collection.
Tap water contains calcium, magnesium, and chlorine. These minerals deposit inside the grooves as the water dries and become part of the record. Use distilled water for any wet cleaning step.
Drying Techniques That Prevent Recontamination
How you dry a record matters as much as how you wash it. The most common mistake is patting the record with a regular bath towel. Cotton towels shed fibers that end up trapped in the grooves, and you will spend your next session fishing them out with a stylus brush.
Air drying is the safest method. Stand the record upright on a clean shelf or lean it against a wall with the playing surface facing the wall. Allow at least five minutes for the moisture to evaporate completely. A small fan pointed at the record speeds up the process without touching the surface.
If you are in a hurry, use a second clean microfiber cloth to blot gently along the groove direction. Do not wipe. Place the cloth on the surface, press lightly, lift it off, and rotate to a clean section. Repeat until the surface is dry.
How Often Should You Clean Your Vinyl Records?
A quick carbon fiber brush pass before every play is the single best habit a vinyl collector can build. It takes thirty seconds, removes the dust that settled on the record since the last session, and dramatically reduces pops and clicks during playback.
A deeper hand cleaning once a month is plenty for most collections stored in inner sleeves and kept away from smoke, pets, and open windows. If you notice surface noise building up between monthly cleanings, brush more often or evaluate the storage environment for dust sources.
Used records you acquire from outside sources should get a full hand cleaning before their first play in your home. You have no idea how they were stored, and the dust they carry can migrate to your other records if you skip this step.
Frequently Asked Questions
How do I get dirt out of vinyl grooves?
Use a carbon fiber anti-static brush and follow the groove direction with light, one-way passes from the outer edge toward the label. Lift the brush off the record at the end of each pass instead of dragging it back. For stubborn dirt, lightly mist a microfiber cloth with distilled water and rotate the record under your still hand in slow circles.
Can you clean vinyl records with water?
Yes, but only distilled water. Tap water contains minerals that leave residue inside the grooves. Lightly dampen a microfiber cloth with distilled water and apply it with concentric motions, never wiping across the grooves. Air dry the record upright for at least five minutes before returning it to its sleeve.
What cleans vinyl records without damaging them?
A carbon fiber anti-static brush paired with a lint-free microfiber cloth and distilled water cleans records safely. For tougher jobs, a record cleaning solution made specifically for vinyl works better than household products. Avoid isopropyl alcohol, Windex, Clorox wipes, and WD-40, all of which strip the protective coating or leave residue.
How often do vinyl records need to be cleaned?
Brush every record with a carbon fiber brush before each play. Plan a deeper hand cleaning once a month for records stored in clean conditions. Used records from thrift stores or collectors should be hand cleaned before their first play in your collection to prevent contamination of nearby records.
Is Windex good for cleaning vinyl records?
No. Windex contains ammonia and detergents that strip the protective coating on vinyl records and leave a cloudy residue inside the grooves. Use distilled water with a microfiber cloth or a dedicated vinyl cleaning solution instead. The visible shine from Windex is short-lived and the long-term damage is permanent.
The Concentric Motion Principle: Your Best Defense for Cleaning Vinyl by Hand
The single most important thing to remember about cleaning vinyl by hand is direction. Always move along the grooves, never across them. Concentric motion follows the path the stylus takes and lifts dirt out of the channel. Cross-grain wiping pushes dirt deeper into the walls where no brush or stylus can rescue it.
Pair that motion with a carbon fiber brush, a lint-free microfiber cloth, distilled water, and patience. Skip the household chemicals that promise shortcuts. Your records will reward you with cleaner sound and longer life, and the process itself becomes a small ritual that connects you to the music before the needle even drops.