
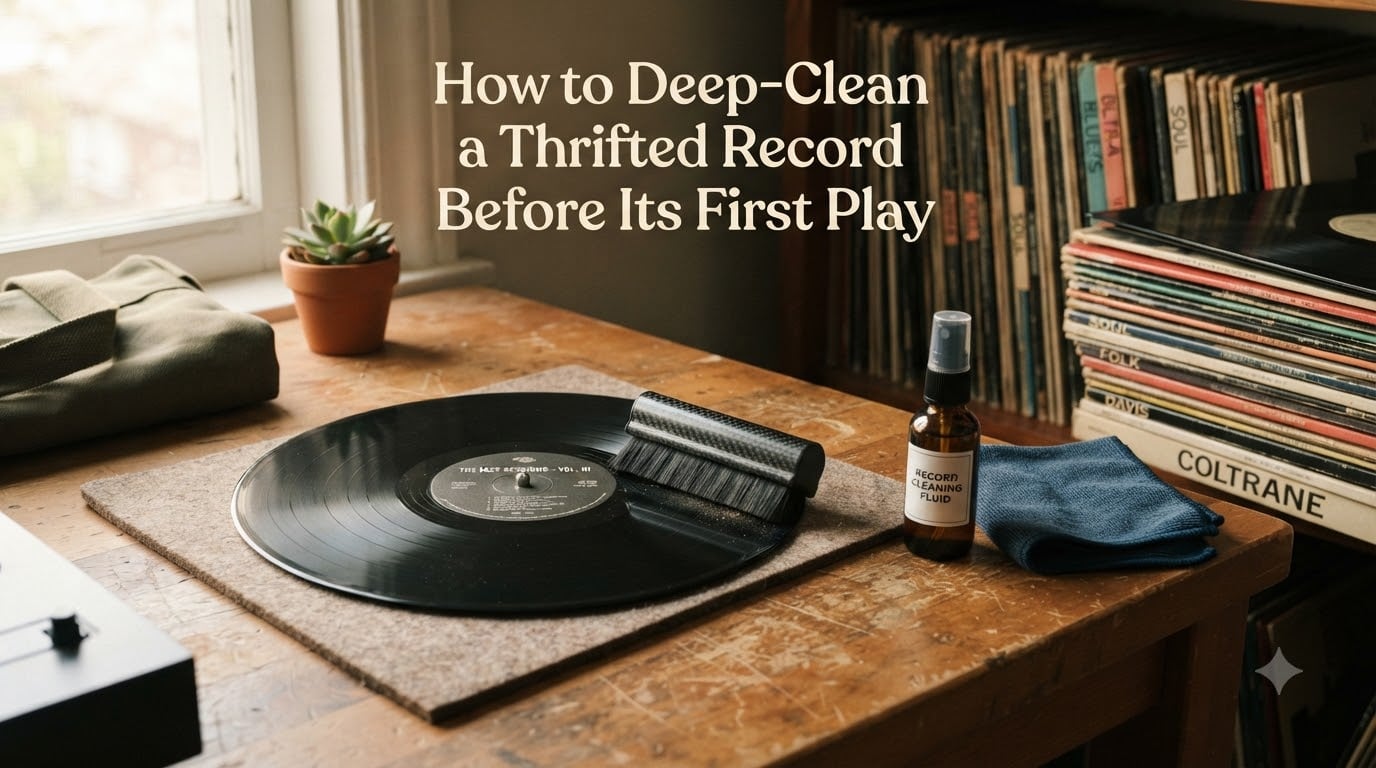
I still remember the first thrifted record I played without cleaning it. The needle skipped three times before the first chorus, and I spent the next hour scrubbing dust out of my stylus. That record taught me a lesson I now share with every new collector: a thrifted record needs a proper deep clean before its first play.
Records at thrift stores come with unknown history. They may have sat in a dusty attic for 20 years, lived through a flood, or been stored next to a moldy carpet. A quick wipe with your sleeve will not cut it. This guide walks you through exactly how to deep clean a thrifted record at home, with steps that protect both the vinyl and your stylus.
Table of Contents
Why You Need to Deep-Clean a Thrifted Record Before Its First Play?
Thrifted records carry risks that new vinyl does not. You do not know how the previous owner stored them, what contaminants sit in the grooves, or whether moisture has worked its way into the jacket. That unknown history is exactly why cleaning before first play matters.
Dust, debris, and fingerprints all sit on the surface of a used record. When your stylus drops into a dusty groove, it grinds those particles deeper and can damage both the needle and the vinyl permanently. Mold is another concern with second hand records, especially if they were stored in humid basements or garages. A simple surface wipe leaves mold spores alive and well, ready to spread to other records in your collection.
There is also a sonic reason to deep clean thrifted vinyl. Dust particles cause pops, crackles, and distortion. The more debris in the grooves, the worse your listening experience. A proper deep clean before first play removes that buildup and lets you hear the music the way it was meant to be heard.
Inspect Your Record Before Cleaning
Before you grab your cleaning supplies, take two minutes to inspect the record. This step saves you from accidentally making damage worse and helps you choose the right cleaning method.
Hold the record up to a strong light source and look through the grooves. Healthy vinyl should reflect light evenly. Deep scratches will show as visible gouges that catch the light. Light scuff marks are usually cosmetic and will not affect sound quality.
Check the record carefully for mold or mildew. You will see fuzzy white, green, or black spots, often paired with a musty smell. Mold requires extra cleaning steps beyond a standard deep clean. Also feel the surface with clean, dry hands. Any sticky residue, oily film, or warped spots tell you the record needs special attention before it touches your turntable.
Equipment and Supplies You Need
You do not need expensive professional gear to deep clean a thrifted record at home. Our team has tested dozens of setups, and these are the supplies that consistently deliver the best results.
Carbon fiber brush for dry cleaning between wet sessions
Microfiber cloth (lint-free) for wiping and drying
Distilled or de-ionized water to avoid mineral deposits
Record cleaning solution (commercial or a mild DIY mix)
Soft-bristled brush or applicator pad for wet cleaning
Record drying rack or clean microfiber towels
Inner sleeve for storage after cleaning
Skip tap water. The minerals leave residue that builds up over time. Distilled water is cheap and worth the upgrade. For cleaning solution, commercial record cleaning fluid works great, or you can mix a small amount of isopropyl alcohol (under 30%) with distilled water for a budget option. Avoid dish soap with additives and never use household cleaners.
Step-by-Step Deep Cleaning Process
This process takes about 15 to 20 minutes per record. Set up a clean workspace with good lighting and follow these steps in order. The whole job is worth it when you drop the needle and hear clean audio for the first time.
Step 1: Dry Brush the Record
Place the record on a flat, stable surface. Take your carbon fiber brush and gently sweep it across the record in a circular motion, following the grooves. Apply light pressure. The carbon fibers grab dust from deep inside the grooves without scratching. After three or four passes, wipe the brush on a clean microfiber cloth to remove collected dust. Repeat until no more debris comes off.
Step 2: Apply the Cleaning Solution
Spray or apply a small amount of cleaning solution directly onto the record surface. A few sprays is enough. Too much liquid can seep into the label and damage it. Use your soft applicator pad to spread the solution in gentle circular motions, again following the groove direction. Work from the outer edge inward toward the label.
Step 3: Let the Solution Sit Briefly
Allow the cleaning solution to sit for 30 to 60 seconds. This gives the surfactants time to break down oily residue and lift embedded grime. Do not let it dry on the surface. If your room is warm, work in shorter cycles.
Step 4: Rinse with Distilled Water
Lightly rinse the record with distilled water to wash away the cleaning solution and any loosened dirt. Hold the record at an angle and let the water flow off the edge. Avoid pouring water directly onto the label. Repeat the rinsing until no more suds or residue appear.
Step 5: Dry the Record Thoroughly
Pat the record dry with a clean microfiber cloth, then place it on a drying rack for at least 10 minutes. Air drying on a vertical rack is the safest method because it prevents water from pooling in the grooves. Never use a hair dryer or any heat source on vinyl. Heat warps the record permanently.
Step 6: Final Dry Brush
Once the record is fully dry, run your carbon fiber brush across the surface one more time. This step removes any micro-particles the drying process may have shifted and reduces static electricity. Your record is now ready for its first play.
Drying and Storing Your Record Properly
Proper drying and storage protect your cleaning investment. After the record has air dried completely, slide it into a fresh inner sleeve. Paper sleeves are common but can shed fibers onto clean grooves. Anti-static poly sleeves are a worthwhile upgrade for long-term storage.
Store records upright, like books on a shelf. Stacking them flat puts pressure on the bottom records and can cause warping. Keep them away from direct sunlight, radiators, and windows. Stable room temperature and low humidity are your best friends for vinyl storage.
Cleaning Solutions to Avoid
Not every cleaner belongs on a vinyl record. Some common household products cause permanent damage that no amount of future cleaning can fix.
WD-40 leaves an oily residue that attracts more dust and degrades sound quality
Window cleaner contains ammonia and alcohol levels that strip protective coatings
Household dish soap often has additives, fragrances, and degreasers that damage vinyl
Vinegar in high concentrations can etch the groove walls over time
Paper towels shed fibers and can scratch the surface
When in doubt, stick with products specifically made for vinyl record cleaning. They are formulated to be safe on the groove walls and to rinse away cleanly.
Frequently Asked Questions
How to clean old records before playing?
Start with a dry carbon fiber brush to remove loose dust. Then apply a small amount of record cleaning solution with a microfiber applicator, working in circular motions along the grooves. Rinse with distilled water, dry on a rack for 10 minutes, and do a final dry brush before playing.
How to clean thrifted records?
Thrifted records need extra attention because of their unknown storage history. Inspect for mold and damage first, then follow the standard deep cleaning process: dry brush, apply record cleaning solution, rinse with distilled water, and dry completely before first play.
What destroys vinyl records?
Heat, direct sunlight, humidity, dust, mold, harsh chemicals (like ammonia or WD-40), rough handling, and stacking records flat all damage vinyl over time. Playing a dirty record also accelerates wear on both the vinyl and your stylus.
Can WD-40 clean vinyl records?
No. WD-40 leaves an oily residue that attracts more dust and degrades sound quality. It also seeps into the grooves and is hard to remove. Always use a cleaner specifically designed for vinyl record cleaning.
Final Thoughts
A thrifted record is a small mystery. Someone loved it once, stored it somewhere, and now it sits in your hands. Taking 15 minutes to deep clean it before its first play is the best way to honor that history. You protect your stylus, hear the music as intended, and add a clean record to your collection. Pick up that next thrift store find, set up your cleaning station, and give it the deep clean it deserves before you drop the needle for the very first time.