
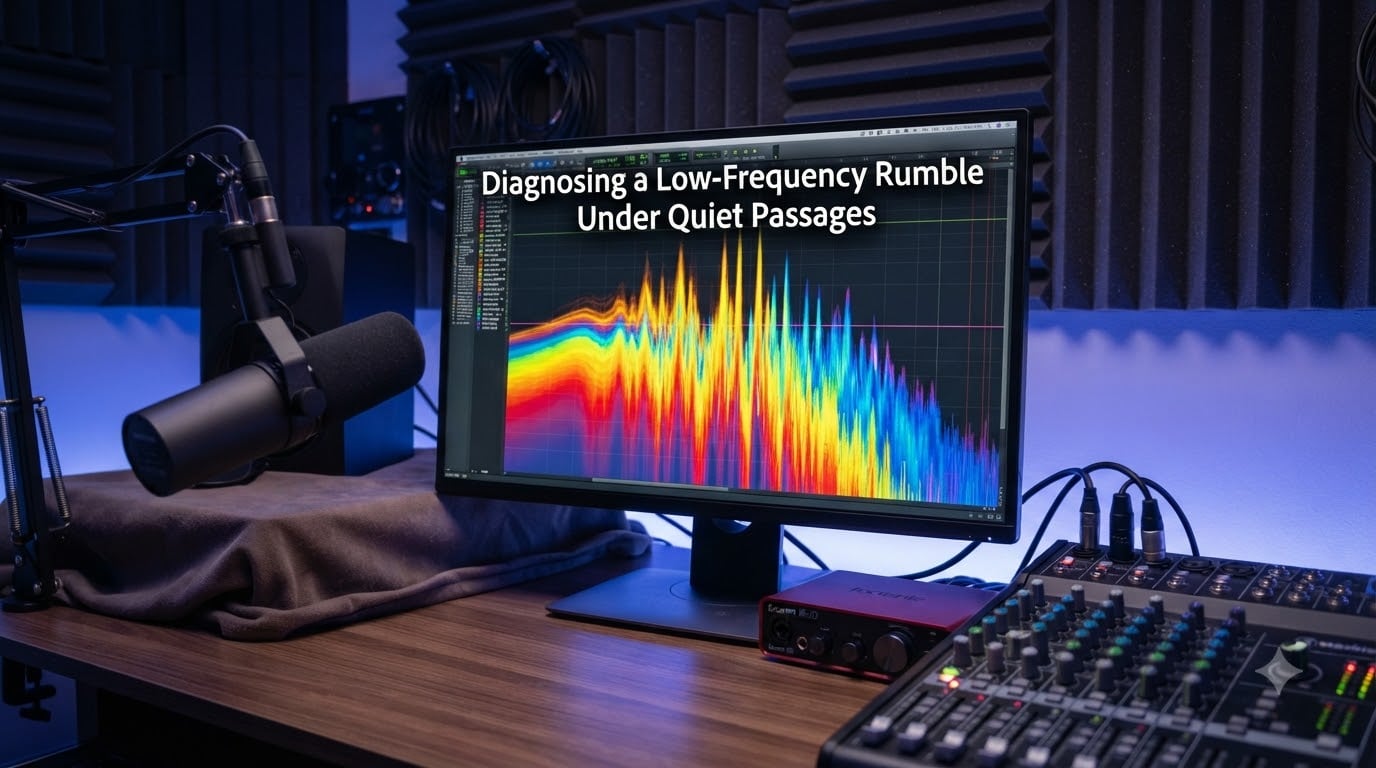
Diagnosing a low-frequency rumble under quiet passages is one of the most frustrating problems in audio production. You scrub through a perfectly clean recording, hit a pause between sentences, and there it is — a deep, throbbing hum you cannot unhear. The worst part is that nobody else in the room notices anything.
I have spent more nights than I care to admit chasing these ghosts in my mixes. After years of trial and error (and a few blown subwoofers), I have built a reliable system for finding, measuring, and killing low-frequency rumble. This guide walks you through that exact system, from the first listening test to the final high-pass filter setting.
Table of Contents
What Is Low-Frequency Rumble and Why It Matters?
Low-frequency rumble is sound energy below roughly 60 Hz, often extending down to 20 Hz and below. In acoustic terms, rumble lives in the sub-bass region where wavelengths stretch 18 feet or longer. That length matters because it is longer than most rooms, longer than human heads, and long enough to bend around obstacles instead of bouncing off them. The result is a sound you feel in your chest more than hear with your ears.
For audio professionals, rumble is a quiet-passage killer. Because you have so much more headroom above these frequencies, your compressor and limiter stay out of the way until the moment a voice stops. Suddenly the rumble activates the gain reduction and your noise floor pumps. Engineers call this “breathing” or “pumping,” and it ruins otherwise perfect takes.
Why Low Frequencies Are Hard to Hear
Human hearing drops off sharply below 60 Hz. A-weighted SPL meters drop off even more sharply, sometimes by 30 dB or more, which is why a cheap dB(A) meter will tell you the room is silent while your body knows it is not. By the time sound reaches 20 Hz, most people feel pressure changes more than they hear actual pitch.
The wavelength problem compounds the issue. At 40 Hz, a single wave is about 28 feet long, which means both ears receive nearly identical signals. Your brain uses tiny differences between the ears to localize sound, and low-frequency sounds offer almost no clue. That is why a 30 Hz hum seems to come from everywhere and nowhere at once.
Common Sources of Low-Frequency Noise in Recordings
Every low-frequency rumble falls into one of two camps: internal sources inside the room, and external sources coming through walls, floors, or HVAC ducts. I have learned to split the diagnosis this way before chasing anything else, because the fix is wildly different for each category.
Internal Sources
The usual suspects in any home studio or office are HVAC systems, refrigerators, computer fans, laser printers, and audio gear itself. HVAC systems are the champion offender because they cycle compressors, fans, and duct resonances in the 20 to 80 Hz range. I once traced a stubborn 45 Hz hum to a window AC unit three rooms away — the air handler was mounted to a shared wooden floor joist.
Inside your own signal chain, ground loops create 50 Hz or 60 Hz hums depending on your region, often with harmonics at 100, 120, 150 Hz. Power supplies, especially cheap laptop chargers, can leak switching noise in the 40 to 80 Hz band. Even your microphone cable can act as an antenna for stray RF if it runs parallel to power cables.
External Sources
Outside the room, traffic rumble dominates urban recordings. Large trucks create sustained 30 to 50 Hz energy that travels several blocks. Construction equipment, especially pile drivers and excavators, generate broadband low-frequency shocks. Trains, airports, and industrial plants add their own signatures, often with strong tonal peaks you can identify on a spectrogram.
The trickiest external source is structural transmission. A neighbor’s subwoofer, a washing machine on the floor below, or an elevator motor two stories up can all push rumble through a concrete slab. I have measured 38 Hz energy in a recording booth that turned out to be a building chiller on the roof, four floors above.
How to Detect Low-Frequency Noise: Tools and Methods
You cannot fix what you cannot measure, and measuring low frequencies requires either a capable SPL meter or a recorded sample that you can analyze in software. Your phone is a decent start. Your ears are not.
Free Smartphone Apps
Apps like NIOSH SLM, Spectroid, and Audio Analyzer turn your phone into a basic spectrum analyzer. They are not lab-grade, but they are surprisingly useful for spotting the dominant frequency of a rumble. Aim the microphone at your recording position, set the view to log-scale frequency, and watch which band spikes during quiet passages.
For better accuracy, plug a calibrated measurement microphone into your phone or laptop. The Dayton Audio iMM-6C is the budget choice most audio forums trust, with a calibration file you load into REW or Room EQ Wizard (REW). REW is a free Java-based analyzer used by acoustic professionals, and it pulls double duty for both room measurement and recording diagnosis.
Spectrum Analyzer Software
If you already record into a DAW, you have everything you need. Reaper, Pro Tools, Logic Pro, and Audacity all include real-time spectrum analyzer plugins. For post-recording analysis, Adobe Audition’s Spectral View and iZotope RX’s Spectrogram show frequencies across time, which is exactly what you need to see a rumble showing up only under voice pauses.
Another trick I learned from an old broadcast engineer is to record at normal speed, then play back at double speed. Doubling playback speed shifts every frequency up an octave, so a 30 Hz rumble becomes an audible 60 Hz tone. You can do the same thing in software by speeding up a clip, exporting it, and analyzing the result.
Step-by-Step Diagnosis Process
When I have a stubborn rumble in a recording, I run the same checklist every time. Total time is about 30 minutes, and it has caught every source I have ever faced.
Capture a 60-second room tone sample with all gear off. If the rumble disappears, you have an internal source.
Capture the same sample with your computer, monitors, and interface powered up. New rumble points to your signal chain.
Turn on each piece of HVAC equipment individually (or flip breakers) and re-record. Listen for the moment the rumble appears or shifts.
Record at the same time of day as the original session. Many external sources are time-dependent (rush hour, shift changes, night-cycle freezers).
Use your DAW’s spectrum analyzer to find the exact frequency of the loudest peak in the rumble band.
Google that frequency. A 50 Hz hum is almost certainly mains power. A 35 Hz tone with harmonics often points to a chiller or large motor.
Move your recording position a few feet and re-record. If the rumble drops noticeably, it is a standing wave in the room, not a source you can turn off.
Compare inside-versus-outside samples by opening a window. External rumble changes dramatically when you break the building envelope.
This process tells you whether to fix the room, the gear, or the recording in post. Skipping steps just kicks the problem to a different stage of the project.
Spectrum Analysis: Reading What Your Tools Show You
A spectrogram plots frequency (vertical) against time (horizontal), with brightness showing amplitude. A pure tone shows up as a thin bright line, while broadband noise looks like a fuzzy band. This difference alone tells you a lot.
If you see a thin horizontal line at 60 Hz (or 50 Hz in Europe), that is a ground loop or power-line hum. If the line is at 40 Hz or 35 Hz with weaker lines at 70 and 105 Hz, you are looking at a motor with rotating machinery. Broadband rumble from 20 to 80 Hz with no clear peaks usually means HVAC airflow or traffic outside.
The timing matters too. A rumble that fades in and out every few minutes is usually a cycling compressor. A rumble that runs the entire recording only during work hours is external traffic. A rumble that exists only when your microphone is plugged in points to your interface or its power supply.
Fixing Low-Frequency Rumble in Your Recordings
Once you have located the source, you have three options: kill it at the source, block it from reaching the microphone, or filter it out in post. In my experience the first two options give much better results, but filtering is a useful safety net.
High Pass Filter Settings
A high-pass filter (also called a low-cut filter) lets high frequencies pass and attenuates everything below a chosen cutoff. For voiceover work, I set the HPF at 80 Hz with a gentle 12 dB per octave slope. This removes rumble without thinning the voice.
For female voices or thin male voices, you can push the cutoff to 100 Hz or higher. For baritone voices or smoke-and-whiskey narrators, 70 Hz works well. Always use the lowest cutoff that kills the rumble, because every Hz of HPF also removes a sliver of warmth from the recording.
Insert the HPF on the cleanest signal possible, which is right at the recording stage if your interface or preamp has one. Filtering earlier means the rumble never gets encoded into your file in the first place.
When to Call a Professional
If the rumble comes from inside your building and survives the checklist above, bring in an acoustic consultant. They have calibrated measurement gear, building knowledge, and legal standing for noise complaints. A typical acoustic survey costs between 500 and 2000 dollars and includes a written report you can hand to a landlord or building manager.
For environmental noise complaints affecting your health, your local public health department or a certified noise control officer can perform a formal assessment using C-weighted SPL meters and octave-band analyzers. They can also write citations if the source is a commercial operation violating local ordinances.
Frequently Asked Questions
Why do I hear a low rumbling noise that nobody else does?
Low-frequency rumble below 60 Hz produces very long wavelengths that feel like pressure changes more than sound. Many people are far more sensitive to this band than others, and standard dB(A) meters dramatically under-measure it. You are likely hearing a real source such as HVAC, traffic, or structural vibration.
How can I detect low-frequency noise at home?
Record 60 seconds of room tone with your phone, then analyze it in a free spectrum analyzer like Audacity, Spectroid, or REW. Look for bright horizontal lines at 30 to 60 Hz. For better accuracy, use a calibrated USB measurement microphone such as the Dayton Audio iMM-6C.
What causes low-frequency vibrations in buildings?
Common causes include HVAC compressors and air handlers, building chillers and boilers, elevators, washing machines, refrigerators, large vehicle traffic, and industrial equipment. Each source has a characteristic frequency: 50 or 60 Hz for power, 30 to 45 Hz for motors, and broadband rumble from 20 to 80 Hz for airflow and traffic.
What are the symptoms of low-frequency noise exposure?
Symptoms include sleep disruption, morning fatigue, a sensation of pressure in the ears, dizziness or nausea in severe cases, difficulty concentrating, and a vibrating sensation in the chest. Because the noise is felt rather than heard, people often blame themselves or suspect tinnitus before recognizing an external source.
How do I locate the source of a low-frequency sound?
Use the systematic process in this guide: isolate the room, isolate the time of day, identify the dominant frequency, and walk the space turning equipment on and off. Strong peaks at 50 or 60 Hz indicate electrical sources, peaks at 30 to 45 Hz indicate motors, and broadband energy indicates airflow or traffic.
Final Thoughts on Diagnosing Low-Frequency Rumble
Diagnosing a low-frequency rumble under quiet passages takes patience more than gear. Run the checklist, isolate the room, isolate the time, identify the frequency, and only then apply a high-pass filter. Most problems clear up once you know what you are chasing.
If you tackle rumble this week, start with a single 60-second room tone recording in Audacity. Open the spectrogram view and look at the bottom of the graph. Whatever you see there is exactly what your microphone has been picking up all along.