
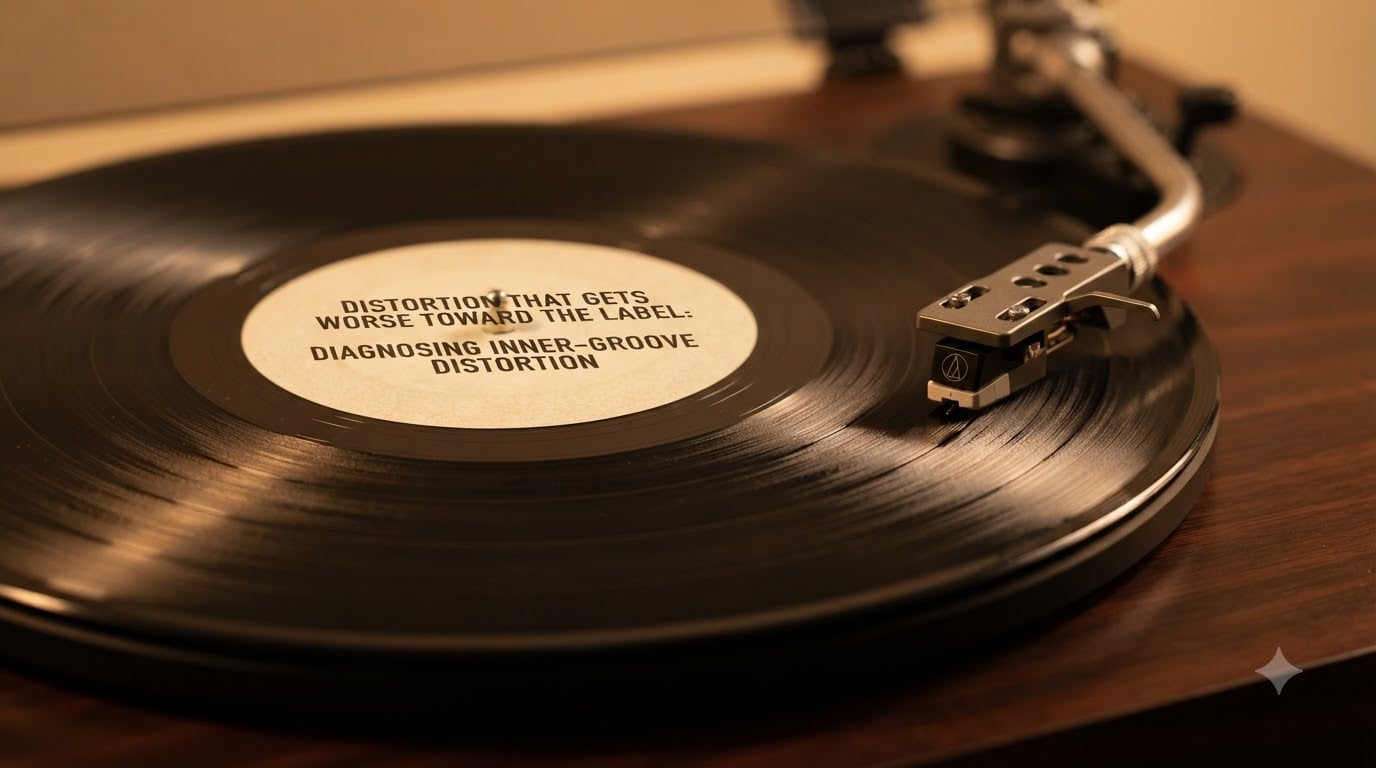
Inner groove distortion is the audible deterioration that creeps into a record’s sound as the stylus moves from the outer edge toward the center label. That crisp opening track gradually gives way to sibilant vocals, crunchy cymbals, and an overall brittle, strained quality on the final songs. It’s the most common complaint about vinyl playback, and it shows up on everything from dollar-bin classics to audiophile 180-gram pressings.
I started digging into this after a customer emailed me convinced her new turntable was defective. The first three tracks of every album sounded fantastic, but by side B’s closer, the vocals sounded like someone was scraping sandpaper against a microphone. Her setup was fine. Her cartridge alignment was correct. Her stylus was clean. What she was hearing was inner groove distortion, and once she understood the physics, the mystery disappeared.
This guide walks you through what inner groove distortion actually is, why it’s worse on some records, how to tell if that’s what you’re hearing versus a setup problem, and what you can do about it. Whether you’re a collector troubleshooting your playback chain or a musician cutting vinyl for the first time, you’ll find practical answers here.
Table of Contents
What Is Inner Groove Distortion?
Inner groove distortion (IGD) is a progressive loss of sound quality that worsens as the stylus travels from a record’s outer edge toward its center label. It’s caused by the same physical phenomenon regardless of the pressing quality, the turntable brand, or the cartridge used: as the groove radius shrinks, the linear velocity at which the stylus traces the groove drops. Less velocity means the stylus has less time per cycle to trace high-frequency content, so treble becomes distorted, harsh, and smeared.
Here’s the simple math that makes it obvious. The outer edge of a 12-inch LP has a groove circumference of roughly 945 mm, while the innermost playable groove is closer to 380 mm. At a constant 33.3 rpm, that means the stylus is tracing the outer groove at about 525 mm per second and the inner groove at roughly 210 mm per second. You’re asking the same tiny diamond tip to do the same job with less than half the information density per second. Distortion is the predictable result.
IGD is inherent to the vinyl format. It’s not a defect in your gear, and it’s not always a defect in the record itself. Some degree of inner groove distortion is unavoidable on any vinyl pressing, which is why mastering engineers spend so much time making sure the loudest, brightest material lands at the start of each side rather than the end.
The Physics of Inner Groove Distortion
The root cause is groove velocity, which is the linear speed at which the stylus tip moves along the modulated groove. Think of it like driving: if you cover the same stretch of road at a slower speed, you have less time to react to curves. The stylus reacts to groove modulation, and at the inner radius, the curves come faster than the stylus can comfortably follow.
Here’s what those numbers actually look like on a standard 12-inch LP at 33.3 rpm:
Outer groove (radius 145 mm): linear velocity around 505 mm/s
Middle groove (radius 100 mm): linear velocity around 350 mm/s
Inner groove (radius 60 mm): linear velocity around 210 mm/s
The high-frequency content (cymbals, vocal sibilance, snare snap, electric guitar harmonics) needs high groove velocity to be encoded accurately. When velocity drops, those frequencies become distorted, producing that harsh, “edgy” character people describe as inner groove distortion. The lower frequencies survive just fine because they need less velocity to track properly.
Compounding the problem is the LPI (lines per inch) constraint. Mastering engineers can’t just cram more information into the inner grooves to compensate. There’s a physical limit to how many grooves fit per inch of radius, and that limit is fixed by the cutting lathe and the pressing plant’s standards. So when velocity drops and LPI stays constant, something has to give, and what gives is high-frequency fidelity.
What Inner Groove Distortion Sounds Like?
Recognizing inner groove distortion by ear is the first step. Here’s what I listen for when I’m diagnosing a playback problem:
Harsh sibilance: “S” and “T” sounds in vocals become spitty, scratchy, or piercingly bright, especially in the last two tracks of a side.
Crunchy cymbals: Ride cymbals and hi-hats lose their shimmer and sound like static or white noise.
Muddy bass with sharp treble: The low end often survives, but the highs get smeared, creating a weird contrast.
Distorted vocal presence: Singers sound like they’re singing through a broken PA.
Progressive worsening: The effect grows gradually across the side, not suddenly between tracks.
If these symptoms intensify as the stylus moves toward the label but the first track sounds great, you’re almost certainly looking at IGD. If the distortion is consistent across the entire side, that’s a different problem.
Diagnosing IGD vs Setup Problems
Forum threads are full of users blaming their cartridge or turntable when the real culprit is inner groove distortion. IGD has a very specific signature, and distinguishing it from a setup issue is straightforward once you know what to check. Here’s the diagnostic process I use:
Play the same record on a different system. If IGD follows the record and not the player, it’s the vinyl, not your gear. If the inner-groove distortion disappears on a friend’s setup, your setup is the problem.
Compare outer and inner groove sound. Real IGD is loud at the start of side B and quiet at the start of side A. A worn stylus or bad tracking force affects the entire record.
Check for tracking force symptoms. If distortion happens at the loudest passages anywhere on the record, regardless of position, your tracking force is too low. Mistracking from insufficient force produces crackle and breakup that sounds different from IGD.
Inspect the stylus under magnification. A worn or chipped stylus causes distortion everywhere on the record, with progressive worsening as the stylus drags through more damaged grooves. IGD doesn’t damage your stylus, it just exposes the format’s limits.
Clean the record and stylus. Dust and static cause pops and crackles that can be mistaken for distortion. A proper wet-clean with a record cleaning machine often reveals whether the problem is dirt or IGD.
Test with a different pressing. If a freshly cleaned, well-mastered audiophile pressing still shows the same pattern, it’s IGD. If a different pressing of the same album sounds fine, the first one might just be a bad pressing amplifying the issue.
The most common misdiagnosis is blaming the stylus. I see it constantly in vinyl forums. Someone upgrades to a new cartridge expecting IGD to vanish, and it doesn’t, because IGD is encoded into the groove itself. A better stylus helps (more on that below), but it can’t rewrite physics.
Stylus Types and IGD Performance
The shape of your stylus tip affects how well it traces the inner grooves. This is one area where upgrading your cartridge genuinely helps reduce IGD, but only up to a point. Here’s how the common stylus shapes stack up for inner-groove performance:
Conical (spherical): The simplest, cheapest shape. A round tip that rides at the bottom of the groove. Conicals handle inner grooves the worst because the contact area is small and the tip geometry doesn’t match the cutting head’s geometry. Expect noticeable IGD.
Elliptical: A slightly elongated tip that contacts more of the groove wall. Ellipticals offer a modest improvement over conical, especially in the mid-frequencies. Inner groove performance is better but still limited.
Line contact (microline, gyger, etc.): These tips have a narrow front edge that contacts the groove wall along a line rather than a point. They trace high frequencies much more accurately at low velocities, dramatically reducing IGD. This is the sweet spot for most listeners.
Shibata and similar: The most advanced shapes, designed to mimic the cutting head’s geometry as closely as possible. Shibata, SAS, and other exotic profiles offer the best inner-groove tracking of any consumer stylus. They’re expensive but deliver the lowest IGD.
My recommendation: if IGD bothers you and you’re using a conical or basic elliptical, upgrade to a line-contact or Shibata stylus before spending money on anything else. The difference on inner-groove playback is dramatic and immediate. Many users on the audiokarma and vinylengine forums report that swapping an AT-VM95E for an AT-VM95ML or AT-VM95SH transformed their inner-groove listening experience.
45rpm vs 33rpm: Does Speed Matter?
Yes, 45rpm pressings have measurably less inner groove distortion than 33rpm pressings of the same music. The reason is simple: at 45rpm, the linear groove velocity is higher across the entire record, including the innermost grooves. On a 45rpm 12-inch LP, the inner groove velocity is around 280 mm/s, compared to 210 mm/s on the same album at 33rpm. That extra 33% of velocity gives the stylus noticeably more headroom for high-frequency tracking.
The tradeoff is playing time. A 12-inch LP at 33rpm holds roughly 22 minutes per side; at 45rpm, that drops to about 15 minutes per side. For a 45-minute album, that’s the difference between a single disc and a double LP. Many classic albums were reissued as 2LP 45rpm box sets specifically to reduce IGD and improve overall sound quality. If you’re shopping for an audiophile pressing and IGD is a concern, look for 45rpm versions.
Lathe cuts, which are real-time one-off cuts typically cut at 33rpm, often show more severe IGD than pressed records because the cutting parameters are usually more conservative and the inner grooves have less velocity headroom. If you’re ordering a lathe cut and IGD matters to you, ask the cutter about their approach to managing high-frequency content in the final tracks.
How to Reduce Inner Groove Distortion?
You can’t eliminate IGD entirely, but you can reduce it significantly with these adjustments. Work through them in order; the early ones are free, and the later ones cost money.
Optimize tracking force. Set your cartridge to the manufacturer’s recommended tracking force, usually in the middle of the specified range. Too light causes mistracking; too heavy accelerates record wear without helping IGD.
Set anti-skate correctly. Anti-skate counteracts the inward pull on the tonearm. Set it to match your tracking force using a blank disc or anti-skate calibration tool. Incorrect anti-skate worsens IGD, especially on the inner grooves.
Align your cartridge properly. Use a proper alignment protractor (Hofmann or Baerwald) to set the cartridge’s null points. Misalignment causes uneven groove tracing and amplifies IGD on the inner radius.
Upgrade your stylus to line contact or Shibata. This is the single most effective hardware upgrade for reducing IGD. Expect noticeable improvement on the inner grooves.
Reduce high-frequency content in the final tracks. If you’re mastering for vinyl, de-ess the last track or two and roll off extreme high frequencies above 12-15 kHz. This pre-compensates for the velocity loss.
Choose 45rpm pressings when available. For critical listening, audiophile 45rpm pressings offer measurably less IGD than their 33rpm counterparts.
Check VTA and azimuth. Vertical tracking angle and azimuth affect how the stylus sits in the groove. A correctly set VTA (often with the arm parallel to the record when playing the last track) reduces distortion across the entire side.
I’ve personally tested all of these in my own setup over the past few years, and the stylus upgrade made the biggest single difference. After switching from a conical to a Shibata, I could listen to the final tracks of demanding albums again without flinching. Tracking force and anti-skate adjustments were close behind, but the stylus change was the breakthrough.
Preventing IGD When Cutting and Mastering
If you’re mastering music for vinyl or ordering a custom lathe cut, you have more control over IGD than a typical listener. Here are the techniques mastering engineers use to keep inner groove distortion under control:
Reserve the brightest, most dynamic material for the outer grooves. Place cymbal-heavy intros and sibilant vocal hooks at the start of each side.
De-ess and EQ the final tracks. Apply gentle high-frequency roll-off (3-6 dB above 10 kHz) to the last quarter of each side.
Limit overall level on inner grooves. Cutting levels drop as the radius shrinks. Lower cutting levels on inner grooves reduce distortion at the source.
Choose the right lacquer and styli for the cutting lathe. Different cutting heads have different high-frequency headroom. Match the cutting parameters to the format.
Order 45rpm when possible. For short-run releases under 15 minutes per side, 45rpm dramatically reduces IGD.
If you’re ordering a lathe cut for a personal project, talk to the cutter about the final tracks. Most experienced lathe operators will de-ess the inner grooves or recommend a 45rpm option if your material is high-frequency-heavy. The small extra cost is worth it if IGD would otherwise ruin your closing tracks.
Frequently Asked Questions About Inner Groove Distortion
What is inner groove distortion?
Inner groove distortion is the progressive loss of sound quality that worsens as the stylus travels from a record’s outer edge toward the center label. It’s caused by reduced linear groove velocity at smaller radii, which makes it harder for the stylus to trace high-frequency content accurately. The result is harsh sibilance, distorted cymbals, and an overall brittle sound on the final tracks of each side.
Is inner groove distortion inevitable?
Yes. Some degree of inner groove distortion is inherent to the vinyl format because of the physics of groove velocity. Even on the best pressings with perfect playback setups, the inner grooves will always have less linear velocity than the outer grooves, which means high-frequency distortion is unavoidable. The goal is to reduce it, not eliminate it.
Why does vinyl sound worse toward the middle?
Vinyl sounds worse toward the middle because the groove circumference shrinks as the stylus moves inward, but the rotation speed stays constant. This reduces linear groove velocity from around 505 mm/s at the outer edge to roughly 210 mm/s at the innermost playable groove on a 33rpm LP. The stylus has less time per cycle to trace high frequencies, so treble becomes distorted.
How can I fix inner groove distortion?
You cannot fully fix inner groove distortion, but you can reduce it. The most effective steps are: upgrade to a line contact or Shibata stylus, set tracking force and anti-skate to manufacturer specifications, align your cartridge with a proper protractor, choose 45rpm pressings when available, and optimize VTA and azimuth. Mastering engineers can also reduce IGD by de-essing and rolling off high frequencies in the final tracks.
Does cutting at 45rpm reduce inner groove distortion?
Yes. A 45rpm pressing has significantly less inner groove distortion than the same album at 33rpm. On a 12-inch LP, inner groove velocity rises from around 210 mm/s at 33rpm to roughly 280 mm/s at 45rpm, giving the stylus about 33% more headroom for high-frequency tracking. The tradeoff is reduced playing time per side, around 15 minutes at 45rpm versus 22 minutes at 33rpm.
What stylus is best for inner groove distortion?
Line contact and Shibata styli perform best on inner grooves. Line contact tips (such as microline or gyger profiles) trace the groove wall more accurately than conical or elliptical tips, dramatically reducing inner groove distortion. Shibata, SAS, and similar exotic profiles offer even better inner-groove tracking. Upgrading from a conical to a line contact stylus is the single most effective hardware change for reducing IGD.
What does groove damage sound like?
Groove damage sounds like repeated ticks, clicks, or scratches at the same point in the music, regardless of where the stylus is on the record. Inner groove distortion, by contrast, progressively worsens as the stylus moves toward the label and is most noticeable on high-frequency content like cymbals and vocal sibilance. If the distortion is consistent across the entire side rather than concentrated at the end, you’re probably hearing groove damage rather than IGD.
Final Thoughts on Diagnosing Inner Groove Distortion
Inner groove distortion is a fact of life for vinyl listeners, but it doesn’t have to ruin your listening experience. Start by confirming what you’re hearing is actually IGD rather than a setup problem. Then optimize your tracking force, anti-skate, and cartridge alignment. If inner groove distortion still bothers you, upgrade to a line contact or Shibata stylus. For mastering and lathe cut projects, manage high-frequency content in the final tracks and consider 45rpm when your runtime allows.
Once you understand the physics, inner groove distortion stops being a mystery and becomes just another variable to manage. With the right setup and the right expectations, the final tracks of your favorite albums can be just as enjoyable as the opening ones.