
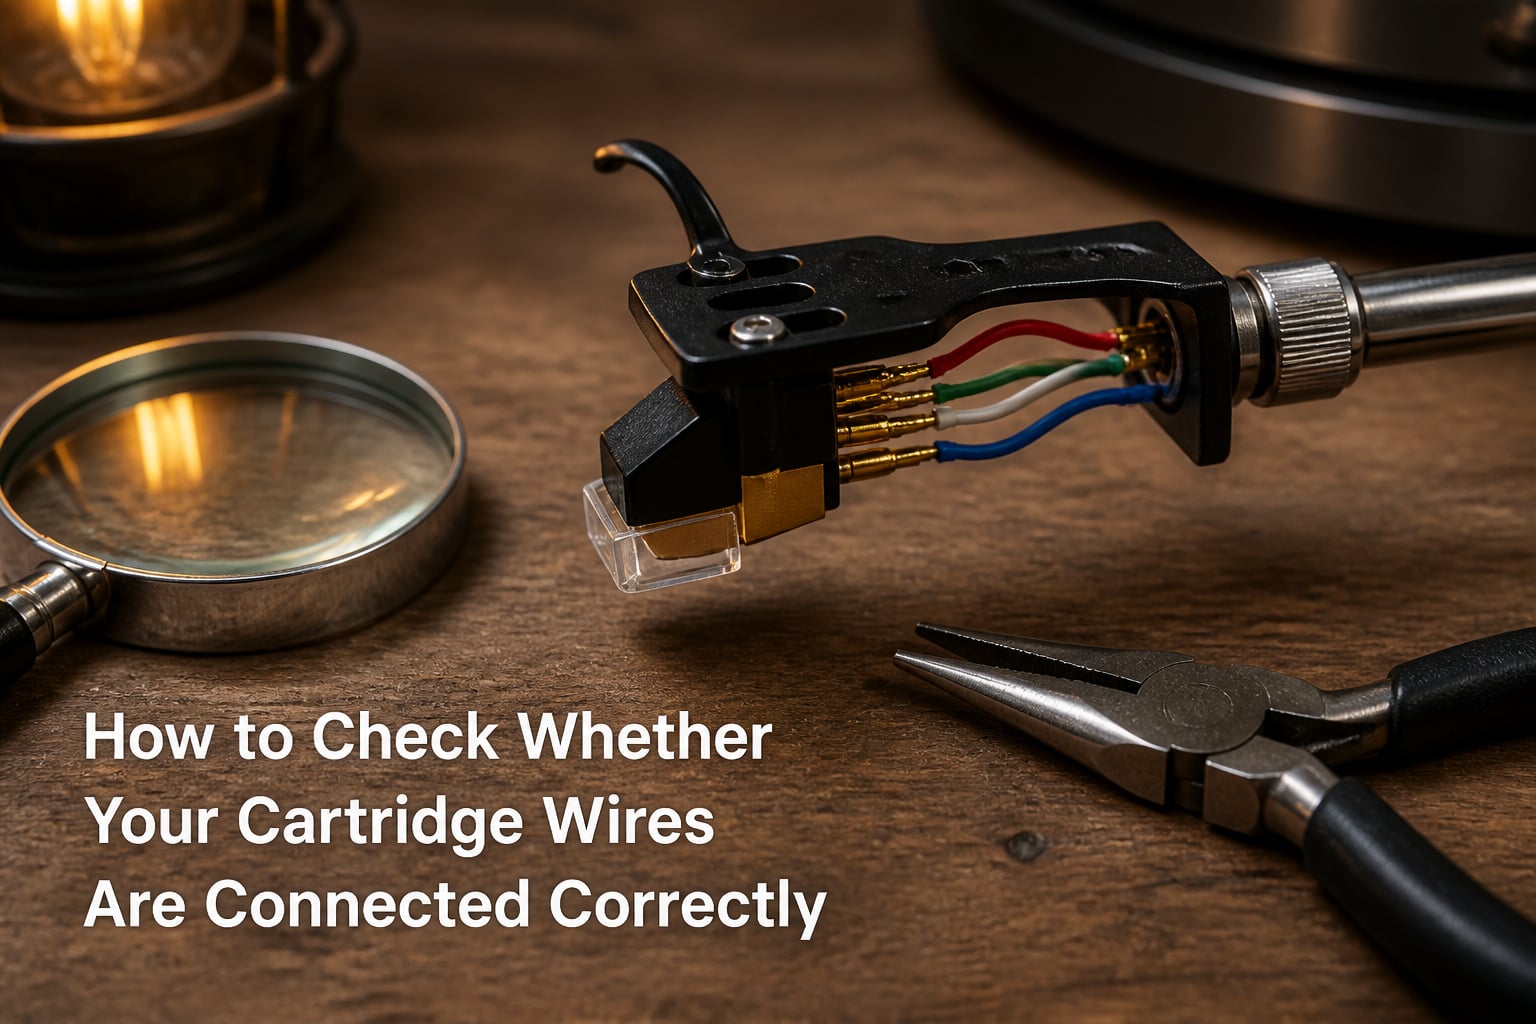
If you just installed a phono cartridge and something sounds off, the problem might not be your alignment or tracking force. It could be your cartridge wire connections. Learning how to check whether your cartridge wires are connected correctly is one of the first skills every turntable owner should master, and it can save you from damaged equipment and poor sound quality.
Those four tiny wires running from your tonearm to the back of the cartridge are the only path your music signal travels. Get one wrong and you could end up with reversed channels, thin bass from phase cancellation, or even silence on one side. The good news is that there is a universal color code that makes verification straightforward once you know what to look for.
I have installed and verified dozens of cartridges over the years, from budget moving magnet models to high-end moving coils. In this guide, I will walk you through the exact process I use to confirm that every wire is in the right place before dropping the needle. You will learn the standard color code, a step-by-step verification process, common mistakes to avoid, and what to do if your cartridge is not color-coded at all.
Table of Contents
Understanding Cartridge Wire Colors: The Universal Color Code
The cartridge wire color code is the single most important thing to memorize when working with turntable wiring. Nearly every manufacturer follows the same four-color standard, which maps each wire to a specific channel and polarity.
Here is the universal phono cartridge wiring color code:
Red wire = Right channel positive (R+)
Green wire = Right channel negative or ground (R-)
White wire = Left channel positive (L+)
Blue wire = Left channel negative or ground (L-)
A simple way to remember this: warm colors (red and green) belong to the right channel, while cool colors (white and blue) belong to the left channel. Red and white are the positive signal carriers, while green and blue are the ground returns.
This standard applies to the vast majority of cartridges from Audio-Technica, Ortofon, Shure, Nagaoka, Grado, and most other brands you will encounter. The four pins on the back of the cartridge are arranged in a square pattern, and each pin corresponds to one of these four connections.
Looking at the back of the cartridge with the stylus pointing forward and the pins facing you, the arrangement is typically: top-left is left positive (white), top-right is right positive (red), bottom-left is left negative (blue), and bottom-right is right negative (green). Always double-check your specific cartridge manual, because a handful of models use a slightly different pin layout even while keeping the same wire colors.
Tools You Need Before You Start
You do not need much to verify cartridge wire connections, but having the right tools makes the job significantly easier and reduces the risk of damaging fragile components.
Here is what I recommend gathering before you begin:
Bright task lamp or headlamp — Cartridge pins are tiny, and good lighting is the difference between a confident check and a guessing game.
Jeweler’s loupe or magnifying glass — A 5x or 10x magnifier lets you see whether each sleeve is fully seated on its pin.
Needle-nose pliers (fine tip) — For gently adjusting loose sleeve connectors or reseating a wire that has slipped off.
Toothpick or micro-spoolie — The toothpick trick from vinyl forums works well for widening sleeves that are too tight or narrowing ones that are too loose.
Digital multimeter (optional) — Useful for continuity testing, especially if your cartridge wires are not color-coded.
Cartridge manual or spec sheet — Keep the pinout diagram handy so you can cross-reference what you see against what the manufacturer specifies.
Set up your workspace on a clean, well-lit surface. Remove the dust cover from your turntable and position the tonearm where you can comfortably access the back of the cartridge without straining.
How to Check Whether Your Cartridge Wires Are Connected Correctly: Step-by-Step
This is the core verification process I use every time I install or replace a cartridge. Follow these steps in order and you will catch any wiring error before it causes a problem.
Step 1: Power off your system completely.
Turn off your amplifier, preamp, and turntable. Unplug the turntable from the wall. This protects both you and your equipment from accidental short circuits while you are handling the cartridge wires. Even a momentary short across the wrong pins can damage a phono stage or blow a cartridge coil.
Step 2: Position the tonearm for easy access.
Rest the tonearm on its arm rest or hold it gently with one hand. You want clear visual access to the back of the cartridge where the four wires attach to the pins. Use your lamp to illuminate the area from multiple angles.
Step 3: Identify each wire color.
Look at the four wires coming from the tonearm headshell leads. You should see red, green, white, and blue wires, though the exact shade may vary slightly by manufacturer. Note which color wire goes to which pin position. This is where a magnifier helps, because the wires are often bundled tightly together and the colors can be hard to distinguish.
Step 4: Trace each wire to its cartridge pin.
Starting with the red wire, follow it from the tonearm lead all the way to the cartridge pin. Confirm that the red wire connects to the right channel positive pin. Then do the same for green (right negative), white (left positive), and blue (left negative). Verify each connection one at a time rather than trying to assess all four simultaneously.
Step 5: Verify against the cartridge pinout diagram.
Check your cartridge manual for the pin layout diagram. Most cartridges mark each pin with a small letter: L+, L-, R+, or R-. Sometimes the marking is printed on the cartridge body and sometimes it is only in the documentation. Match what you traced in Step 4 to what the diagram shows. If anything does not match, that wire needs to be moved.
Step 6: Check that each sleeve is fully seated.
A wire that is only partially connected can cause intermittent signal loss or hum. Gently wiggle each sleeve connector at the pin. It should feel snug and secure. If a sleeve moves easily or slides off with minimal pressure, it is too loose and needs to be carefully tightened using needle-nose pliers or the toothpick technique. If a sleeve will not go all the way onto the pin, it may be too tight and need widening.
Step 7: Do a final visual sweep.
Before you power anything on, look at the entire connection area one more time. Confirm that no wire is touching another wire’s pin, that no bare conductor is exposed, and that all four sleeves are properly seated. A 30-second final check here can save you from an expensive mistake.
Post-Connection Verification: How to Test Before You Play
Visual inspection catches the obvious errors, but a listening test confirms everything is truly correct. There are a few quick checks you can do after powering on that will tell you immediately whether your connections are right.
The left-right channel test. Play a track you know well that has distinct left and right elements. A song with a guitar panned hard left or a vocal panned to the right works well. If the sounds come from the correct side, your channel assignments are correct. If everything is reversed, you have swapped the left and right connections.
The phase test. Incorrect polarity on any channel causes phase cancellation, which makes bass disappear and makes the sound stage feel hollow or diffuse. Play a mono record or use your preamp’s mono switch if it has one. In proper phase, a mono recording sounds full and centered. If the sound is thin, weak, or seems to come from everywhere and nowhere at once, one of your channels has reversed polarity. Compare positive wires (red and white) against their negatives (green and blue) to find the swap.
The hum test. With the turntable powered on and the stylus resting on a stationary record, listen for any buzzing or humming. A ground wire issue or a loose cartridge connection often produces a 60 Hz hum. If you hear hum, recheck all four ground connections (green and blue) and confirm they are firmly seated.
Common Cartridge Wiring Mistakes and How to Avoid Them
Even experienced vinyl enthusiasts make wiring errors. Here are the most common mistakes I see, along with how to prevent them.
Mistake 1: Swapping left and right channels.
This happens when the white and red wires end up on the wrong pins. The turntable still plays, but the stereo image is reversed. It is easy to fix by swapping the wires back, but many people do not notice for weeks because their speakers happen to be positioned symmetrically. Always run the channel test after a new installation.
Mistake 2: Reversing positive and negative on one channel.
When you swap the positive and negative wires on a single channel, that channel goes out of phase with the other. The result is thin, hollow sound with almost no bass. This is one of the most subtle errors because the system still produces sound and nothing sounds obviously broken until you compare it to a known-good recording.
Mistake 3: Breaking a wire tab during removal.
Forum users on r/turntables and VinylEngine frequently report snapping the tiny connector sleeves when pulling wires off old cartridge pins. The fix is patience. Never pull by the wire itself. Grip the metal sleeve with fine-tip needle-nose pliers and pull straight back with steady, gentle pressure. If a sleeve is stuck, a tiny amount of contact cleaner can help free it.
Mistake 4: Sleeves that are too loose or too tight.
Loose sleeves cause intermittent signal dropouts and hum. Tight sleeves risk bending the cartridge pin or not seating fully. The toothpick trick recommended by multiple forum users works well: insert a toothpick into the sleeve to gently widen it, or use fine pliers to slightly compress it for a snugger fit. The goal is a firm friction fit that holds the wire in place without excessive force.
Mistake 5: Crossed wires touching adjacent pins.
If two sleeves or bare wire sections touch each other, you create a short circuit that can damage your phono stage. After connecting all four wires, visually confirm there is space between each connector. The wires can be close together, but the metal sleeves must not touch.
Mistake 6: Forgetting to reconnect after cleaning.
If you removed the wires to clean the cartridge body or stylus, it is easy to reconnect them in the wrong order. Always take a photo of the wire arrangement before disconnecting anything. That photo becomes your reference for correct reassembly.
Troubleshooting: What Happens When Wires Are Wrong
Different wiring errors produce different symptoms. Here is a troubleshooting guide to help you diagnose the problem based on what you hear.
Symptom: Complete silence on one channel. A wire has come loose or fallen off entirely. Check all four connections and confirm each sleeve is seated. If one channel is dead and the other works, focus on the two wires for the silent channel.
Symptom: Very thin, weak sound with almost no bass. This is the classic sign of a phase reversal. One channel’s positive and negative wires are swapped, causing the two channels to cancel each other out in the low frequencies. Check that red goes to right positive, not right negative, and that white goes to left positive, not left negative.
Symptom: Sound is coming from the wrong speaker. Your left and right channels are swapped. The red and white wires need to trade places with their channel counterparts. This does not damage anything, but it ruins the stereo imaging.
Symptom: Persistent hum or buzzing. A ground connection is missing or loose. Check the green (right negative) and blue (left negative) wires first, as these carry the ground return. Also check that your turntable’s separate ground wire is connected to your preamp or amplifier ground terminal.
Symptom: Distorted or harsh sound on one channel. This could indicate a wire that is partially connected or a sleeve that is making poor contact with the pin. Reseat the connections on the affected channel and listen again. If distortion persists, the issue may be elsewhere in your signal chain.
Symptom: Crackling or intermittent sound. A wire is loose or the internal conductor is damaged. Gently wiggle each wire while music plays. If the sound cuts in and out on a specific wire, that connection needs to be reseated or the wire may need replacement.
Dealing With Non-Color-Coded Cartridge Wires
Not every cartridge or tonearm uses the standard four-color scheme. Vintage cartridges, replacement headshell leads, and some budget models ship with wires that are all the same color or use a non-standard palette. This is one of the most common questions on turntable forums.
If your wires are not color-coded, you need another method to identify each connection. Here is how to approach it.
Check for printed markings on the cartridge body. Many cartridges have small L+, L-, R+, and R- labels stamped near the pins, even if the wires themselves are unmarked. These markings tell you exactly which pin is which, and you can then connect any wire to any pin as long as you keep track of the pairing.
Use a multimeter for continuity testing. A digital multimeter set to continuity mode can trace each wire from the tonearm connector to the cartridge pin. Clip one probe to a specific pin on the tonearm end (where the headshell plugs in) and touch the other probe to each cartridge pin until you hear the continuity beep. This tells you which wire runs from each tonearm contact to which cartridge pin.
Consult manufacturer documentation. If you can identify the cartridge model and the tonearm model, you can usually find pinout diagrams online. VinylEngine and manufacturer websites often have archived manuals for vintage equipment. Cross-reference the tonearm’s headshell connector pinout with the cartridge’s pinout to determine which wire goes where.
Mark the wires yourself. Once you have identified each wire through any of these methods, use small colored heat-shrink tubing, nail polish dots, or tiny adhesive labels to mark each wire for future reference. This saves significant time if you ever need to remove and reinstall the cartridge.
Frequently Asked Questions
How to tell if a cartridge is misaligned?
Signs of cartridge misalignment include increased distortion in one channel, especially toward the inner or outer grooves of a record. You may also hear sibilance on vocals or notice that the sound stage feels off-center. Using a protractor alignment gauge with Baerwald or Lofgren geometry lets you verify that the cartridge body is positioned at the correct angle relative to the tonearm pivot.
How to connect turntable cartridge wires?
Connect the four tonearm wires to the cartridge pins using the standard color code: red to right positive, green to right negative, white to left positive, and blue to left negative. Grip each metal sleeve connector with fine needle-nose pliers and push it straight onto the corresponding pin. Never pull by the wire itself, as the thin conductors break easily. Work under bright light and verify each connection against the cartridge pinout diagram.
What is the color code for phono cartridge wiring?
The universal phono cartridge wiring color code is: red for right channel positive, green for right channel negative, white for left channel positive, and blue for left channel negative. Nearly all major cartridge manufacturers follow this four-color standard, making it easy to identify which wire goes to which pin.
How to connect a cartridge?
Start by mounting the cartridge body to the headshell using the supplied hardware. Connect the four color-coded wires to the pins on the back of the cartridge, following the standard color code. Then set the tracking force, adjust the anti-skate, and align the cartridge using a protractor. Finally, verify all connections with a listening test before playing a record you care about.
Conclusion
Knowing how to check whether your cartridge wires are connected correctly is a fundamental skill that protects your equipment and ensures you hear your records the way they were meant to sound. The process comes down to four simple things: memorize the color code, trace each wire to its pin, verify against the cartridge diagram, and confirm with a listening test.
Take your time with each connection, work under good lighting, and never rush the sleeve seating process. Those tiny wires are fragile, but with patience and the right technique, they will serve you faithfully for years. If you found this guide helpful, the next step is to run through the verification process on your own turntable right now. It takes about ten minutes, and it could be the difference between a great-sounding system and one that leaves you wondering what is wrong.