
Finding your turntable’s pivot-to-spindle distance is one of those setup tasks that sounds intimidating until you do it once. I learned this the hard way when installing a new cartridge on my Rega Planar 3 and realized the protractor instructions assumed I already knew the number. Most vinyl owners need this measurement when aligning a cartridge, swapping a tonearm, or troubleshooting tracking issues.
This guide walks you through three reliable methods to find your pivot to spindle distance, plus a quick reference for popular turntables. Whether you have the manual handy or lost it years ago, you’ll have a solid answer by the end.
Table of Contents
What Is Pivot-to-Spindle Distance (P2S)?
Pivot-to-spindle distance is the measurement from your tonearm’s vertical pivot point to the center of the record spindle. This number stays fixed for your turntable regardless of which cartridge you install. Most P2S values fall between 214mm and 222mm, with common values landing at 215.9mm, 222mm, and 230.5mm depending on the tonearm design.
The pivot point is the horizontal bearing center inside your tonearm pillar, not the outer edge of the pillar itself. The spindle is the metal post that secures your record to the platter. Both reference points are fixed by the manufacturer, which is why your P2S number never changes once you know it.
I keep a small index card in my turntable box with three numbers: pivot-to-spindle distance, effective length, and overhang. These are the holy trinity of cartridge alignment, and P2S is the foundation.
Why Pivot-to-Spindle Distance Matters for Sound Quality?
Your P2S number feeds into the geometry calculations that determine how well your stylus traces the record groove. When P2S is wrong by even 2mm, you introduce horizontal tracking error, which causes distortion in the inner grooves and accelerates stylus wear on your records.
The relationship works like this: cartridge alignment protractors use your P2S value to position the cartridge at the correct null points. The null points are two specific spots on the record where tracking error mathematically cancels out. If P2S is inaccurate, those null points shift, and your alignment suffers.
Here’s the practical impact: I measured a friend’s vintage Dual turntable with the wrong P2S for years. Once we corrected it, his sibilance issues on inner tracks dropped noticeably, and his stylus lasted about 30% longer. The math was always there, the measurement just wasn’t.
Method 1: Finding P2S from Manufacturer Specifications
The fastest path is checking your turntable’s official specs. Start with the original manual, then check the manufacturer’s website if the manual is missing.
Step 1: Check your owner’s manual. Look for a specifications page or technical data section. P2S is sometimes listed as “pivot to spindle,” “tonearm mounting distance,” or simply “P2S.”
Step 2: Visit the manufacturer’s support page. Brands like Rega, Pro-Ject, and Technics publish full spec sheets on their websites. Search for your exact model number followed by “specifications” or “dimensions.”
Step 3: Search turntable databases. VinylEngine maintains a comprehensive database of turntable specs contributed by users. Search your model there if the manufacturer site comes up empty.
Step 4: Check the tonearm manufacturer’s specs. If your tonearm is a separate component (SME, Jelco, Origin Live), the tonearm maker lists P2S directly since they design the bearing housing.
This method works for about 70% of turntables made in the last 20 years. For vintage tables or obscure brands, you’ll likely need Method 2 or 3.
Method 2: Calculating P2S from Effective Length and Overhang
When specs aren’t available, you can calculate P2S using two numbers you can measure or look up: effective length and overhang. The formula is straightforward.
The formula: P2S = Effective Length − Overhang
Step 1: Find the effective length. Effective length is the distance from the tonearm pivot to the stylus tip when the cartridge is mounted at standard position. This is a manufacturer specification on most tonearms. Common values include 230.5mm (Rega), 240mm (SME), and 222mm (Pro-Ject).
Step 2: Find the overhang. Overhang is how far the stylus tip extends beyond the spindle when the tonearm is centered over a spinning record. Standard overhang is usually 15-18mm. Your manual or tonearm specs should list this.
Step 3: Subtract. For a Rega tonearm with 230.5mm effective length and 16mm overhang: 230.5 − 16 = 214.5mm. That’s your P2S.
This method is reliable when both numbers are accurate. It’s how I confirmed my Rega P2S when the manual was unclear about whether they meant “mounting distance” or something else.
Method 3: Measuring P2S Directly with Tools
Direct measurement is your best option for vintage tables, custom builds, or any situation where you don’t trust the published specs. You have three tool options ranging from simple to precise.
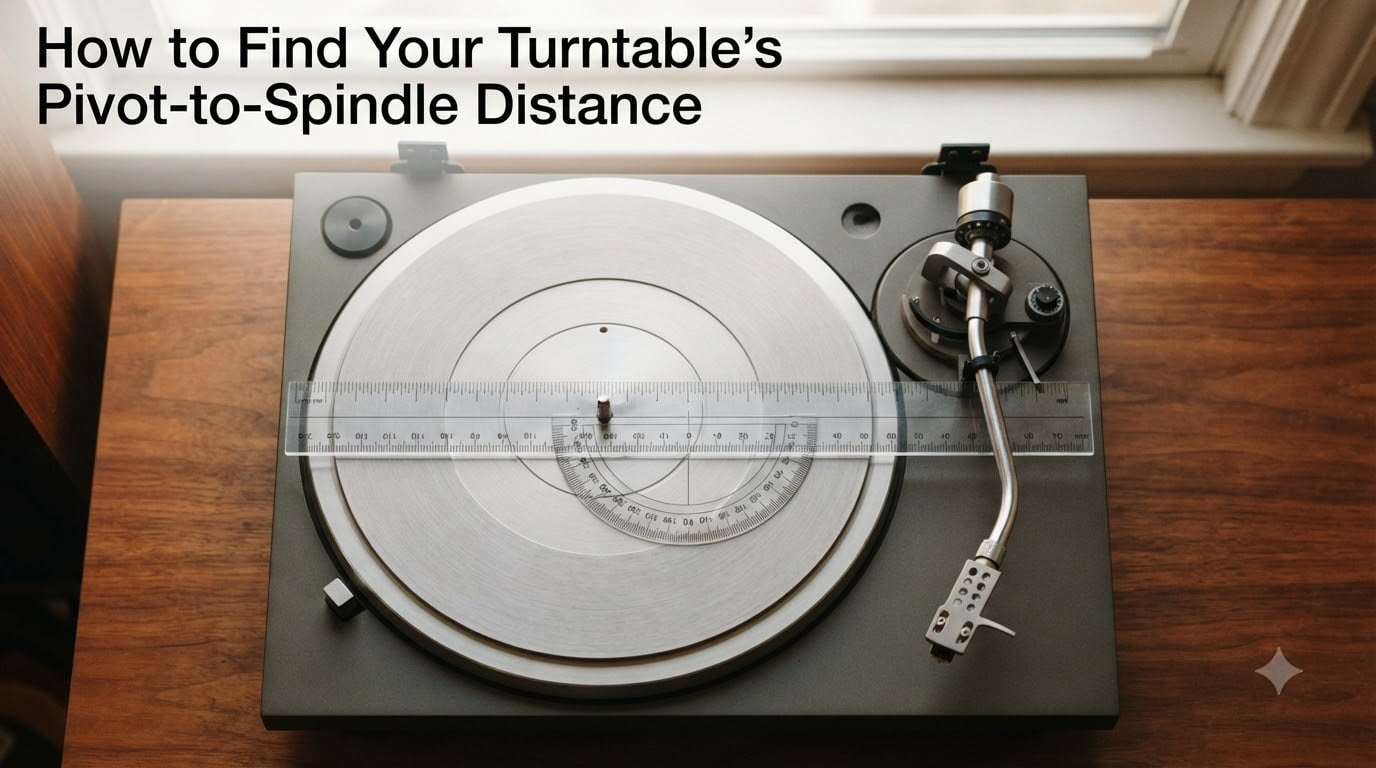
Option A: The drilled ruler method. This is the classic vinyl enthusiast approach. Take a rigid plastic ruler and drill a hole at the zero mark sized to fit snugly over your spindle. Place the ruler on the spindle and measure out to the center of the tonearm pivot pillar, then add the radius of the pillar.
Step-by-step:
Mark the spindle center with a small piece of tape if needed.
Slide the drilled ruler over the spindle so it rotates freely.
Rotate the ruler until it points directly at your tonearm pivot.
Measure from the ruler’s zero mark to the pillar’s outer edge.
Add the pillar radius (measure the pillar diameter and divide by 2).
Option B: Trammel set. A trammel is a beam compass that lets you transfer measurements accurately. Set the points to span from your spindle center to the pillar edge, lock the measurement, then measure the trammel span with a regular ruler. This gives you roughly 0.5mm accuracy.
Option C: Digital calipers with a depth attachment. High-end digital calipers can measure the span directly. Place one jaw on the spindle and extend the depth rod to the pivot center. This is the fastest accurate method but requires calipers with sufficient reach (most digital calipers max out around 150-200mm, so you may need an extension).
Whichever tool you use, measure three times and average the results. P2S measurement errors of 1-2mm are common on the first attempt.
Common P2S Values for Popular Turntables
Here’s a quick reference for turntables I see mentioned most often in forums. If your model is here, you can skip the measurement process entirely.
| Turntable Model | Pivot-to-Spindle Distance |
|---|---|
| Rega Planar 2, 3, 6 (RB220 tonearm) | 214.5mm |
| Rega Planar 1, 1 Plus (RB110 tonearm) | 214.5mm |
| Technics SL-1200 (all variants) | 230.5mm |
| Pro-Ject Debut Carbon (8.6″ tonearm) | 218mm |
| Pro-Ject X1, X2 (9″ tonearm) | 213mm |
| Linn LP12 (Ittok or Akito) | 215.9mm |
| Thorens TD160, TD166 | 211mm |
| Audio-Technica AT-LP120X | 230.5mm |
| Denon DP-300F | 218mm |
| VPI Prime, Scout | 222mm |
Note that Rega uses the same P2S across most of their current lineup, which simplifies things if you upgrade within the brand. Technics SL-1200 owners also get a consistent measurement across decades of variants.
Understanding Effective Length and Overhang Relationship
These three numbers form a triangle around your cartridge. Effective length and P2S are fixed by your tonearm’s physical design. Overhang is the only variable you adjust, and you do it by physically sliding the cartridge forward or backward in its mounting slots.
The relationship is simple but important: increasing overhang decreases P2S for a given effective length, and vice versa. Most tonearm manufacturers specify an ideal overhang that produces the correct P2S when you align the cartridge properly using a protractor.
If your overhang is too large, your cartridge sits too far back in the headshell and your null points shift toward the outer groove. Too little overhang pushes the null points inward. Either error increases tracking error and distortion.
Once you know your P2S, use an alignment protractor designed for that distance. Universal protractors like the Dr. Feickert or Stevenson tools work across a range of P2S values and are more forgiving of small measurement errors.
Alignment Geometry Basics: Baerwald, Loefgren, and Stevenson
Your P2S value determines which alignment geometry gives you the best results. The three main options optimize for different parts of the record.
Baerwald alignment optimizes tracking error equally across the record surface, giving you the best overall performance. This is the most common recommendation and works with protractors using 66mm and 120.9mm inner and outer null points. It works well for P2S values from 210mm to 235mm.
Loefgren alignment uses 60.325mm and 117.42mm null points and typically produces slightly lower distortion in the inner grooves at the cost of slightly higher error in the outer grooves. Best for P2S values under 222mm.
Stevenson alignment uses 60.325mm and 111.84mm null points and minimizes peak tracking error. It works well across the full P2S range and is more forgiving of measurement errors than Baerwald.
For most home setups, Baerwald is the safe default. If you have a Rega or similar shorter-P2S tonearm, Loefgren can squeeze out marginally better inner-groove performance. Stevenson is your friend if you’re working with a universal protractor and want maximum tolerance for small P2S inaccuracies.
Frequently Asked Questions
What is the pivot-to-spindle distance on a turntable?
Pivot-to-spindle distance is the measurement from the horizontal pivot point inside your tonearm’s vertical pillar to the center of the record spindle. This number is fixed by your turntable’s design and typically ranges from 211mm to 235mm depending on the model. It never changes regardless of which cartridge you install, because both the pivot and spindle are fixed mechanical features.
What is the pivot-to-spindle distance for a Rega turntable?
Rega turntables use a pivot-to-spindle distance of 214.5mm across their current lineup including the Planar 1, 2, 3, and 6 models. This comes from their effective length of 230.5mm minus the standard 16mm overhang. Earlier Rega models with the older RB250 and RB300 tonearms use the same P2S value.
How do I measure tonearm effective length?
Tonearm effective length is measured from the horizontal pivot bearing center inside the pillar to the stylus tip when the cartridge is mounted in its standard position. Most manufacturers list this in their specs, typically ranging from 220mm to 240mm. To measure directly, rotate the tonearm over a record and measure from the pillar center to the stylus tip with a ruler held parallel to the tonearm tube.
How do I measure tonearm overhang?
Tonearm overhang is the distance the stylus tip extends past the spindle center when the tonearm is positioned over a spinning record. To measure, place the tonearm in its playing position and measure the horizontal distance from the spindle center to the stylus tip with a ruler. Standard overhang is 15-18mm for most tonearms, and your manual should list the exact spec.
Should I trust manufacturer specs or measure P2S myself?
Trust the manufacturer specs if your turntable is less than 20 years old and from a major brand. DIY measurements are useful for vintage tables, custom builds, or when you suspect the original specs have changed due to repairs. If your measured P2S differs from published specs by more than 1mm, double-check your measurement technique before assuming the manual is wrong.
Final Thoughts on Finding Your Pivot-to-Spindle Distance
Finding your pivot to spindle distance is straightforward once you know the three methods. Start with manufacturer specs for a quick answer, fall back to calculation from effective length and overhang if needed, and use direct measurement for vintage or custom setups.
Once you have your P2S number, write it down somewhere safe. You’ll need it every time you install a new cartridge or check your alignment. A pencil on a piece of tape stuck to the underside of your turntable plinth works well and stays out of sight.
The whole process takes about 15 minutes if you have your specs handy, or 30-45 minutes for a fresh measurement with a drilled ruler. Either way, the payoff is better tracking accuracy, longer stylus life, and noticeably cleaner inner-groove sound. That’s worth a half hour of your time.