
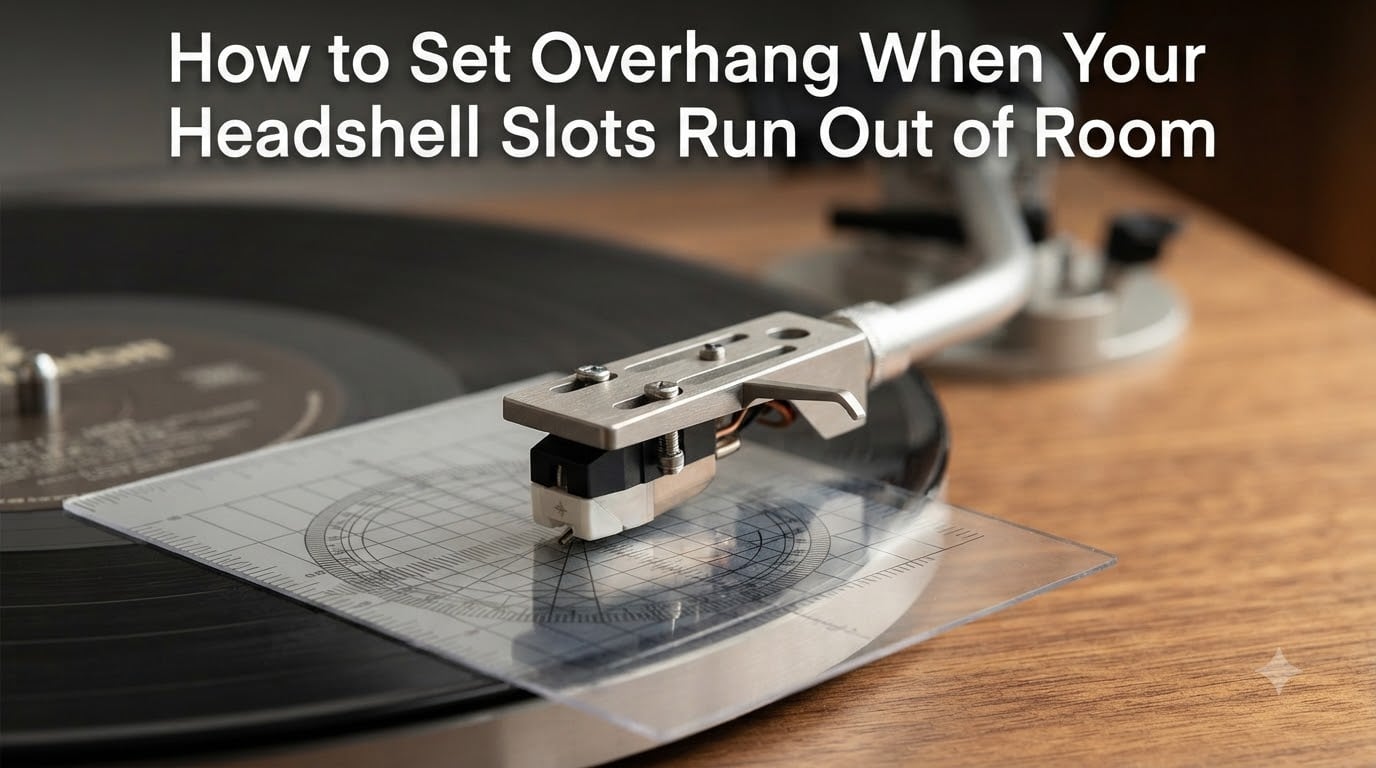
Setting up a turntable cartridge usually goes smoothly until you reach the overhang adjustment and notice something is wrong. You have read the manual, you know the correct overhang for your tonearm, but when you slide the cartridge forward in the headshell, the slots simply will not let it go any farther. If you have ever hit this wall, you already know how frustrating it feels to be just millimeters away from a correct setup.
This guide covers exactly how to set overhang when your headshell slots run out of room. I have walked through this scenario with my own vintage decks and helped several audiophile friends through the same fix. By the end, you will understand what overhang really is, why this slot limit happens, and the practical steps you can take to get correct cartridge alignment even when the standard solution fails.
Table of Contents
What Is Overhang and Why Does It Matter?
Overhang is the distance the stylus tip extends beyond the center of the spindle when the tonearm is positioned directly over the record’s center hole. On most modern turntables, this number falls between 14 mm and 17 mm, depending on the tonearm’s effective length and the pivot-to-spindle distance.
Each tonearm has a specific overhang value written into its manual because every tonearm has slightly different geometry. The effective length of the arm, measured from the pivot to the stylus tip, must match the arc cut by the mastering lathe. When your overhang matches this specification, the stylus remains tangent to the groove across the entire record surface.
A pivoted tonearm can never be perfectly tangent to the groove at every point on the record. The geometry of a swinging arm means the tracking angle changes as the stylus moves from the outer edge to the inner grooves. Overhang is the adjustment that keeps that tracking error as small as possible across the entire playing surface.
Incorrect overhang causes mistracking, distortion, and increased record wear. Small errors produce subtle channel imbalance and a slightly pinched sound in the high frequencies. Large errors can damage your records and prevent the stylus from staying in the groove at high volume. This is why overhang matters more than most beginners realize.
The relationship between overhang and the two null points is the key to understanding the whole system. When overhang is correct, the stylus hits zero tracking error at two specific groove radii. These are called the null points. When overhang is wrong, both null points shift, and tracking error increases everywhere on the record.
Why Headshell Slots Exist (and Why They Run Out of Room)?
Headshell slots exist because no industry standard defines the distance between a cartridge’s mounting screws and its stylus tip. Every cartridge manufacturer chooses a different body shape, so the slot range on a headshell must be wide enough to accept many different models. As AnalogPlanet noted in their review of overhang gauges, this lack of standardization is the entire reason slots exist at all.
Most headshells offer roughly 20 mm of forward and backward travel. That range is usually enough to position the stylus tip at the correct overhang distance. The problem shows up when you combine a cartridge with a long body, a tonearm that demands a specific overhang, and a headshell whose slots are not quite long enough to bridge the gap.
I ran into this exact issue on a Pioneer PL-600 with the stock headshell. The manual specified a 15 mm overhang and a 49 mm headshell tail-to-stylus distance, but the slots physically could not move the cartridge forward enough to hit those numbers. That is when I learned how to set overhang when your headshell slots run out of room the hard way.
The same problem shows up on the VinylEngine forums regularly. Users report hitting the slot limit on vintage Technics SL-1500 arms, Pioneer PL-12D tonearms, and even some S-shape arms when mounting long-body moving coil cartridges. The slot range on these stock headshells was designed decades ago for the cartridges available at the time, and modern long-body cartridges simply need more travel.
How to Diagnose the Problem: Are Your Slots Really Maxed Out
Before changing anything, confirm the slots are actually the limiting factor. Slide the cartridge forward until the front edge of the slot touches the mounting nut, and measure from the stylus tip to the spindle center with a small ruler or overhang gauge.
If the measured overhang matches your tonearm’s spec within 0.5 mm, your slots are fine and the issue lies elsewhere. If you come up short by 2 mm or more, you have found the real problem. Measure from the spindle hole center, not the edge of the label, to get an accurate reading.
Check the tonearm geometry first. Some arms use a fixed headshell and offer no adjustment at all. Others offer slots with a shorter travel than you would expect. Look up your tonearm’s effective length and pivot-to-spindle distance in the manual or on VinylEngine, then calculate the required overhang using the formula: overhang = effective length minus pivot-to-spindle distance.
For example, a tonearm with an effective length of 231 mm and a pivot-to-spindle distance of 215 mm requires 16 mm of overhang. If your slots only let the stylus reach 14 mm, you are 2 mm short. That 2 mm gap is what sends most people searching for solutions.
How to Set Overhang When Your Headshell Slots Run Out of Room
This is the core of the problem, and there are five practical paths forward. Each one works in a different situation. Pick the approach that matches your gear and your comfort level.
Solution 1: Use a Different Alignment Standard
The most common reason people need to learn how to set overhang when your headshell slots run out of room is that they are forcing a Baerwald or Loefgren geometry onto an arm that cannot deliver it. The three main alignment standards place their null points at different groove radii, and each one requires a slightly different overhang distance.
Baerwald alignment places null points at 66.0 mm and 120.9 mm. Loefgren alignment pushes the null points slightly wider. Stevenson alignment shifts both null points inward, placing the inner null at 60.3 mm. Because Stevenson moves the inner null closer to the label, it requires less overhang on most arms.
Start by checking what alignment your tonearm was designed for. Many Technics arms work best with Baerwald, while older Japanese decks like the PL-600 were designed around the Stevenson standard. If your slots stop short, the alignment you are trying to force may simply be the wrong one for your arm.
Download a Stevenson protractor printout from VinylEngine or the Conrad Hoffman template generator, align the cartridge at the inner and outer null points, and check the overhang. In many cases, you will hit the spec without needing any physical modifications.
Solution 2: Rotate the Cartridge Body Slightly Off-Square
A cartridge that is perfectly square to the headshell looks clean, but perfect squareness is not required for correct alignment. Tilting the cartridge body by 1 to 2 degrees in the headshell shifts the stylus tip forward or backward without moving the mounting screws at all.
Loosen the cartridge mounting nuts just enough to allow rotation, then twist the body until the stylus sits at the correct overhang position. Check the alignment on a protractor at both null points. This trick is not a hack. It is a recognized workaround used by turntable technicians when slot geometry refuses to cooperate.
The amount of shift you can achieve depends on the distance between the mounting screws. On a standard half-inch mounting pattern, a 2-degree rotation moves the stylus tip by roughly 1 mm. That is often enough to close the gap between where your slots stop and where the correct overhang sits.
Be aware that rotating the cartridge also shifts the cantilever angle relative to the groove, which can affect channel balance. Always verify both channels output at the same level with a test record before locking the nuts down.
Solution 3: File the Headshell Slots Forward
If the slot travel is the only obstacle, you can extend the slots with a small round file. This is the same approach a Reddit user documented when their vintage deck needed 15 mm of overhang and the stock slots fell short by several millimeters.
Remove the headshell from the arm first. Clamp it gently in a vise padded with cloth to avoid scratching the finish. File the front end of each slot forward by 2 to 3 mm using a needle file or a small round file. Take your time, file slowly, and keep the slot width consistent so the mounting hardware still fits cleanly.
Work on both slots evenly so the cartridge stays parallel to the headshell. After filing, deburr the edges with fine sandpaper and clean out any metal dust before remounting the cartridge. Once you have the extension, the cartridge will slide into the proper position.
This modification is permanent. If you are attached to keeping the headshell stock, this approach is not for you. For most vintage turntables, however, a small slot extension is harmless and rarely affects the structural integrity of a cast aluminum headshell. I would not file a magnesium or carbon fiber headshell without checking with the manufacturer first.
Solution 4: Replace the Headshell With a Longer-Slot Model
If filing sounds risky, swap the headshell. Many aftermarket headshells offer longer slots and better build quality than stock units. The Ortofon LH-9000, the Jico HS-1, and several Yamaha-style headshells all provide more travel than the typical vintage stock part.
Standard SME-style headshells use a half-inch mounting spacing and a bayonet connector that fits most Japanese tonearms. Most aftermarket options match this spec while offering 25 mm or more of slot travel. Pick one that fits your tonearm collar, and your overhang problem usually disappears.
Check the mass of the replacement headshell before buying. A heavier headshell changes the resonance frequency of the tonearm and cartridge combination, which can introduce bass issues. Match the headshell mass to your tonearm’s recommended range, which is usually listed in the manual.
This is the cleanest fix for anyone who can spend a little money. The new headshell also gives you better mass damping and often tighter mounting hardware than the decades-old screws on a vintage unit.
Solution 5: Optimize at the Inner Null Point and Accept Imperfect Outer Alignment
When none of the above options work, accept the trade-off and prioritize the inner null point. Expert users on VinylEngine consistently emphasize that inner null accuracy matters more than perfect overhang, because inner groove distortion is the most audible flaw on most records.
Align the cartridge so the inner null point sits exactly on the protractor crosshair. The stylus will be tangent to the groove at that radius, which means the most distortion-prone part of the record sounds clean. The outer null will be slightly off, and that is acceptable for most listeners.
The tracking error at the outer edge stays below 2 degrees in most cases, which is well within the threshold where most listeners can hear a difference. The outer grooves are also less demanding because they move faster past the stylus, so small angular errors are less audible there.
This is the conservative choice. You will not achieve textbook alignment, but you will protect your records and your ears. Many experienced listeners prefer this compromise to a forced perfect setup that requires permanent modification.
How to Check If Your Overhang Is Correct After Adjustment
Once you have applied one of these fixes, verify the result with a two-point protractor. Place the protractor on the platter, lower the stylus onto the inner null point, and check that the cartridge body lines up with the gridlines printed on the protractor.
The cantilever should point straight along the protractor line, not the cartridge body itself. Some cantilevers sit slightly off-center from the body, so always align using the cantilever as your reference. Repeat the check at the outer null point.
Both null points should sit on the correct gridlines for your chosen alignment standard. If one null is off by more than 0.5 mm, fine-tune the cartridge position and recheck. Small adjustments in the headshell slots translate to visible shifts on the protractor grid.
Play a familiar record and listen for channel imbalance, sibilance, or distortion in the inner grooves. A well-aligned cartridge tracks cleanly from the first track to the last. If you hear increased distortion near the label, the inner null is off and you need to revisit the protractor.
For a more precise check, use a test record with tracking error tones. Records like the Hi-Fi News Test Record include tracks designed to reveal alignment problems. If your cartridge tracks all of them cleanly, your overhang adjustment is working.
Tips for Different Tonearm Types
Different tonearm designs hit the slot-limit problem in different ways. Straight arms with detachable headshells, like the SME 3009, almost always allow enough slot travel for any cartridge. The slots on these arms are long enough to accept even long-body moving coil designs.
S-shape arms, like the Technics EPA-500 and the Pioneer PL-600 arm, occasionally run short on long-body cartridges like the Ortofon SPU series. These arms were designed in the 1970s and 1980s when cartridges had shorter bodies, and the slot range reflects that era.
Rega arms use a different mounting system entirely. Their fixed headshell design means you cannot slide the cartridge at all, so overhang is set by the cartridge body length and the arm geometry. Rega specifies a 3 mm overhang built into the arm. Choose a Rega-compatible cartridge and the alignment works automatically, provided you bolt the cartridge square to the headshell.
Technics SL-1200 owners have it easier than most. The Technics overhang gauge, a simple plastic tool that clips onto the headshell, positions the stylus at exactly 52 mm from the headshell reference point. If your cartridge body is short enough to work with the gauge, you never need to worry about slot limits.
Vintage Japanese decks, including the Pioneer PL-12D and the Technics SL-1500, often have shorter slot travel than modern aftermarket headshells. These are the arms most likely to send you searching for how to set overhang when your headshell slots run out of room.
If you own one of these arms and feel stuck, contact a turntable technician before modifying anything yourself. A bad file job is hard to undo, and a professional can often find a solution you may have missed.
Frequently Asked Questions
What is overhang on a tonearm?
Overhang is the distance the stylus tip extends beyond the center of the record spindle when the tonearm is positioned directly over the record center. It is set by the tonearm’s effective length and pivot-to-spindle distance, and it ensures the stylus follows the same arc as the mastering lathe.
How do I measure tonearm overhang?
Place a ruler or overhang gauge on the platter, position the tonearm so the stylus tip sits directly over the record spindle center, and measure the distance from the stylus tip to the center of the spindle. The measurement should match the spec in your tonearm’s manual, usually between 14 mm and 17 mm.
How important is cartridge overhang?
Correct overhang is critical for low tracking error and clean sound. Wrong overhang causes mistracking, distortion, channel imbalance, and increased record wear. The bigger the error, the more damage to your records and the worse the sound becomes.
How do I adjust stylus overhang?
Loosen the cartridge mounting nuts, slide the cartridge forward or backward in the headshell slots until the stylus tip measures correctly over the spindle, then recheck the alignment at both null points on a protractor. Tighten the nuts only after both nulls line up correctly.
What should I do when my headshell slots are too short?
Try a different alignment standard like Stevenson instead of Baerwald, rotate the cartridge slightly off-square, file the slots forward with a small round file, replace the headshell with a longer-slot aftermarket model, or prioritize the inner null point and accept slight outer tracking error. Each fix works in a different situation.
What is the 52mm overhang gauge for Technics?
The 52 mm overhang gauge is a tool designed for Technics SL-1200 and similar arms, which require a 52 mm mounting distance from the headshell tail to the stylus tip. It locks the cartridge into the correct position before null point alignment on a protractor.
Conclusion
Learning how to set overhang when your headshell slots run out of room is one of those skills every serious vinyl listener eventually needs. The slot limit usually shows up on vintage gear or arms designed for specific cartridge body lengths, and it catches most people off guard the first time.
Start by confirming the diagnosis with a measurement, then pick the solution that matches your situation. Switch alignment standards first, since it costs nothing and solves the problem on many vintage arms. Rotate the cartridge if you want a non-permanent fix. File the slots or replace the headshell if you are committed to a permanent change. Prioritize the inner null point if nothing else works.
With the right approach, you can hit correct cartridge alignment even when the standard path is blocked. Updated for 2026.